ESP32 IR Controller

I have a multi-zone ductless mini-split system installed in my house, which has been a fantastic addition and does a great job with keeping the house comfortable. Though the limitation of all zones having to be in the same mode because the compressor unit outside can only do one mode at a time.

This leaves a coordination task, as temperature set points change through the day to save energy, and mode switches move between heating and cooling as the weather changes, particularly in the spring/fall transition seasons when daytime temps could require cooling, and nights still need heat.

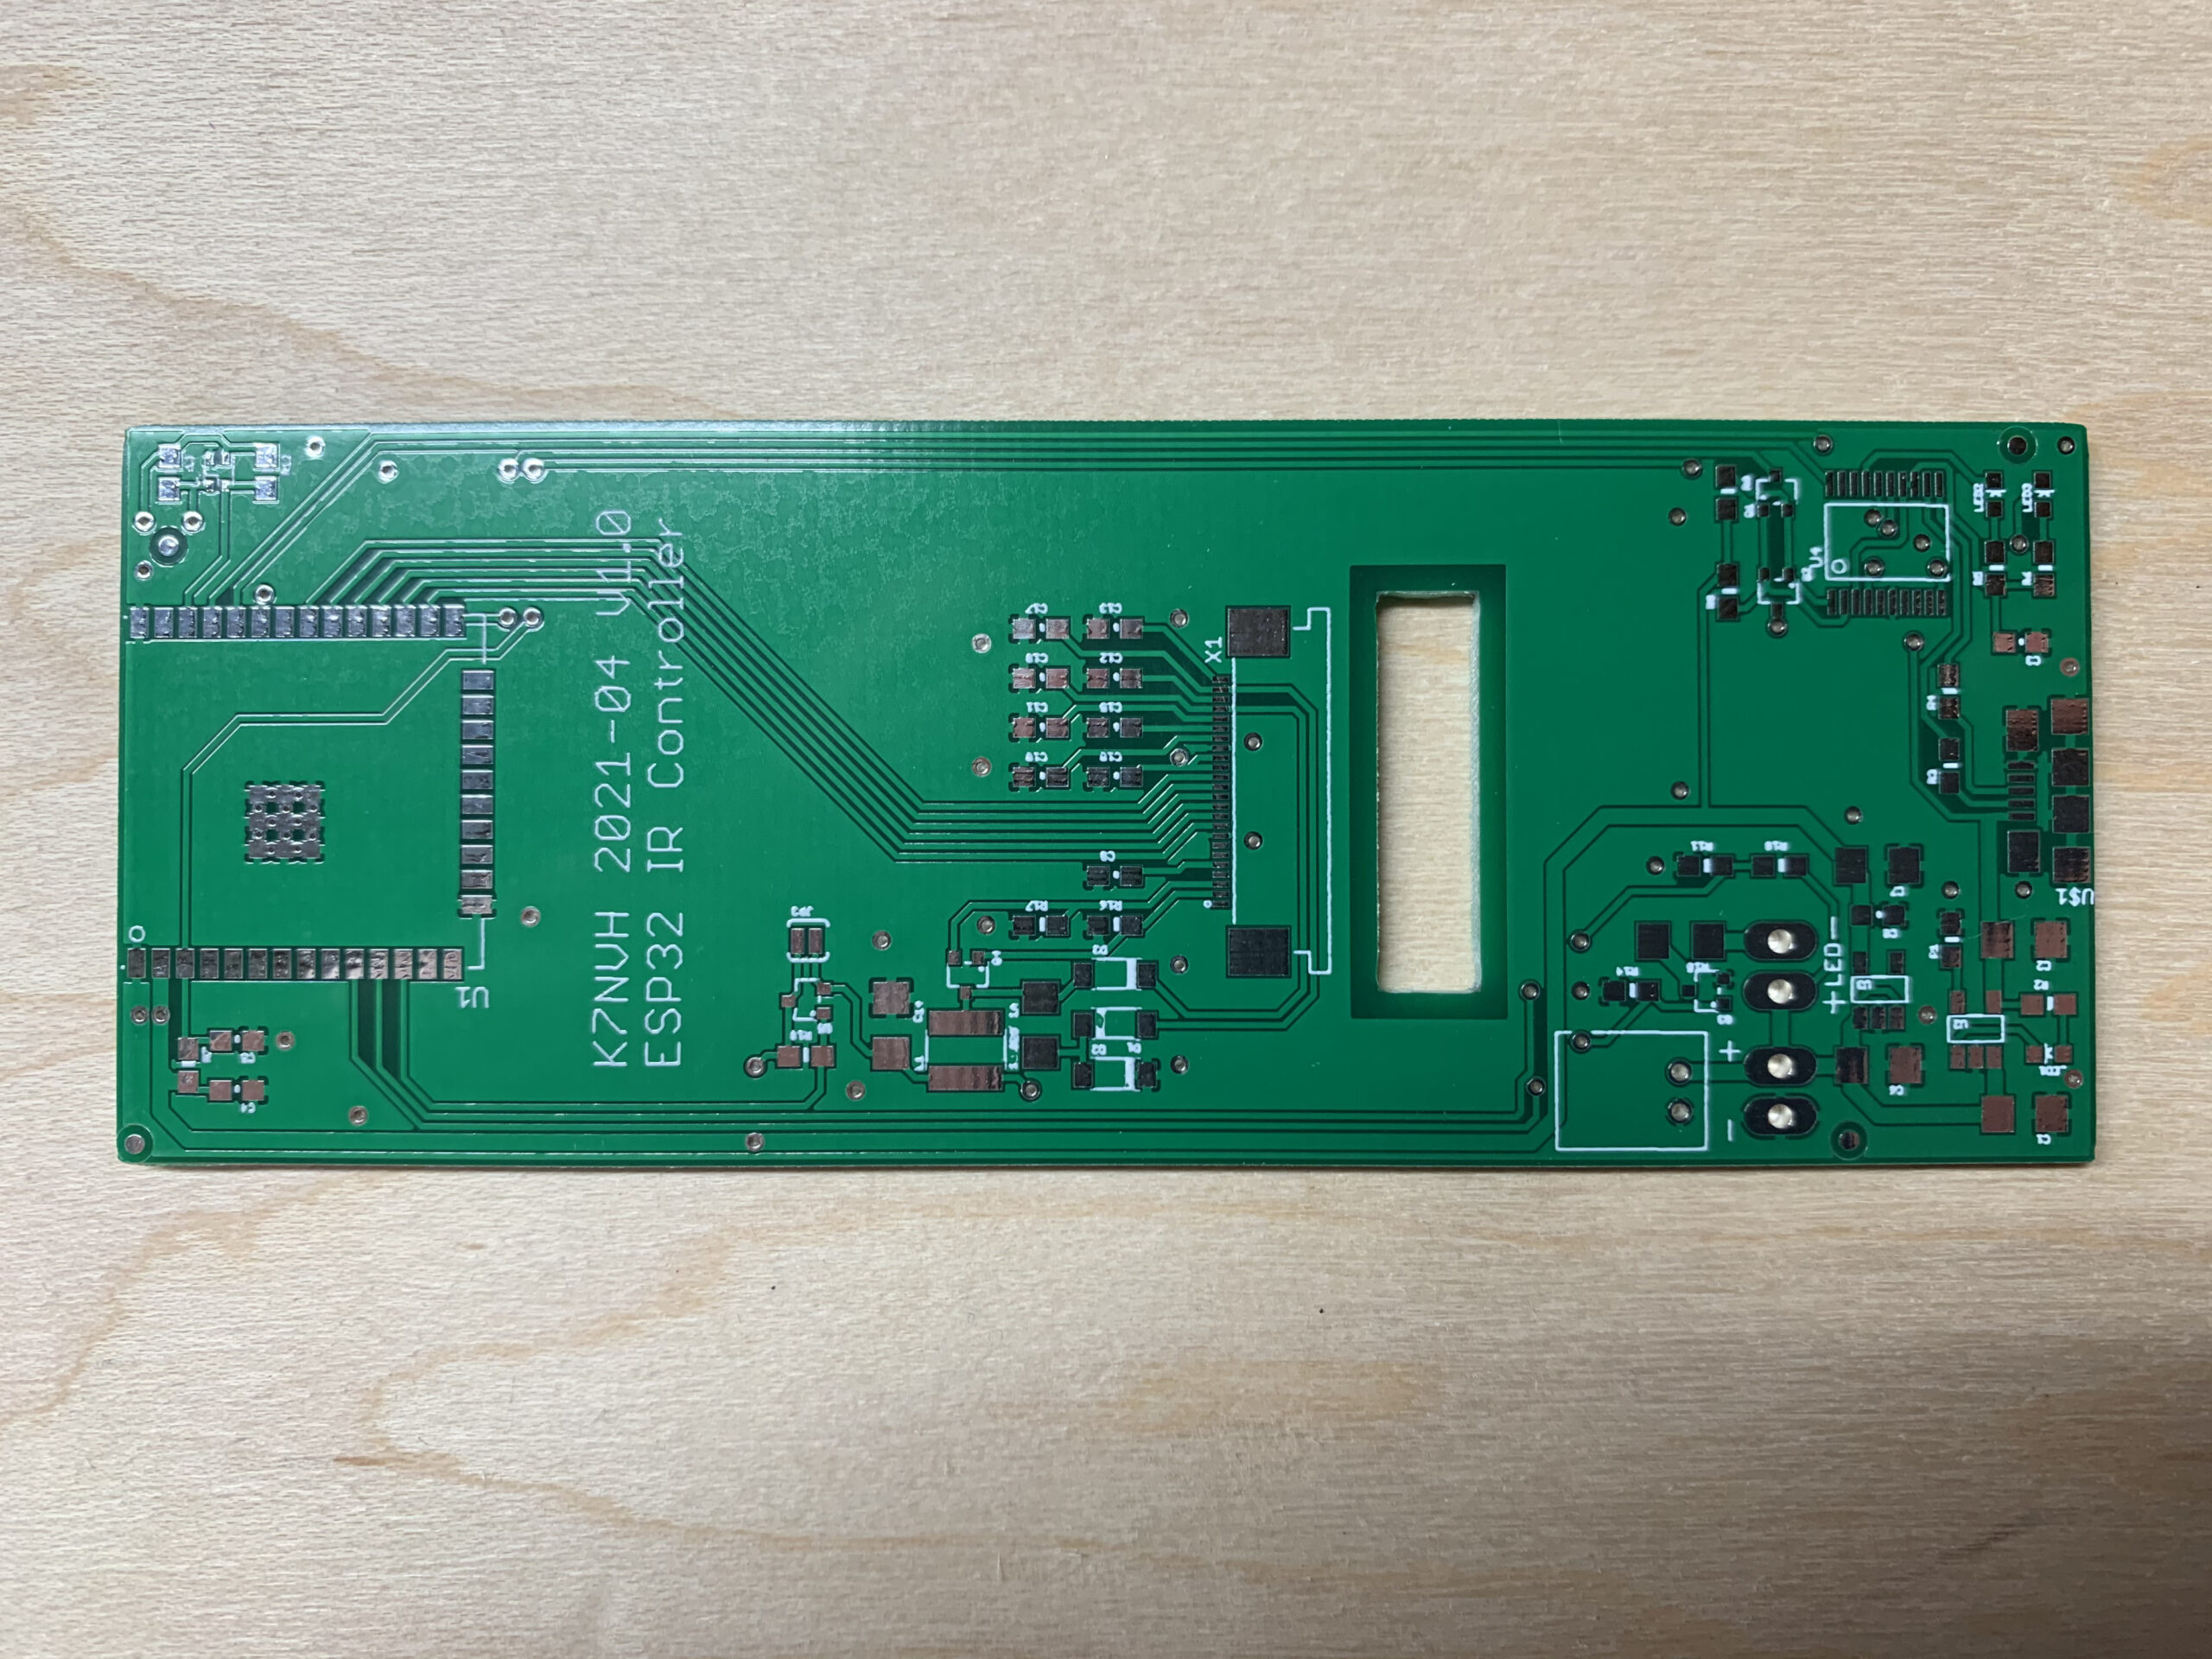
It’s certainly possible to manage this with the individual remotes for each zone, but it can get to be annoying to tweak all the zones a couple times a day. I decided to build a ESP32 based IR controller with a central control and schedule to ease the task.

I also took it as an opportunity to experiment with some small E-Ink displays, which are well suited to long term, low power, battery operation for the remotes.

As I was building a half dozen devices, it was a great choice for assembly with my pick and place machine I’ve written about before.

Finishing out the assembly, attaching the display and battery, and 3D printing a case for the unit wraps the project into a neat little package.

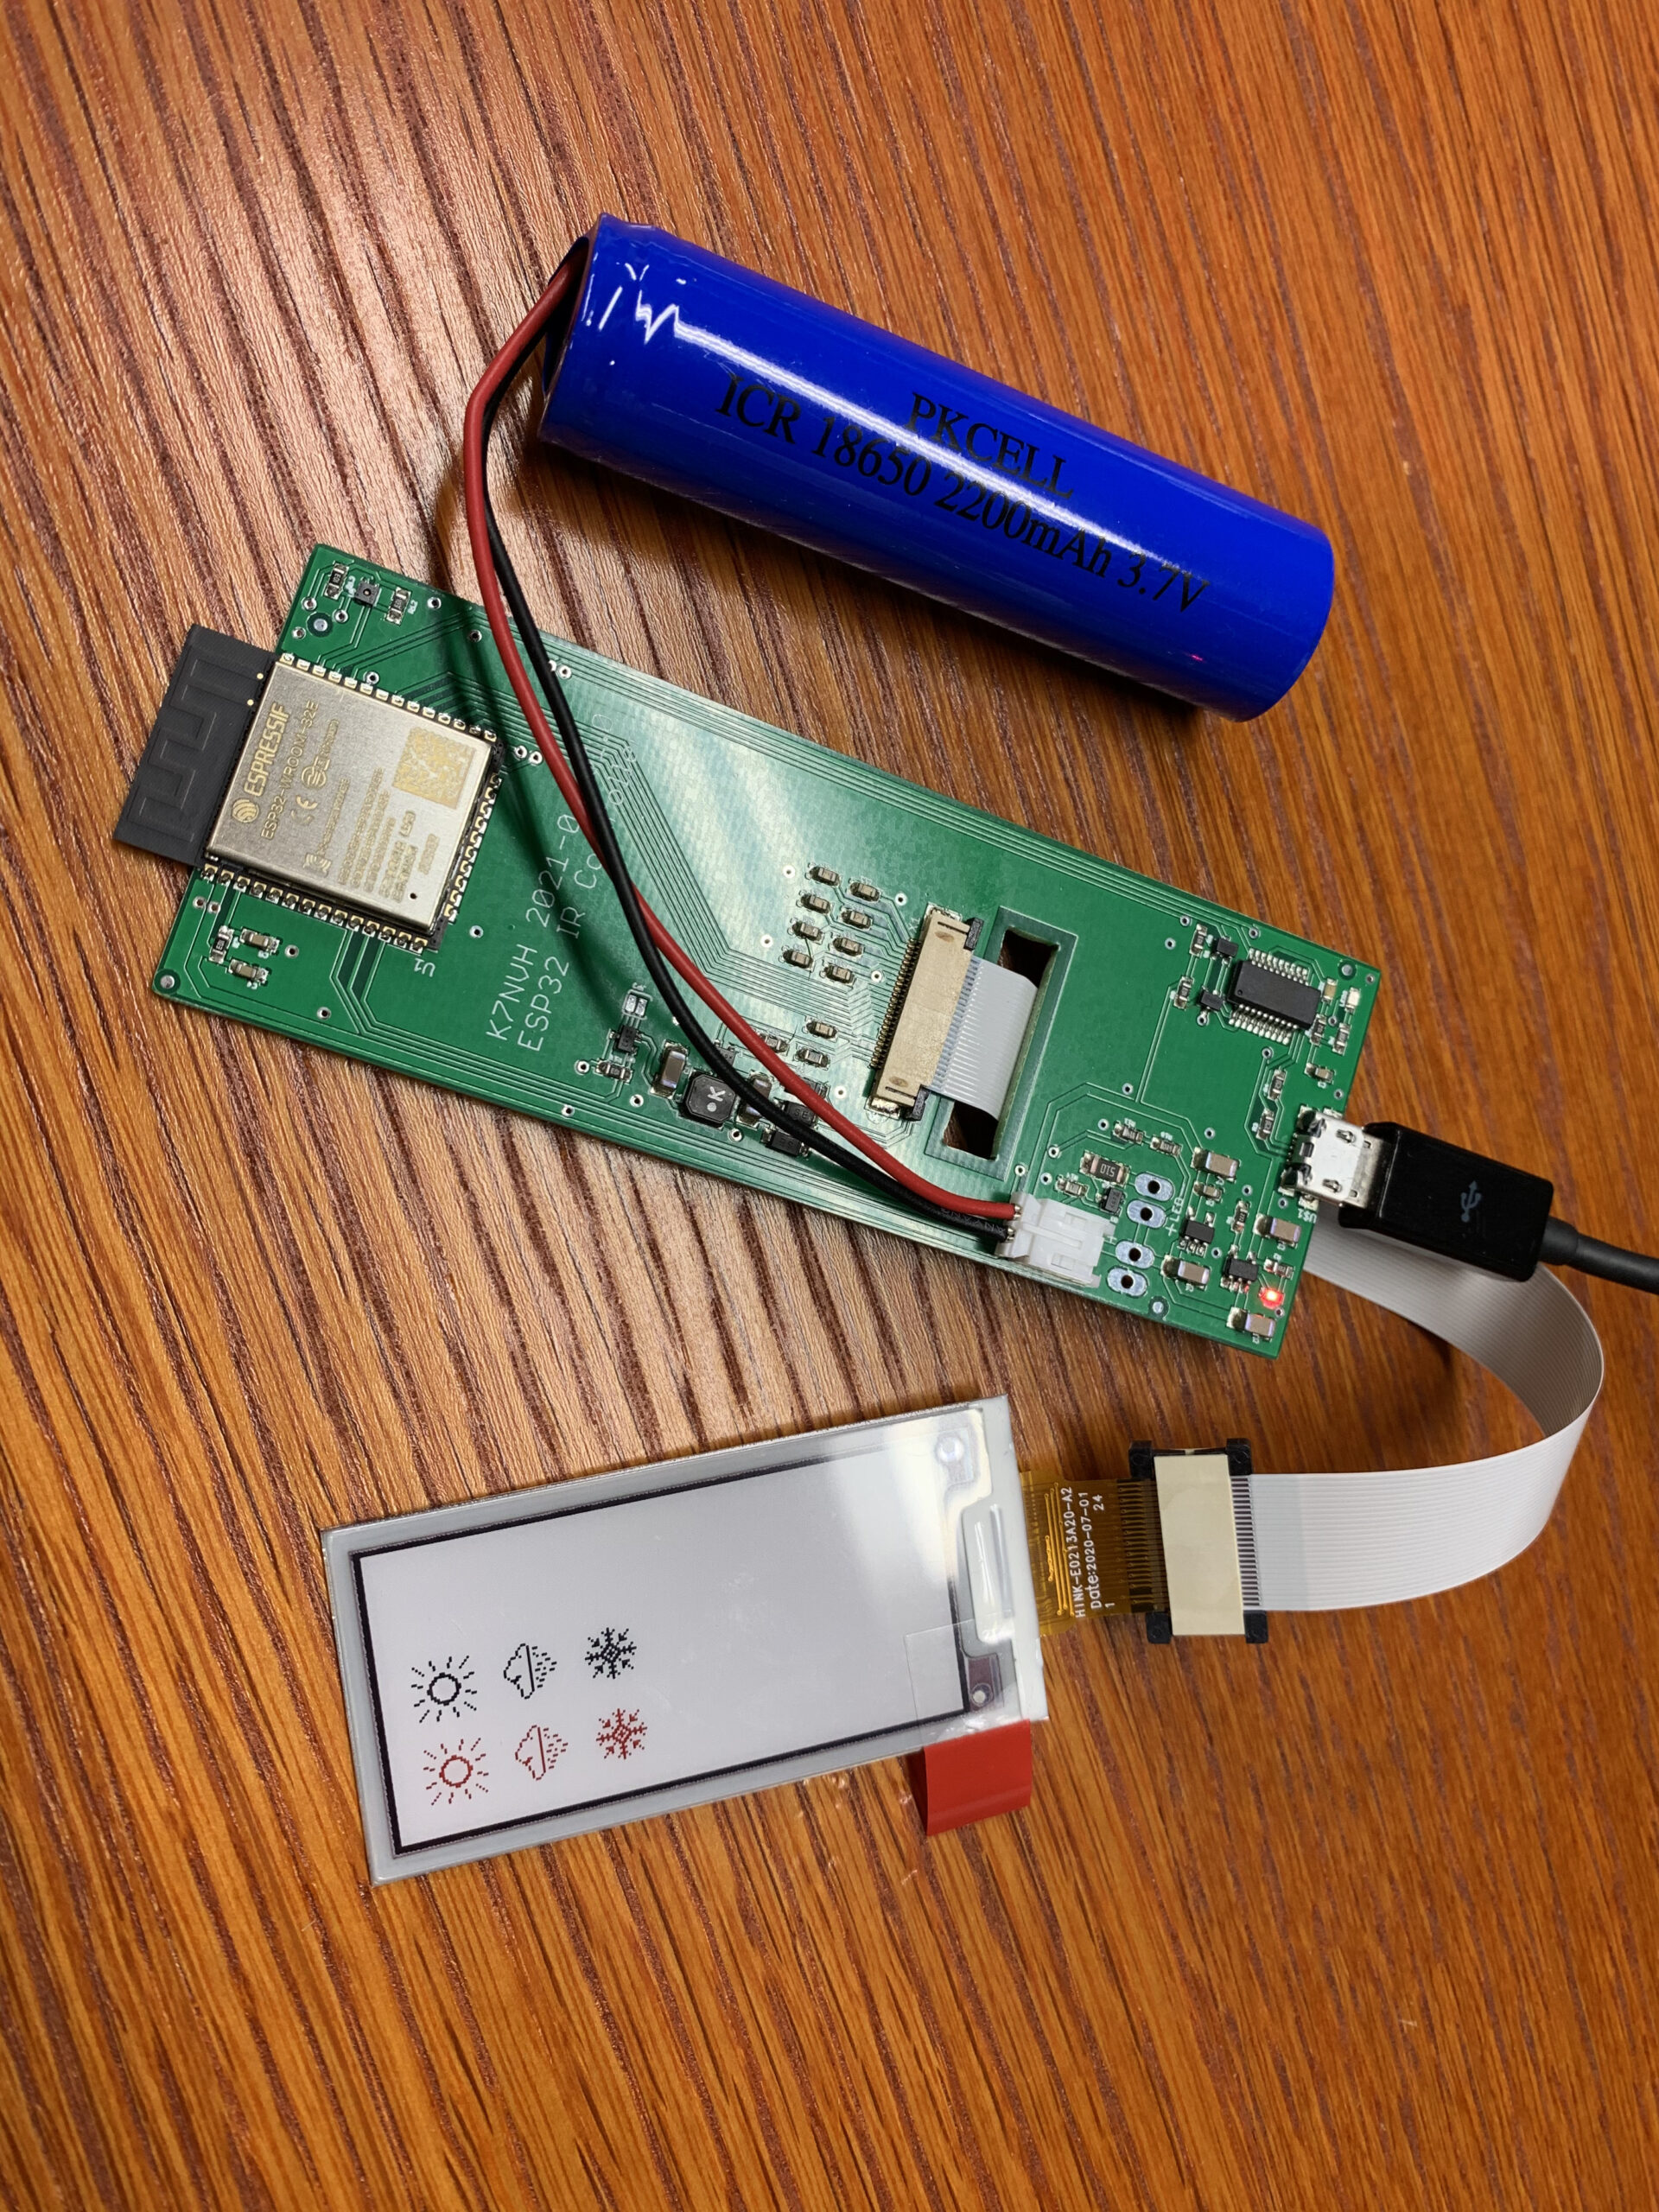
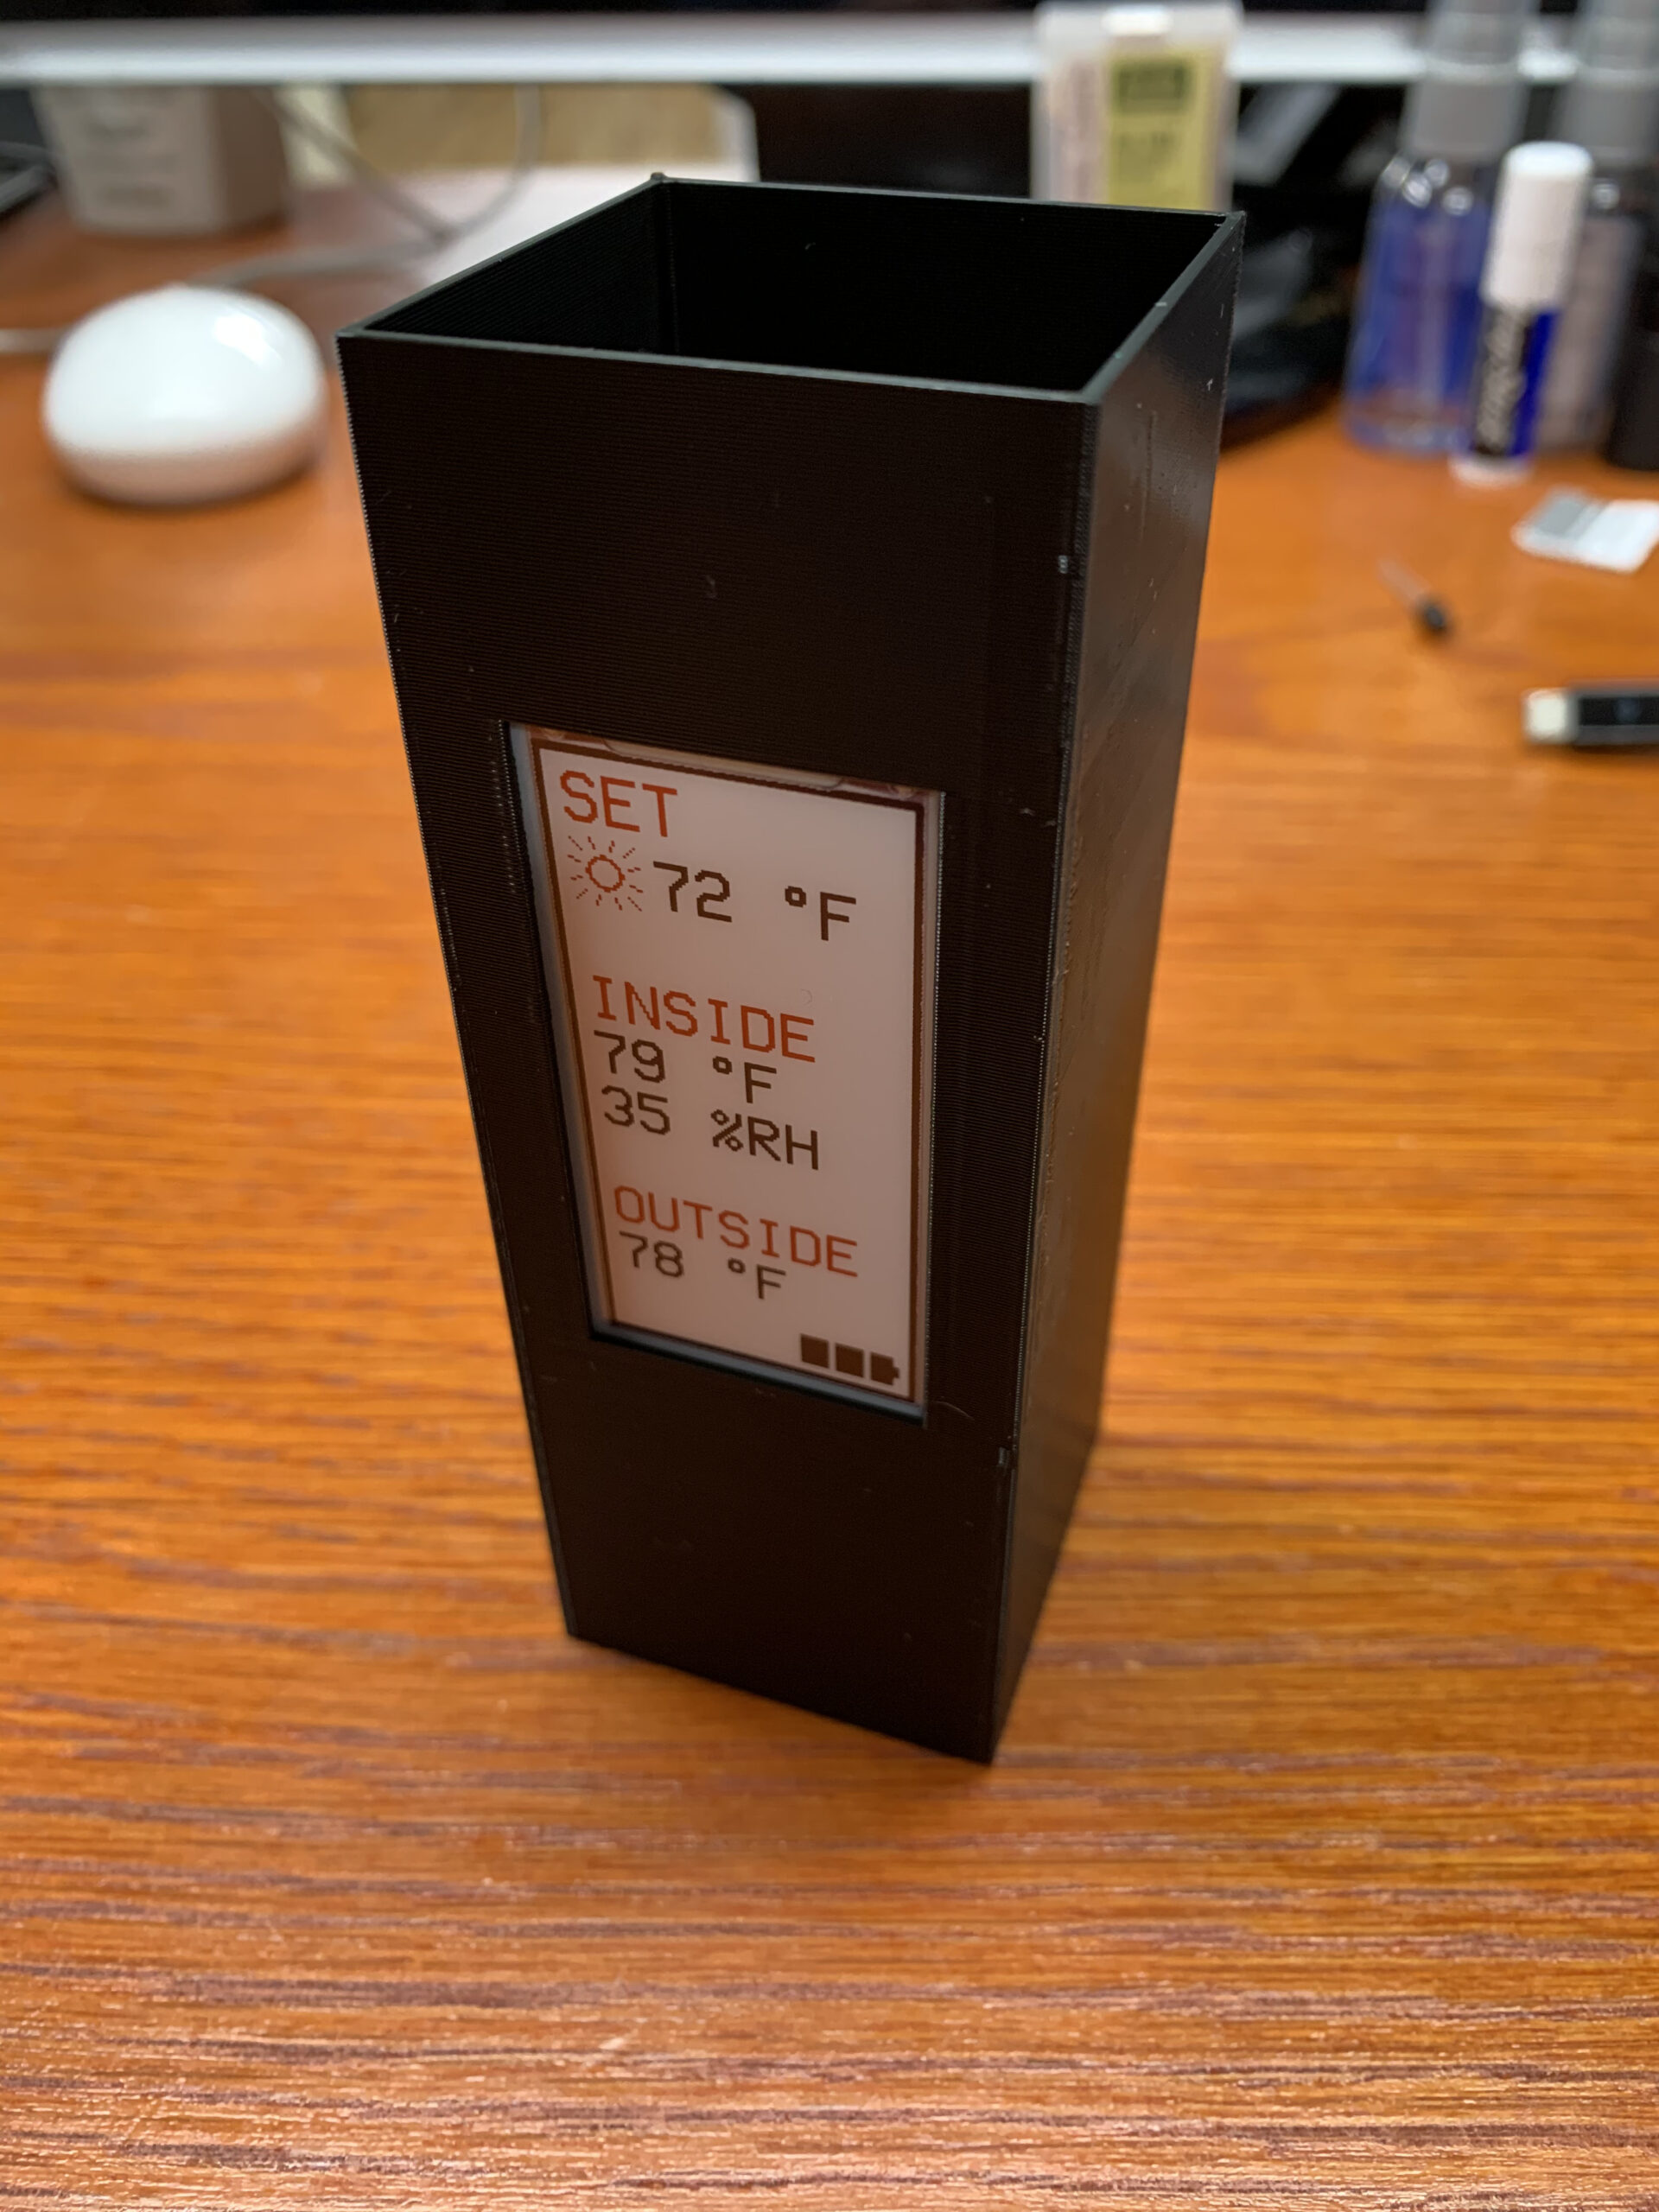
Each unit sleeps at low power using only 10uA, waking up every 15 minutes to report sensor data, check the schedule with the control system, and if scheduled send an IR command emulating the factory remotes. Overall the 2000mAh battery lasts about three months between a recharge.

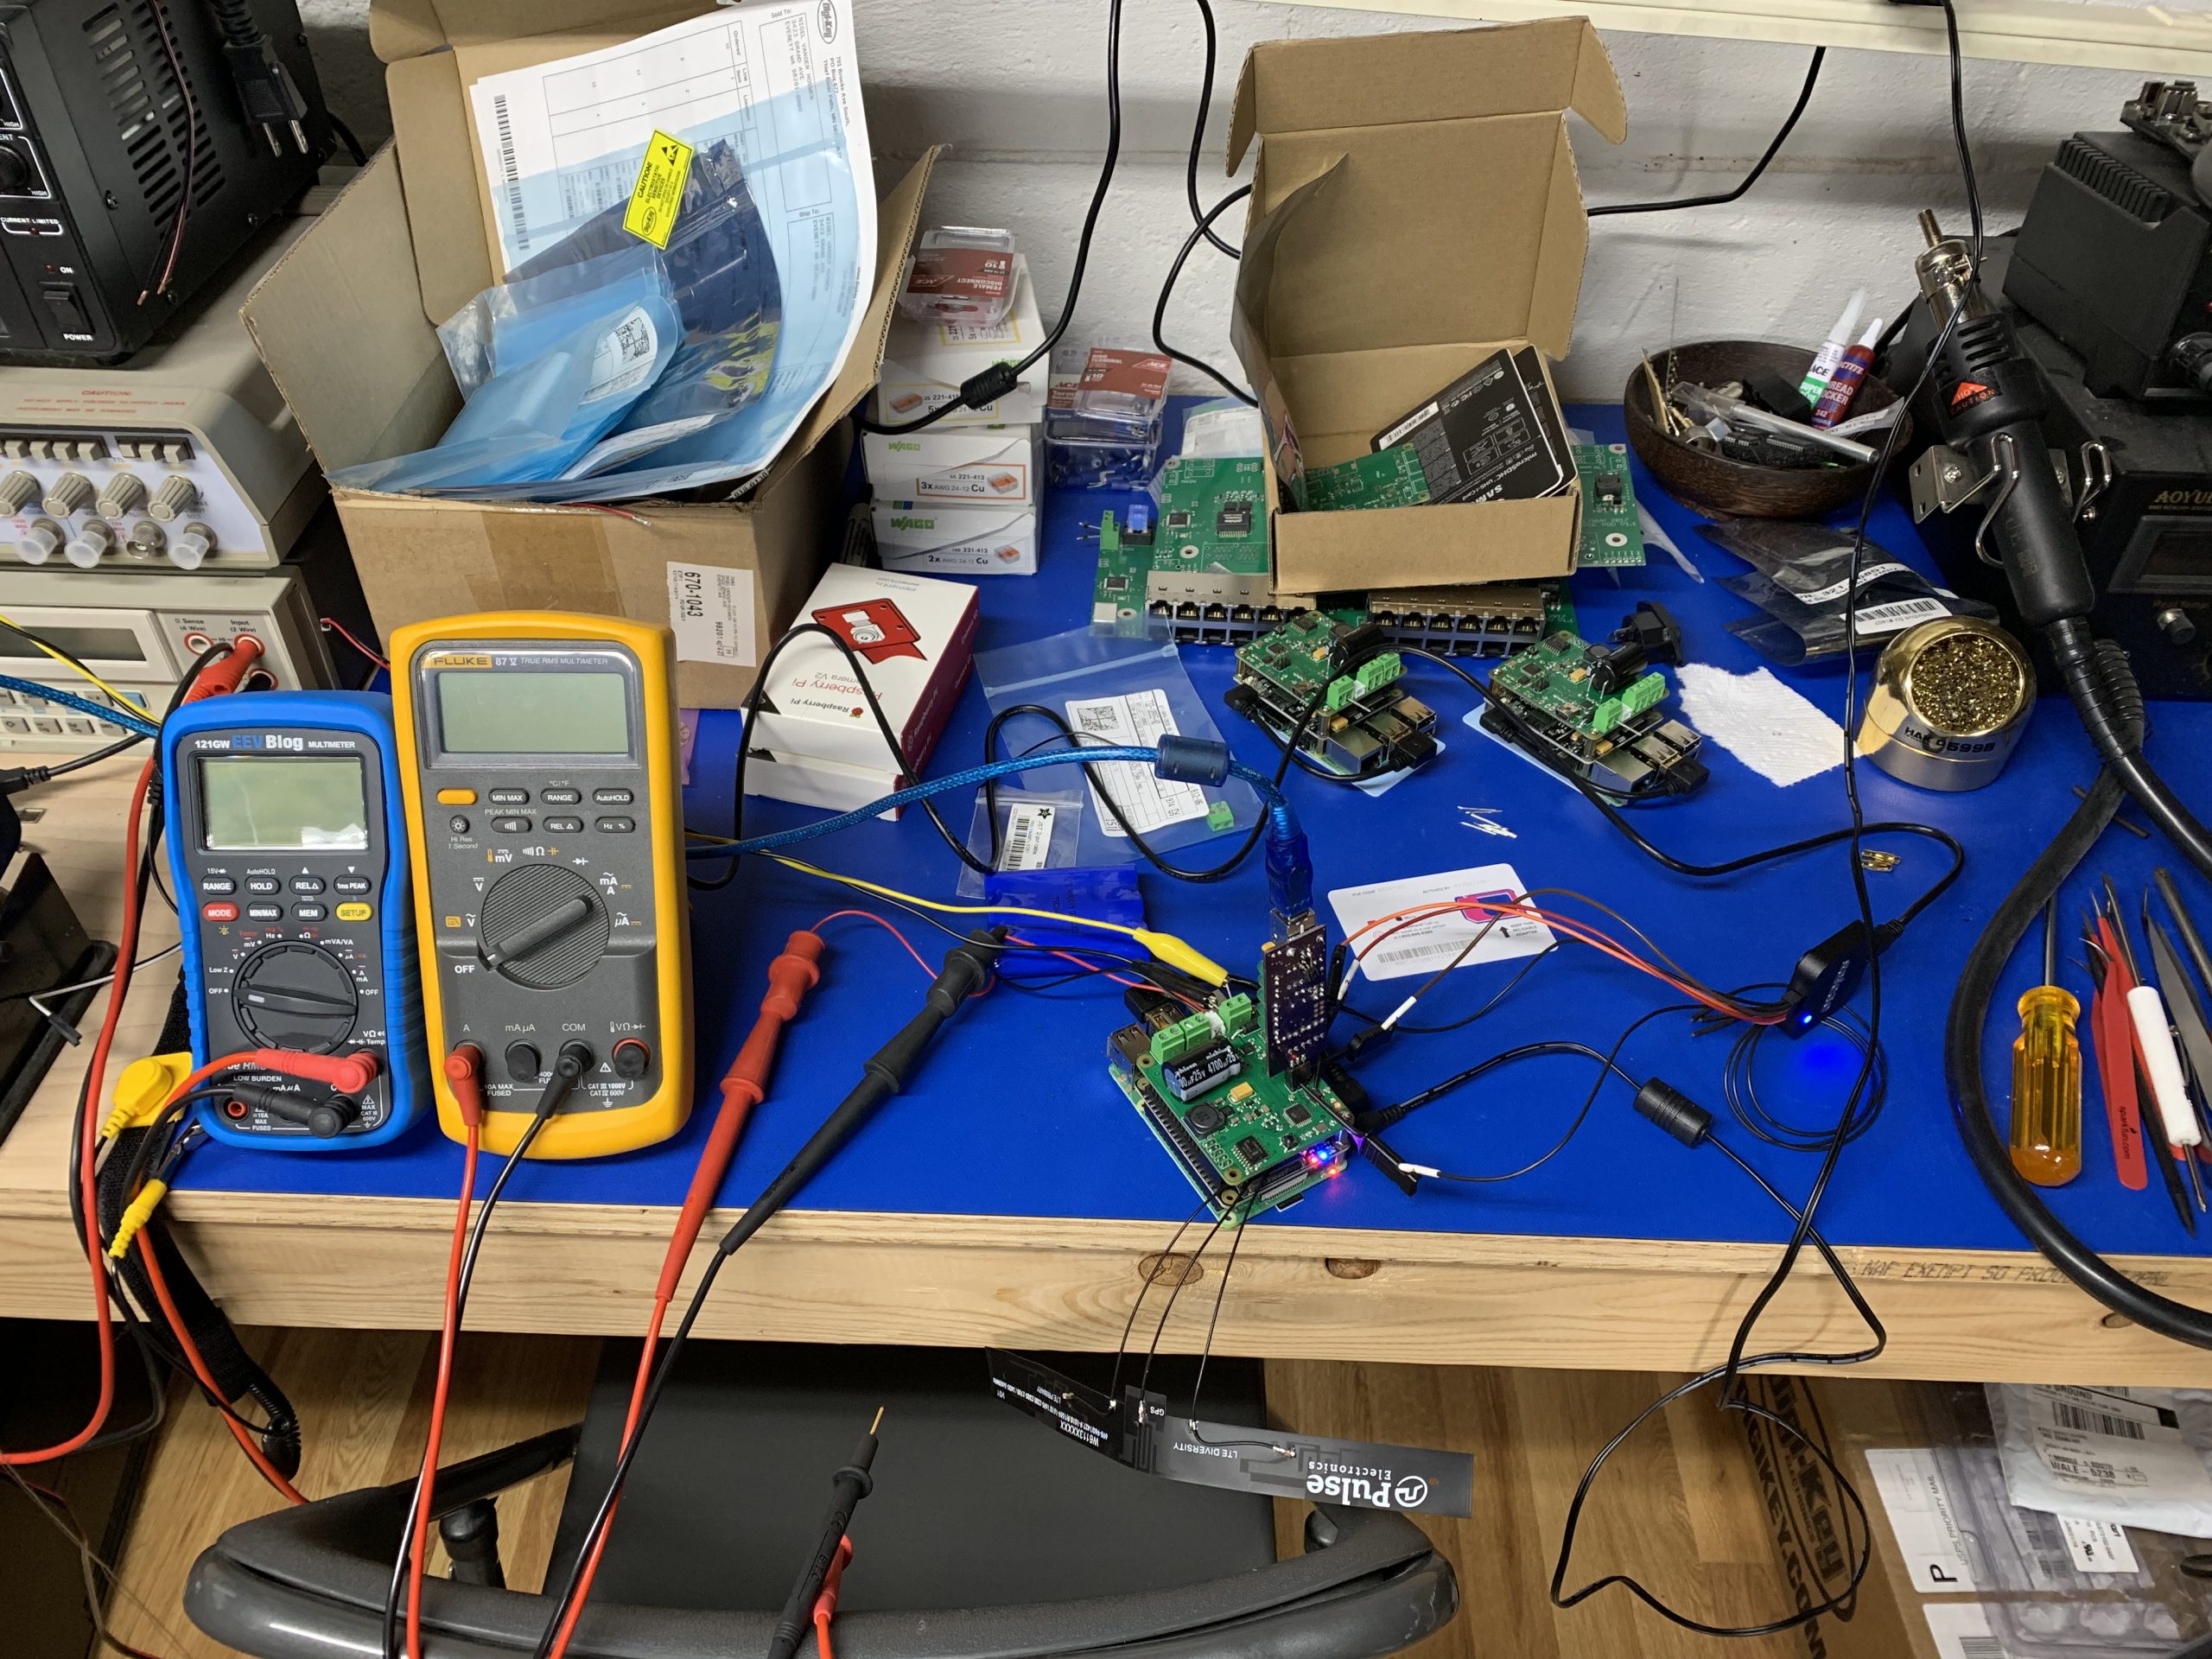
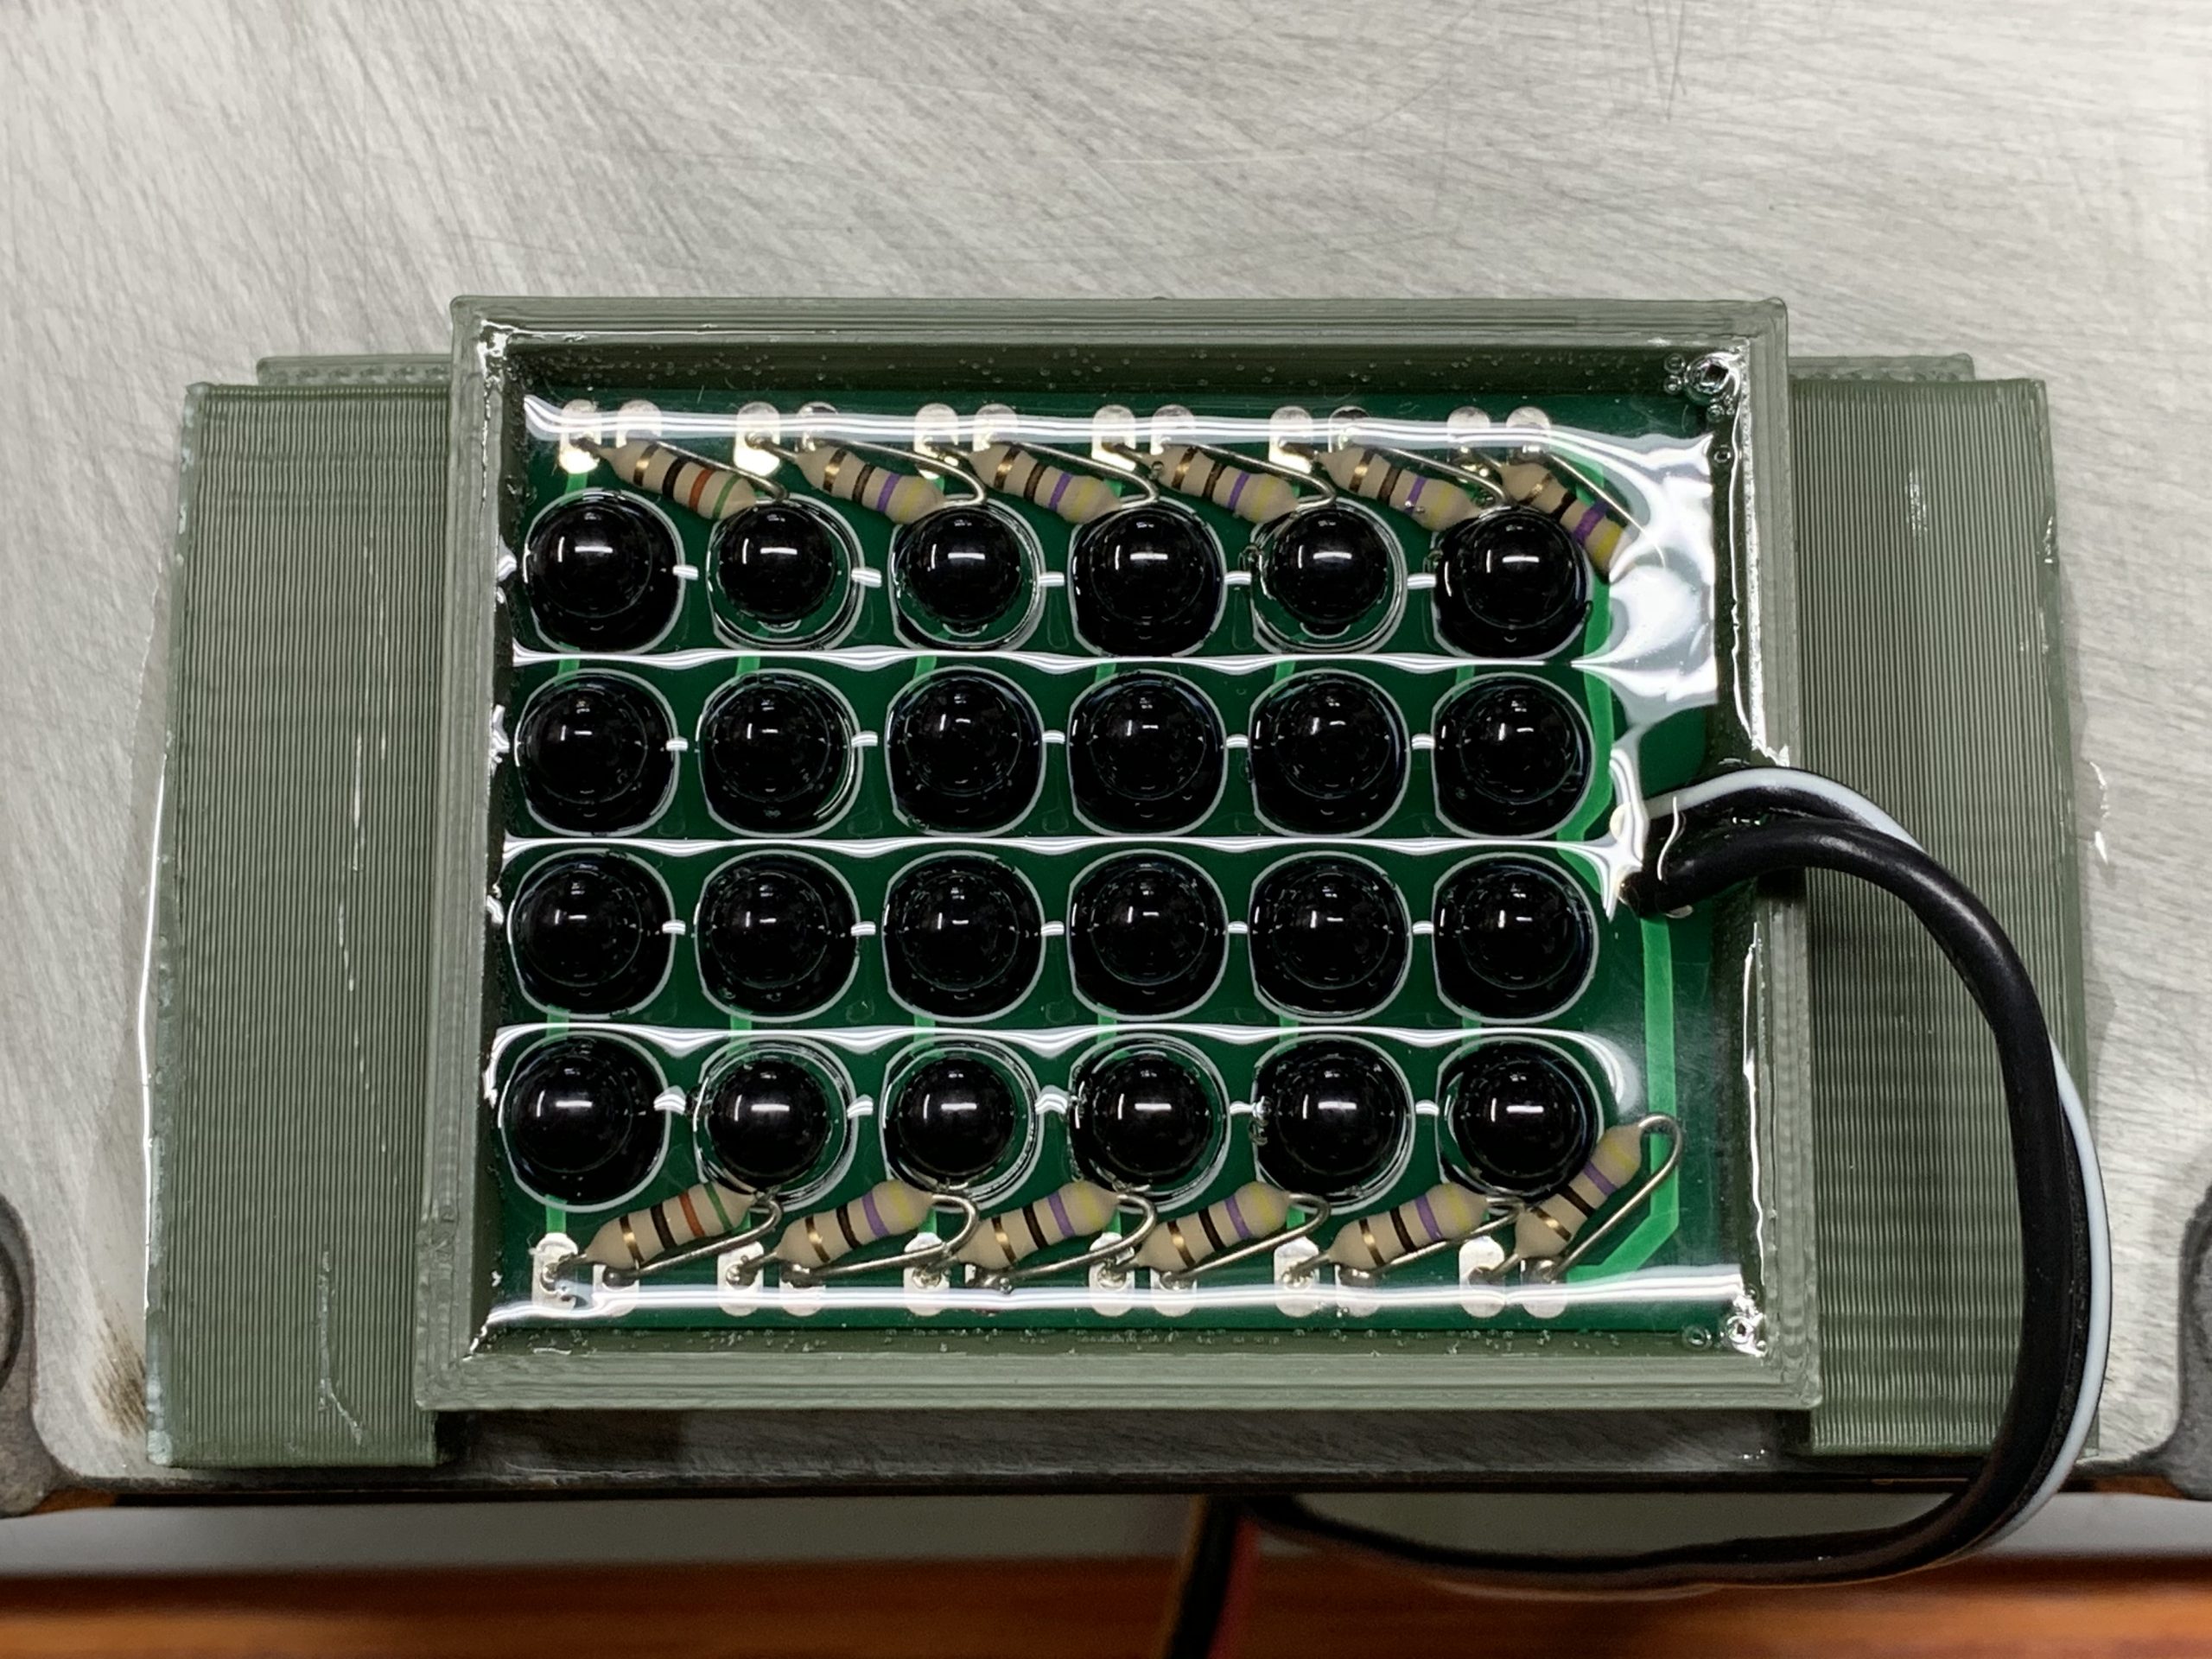
The factory remote protocols were reverse engineered using my Saleae Logic analyzer, and when available docs others have written about the same or similar devices.

Posted in Electronics, Projects, Technology | Leave a comment

F150 Fuses

Recently I had to pull a friend’s trailer with my F150 pickup, and discovered the trailer had a wiring fault causing a short and blew a fuse on the trailer brake circuit. I popped open the hood to get to the fuse box up in the passenger side of the engine compartment, and found that many of the fuses are a newer style than the traditional blade or mini blade fuses.

Turns out, these new fuses are difficult to source. They weren’t available at the local auto supply, and the dealers want ridiculous prices for even a single fuse. Apparently these are a relatively new style from Littelfuse called “MCase+”. On top of that, the MCase+ comes in a slotted and unslotted variant, of which mine are the slotted variety.

I could find a small quantity of these style fuses in larger 100+ fuse variety packs sold on amazon, but a huge variety pack of fuses I’ll never use would be a waste. Fortunately I found that one of my usual electronic components suppliers has them in stock, and I could order them individually. Here’s the 20A for example. So I ordered a couple of the most common ratings I saw on my pickup to have a small set of spares without all the waste.

I’ll also note that the truck has an additional fuse block in the passenger foot well, which uses mostly more traditional mini blade fuses, though it does include some unusual three prong mini blades as well.

Posted in Electronics, Vehicles | Leave a comment

Roomba Troubleshooting

I picked up a Roomba I7 last year with the automatic emptying Clean Base, and have very much enjoyed having it take care of some light vacuuming regularly to take care of the house. In general it has worked very well, and I’ve appreciated the automation, but recently there have more frequently been errors where the Roomba will go back to the base after cleaning, but it won’t automatically empty.

iRobot’s support article about this issue recommends cleaning the base, cleaning the front of the Roomba, taking the Roomba away from the base and manually sending it home, and finally rebooting the base and the Roomba. Unfortunately none of the above reliably fixed the issue for me.

I found the article from iRobot about re-attaching the front bumper if it gets dislodged, and thought it would give me a good idea on detaching the front bumper. From there I could get a better look at the sensors and see if I could find what the problem was.

I’ll note that this may void the warranty. I’m not entirely sure where the line is, as a fair portion of this is following the instructions iRobot provides, but here’s your fair warning.

First is removing the edge brush, and then the 5 screws holding on the bottom cover.

Then the bottom cover pops right off without any trouble. Now that the cover is off, we can unfasten the 10 screws holding on the bottom lip of the front bumper. You can also remove the battery if you prefer. I did. Just note that if you remove the battery, the Roomba will not wake up on it’s own, you’ll need to put it on the charging base for it to start up again.

At this point with the bottom lip of the front bumper removed, the front bumper should be loose, but be careful not to just yank it off. There is a wire connecting the little circular IR sensor on the top.

Remove the two screws, and the sensor, clear plastic top bit, and the bumper will all separate from eachother. Don’t worry about the orientation of the clear plastic bit. It is keyed so it will only fit properly one way.

Now with the front bumper separated, we can get a look at the IR sensors on the front of the Roomba, give them a quick wipe with a cloth to get the dust off.

We can also see the inside of the front bumper is super dusty, and is certainly impacting the ability to communicate with the Clean Base. You could try cleaning this as-is, and I’m sure it would be fine.

I chose to remove the window plastic from the front of the bumper, by very carefully loosening the tabs marked. If you’re confident or experienced, this is fine. If you’re not confident, I’d hold off on separating the window from the bumper. Breaking one of the tabs is a possibility, so this is the riskiest part of the whole operation.

You can see it was quite dusty, and for me it was easier to clean as a separate piece.

Reassemble the robot in the reverse order we took it apart, stick it on the base so it boots up, and then give the automatic emptying another try. It worked great for me.

Posted in Electronics, Random, Technology | 3 Comments

Quick Oil Lamp Note

A family member recently passed an old oil lamp we’ve had in the family for quite a while, it had been left with old fuel in it, which had gone bad, and left some brown residue inside, which was entirely resistant to cleaning with soap and water, and also didn’t want to dissolve into fresh fuel.

After some work, I found that isopropyl alcohol is quite effective. I put a little bit in the reservoir and between letting it sit a bit, and swirling it to get everything, the lamp cleaned up nice and easy.

Posted in Life, Random | Leave a comment

Cellular Webcam Revision 3

I have made another revision to my ongoing cellular webcam project to include some improvements and lessons learned from revisions 1 and 2. In addition to attempting to reduce costs a bit.

Cost reductions mostly came from finding equivalent parts from other manufacturers that were priced lower. There were also a small bit of savings from some omissions of things I tested in version 2, but found to not add a lot of value.

The most visible and significant change being the addition of an IR illuminator, and IR capable camera, so illuminated images at night are possible, which will be interesting as I’ve seen weather changing significantly or large snow accumulations occur overnight when previous revisions could not see.

Now a finished revision 3 system has been placed, and I look forward to seeing the results and how well it performs over this winter.

Posted in Electronics, Projects, Technology, Weather | Leave a comment