Casting Aluminum at Home

As a follow up to my last post about melting down scrap aluminum at home, and pouring into a goodwill found heart shaped ingot mold, I have progressed further with my first attempt at lost foam casting.

Put simply, with lost foam casting, you cut the shape you want to cast out of styrofoam, bury it in sand, and then pour the molten aluminum in. The molten aluminum burns away the foam, and immediately replaces it, taking the form of the foam shape.

I decided to start with a shape that was both simple, but had some finer points to see what the casting process would preserve, in this case, I used a six pointed star.

I neglected to get pictures of the foam “mold”, but you can imagine it being the same shape as the resulting star. A riser was hot glued onto the back of the star to allow the aluminum to be poured in, and a cup was placed around the riser to allow a reservoir of molten aluminum to form, and supply the mold as it filled in.

All of this was placed in some play sand in a bucket, some more cans, as well as some of the previously formed ingots were melted down, and poured in. After cooling for some time, here’s what it looked like still in the sand. You can see the cup holding the now solidified reservoir.

IMG_3760

Using some pliers (as it’s still very hot), here’s a shot of the cast part, pulled out of the sand.

IMG_3761 IMG_3762

After cutting off the riser from the star with a hack saw, and separating, here’s the various bits.

IMG_3763

IMG_3764 IMG_3765

Next, I’ll take the star to the belt sander, and take off the lump on the bottom, the cutoff from the sprue, and do some general cleanup.

IMG_3766 IMG_3768 IMG_3769

Next we’ll do a bit of tumbling and polishing!

IMG_3771 IMG_3778 IMG_3780

And welcome to the final result! A shiny, aluminum star!

IMG_3783

Posted in Art, Projects, Random | Leave a comment

Recycling Aluminum at Home

As part of my general desire to learn how to make and do things myself, I’ve long had an interest in being able to re-purpose metals. Metals, being an incredibly useful and versatile raw material cover a lot of ground when considering things from the perspective of self reliance.

Certainly, by no means am I under any impression that I should do everything myself, nor do I have any desire to, but, it is an interesting drive for knowledge. Today, I finally got around to exploring the process for melting down aluminum for potential re-use. E.G. Recycling.

I’ve been crushing and saving drink cans for a little while now, and had managed to build up a stash of a few dozen cans that I could try out the process on, and while my process was simple and unrefined, it seems to have worked quite well.

There are a number of folks who have done this in “at home” environments, and there are usually two main paths, either using charcoal, or propane as a fuel, and most often improvising some form of forge/furnace. Often made of some form of larger container, with a refractory cement on the inside to form the walls.

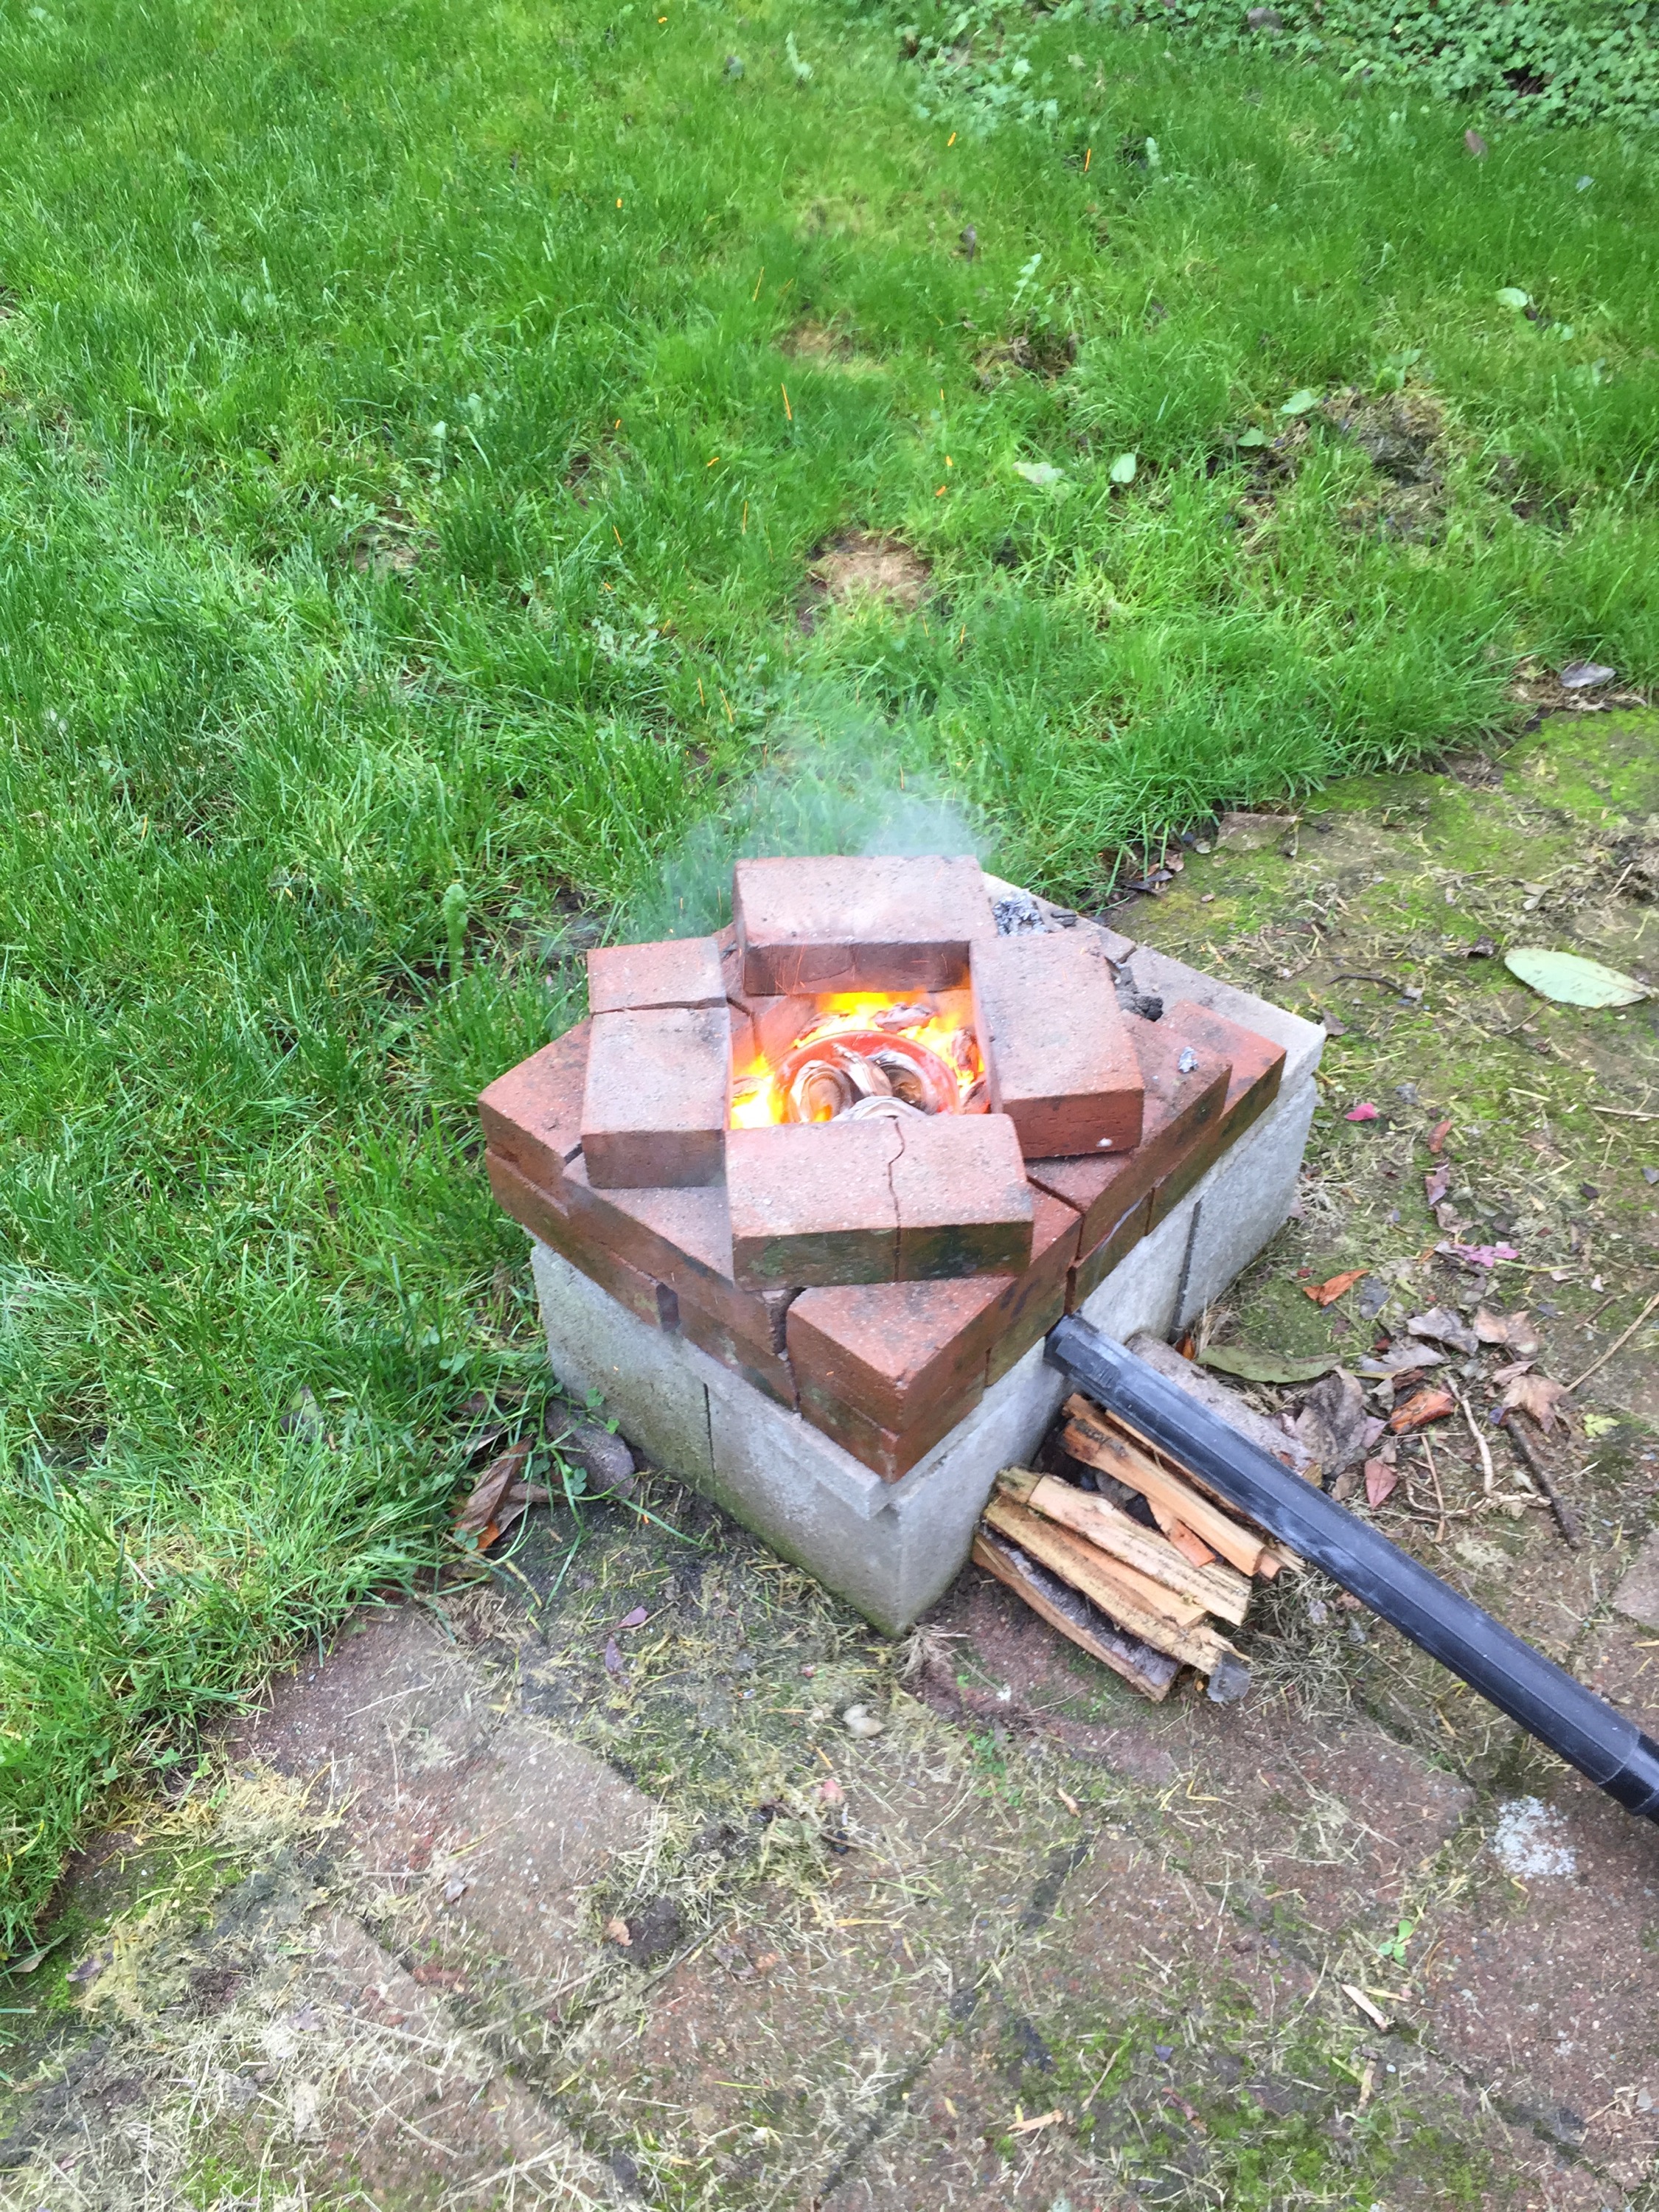
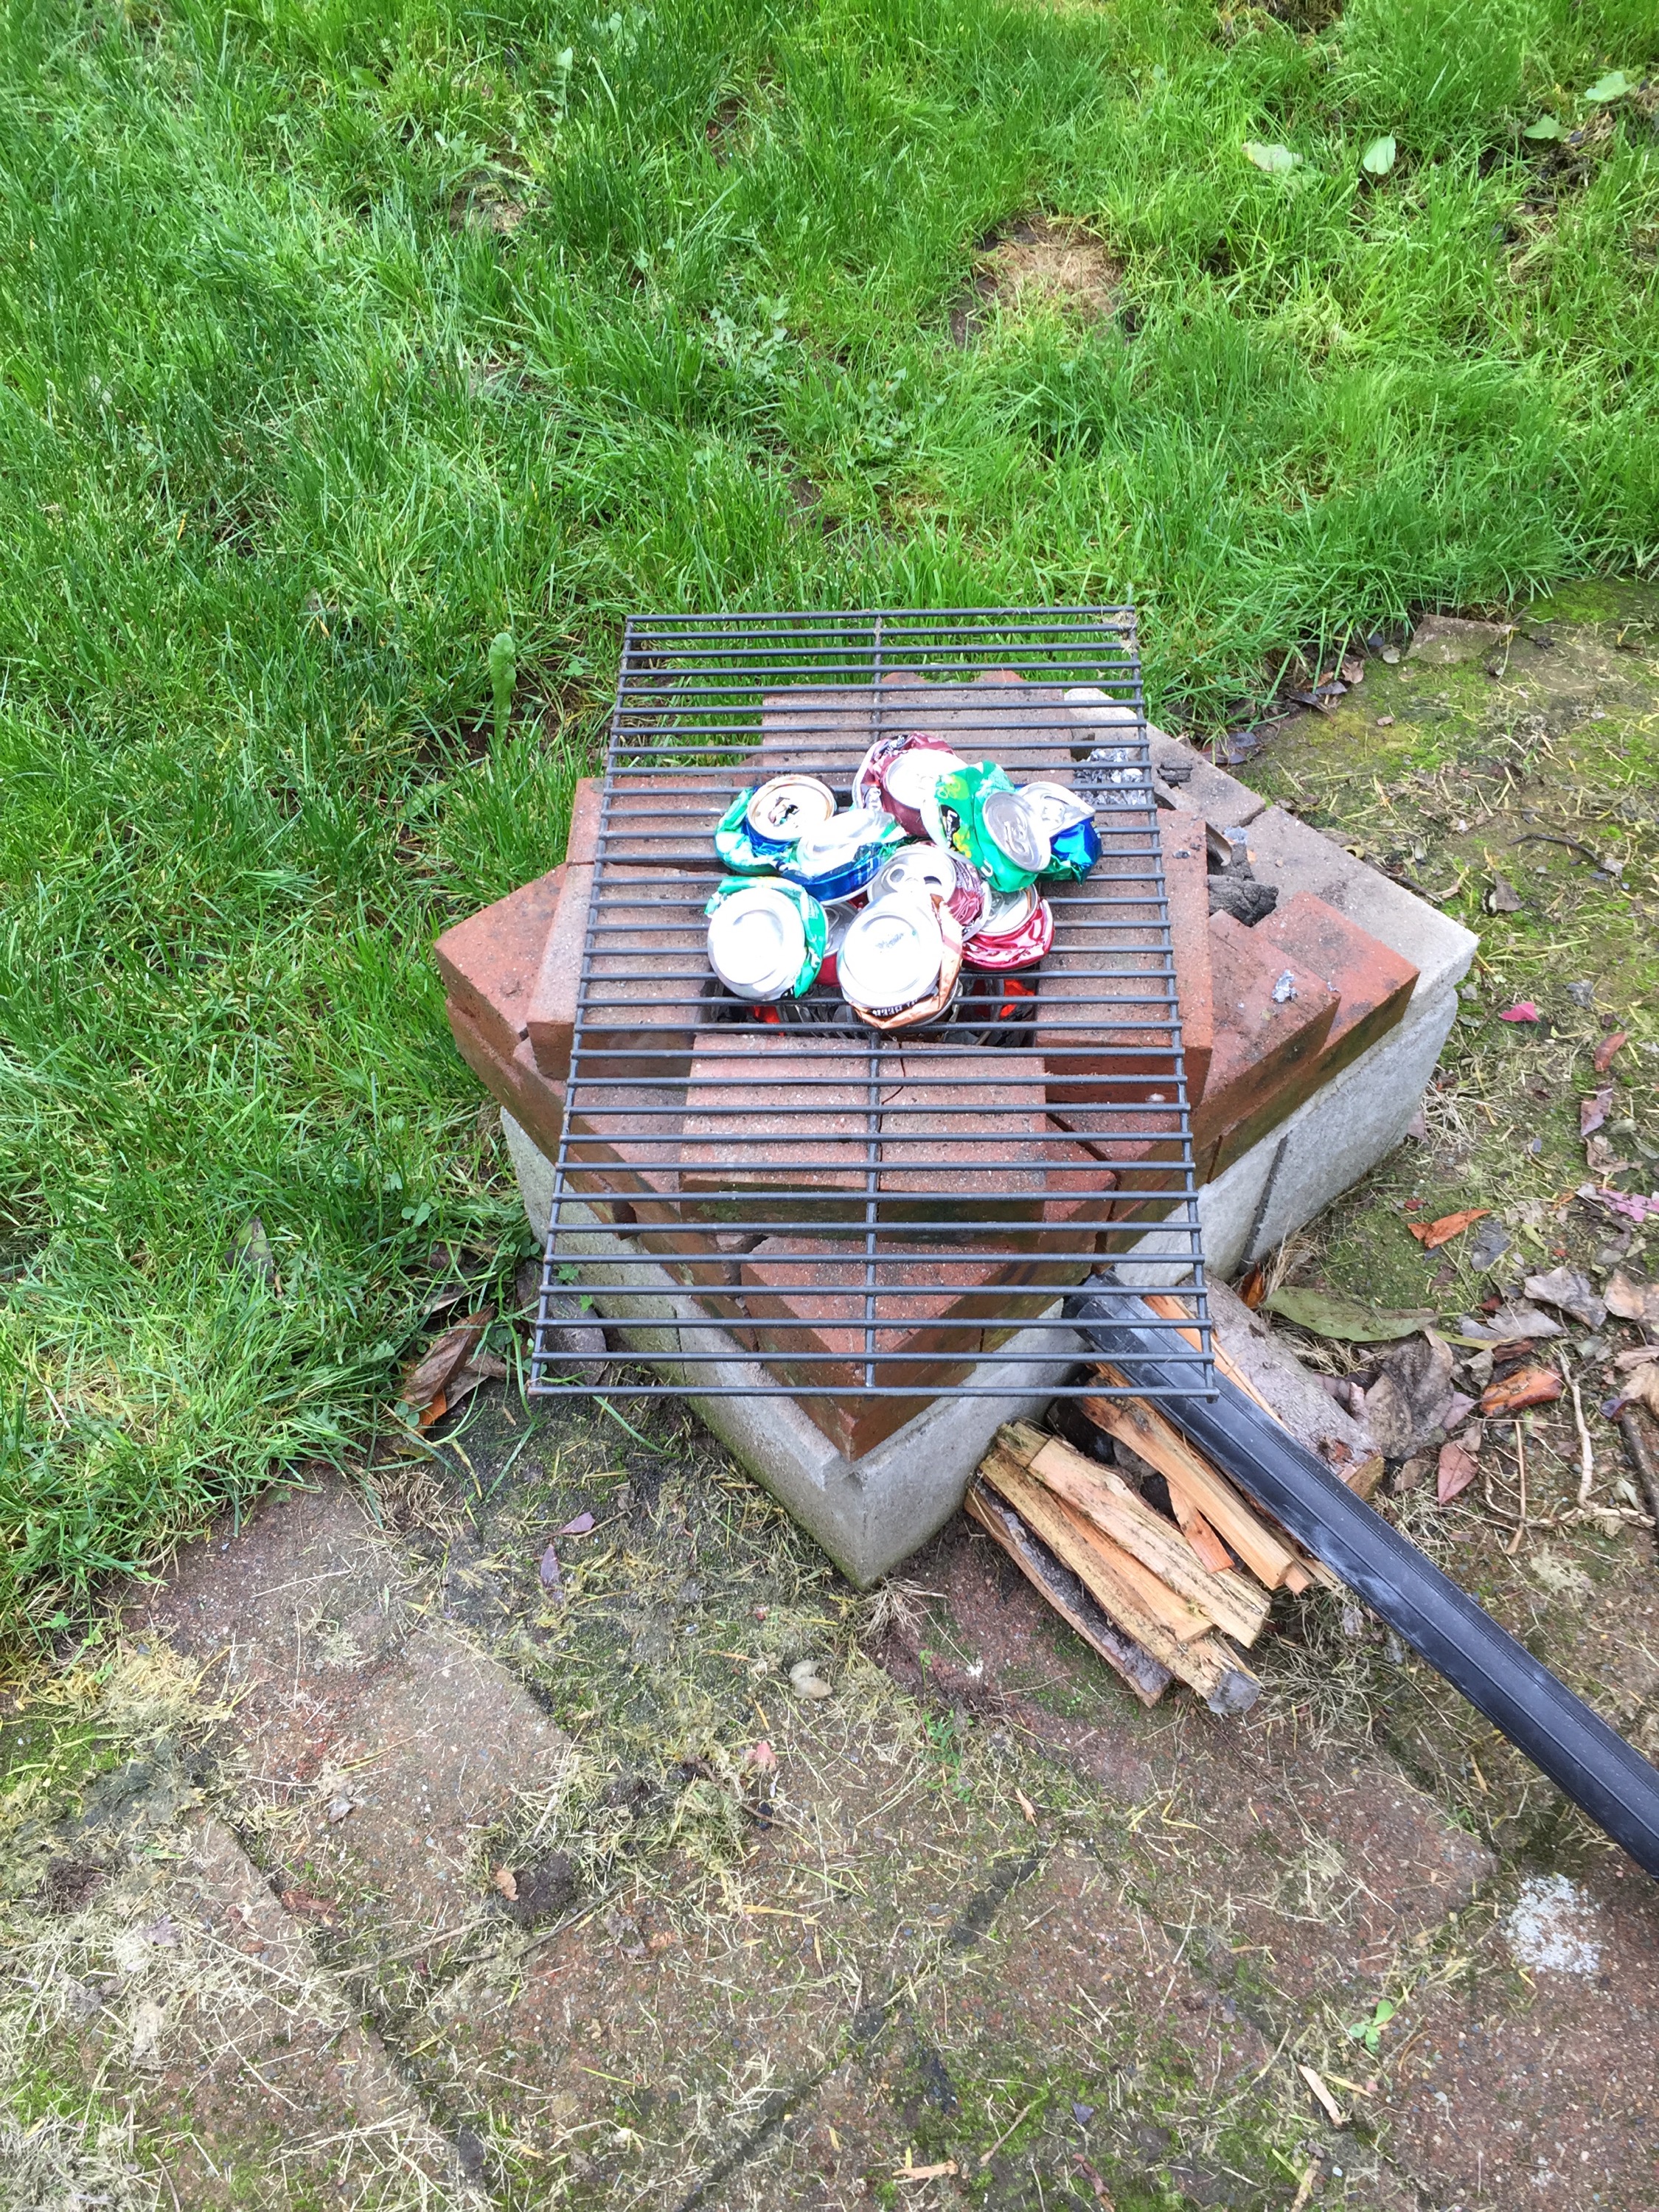
I happened to have a barbecue made of a pile of bricks, so I re-arranged the bricks to limit the dimensions, increase the height, and keep more heat in. I separated the pavers forming the base by a small amount to create a channel to provide for air being blown in.

IMG_3421.JPG

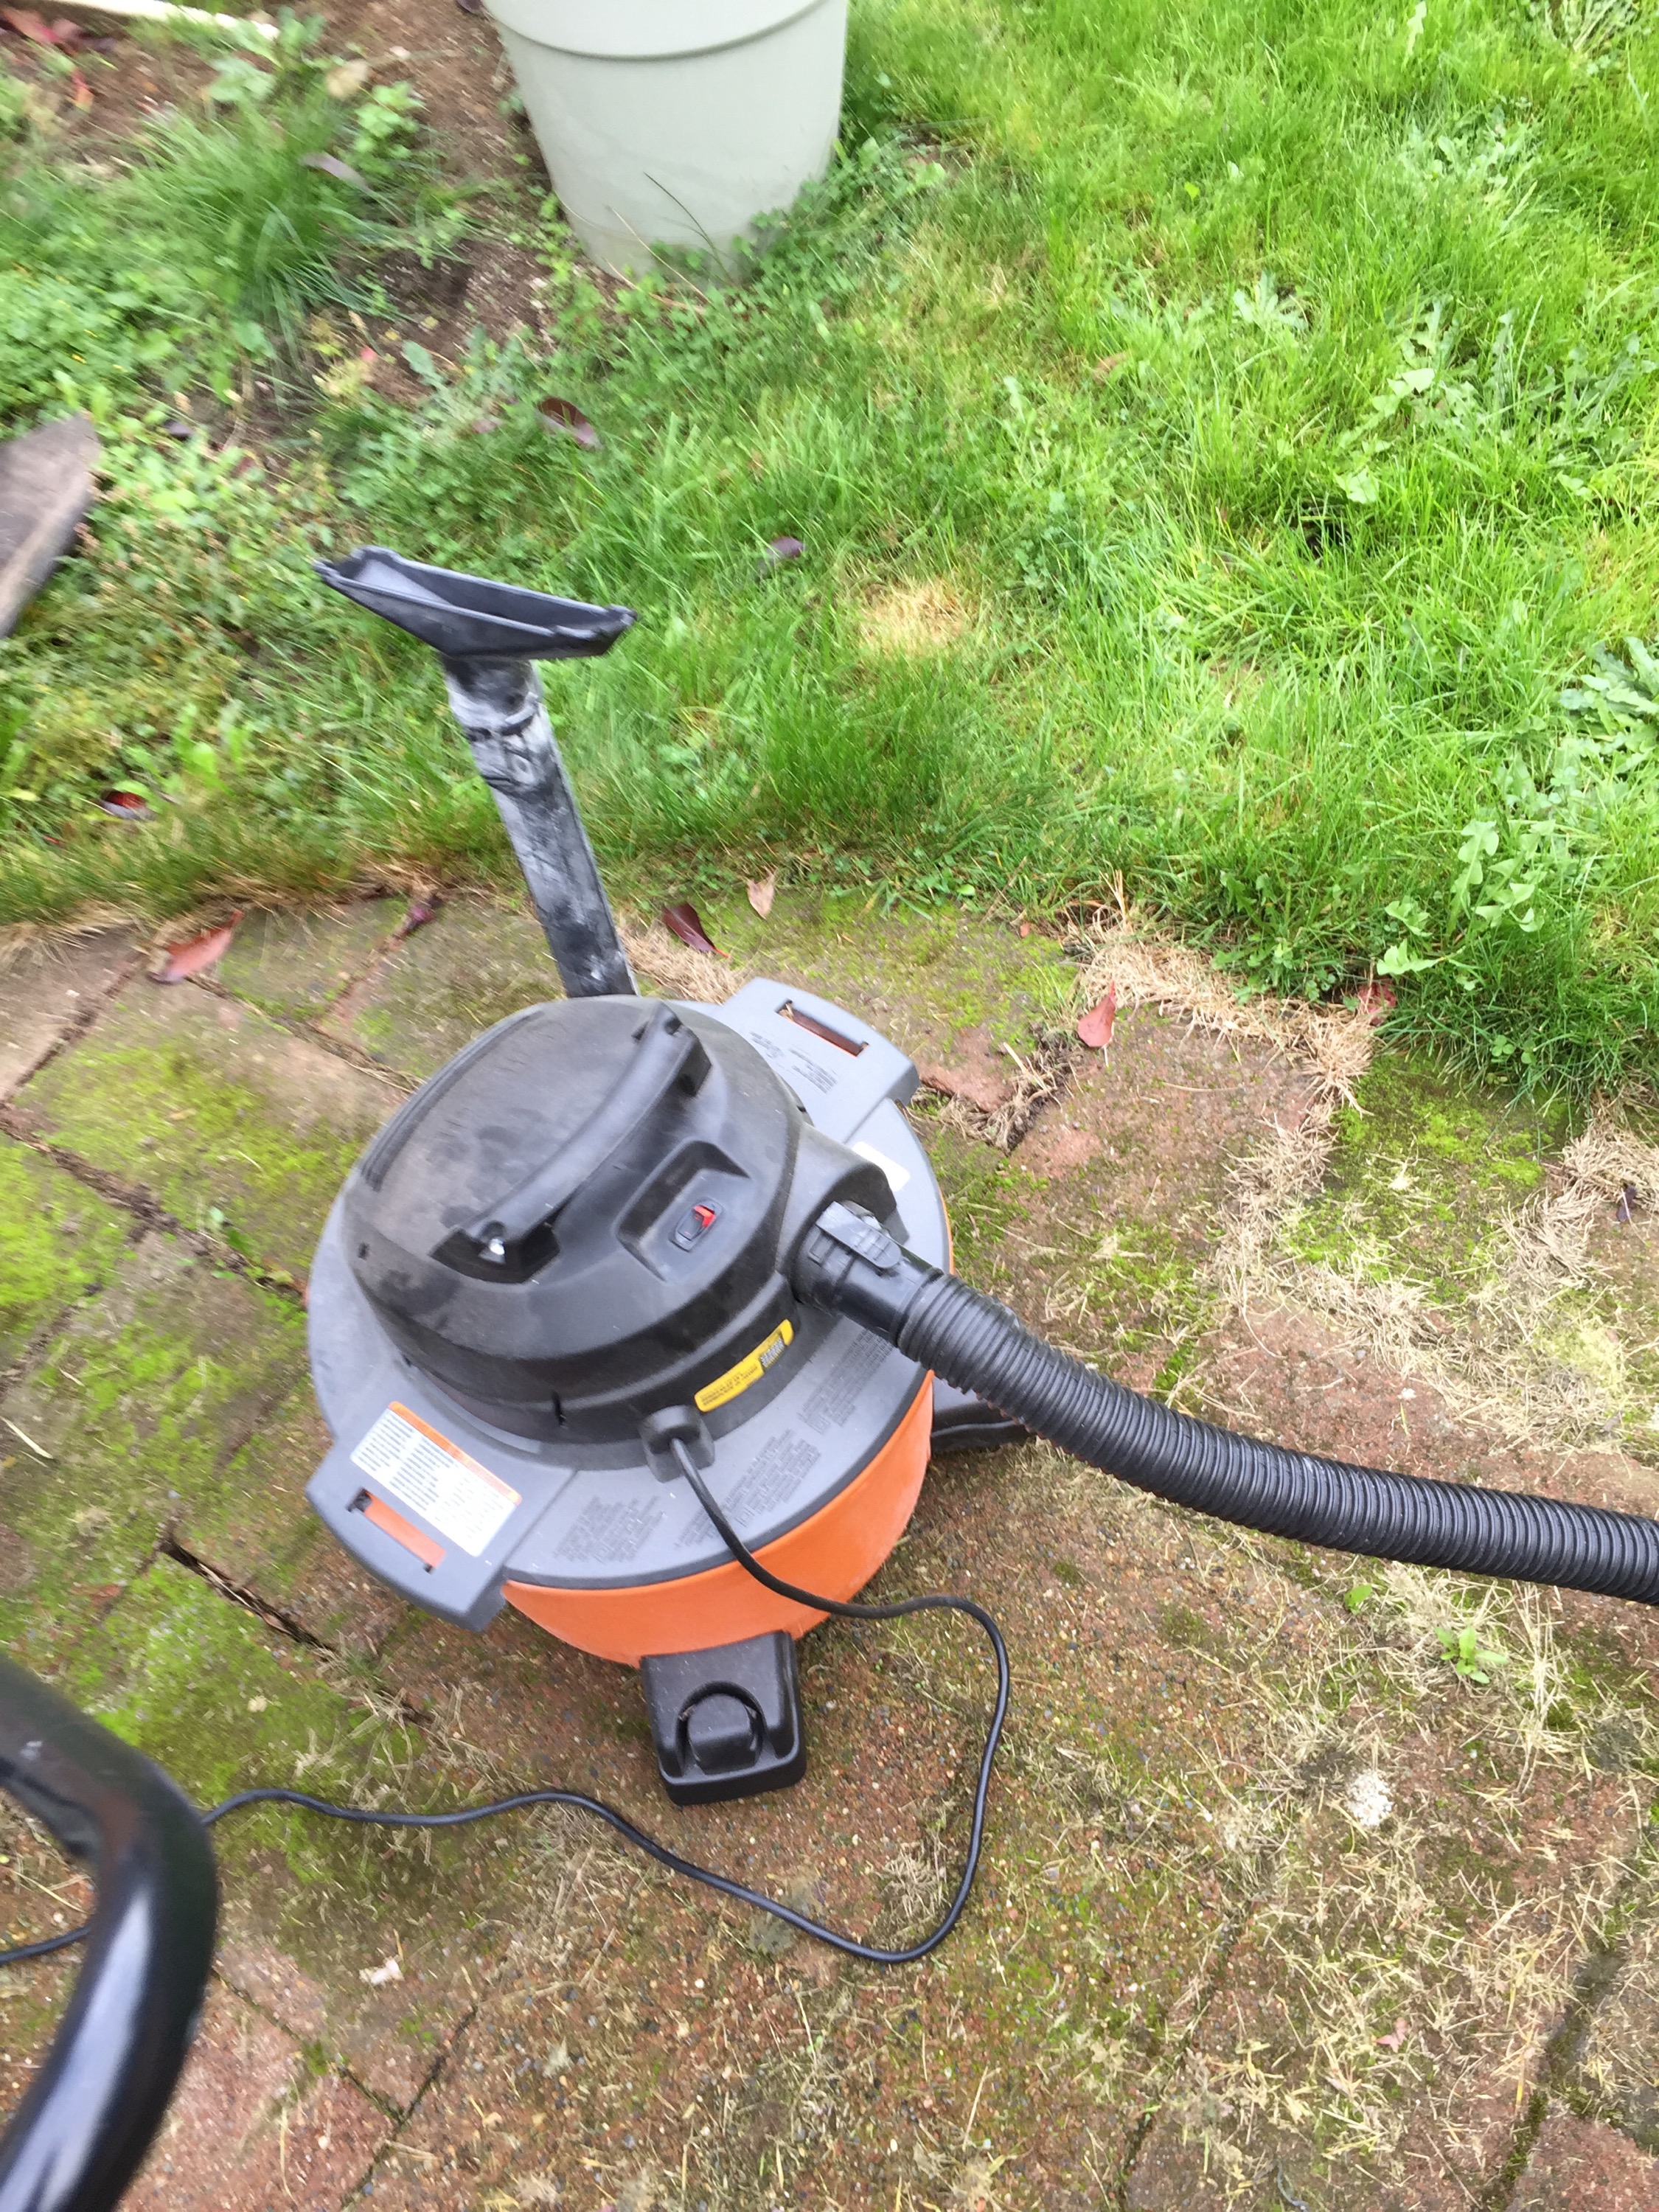
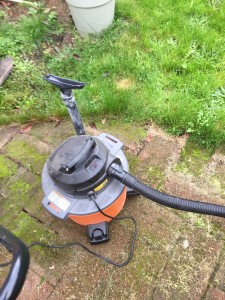
I see a lot of folks improvising a hair dryer as the blower mechanism. I took the hose on my shop vac, and stuck it on the output port. Voila! Blower. This was incredibly effective, though perhaps too effective. The charcoal would burn very quickly, and bring my crucible (a steel pot from Goodwill) to red hot very quickly. I became concerned about over heating the steel and it potentially failing, so I would switch on the blower in “pulses” to moderate the temperature. Something like a graphite crucible would solve this by avoiding concern about the crucible melting.

IMG_3422.JPG

I used the grill portion of the repurposed barbecue as a rack to pre-heat/dry the cans. Despite the cans sitting for a fairly extended period of time, they do retain some liquid. Liquid being introduced to the molten aluminum can cause steam explosions, so I placed the cans on the rack above the coals to bake off any remaining moisture before placing the cans in the crucible to be melted down.

IMG_3425.JPG

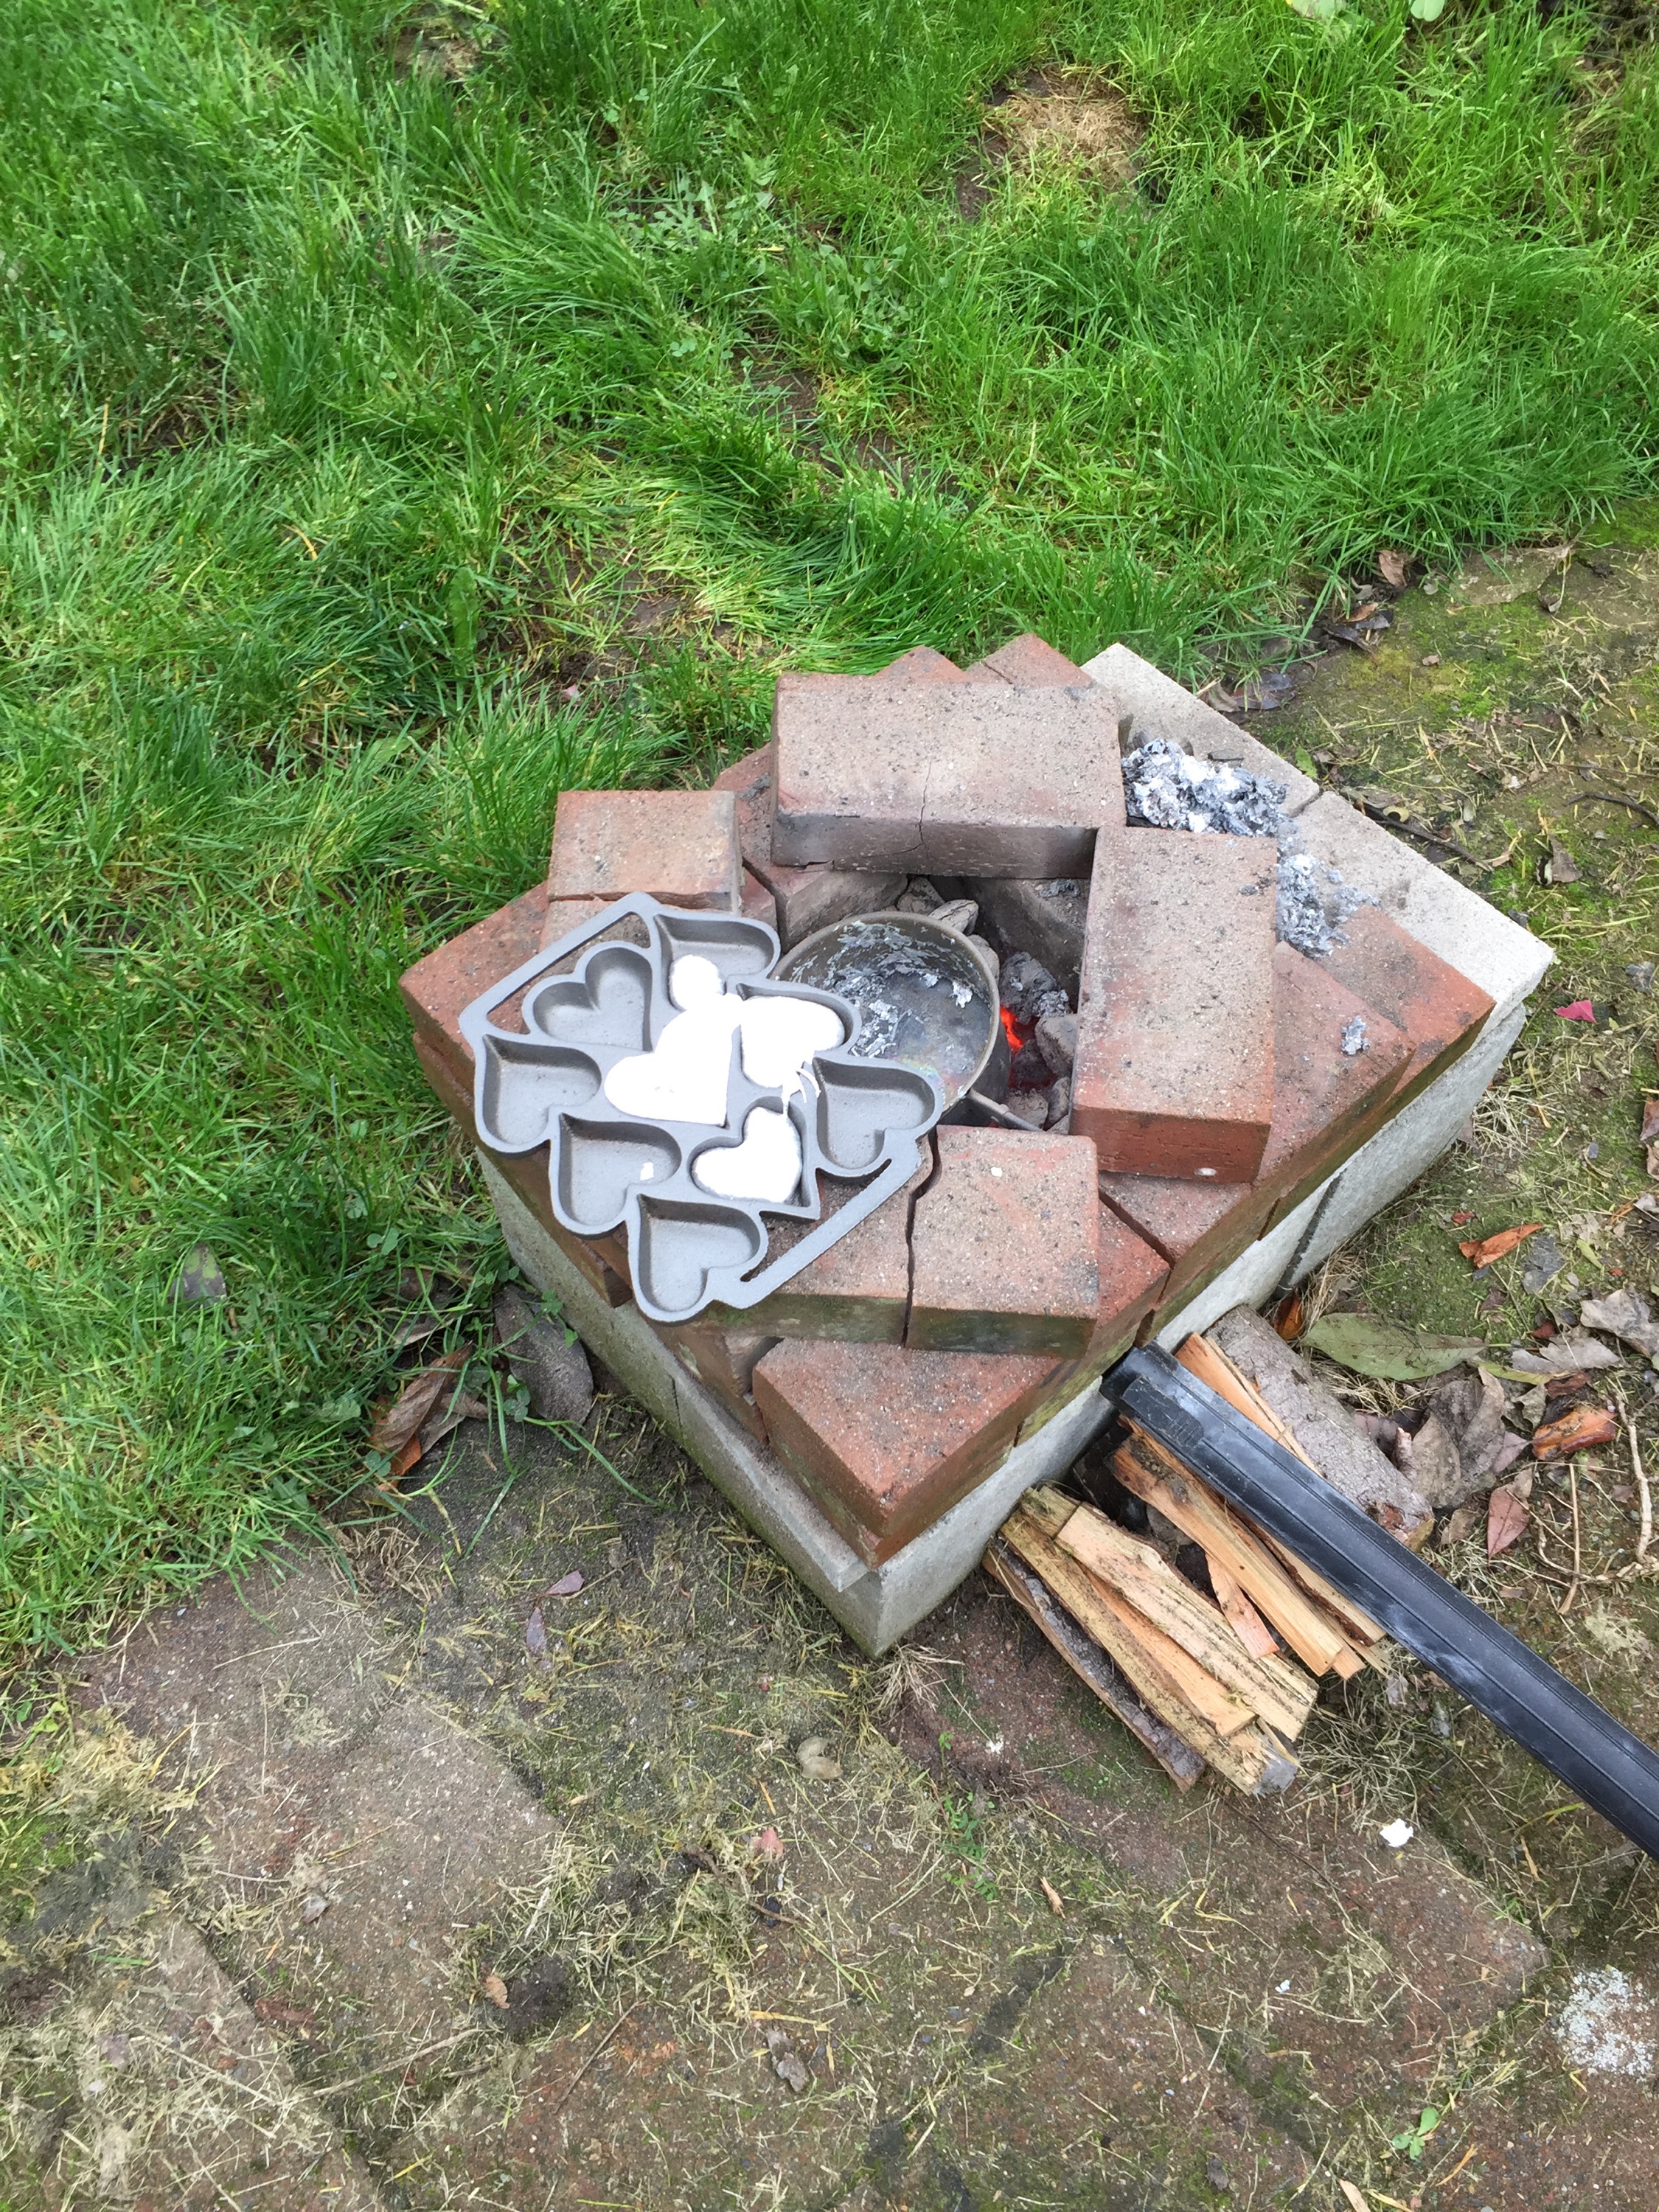
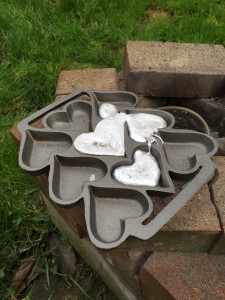
Unfortunately, it’s hard to hold a camera and do anything else at the same time, so I didn’t get any shots of actually pouring the aluminum into my “ingot” mold, which happens to be a heart shaped baking tray I also found at Goodwill.

IMG_3427.JPG

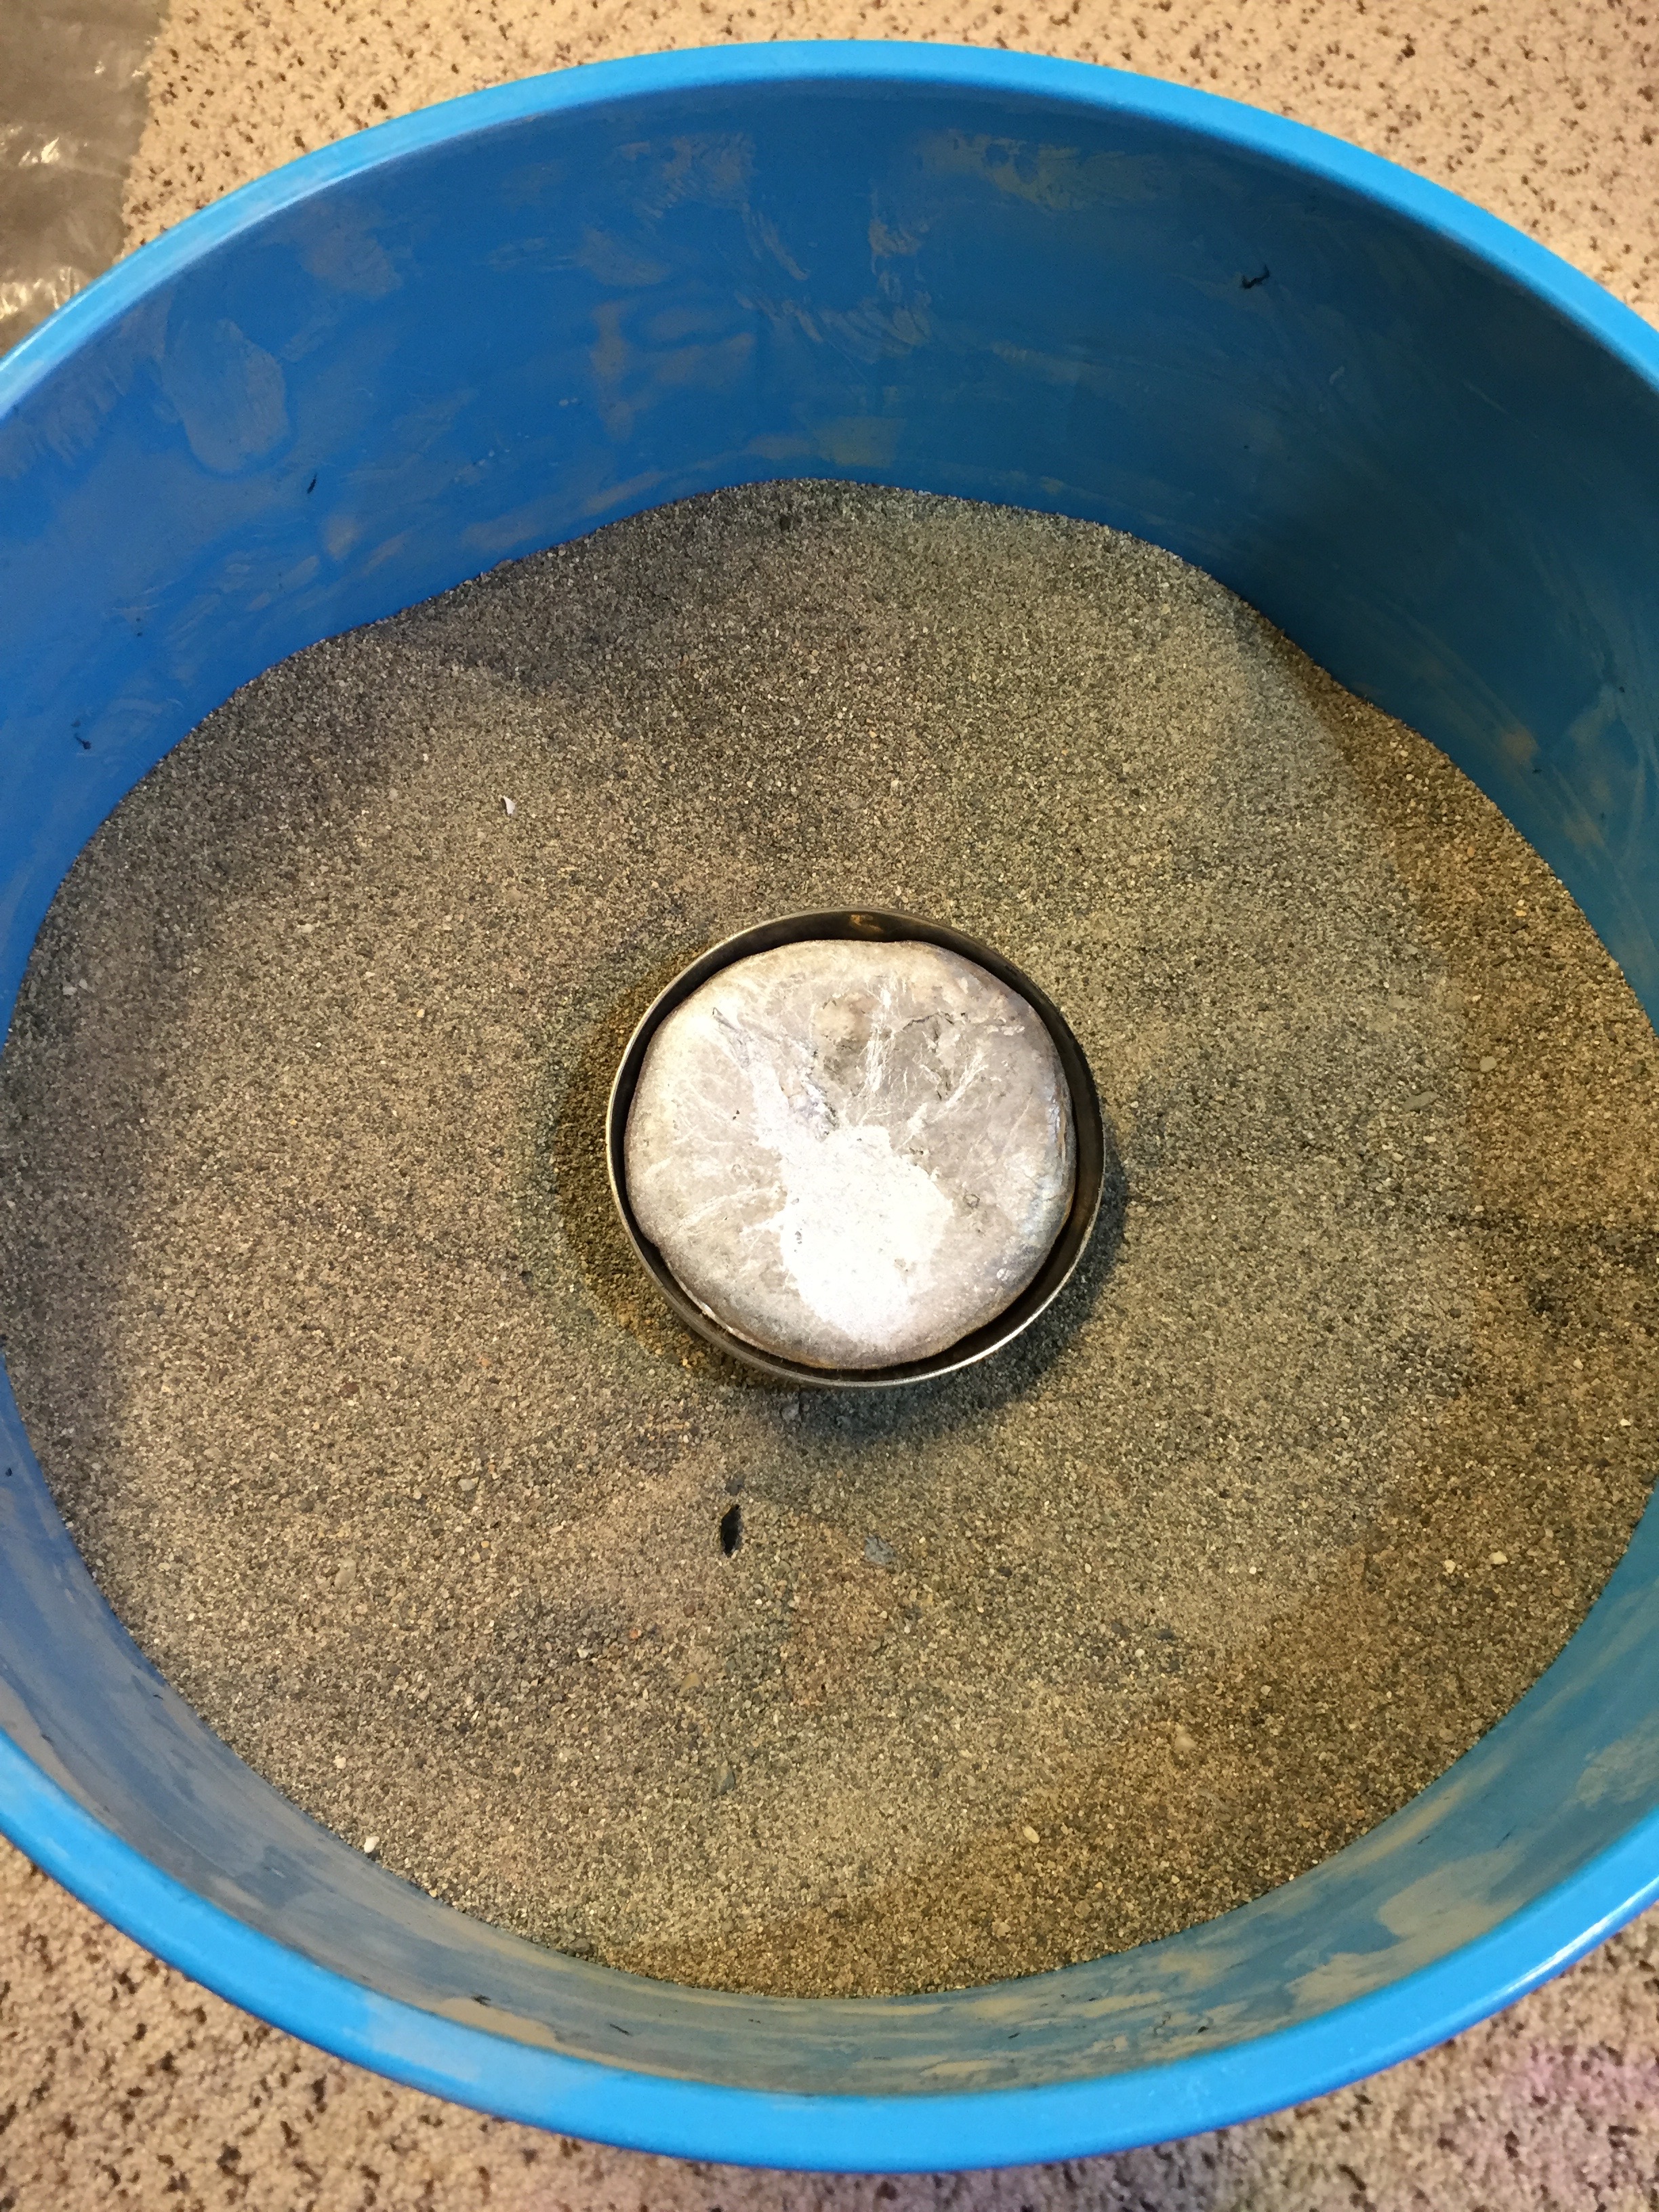
And here’s a closer look of the freshly poured ingots cooling in the mold.

IMG_3429.JPG

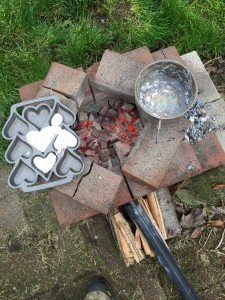
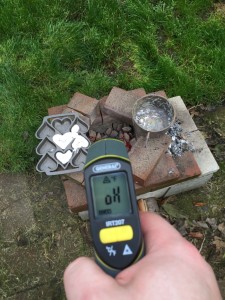
And, a better view from above showing the improvised furnace, mold, and crucible.

IMG_3430.JPG

Unfortunately (and to be expected…), the inside of the furnace was far too hot for my infrared thermometer to measure, just giving a reading of “Over High”. Supposedly it’s rated to read up to 608 degrees Fahrenheit.

IMG_3434.JPG

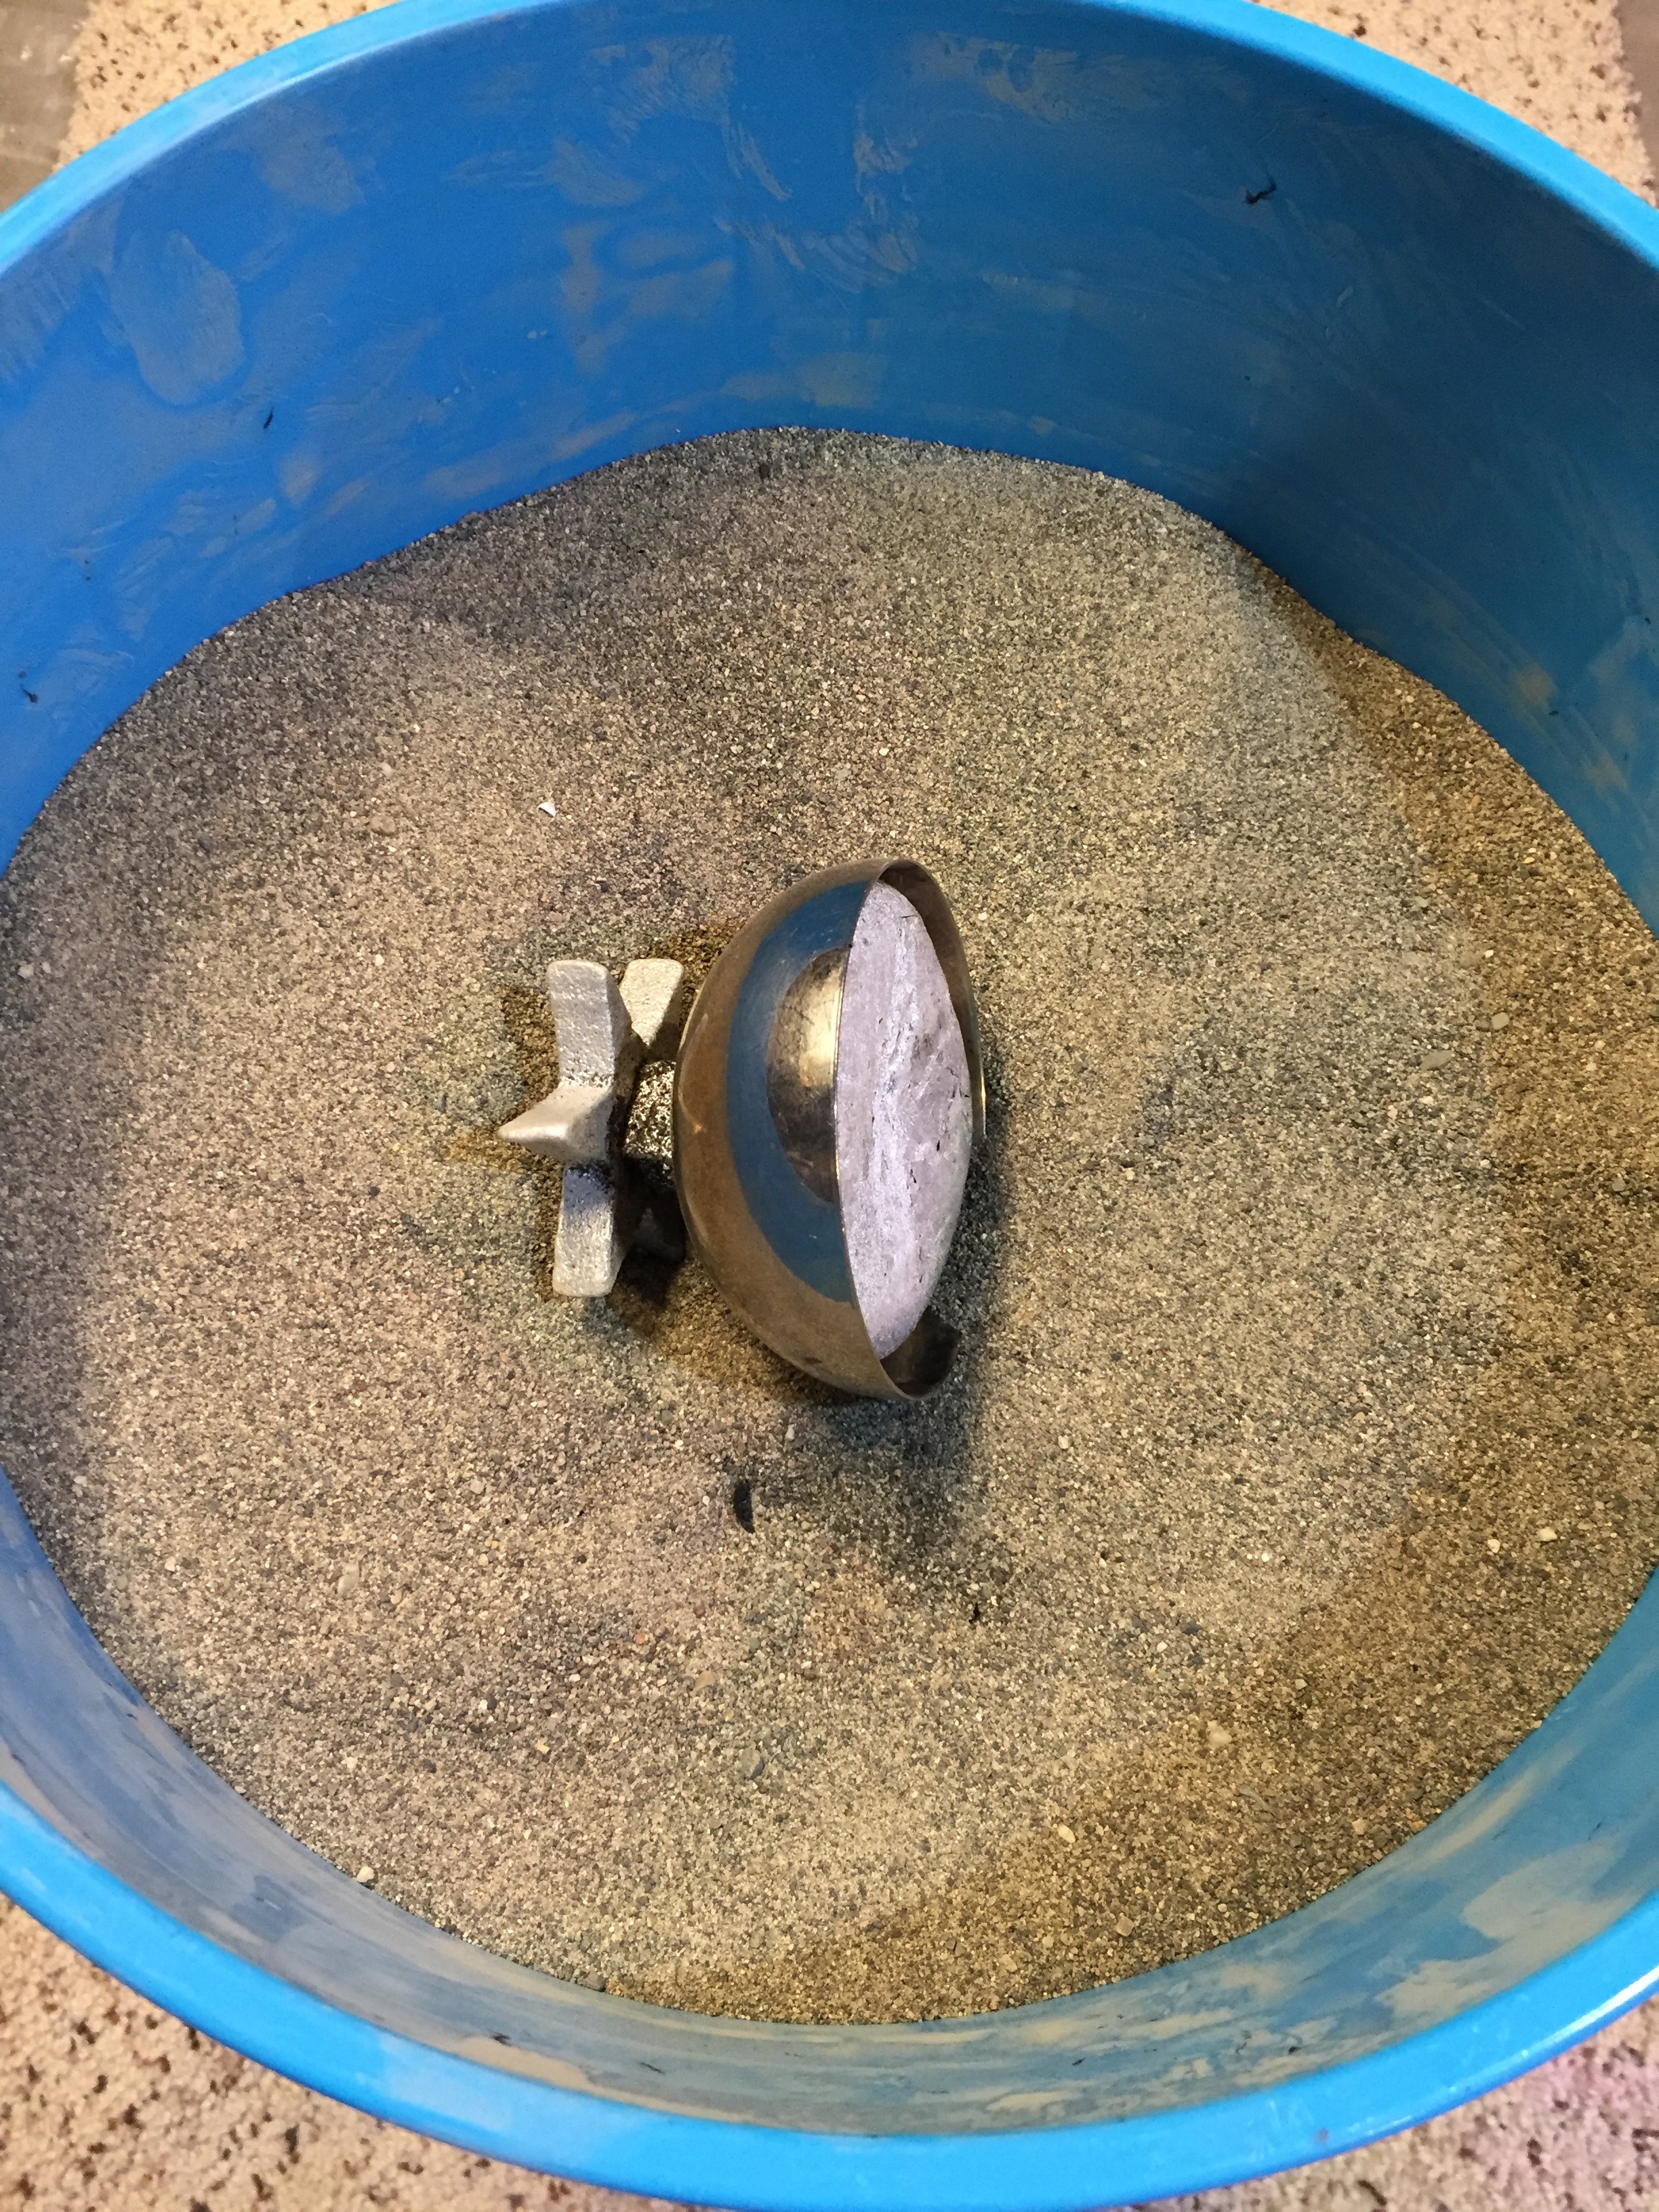
I’ve sprayed some cool water on the ingots to help cool them down more quickly, and flipped them out of the mold for a bit better view.

IMG_3447.JPG

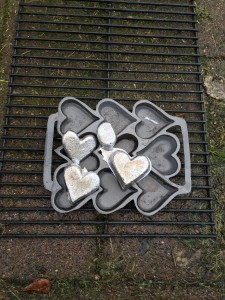
You can see them continuing to cool on the barbecue grill, as well as my high tech bag of fuel.

IMG_3423.JPG

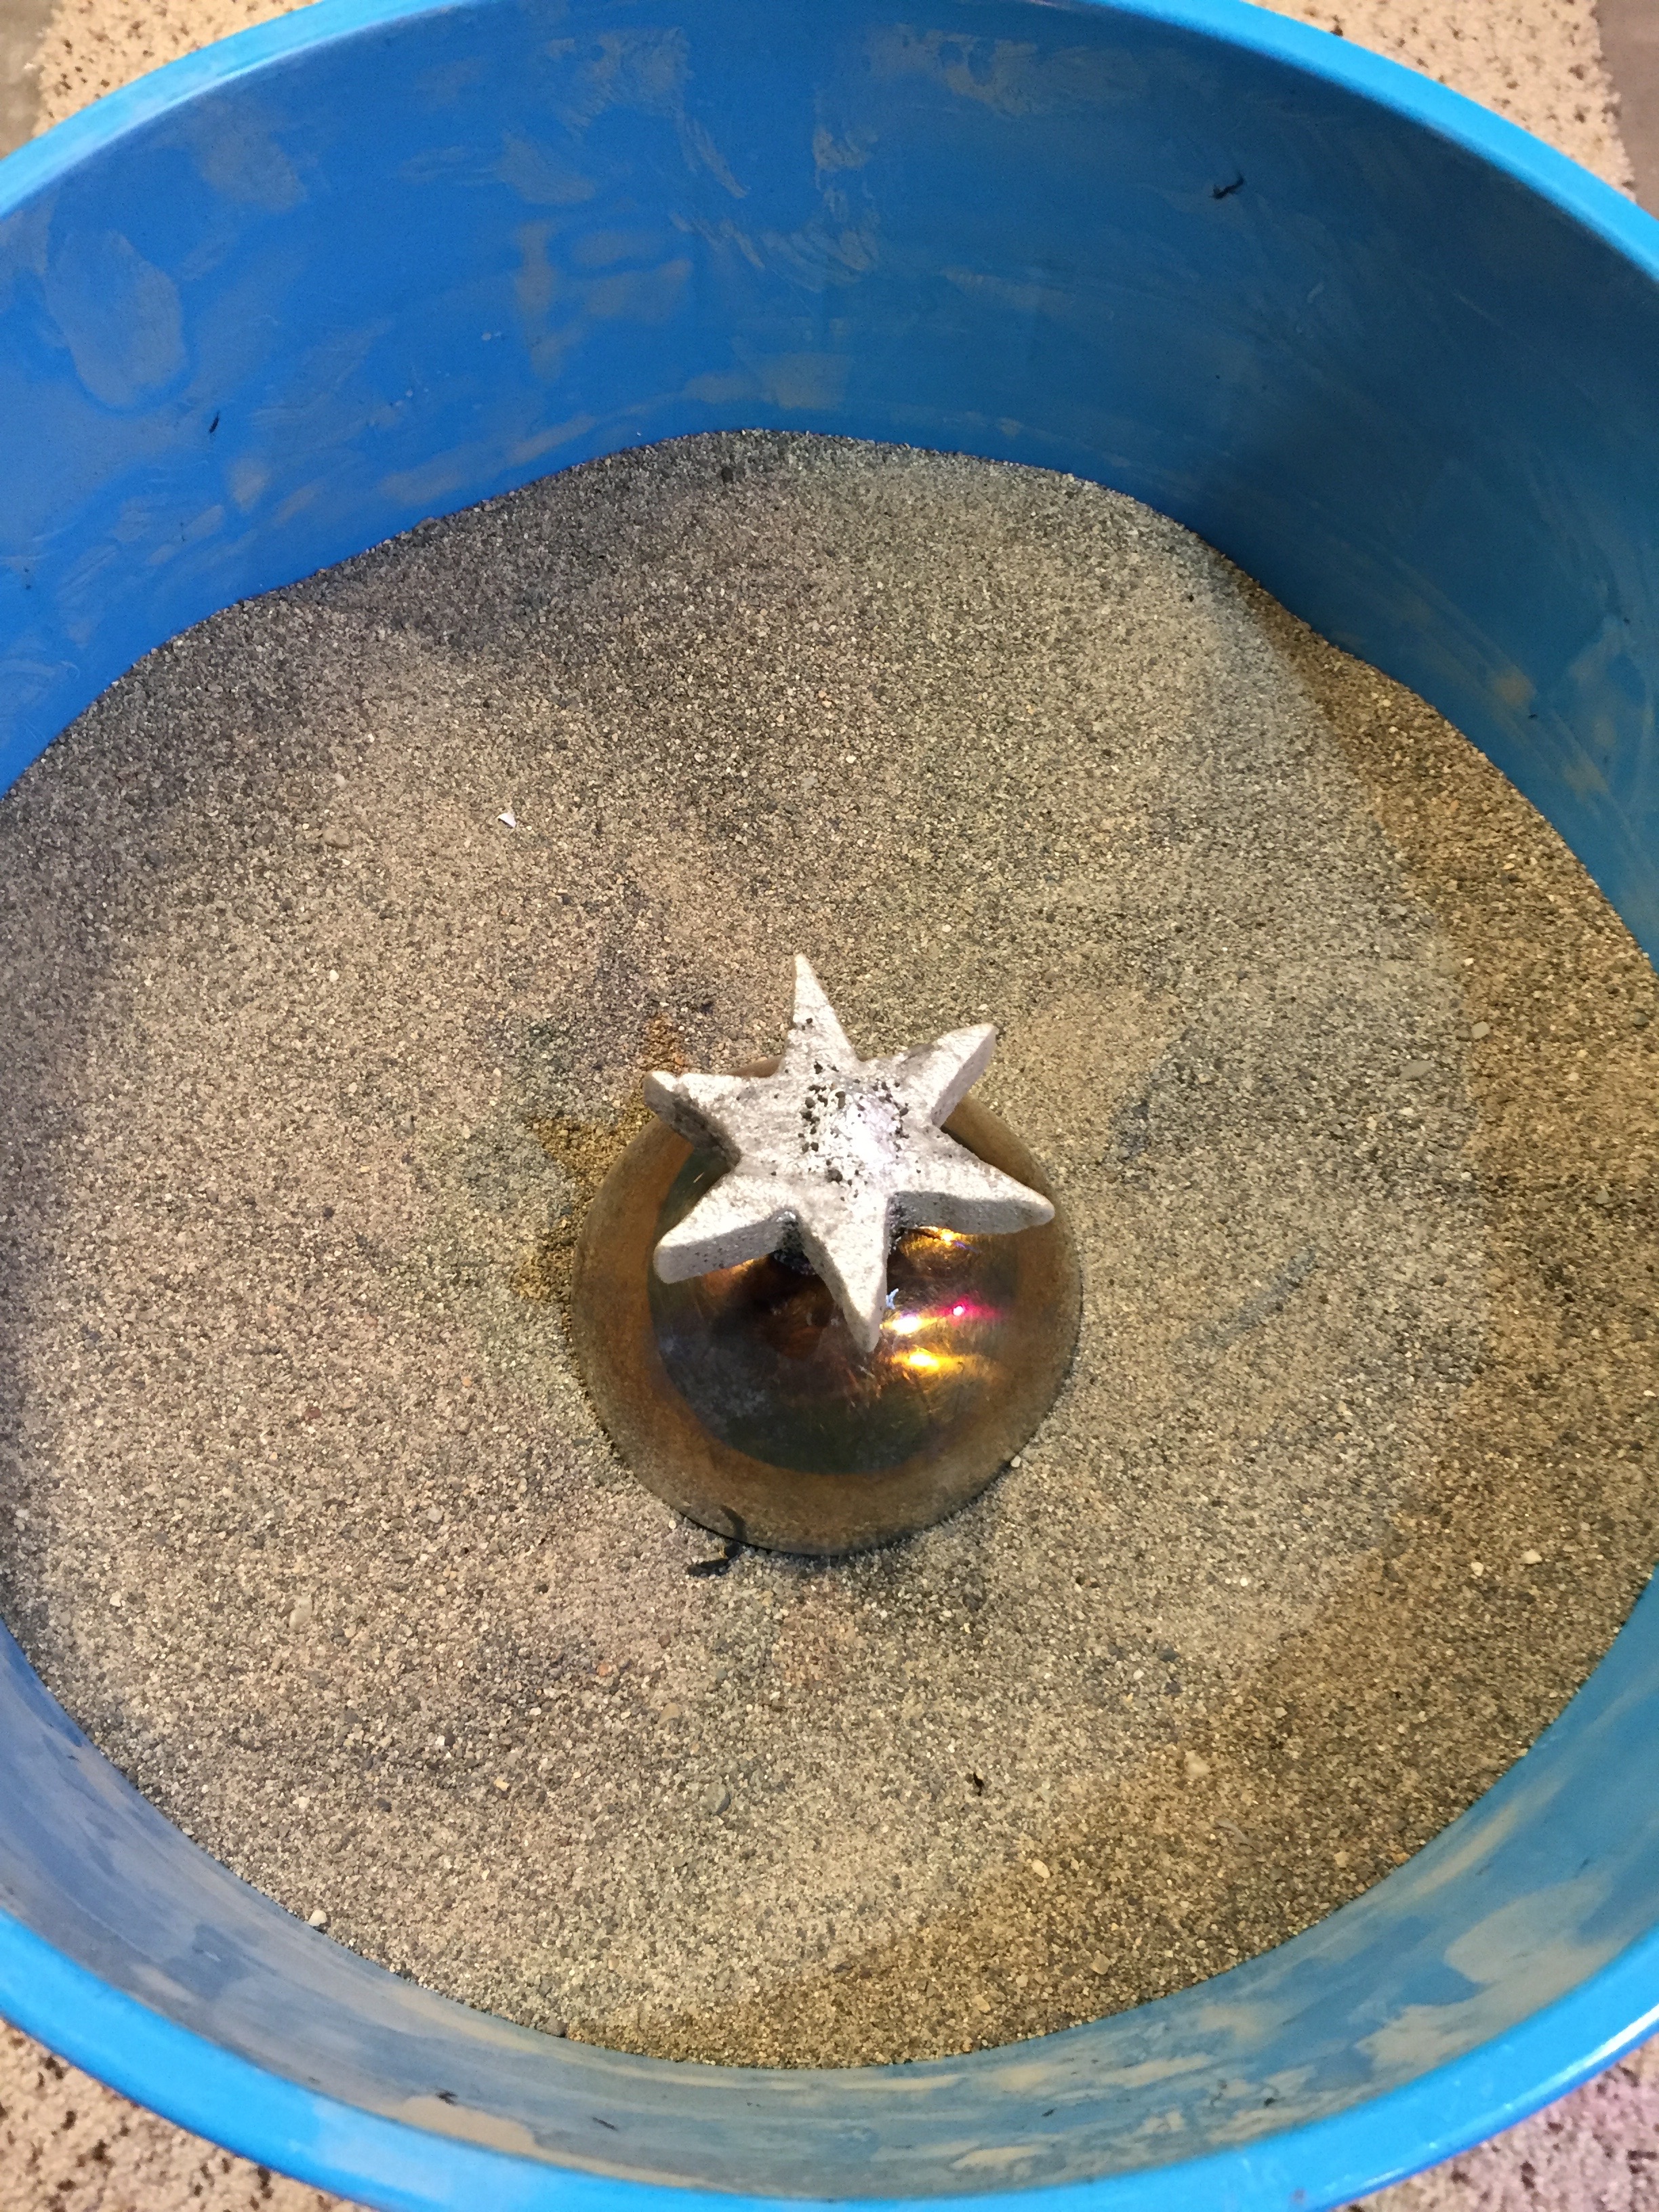
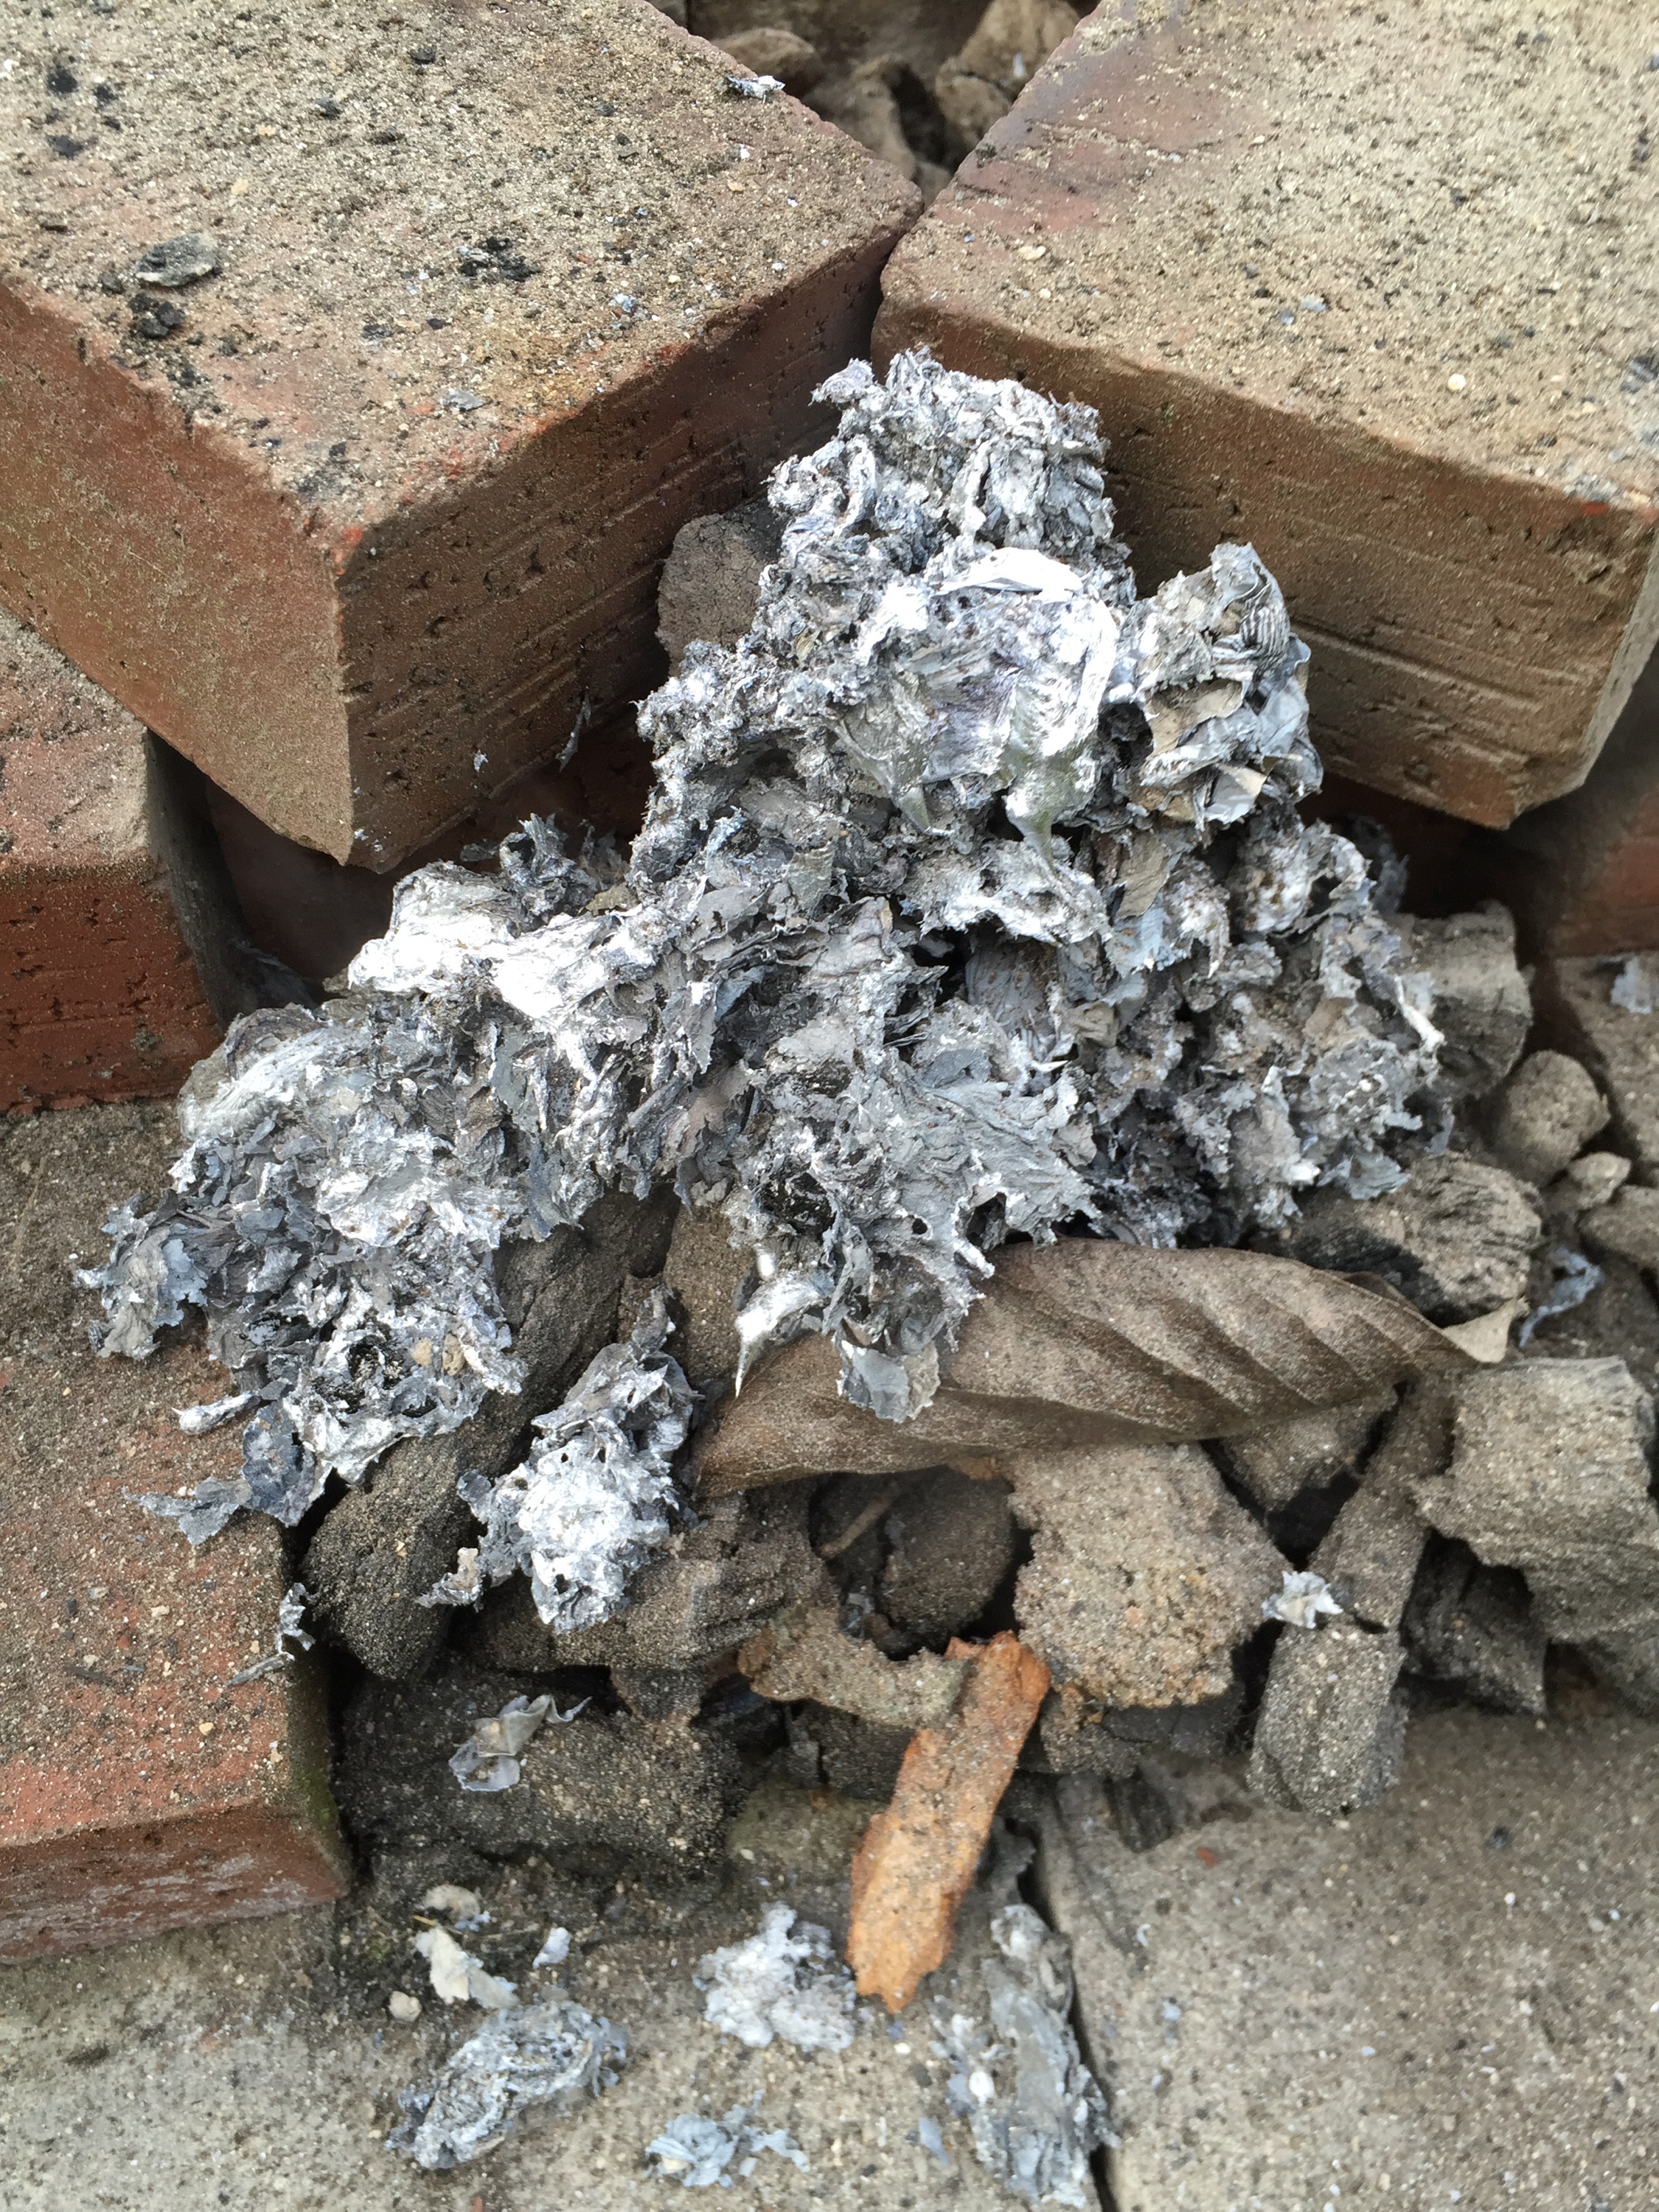
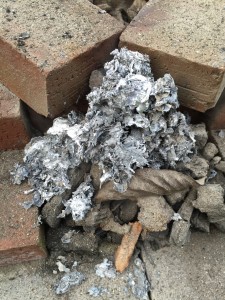
This is the pile of dross I pulled off the aluminum. Unfortunately aluminum drink cans have a lot more than just aluminum in them (paint on the outside, plastic coating on the inside), so there’s a fair bit of waste that comes out that has to be pulled off before pouring. Additionally, it’s clear that there was a fair bit of aluminum that stuck to this dross as I pulled it off, so I will need to experiment with a flux to see if I can get the dross to not pull as much aluminum out with it.

IMG_3449.JPG

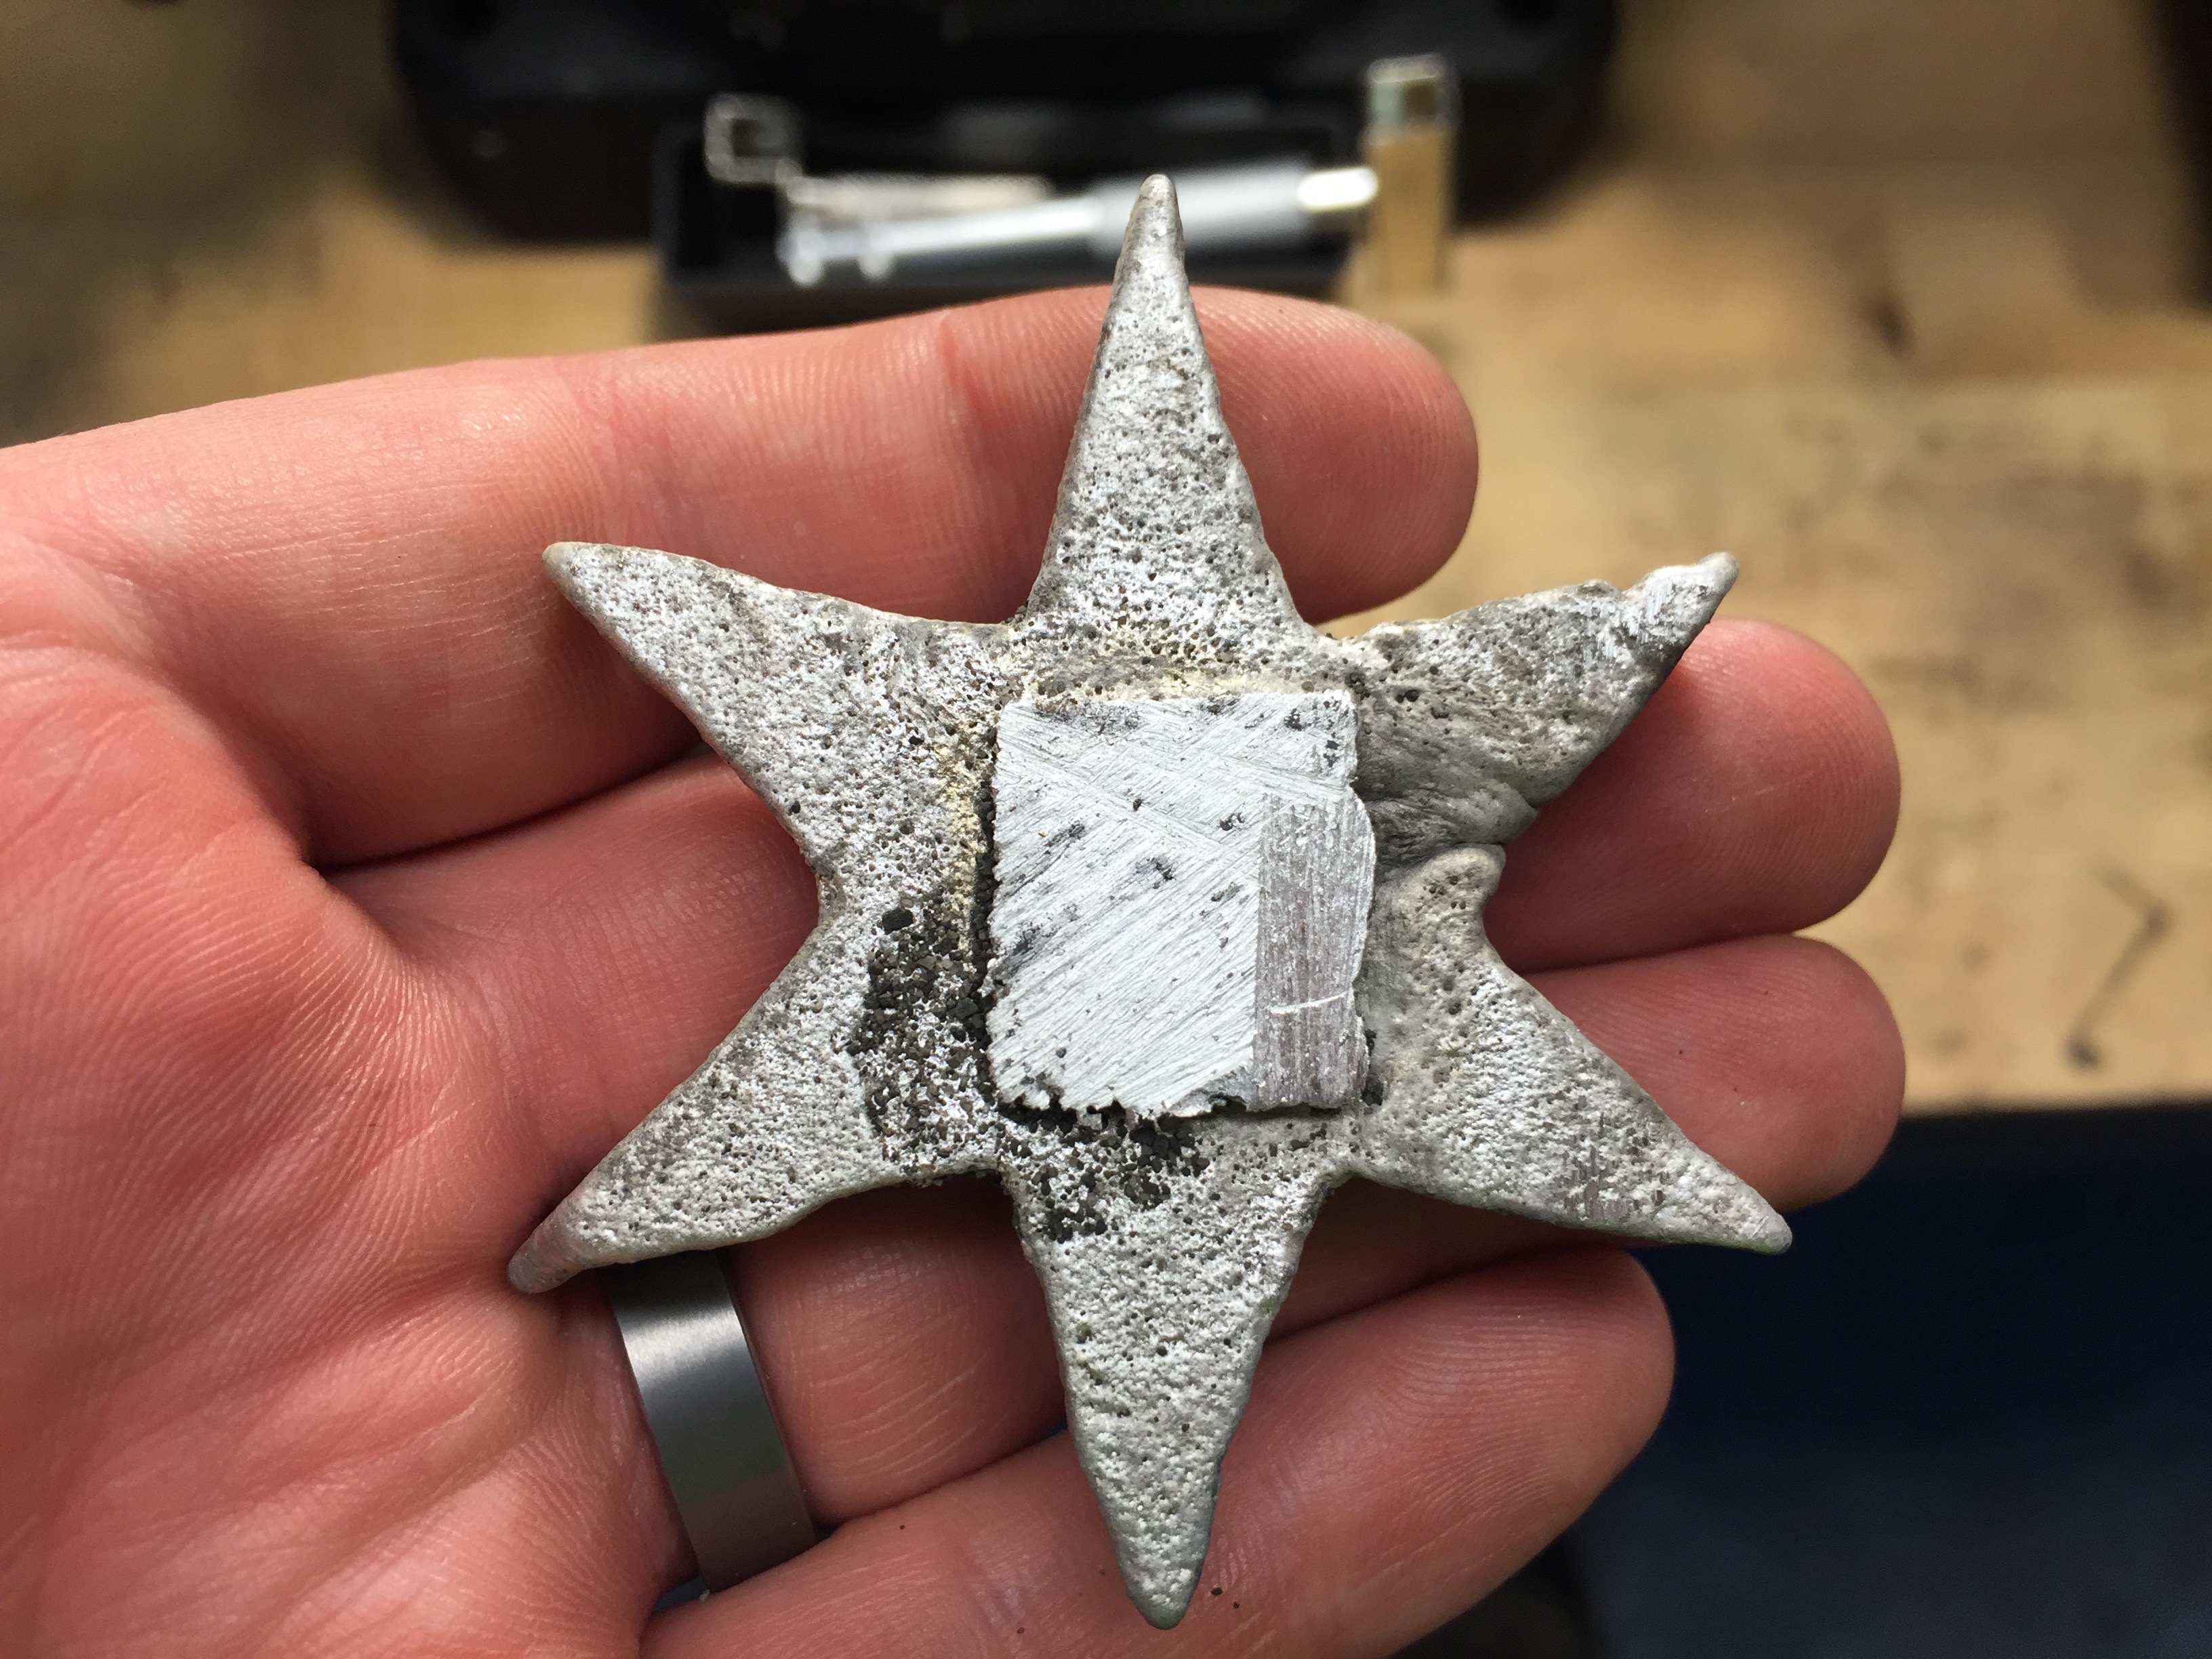
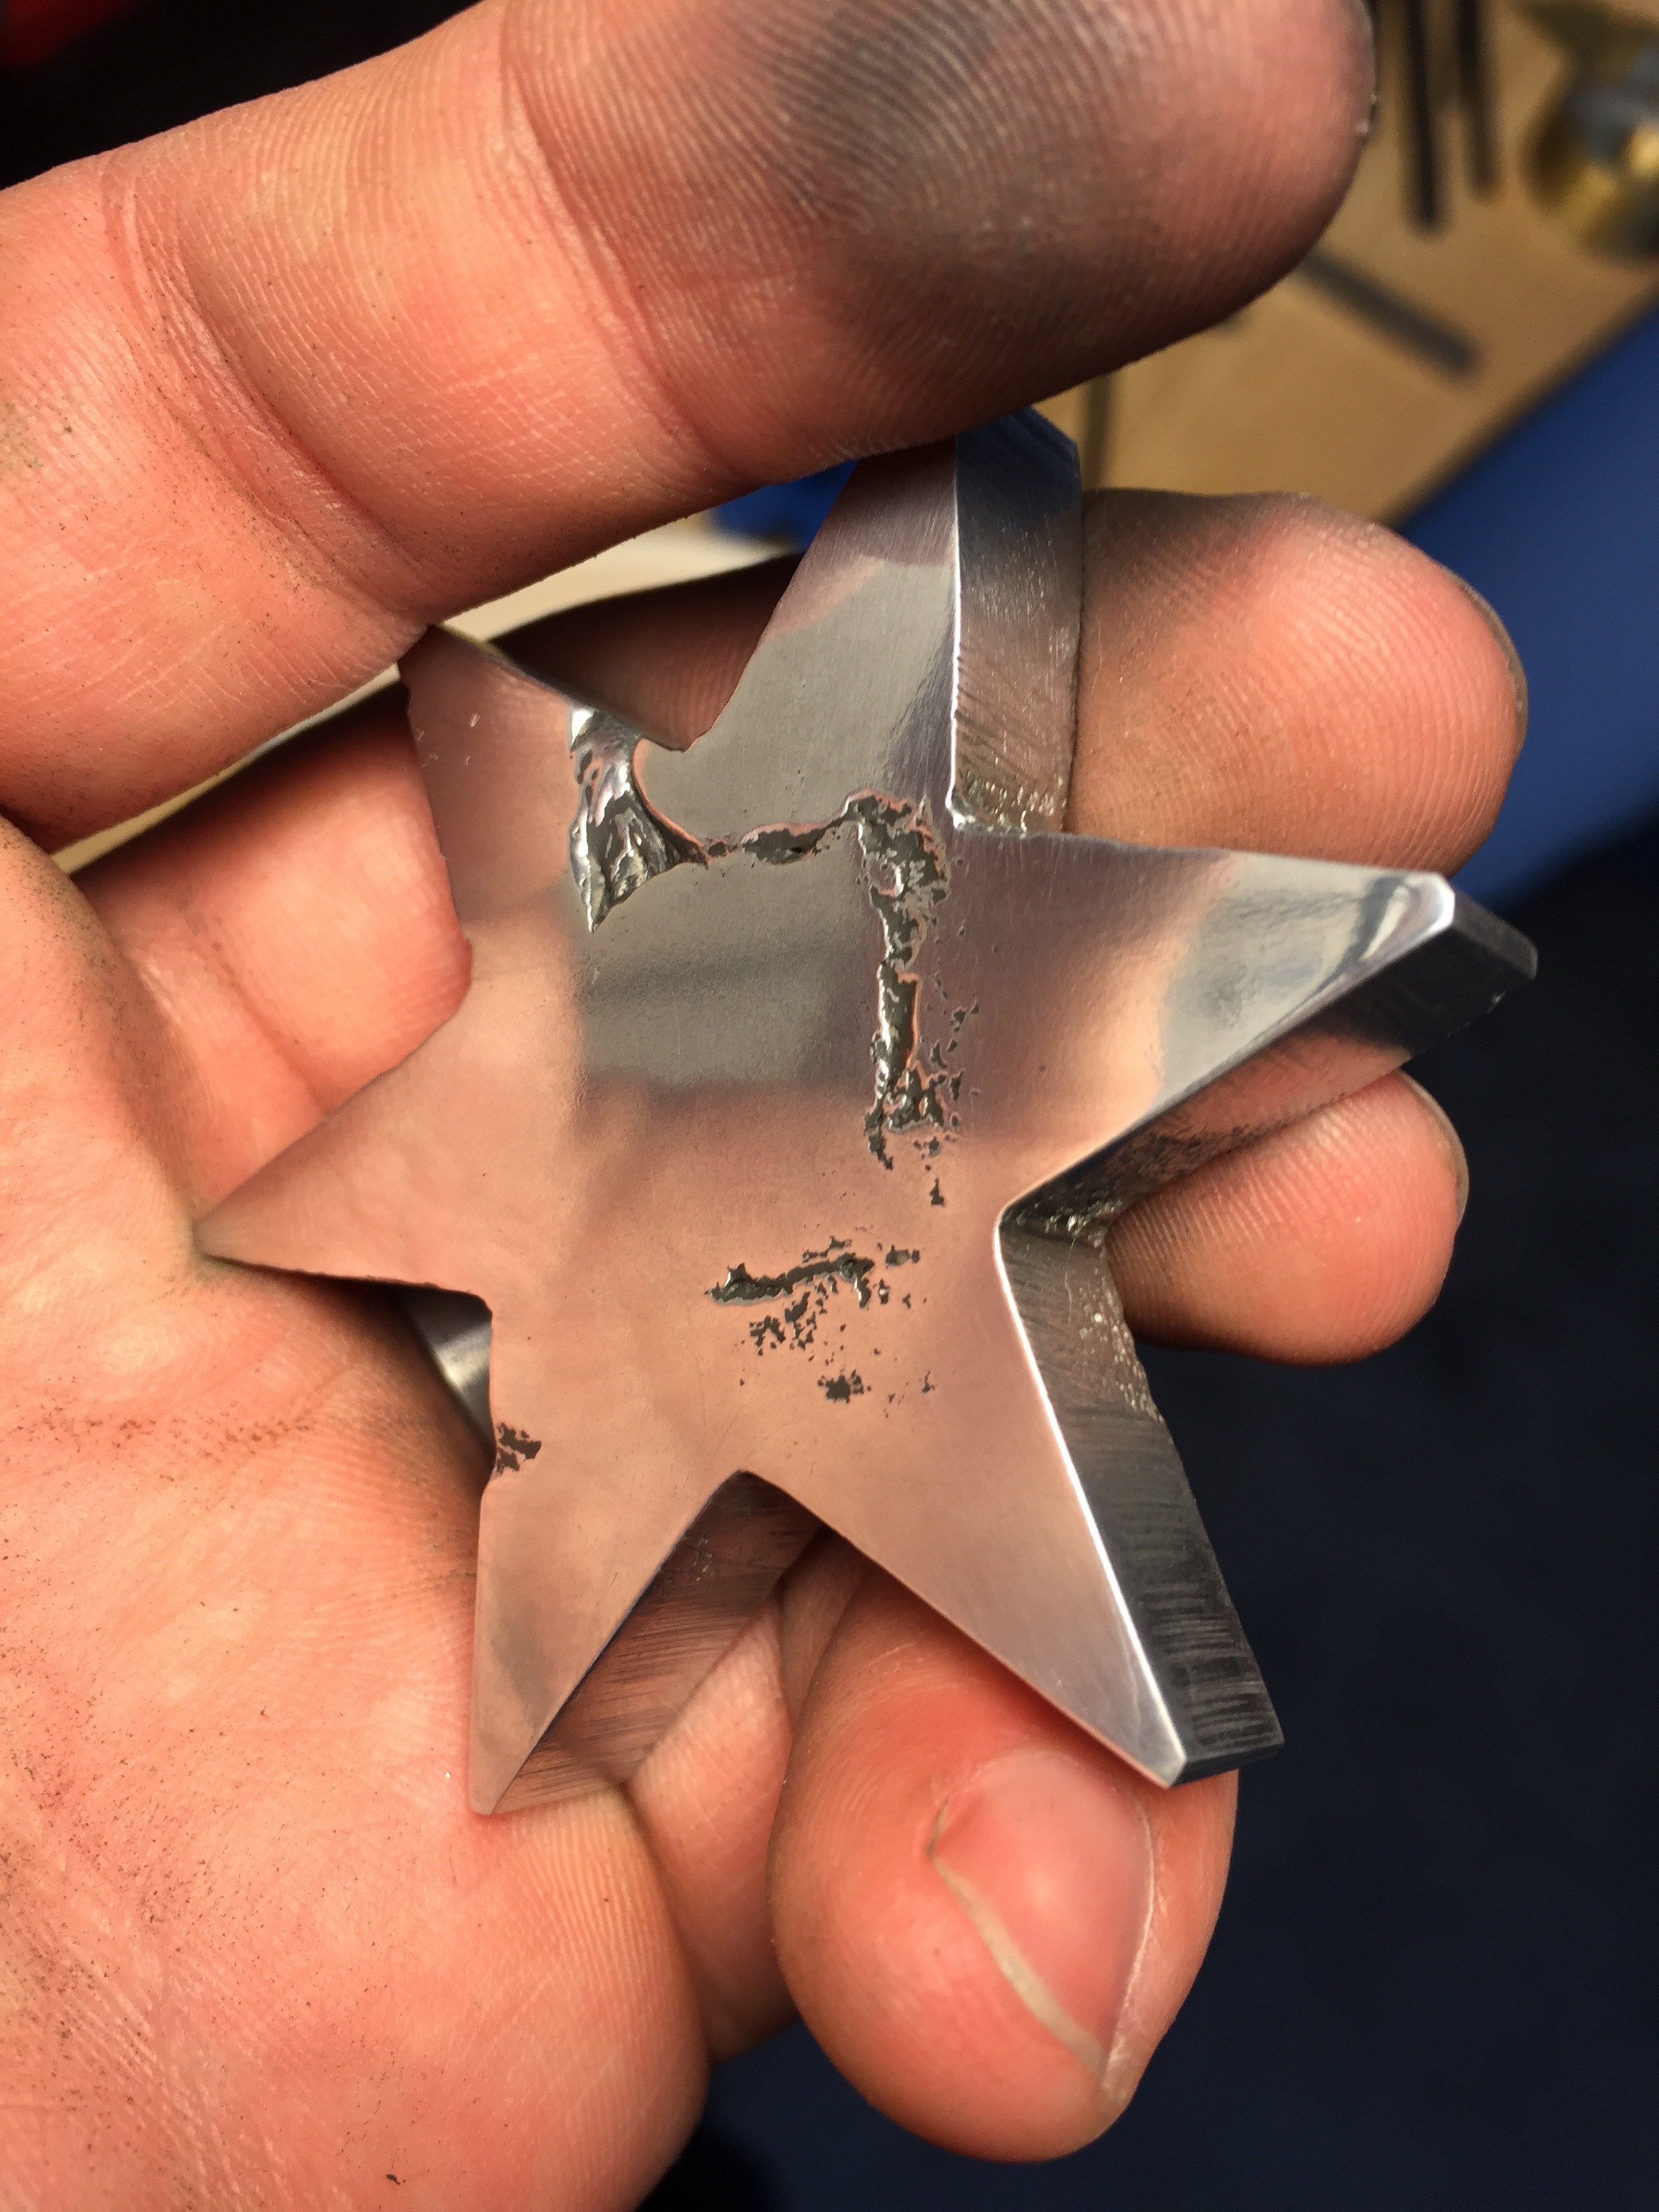
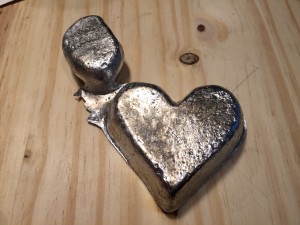
And here’s a closer shot of one of the heart ingots that got poured today.

IMG_3450.JPG

These ingots will eventually be the source of the raw materials for when I move forward to trying to cast things with aluminum. This could potentially be direct parts, but I think my first foray into casting will simply to make rods that I can use as raw stock for work on my metal lathe.

Posted in Art, Projects, Random | 1 Comment

YouTube Series

I’ve recently finished up a series of videos I’ve uploaded to my YouTube channel, which albeit long I think you may find interesting.

There are a bunch of projects I’ve documented on this blog, most of which show the shiny things at the end, or maybe a couple of the more interesting learning points. None of which really talks about the whole process of making the thing. Mostly because that’s a massive undertaking, even more difficult to convey in text.

I’ve heard enough folks interested in getting started, or understanding how I’m building things, or whatnot else, that I’ve created this “Making Devices” series on my YouTube channel, where I aim to document all the work that goes into a project, my thoughts behind choices, and how it all pieces together.

The series is six videos long, and covers coming up with the concept and initial requirements, selecting critical components, creating footprints for custom components, creating your schematic, laying out your PCB, sending the PCB off for manufacturing, and when it returns, soldering all the parts on it.

Originally, I had thought the videos would be fairly short, maybe four videos, 15-30 minutes each. However, this process has been somewhat eye opening to myself, in terms of actually having a timer on the process. It makes for some fairly long videos, but they cover the reality of the project.

I chose to make a Buck Regulator for this series, as it would be a relatively simple project, relatively inexpensive, but also have some interesting aspects of the design. I may do future projects in the Making Devices series, but at this point I don’t have any next ones planned out.

Posted in Electronics, Projects, Technology | Leave a comment

Kickstarter

No, I’m not going to tell you about some cool project on Kickstarter I backed. Instead, I’m going to tell you about one I helped CREATE!

Some time back, a couple of guys, Casey and Morgan, who had an idea for a project approached me asking if I’d be willing to help out with the project. It sounded like an interesting deal, so I helped them out where possible.

Now we’ve gotten the project to a point where we feel comfortable that we’ve got it in the bag, so we’ve run a Kickstarter campaign! You can see it here: https://www.kickstarter.com/projects/749835103/hamshield-for-arduino-vhf-uhf-transceiver/

Yes. It’s over already.

Honestly, I’m a bit surprised by the level of support we’ve seen. We have a pretty narrow target market, and yet here we are, funded several times over.

For those who aren’t familiar, the project is an Arduino shield that adds Amateur Radio functionality. It’s a tri-band transceiver (2m, 1.25m, 70cm bands), based on the same line of radio chips found in the Baofeng models.

We’ve also started work on a number of example Arduino sketches, and a library to abstract some of the work away. You can find that on our github at https://github.com/EnhancedRadioDevices/HamShield

And yes, it is open source hardware and software.

We’re really excited to take this work the last mile and get it into production and shipped out to all of our backers. I’d love to see what people manage to use it for.

Posted in Electronics, Ham Radio, Projects, Technology | 1 Comment

Commutes

My wife and I recently purchased our first home, in a new area, and as usual when moving, your commute ends up changing somewhat. Mine has gotten a little longer, but that’s not the interesting part. It has also changed mode of transportation. Previously I had been riding a Sound Transit bus down the freeway, which was a fairly enjoyable experience, as far as a commute goes, and now I’m taking the Sounder train.

I’ve long had an interest in trains, and the nearby rail station combined with the rides being covered by my work subsidized ORCA card made it a pretty attractive option. Having been riding for a while, I’ve been very pleased with the service. Traffic doesn’t affect my commute time, there’s always a seat available, there’s a restroom available on the train if needed, and the staff are quite friendly.

Not to mention the views. The route the north line takes comes out of downtown Seattle, along the piers at the waterfront, past a few parks, and follows the coastline northbound to Edmonds, Mukilteo, and Everett. Beautiful seascapes, wildlife, parks and rocky beaches on one side, and waterfront communities on the other.


On the way out of Seattle, we also pass through a BNSF rail yard, which is of itself a point of interest. One doesn’t often get the opportunity to visit a rail yard, much less daily, to see the goings on.

Here’s a small engine on a turntable!

IMG_2692

Posted in Life, Vehicles | Leave a comment