As a follow up to my last post about melting down scrap aluminum at home, and pouring into a goodwill found heart shaped ingot mold, I have progressed further with my first attempt at lost foam casting.
Put simply, with lost foam casting, you cut the shape you want to cast out of styrofoam, bury it in sand, and then pour the molten aluminum in. The molten aluminum burns away the foam, and immediately replaces it, taking the form of the foam shape.
I decided to start with a shape that was both simple, but had some finer points to see what the casting process would preserve, in this case, I used a six pointed star.
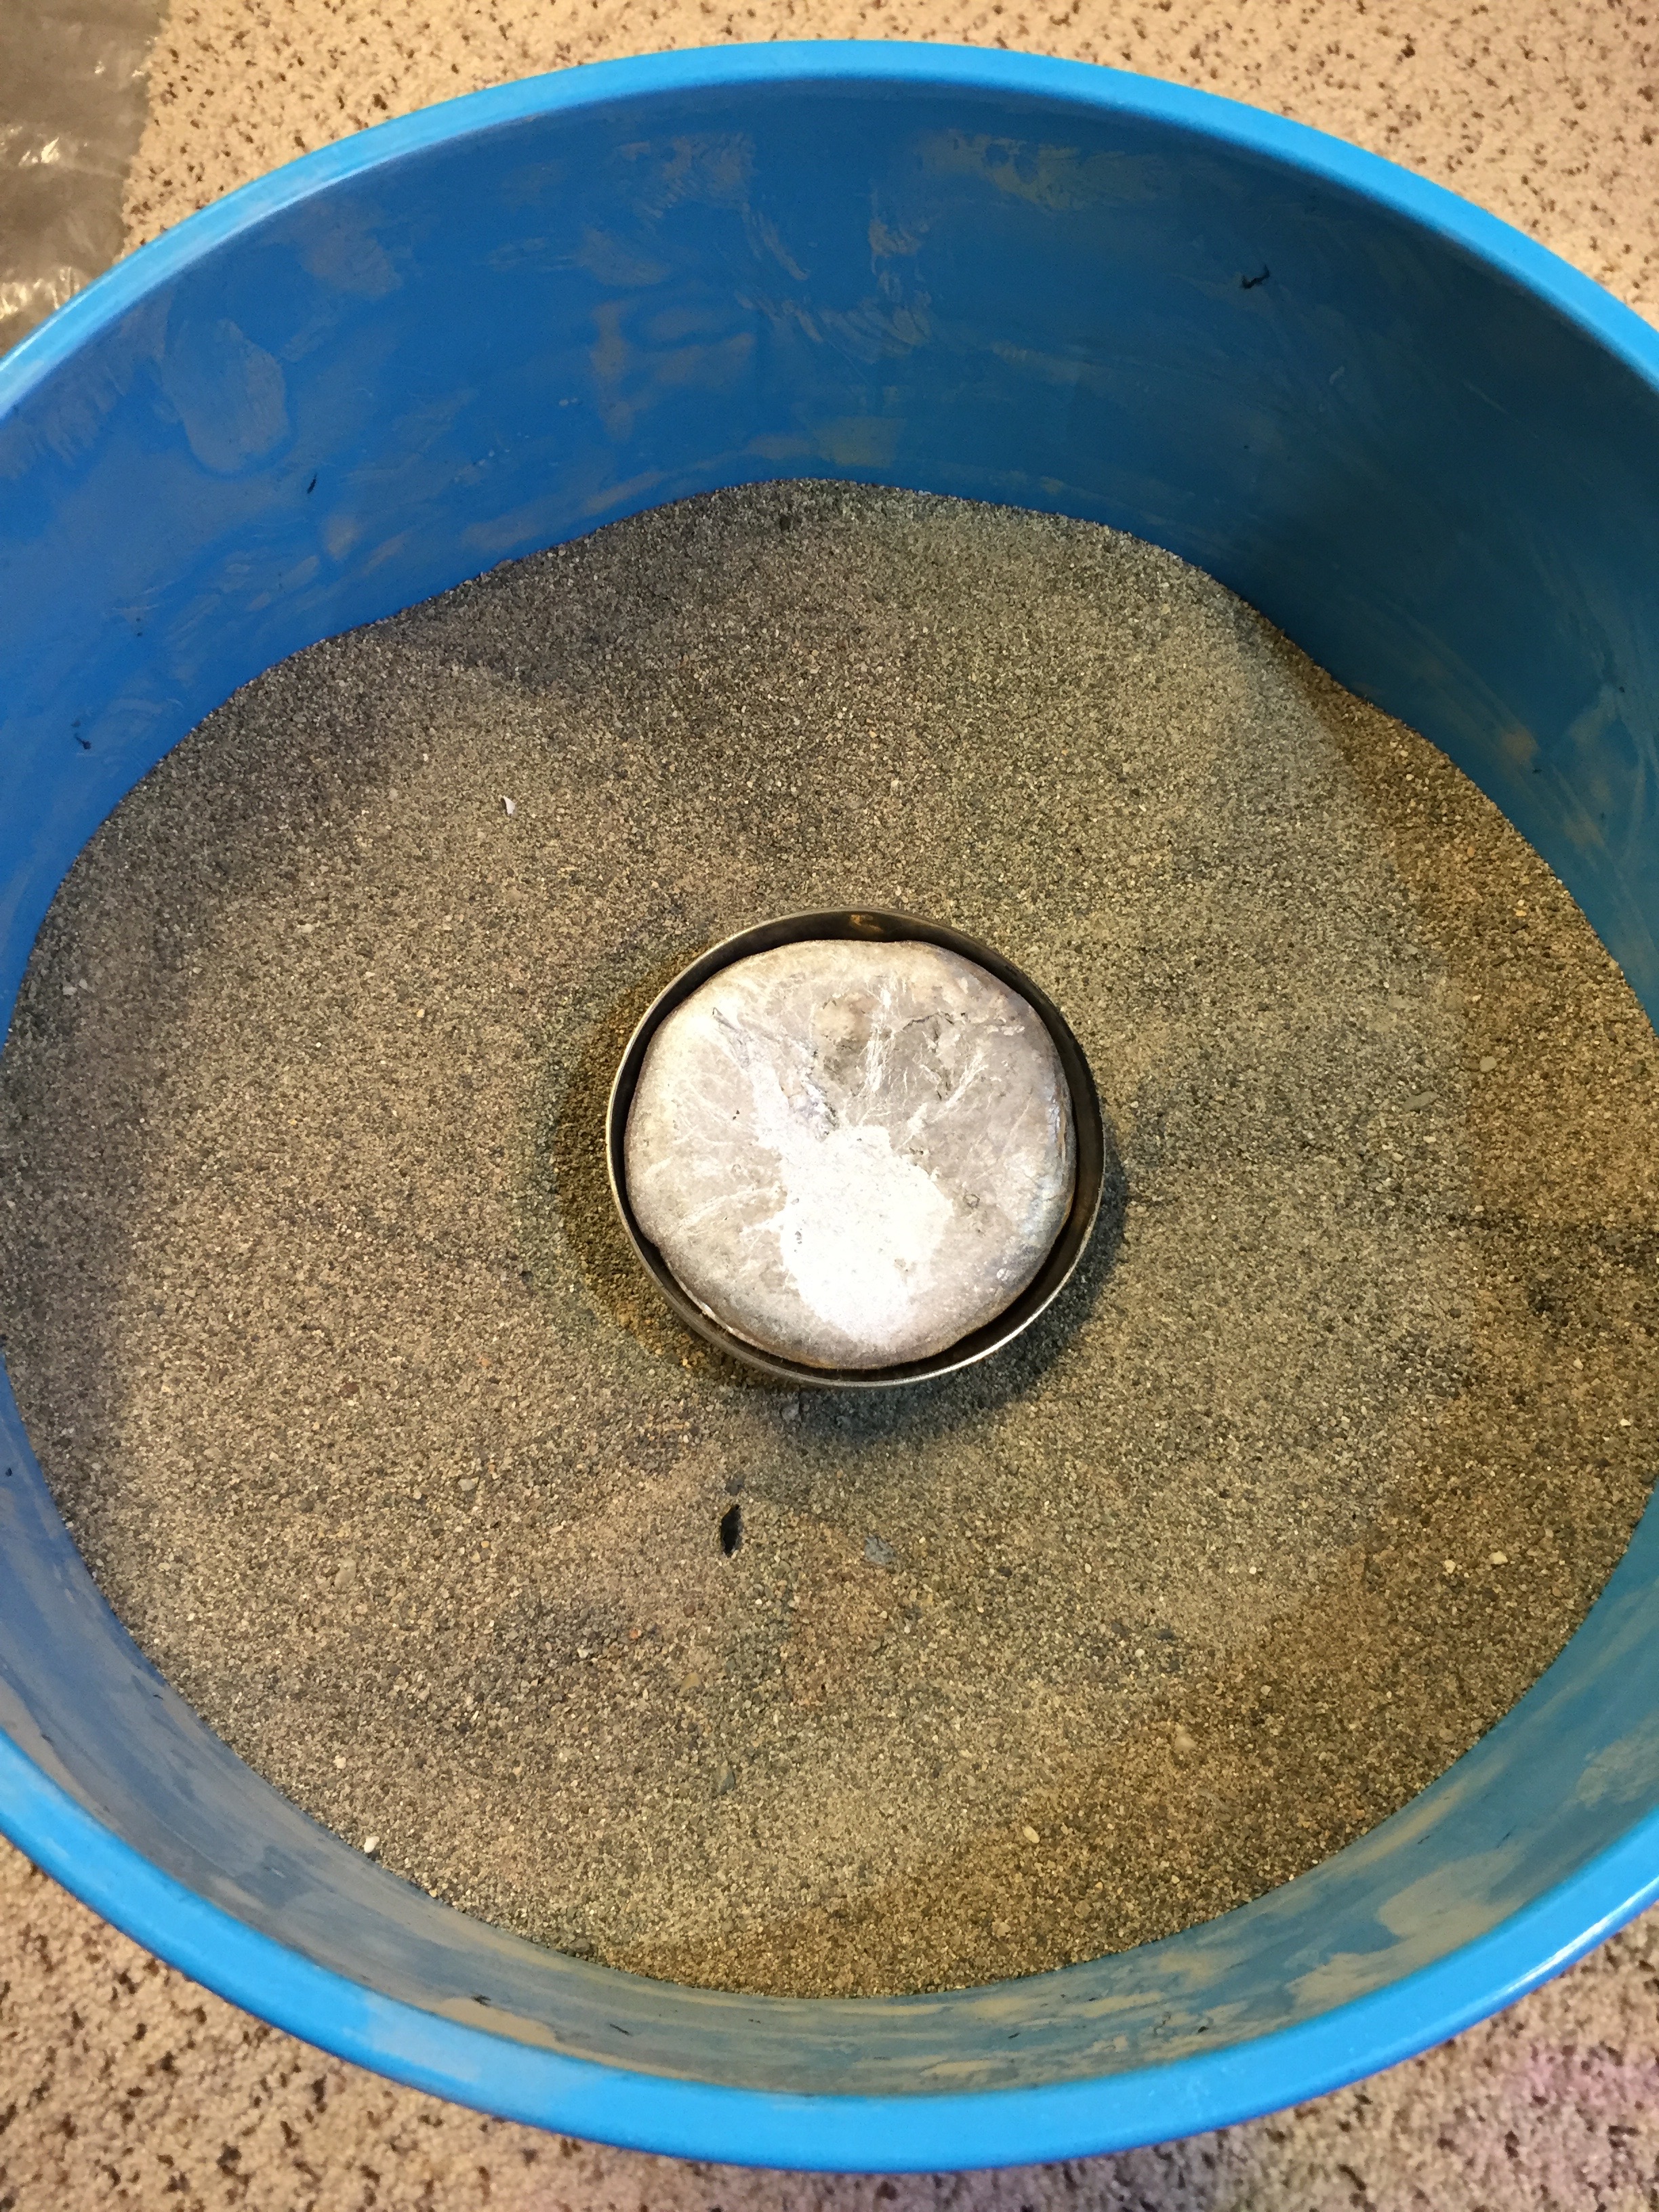
I neglected to get pictures of the foam “mold”, but you can imagine it being the same shape as the resulting star. A riser was hot glued onto the back of the star to allow the aluminum to be poured in, and a cup was placed around the riser to allow a reservoir of molten aluminum to form, and supply the mold as it filled in.
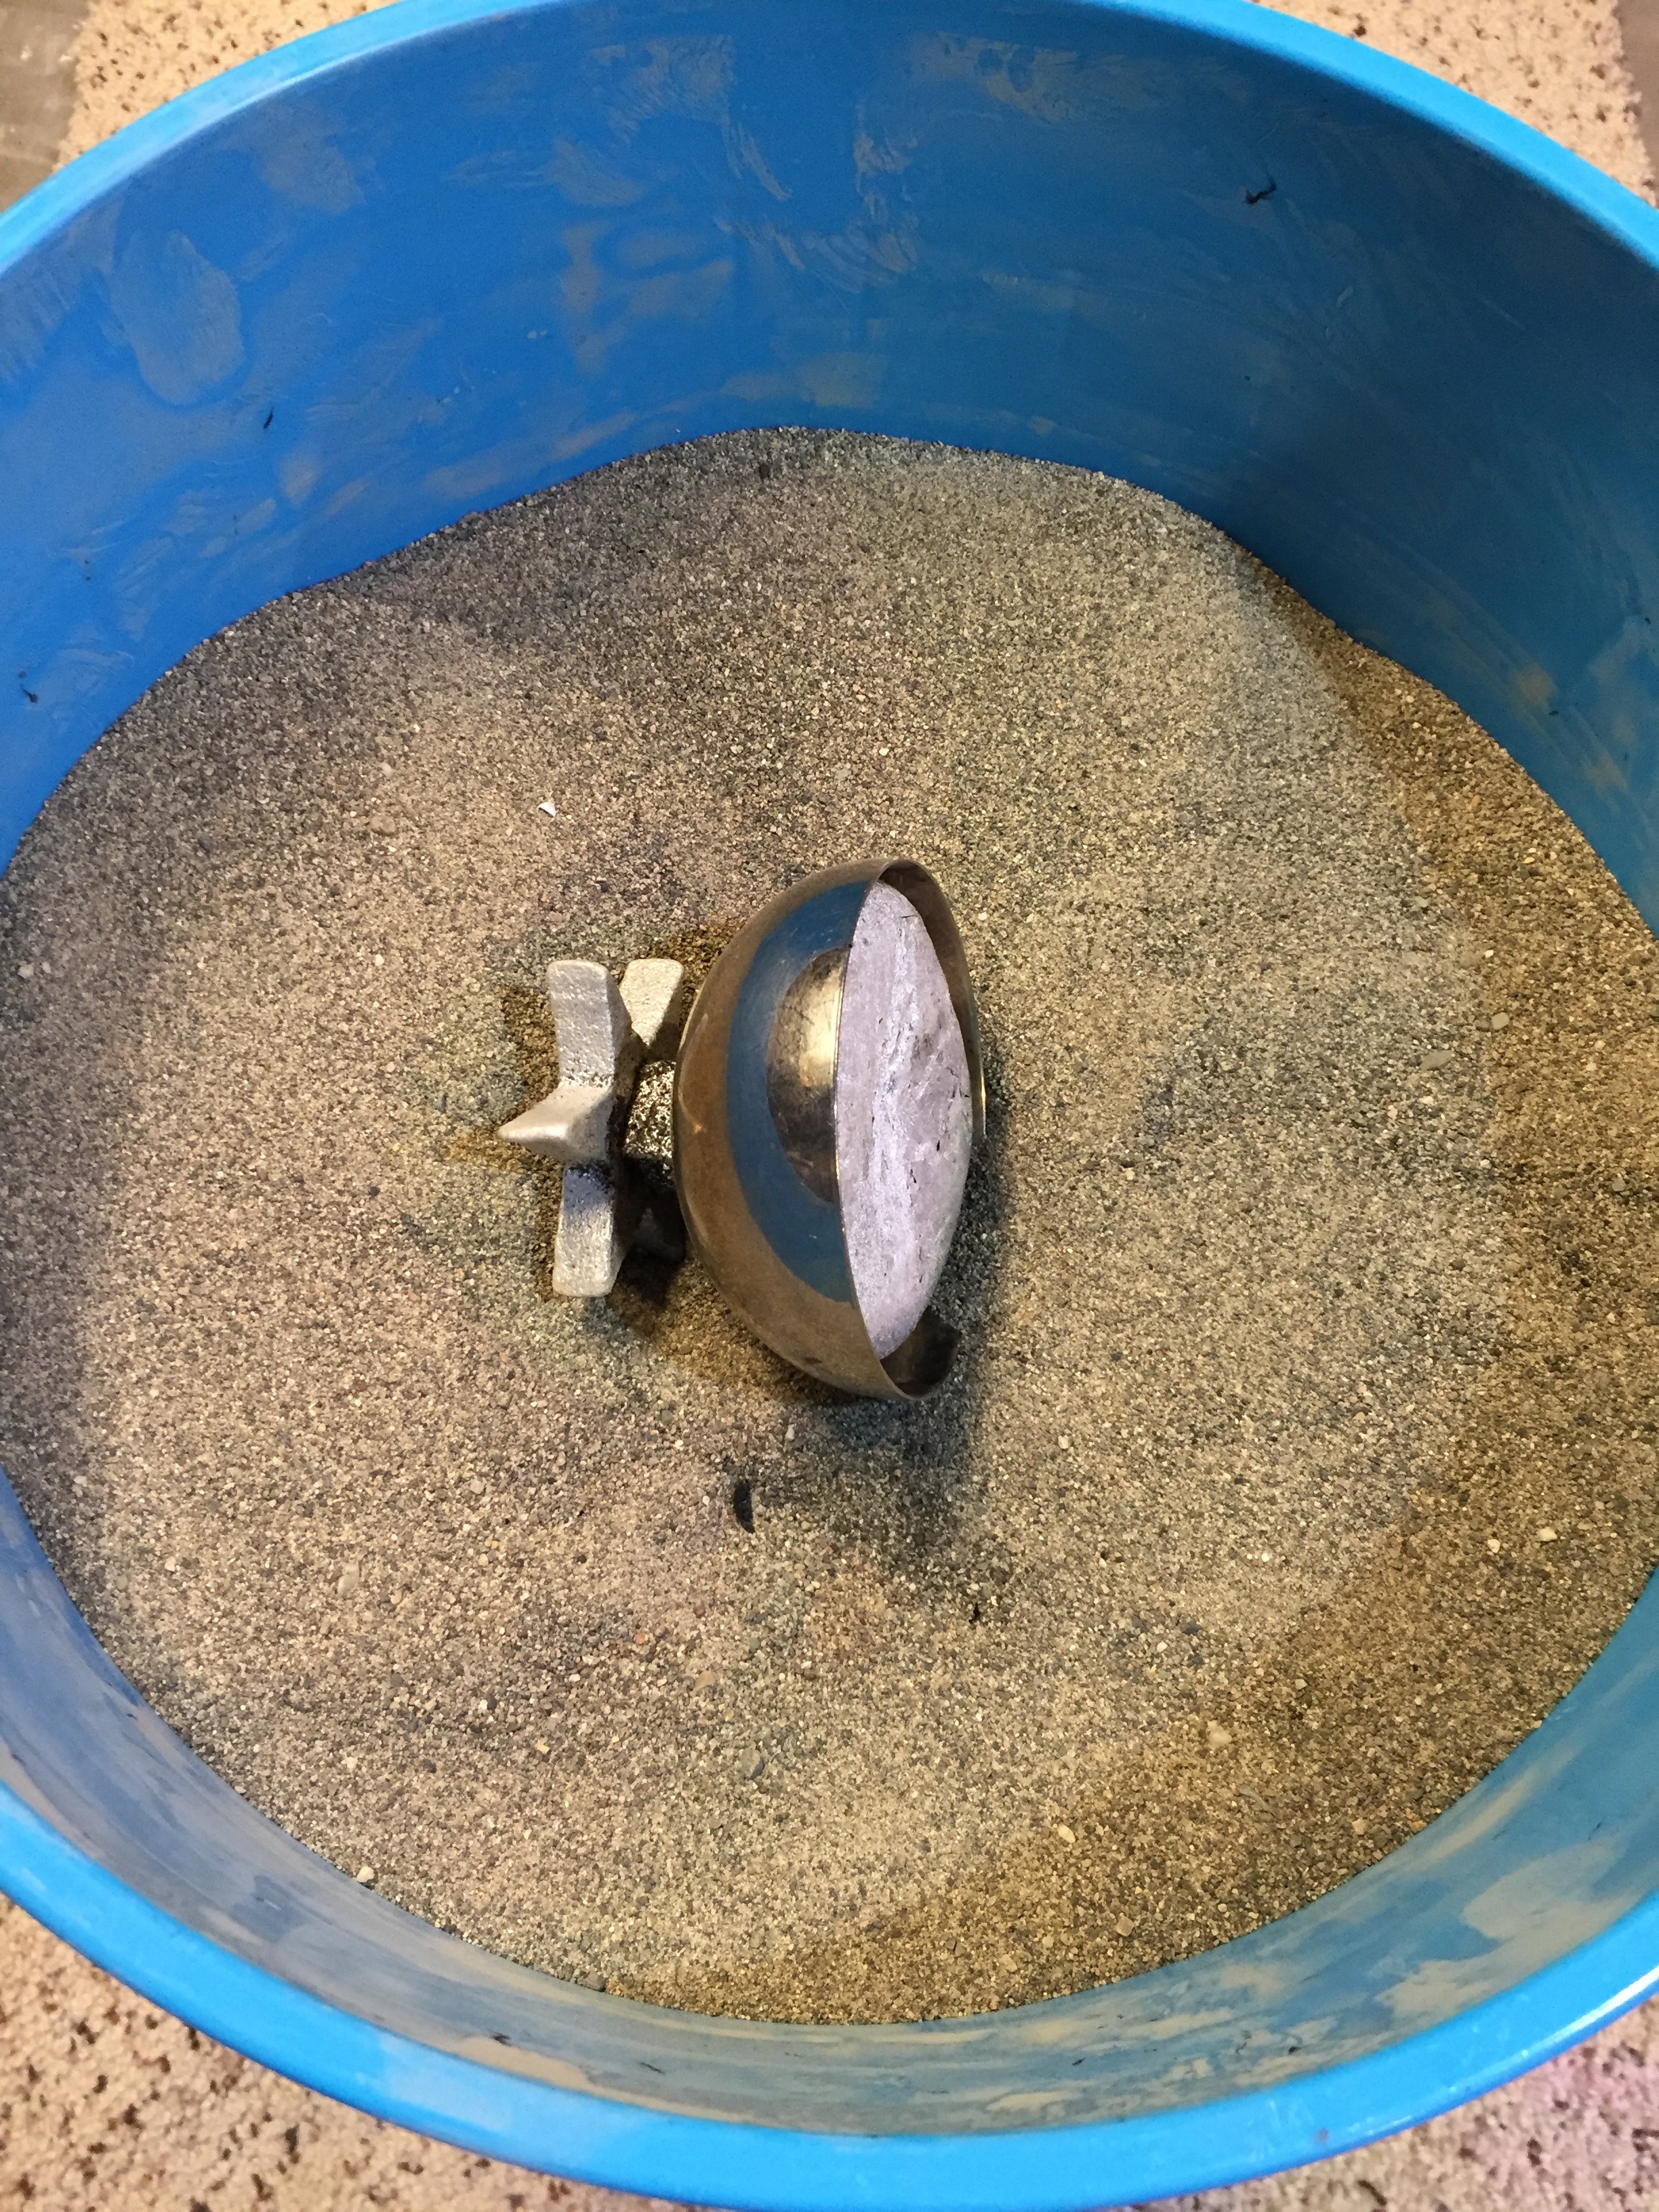
All of this was placed in some play sand in a bucket, some more cans, as well as some of the previously formed ingots were melted down, and poured in. After cooling for some time, here’s what it looked like still in the sand. You can see the cup holding the now solidified reservoir.
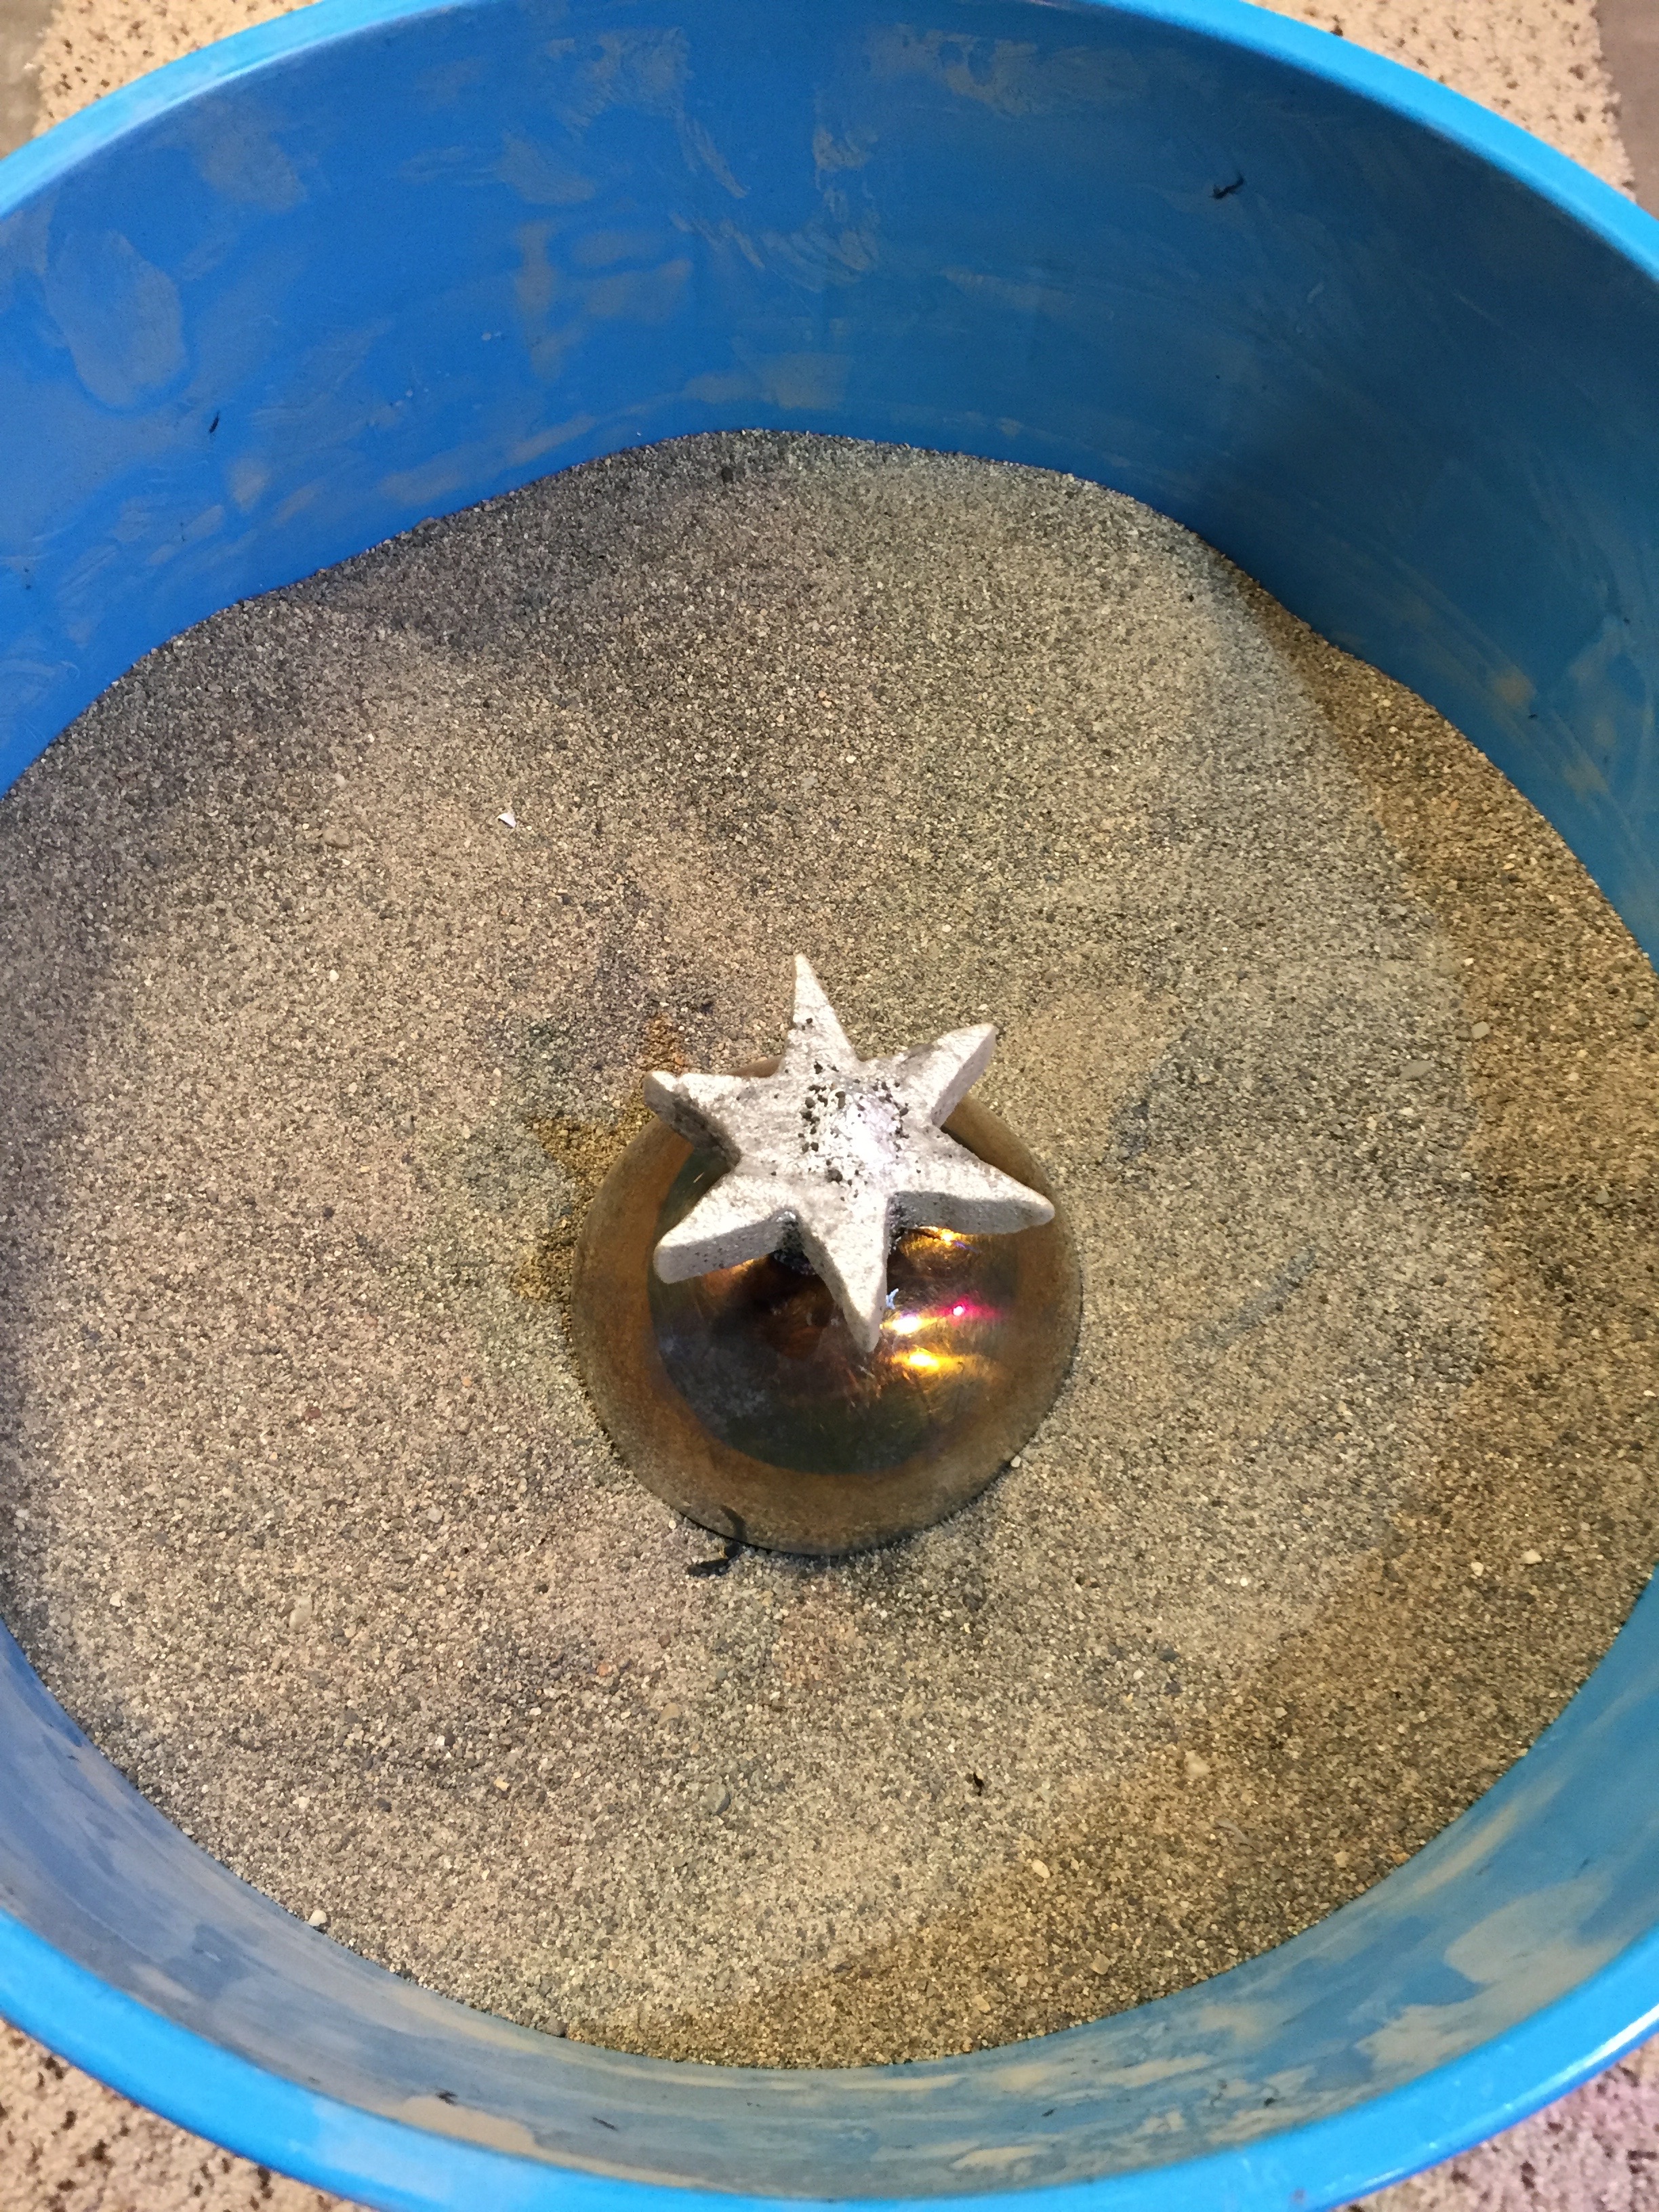
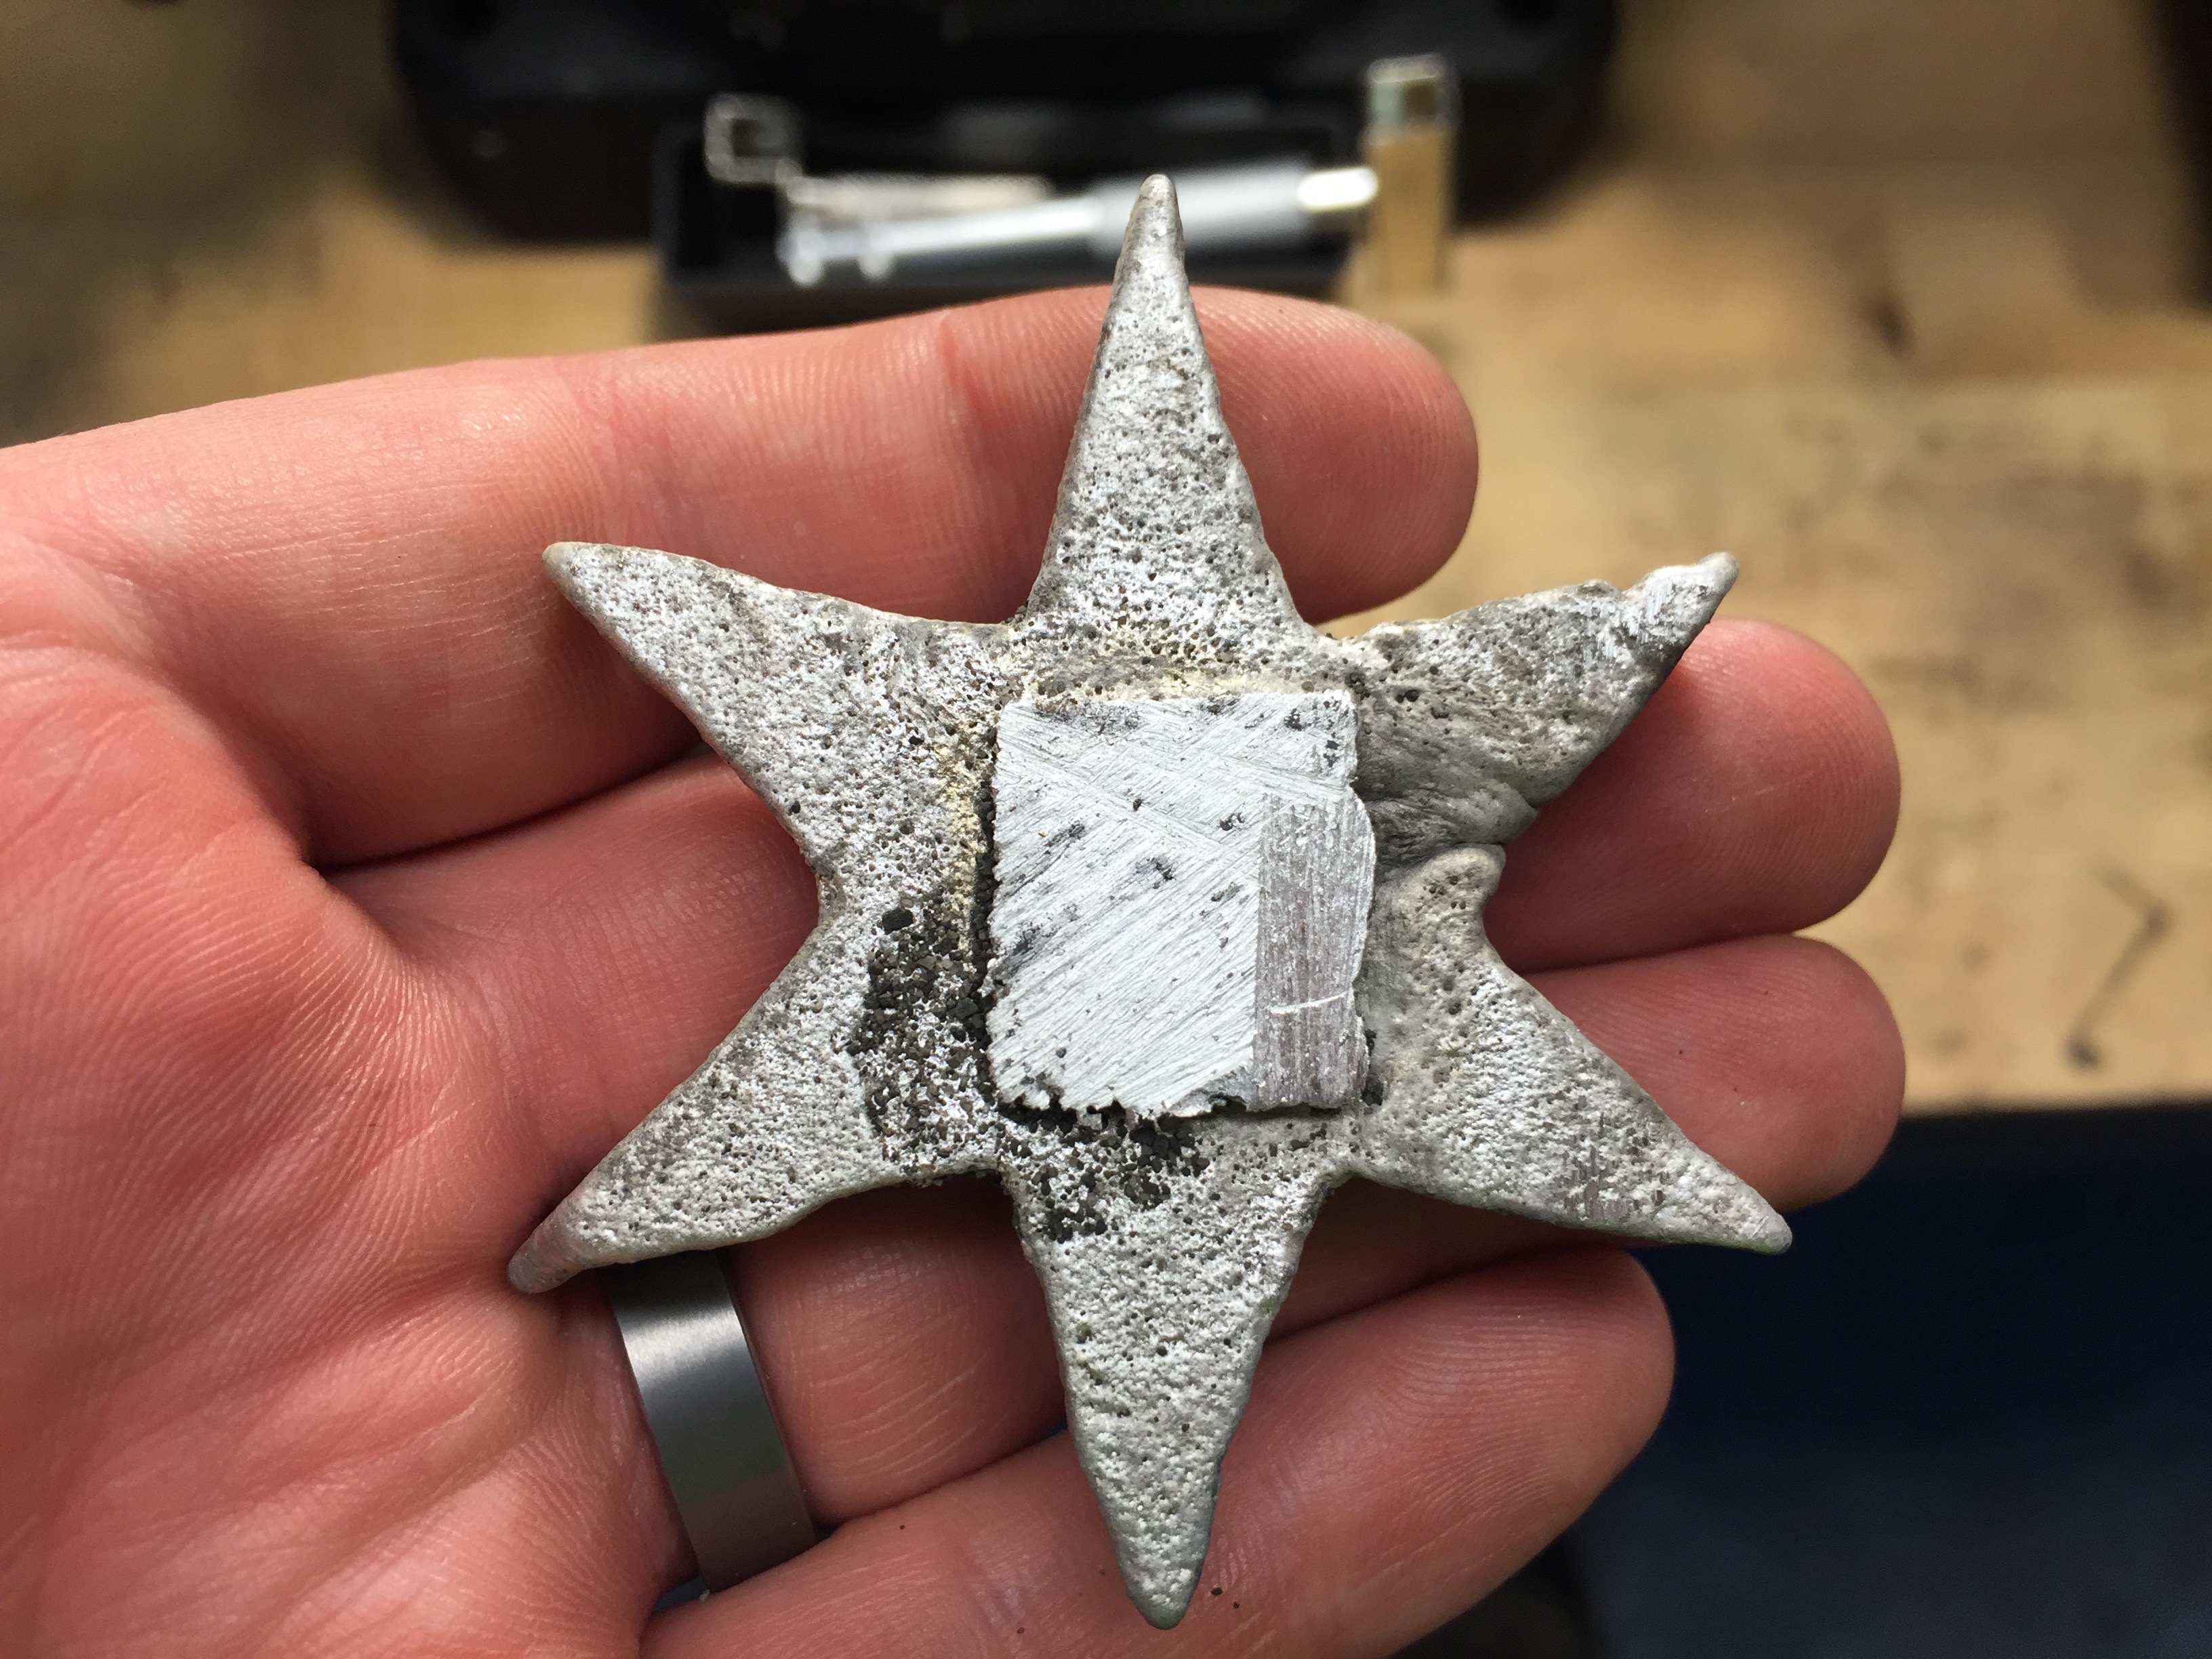
Using some pliers (as it’s still very hot), here’s a shot of the cast part, pulled out of the sand.
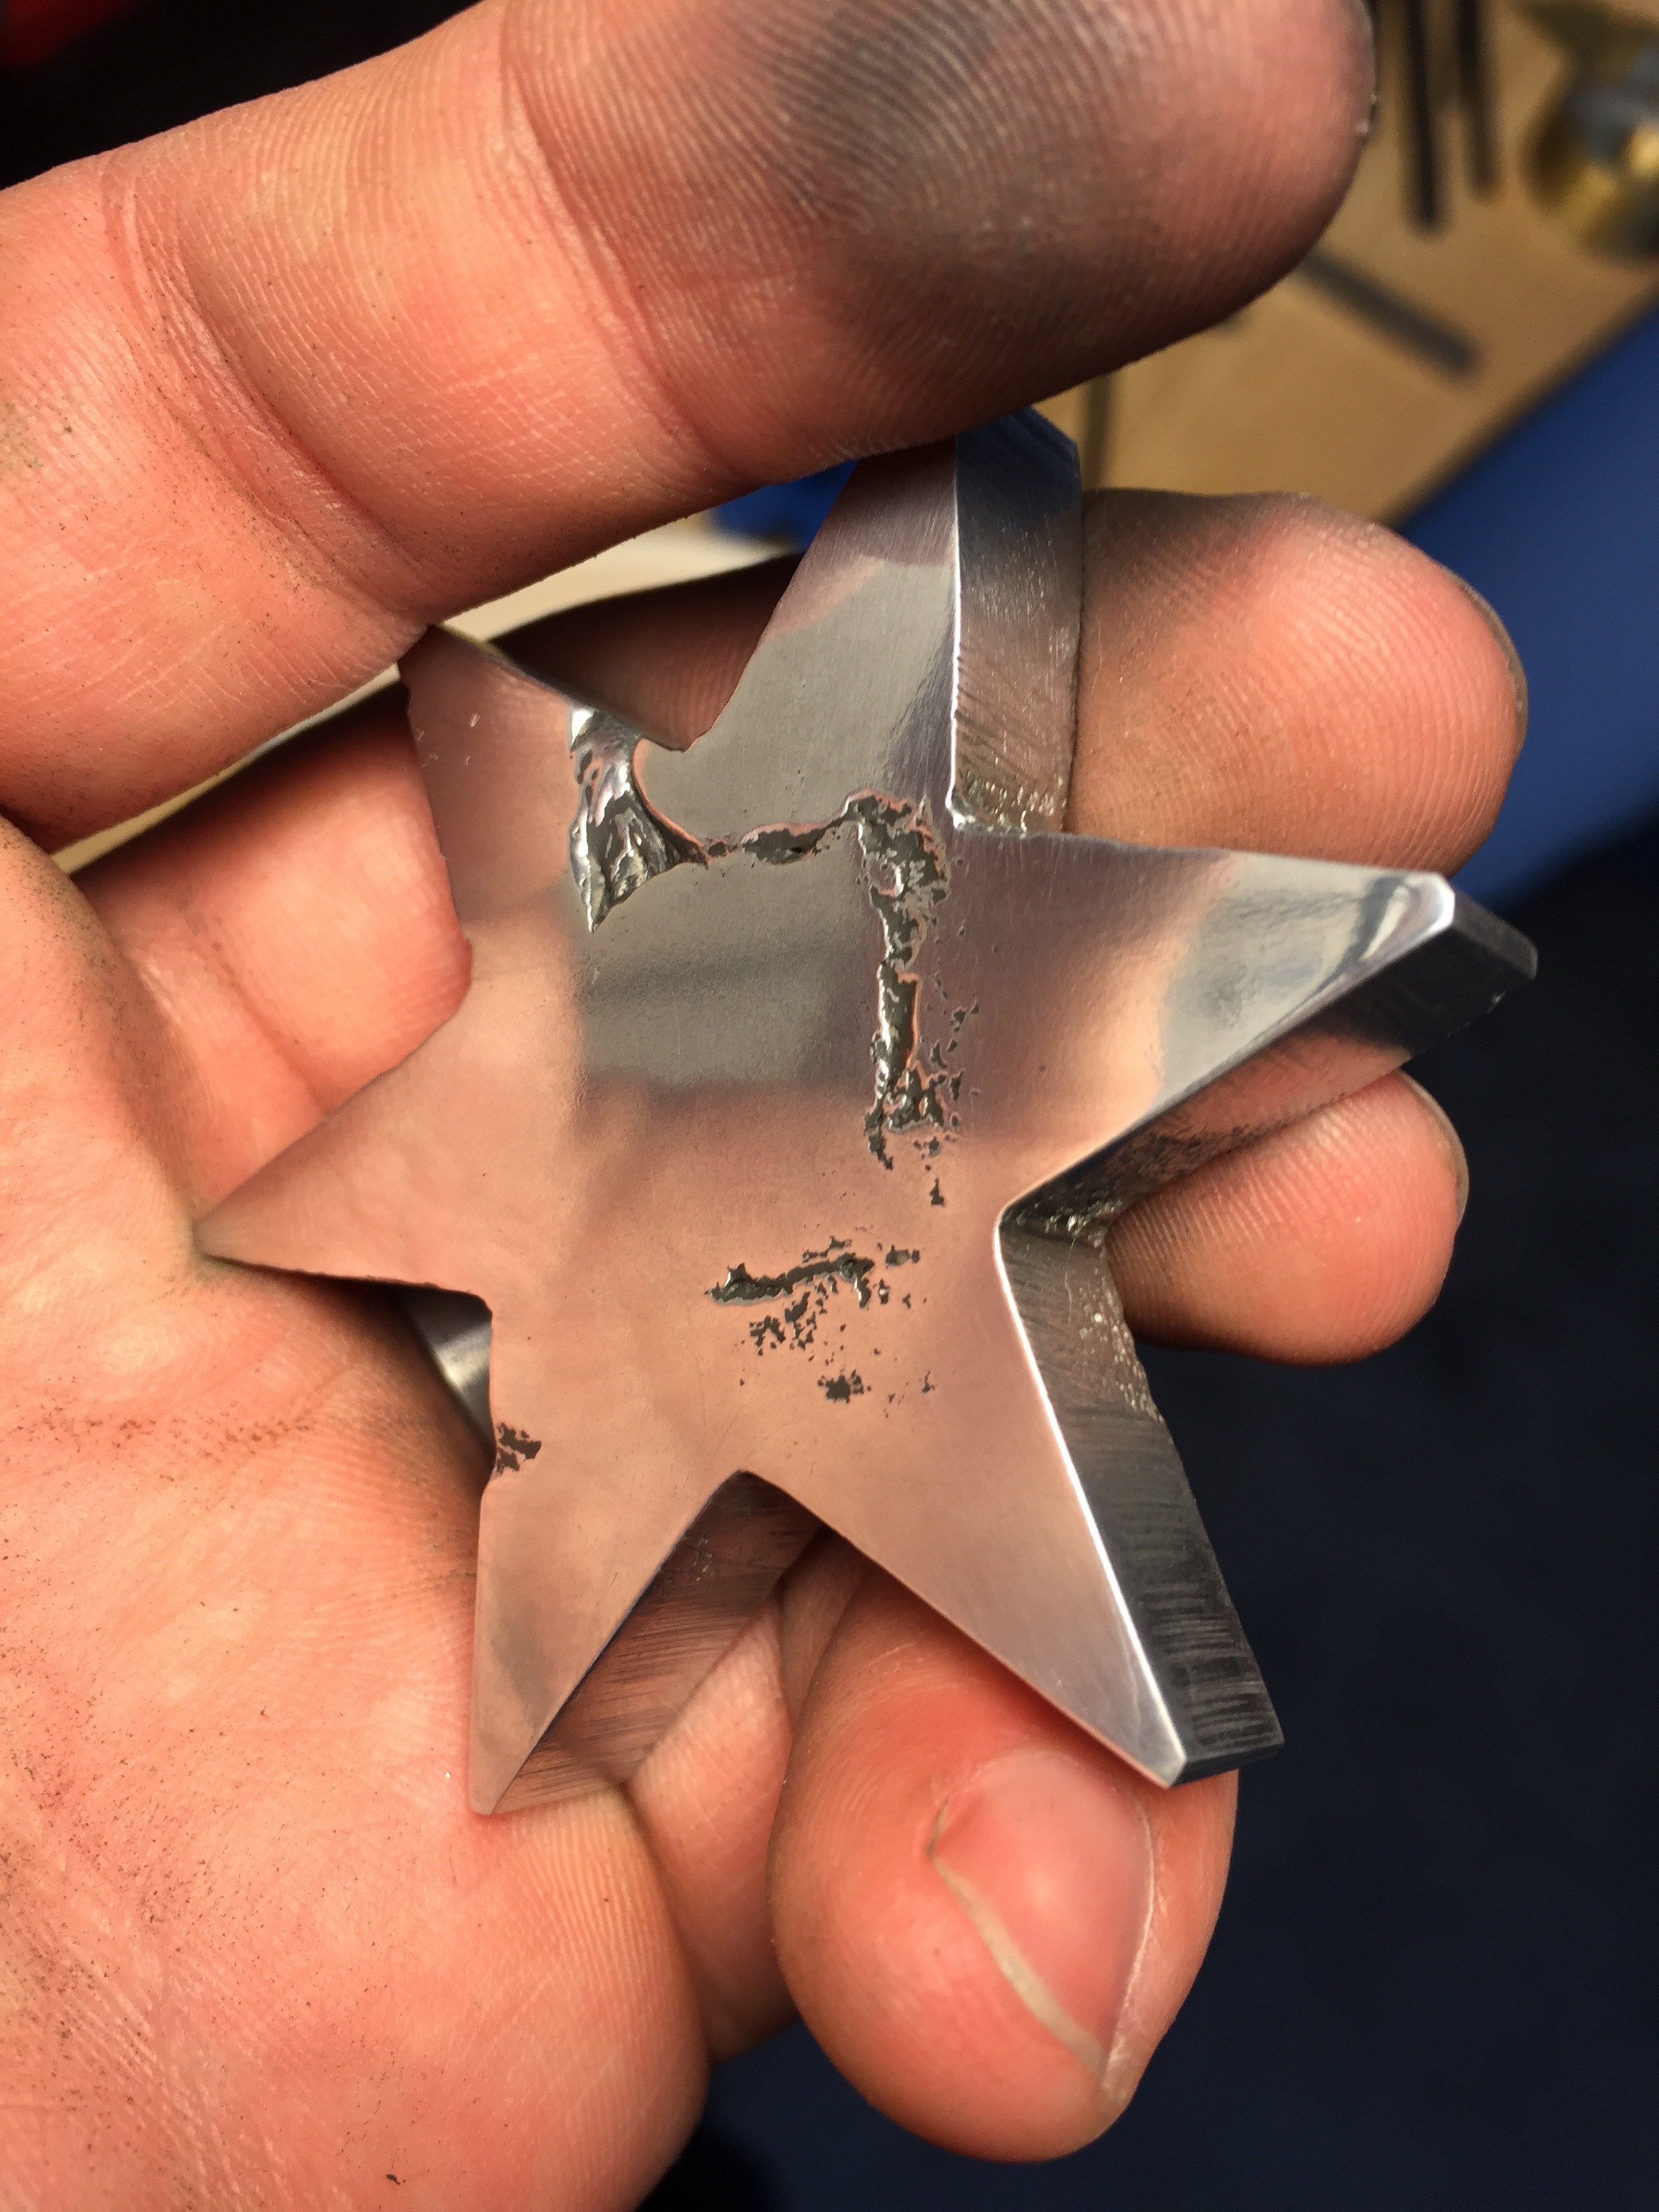
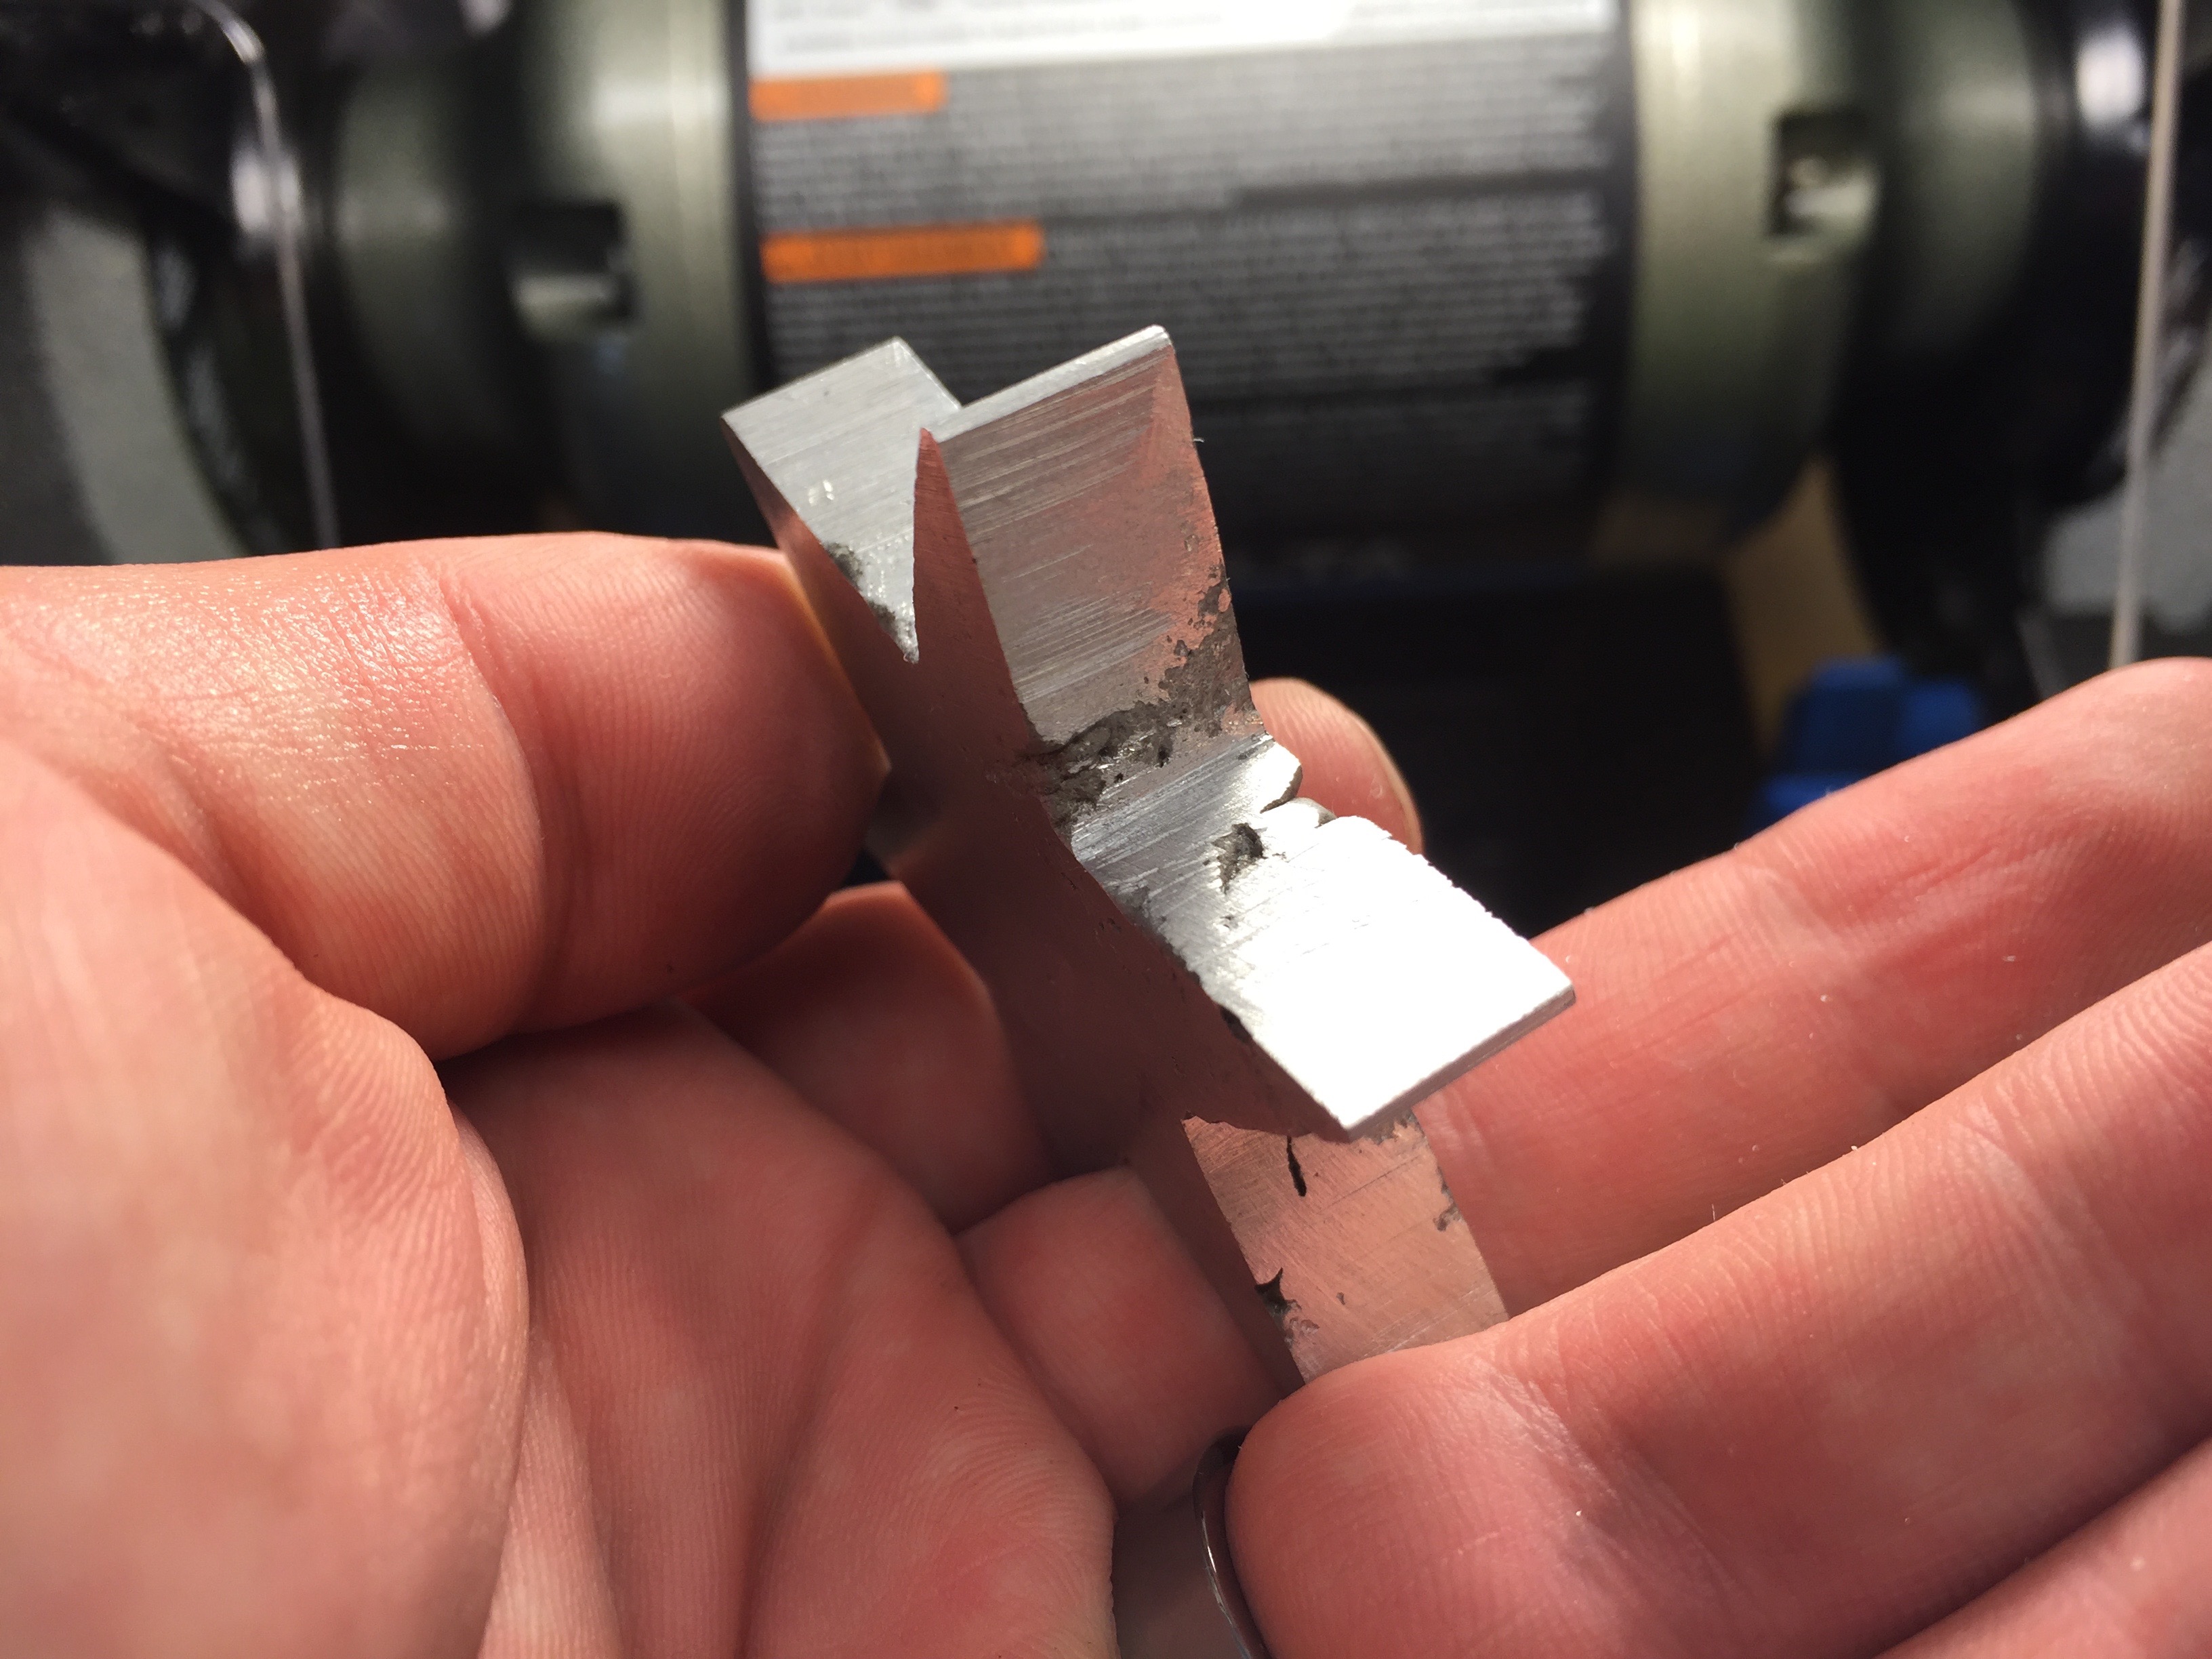
After cutting off the riser from the star with a hack saw, and separating, here’s the various bits.

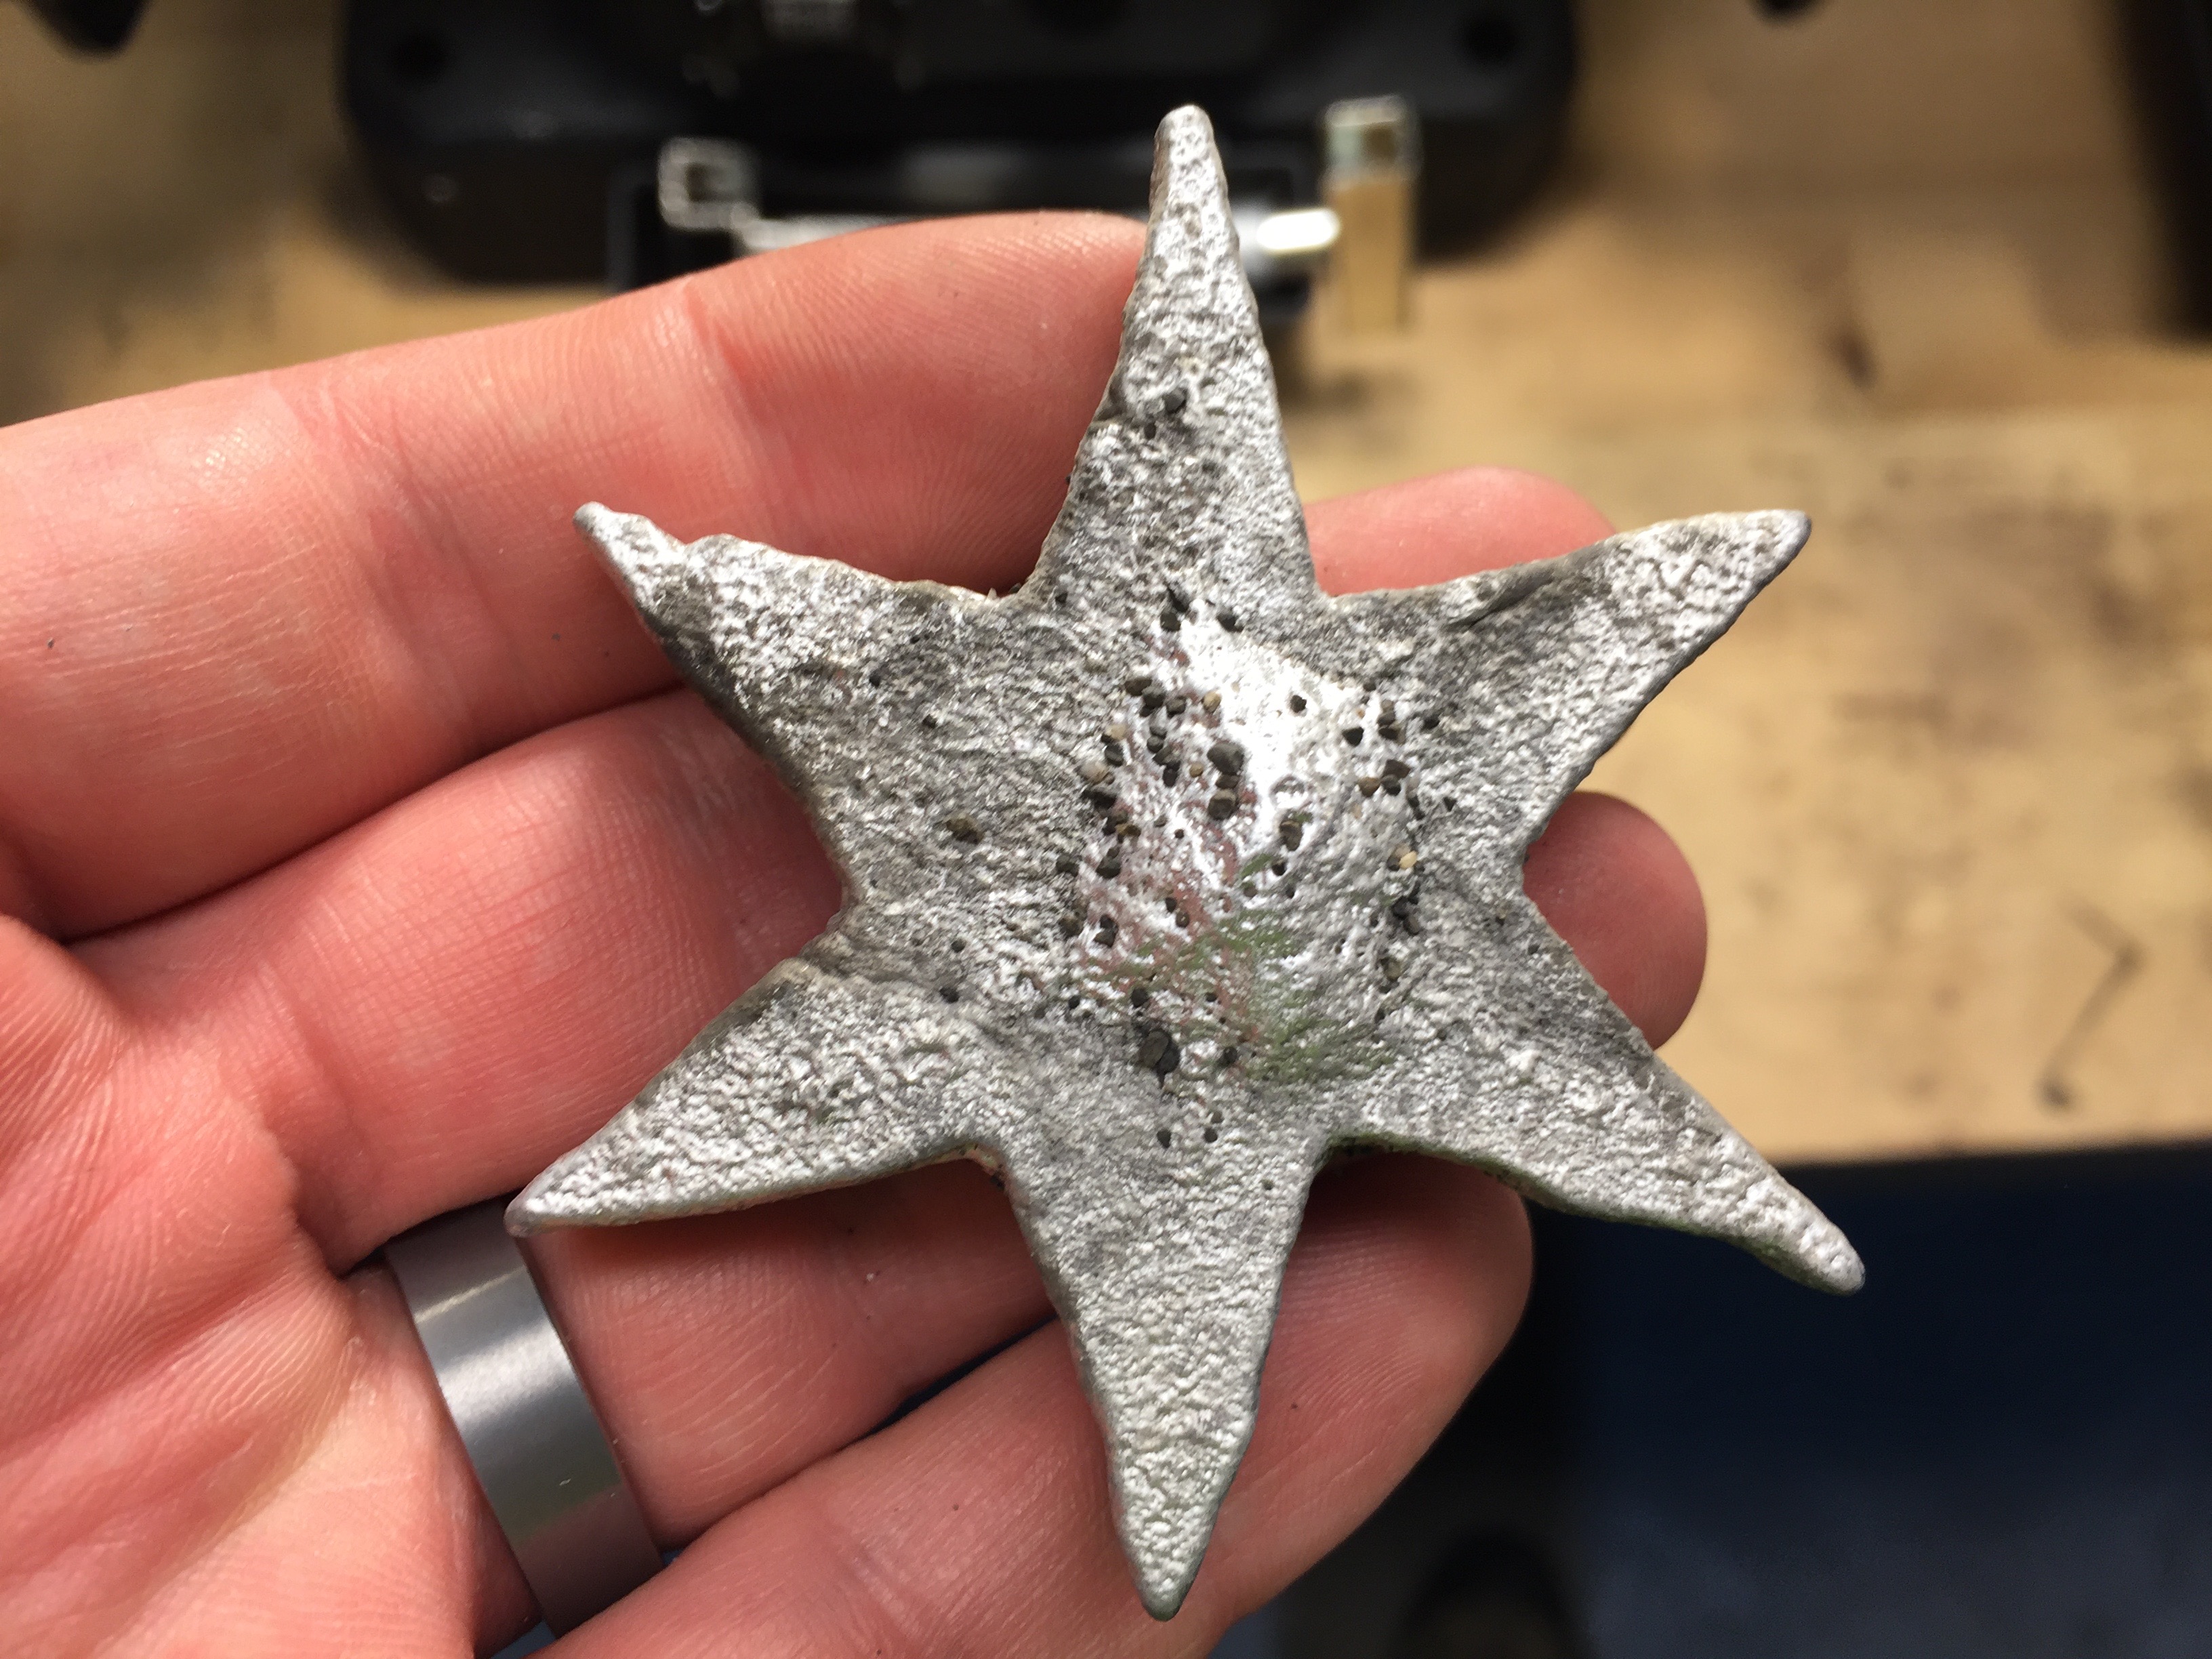
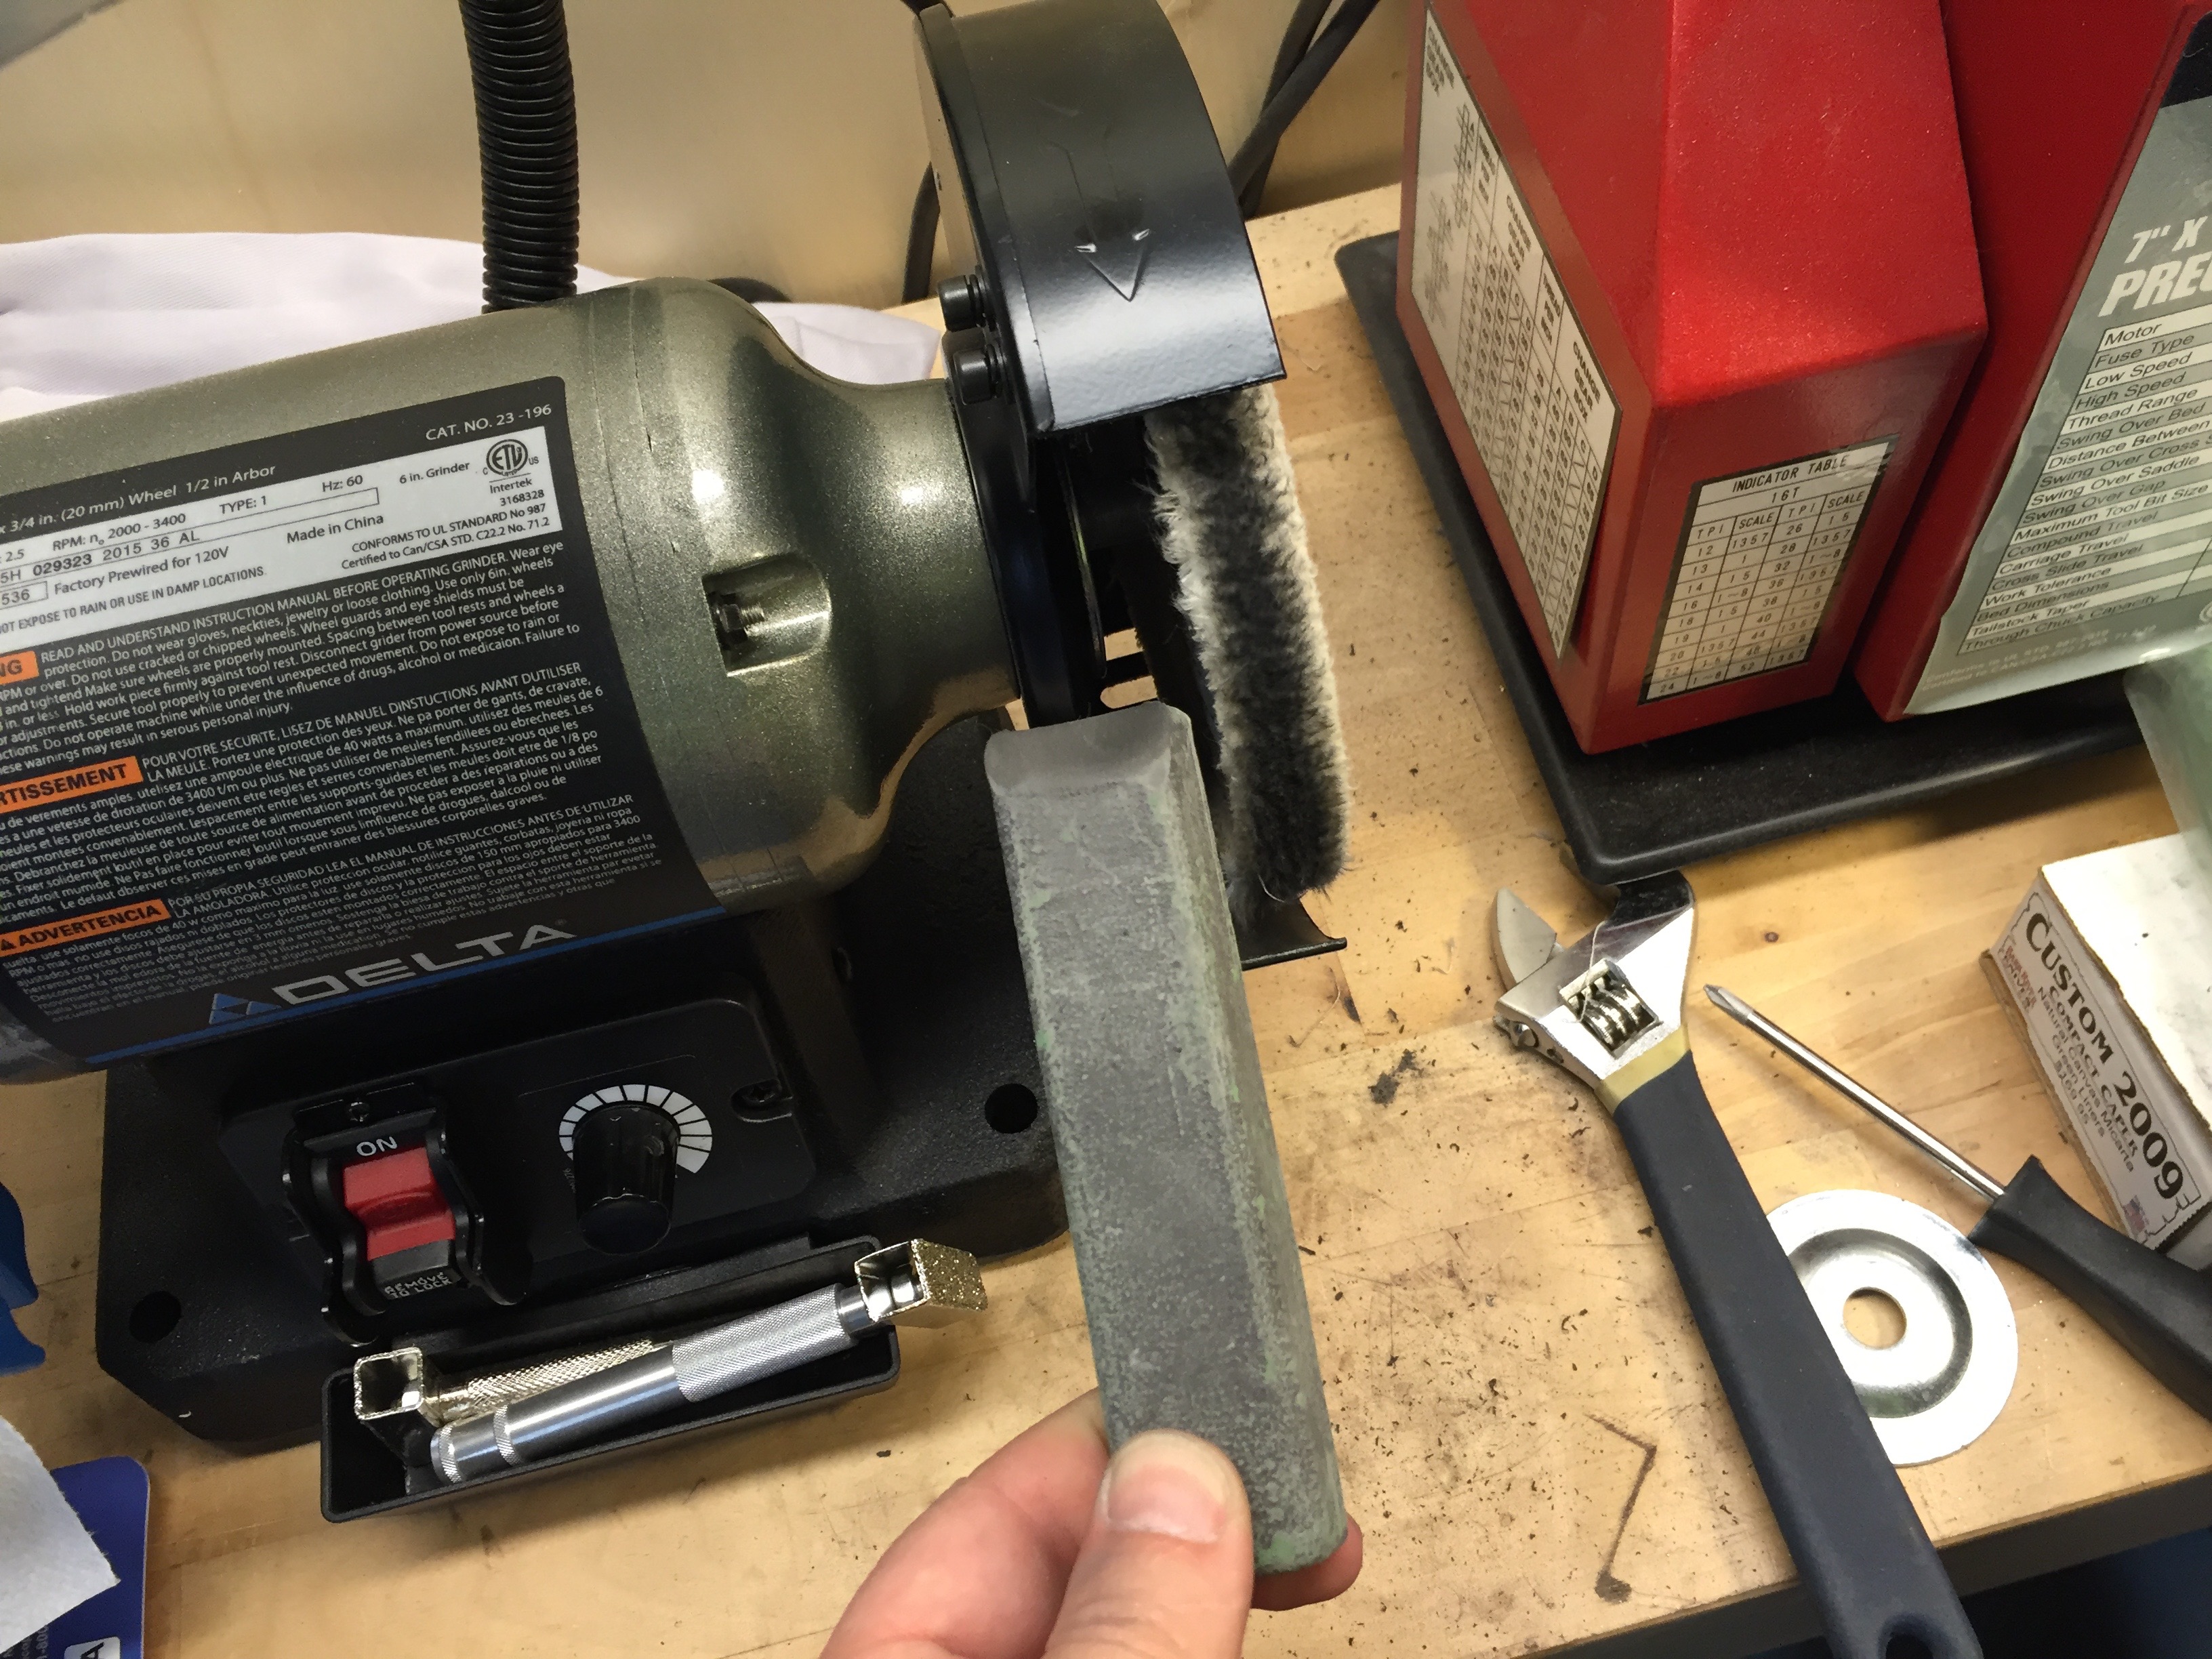
Next, I’ll take the star to the belt sander, and take off the lump on the bottom, the cutoff from the sprue, and do some general cleanup.
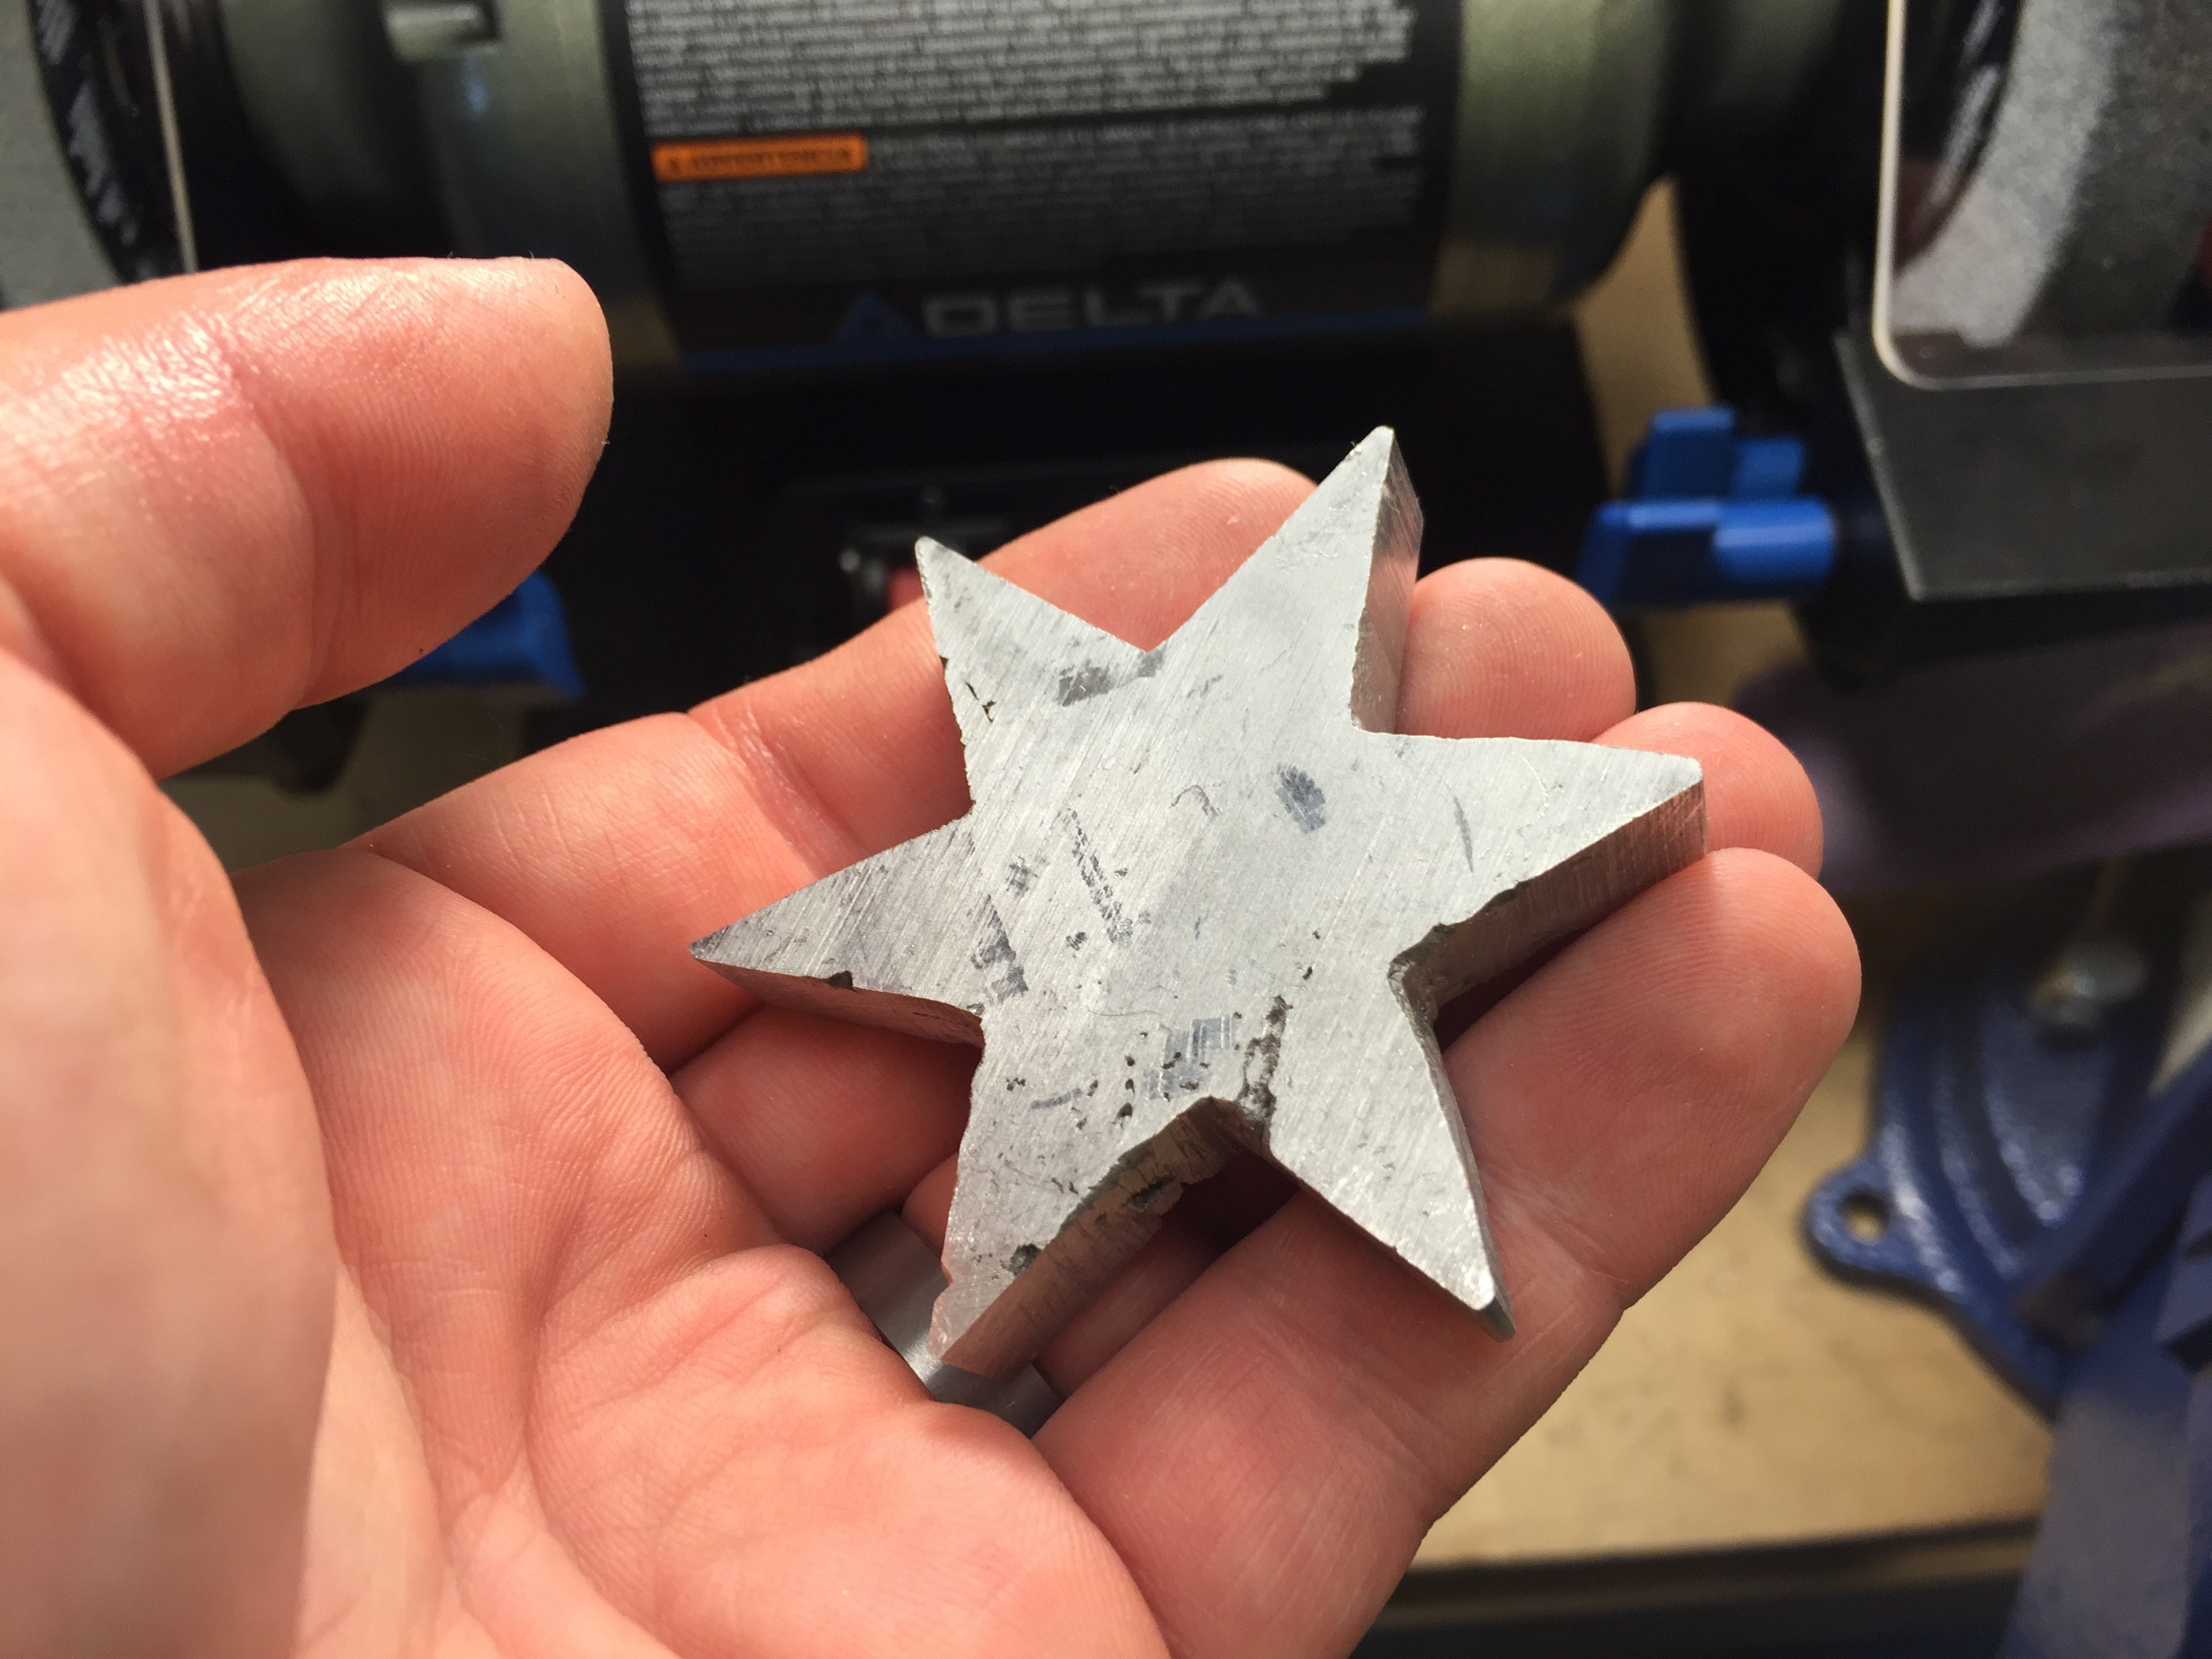
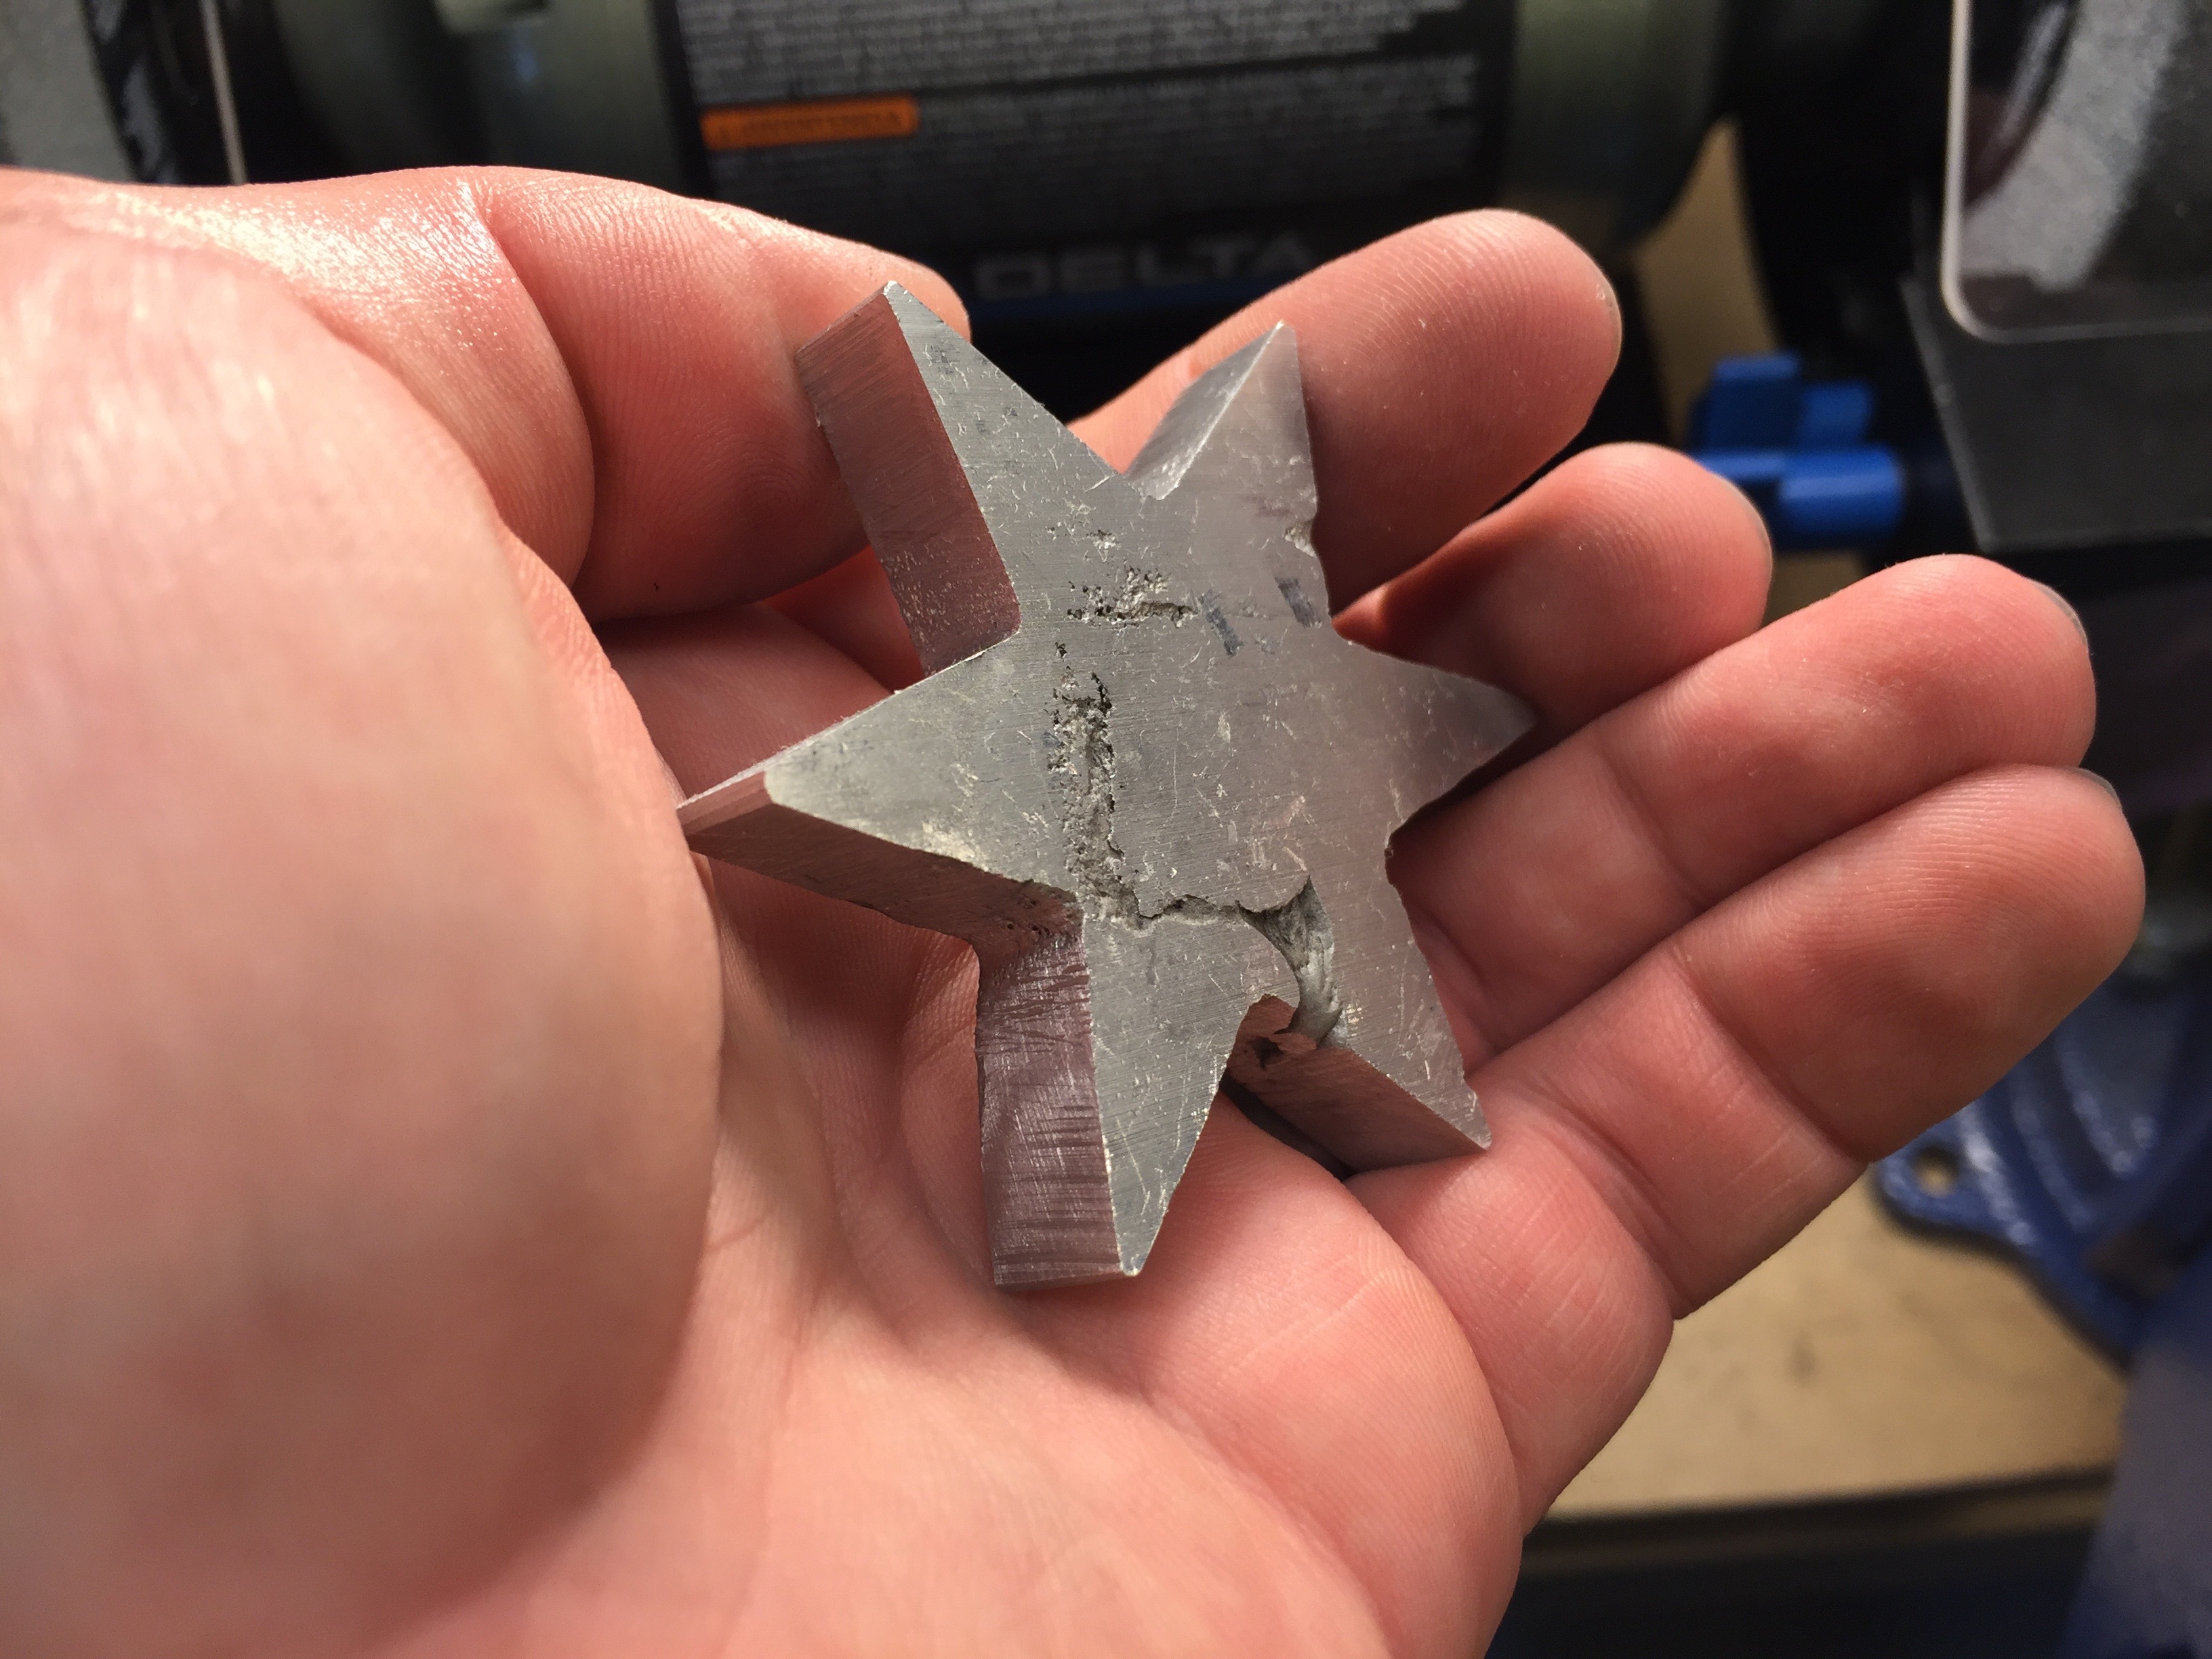
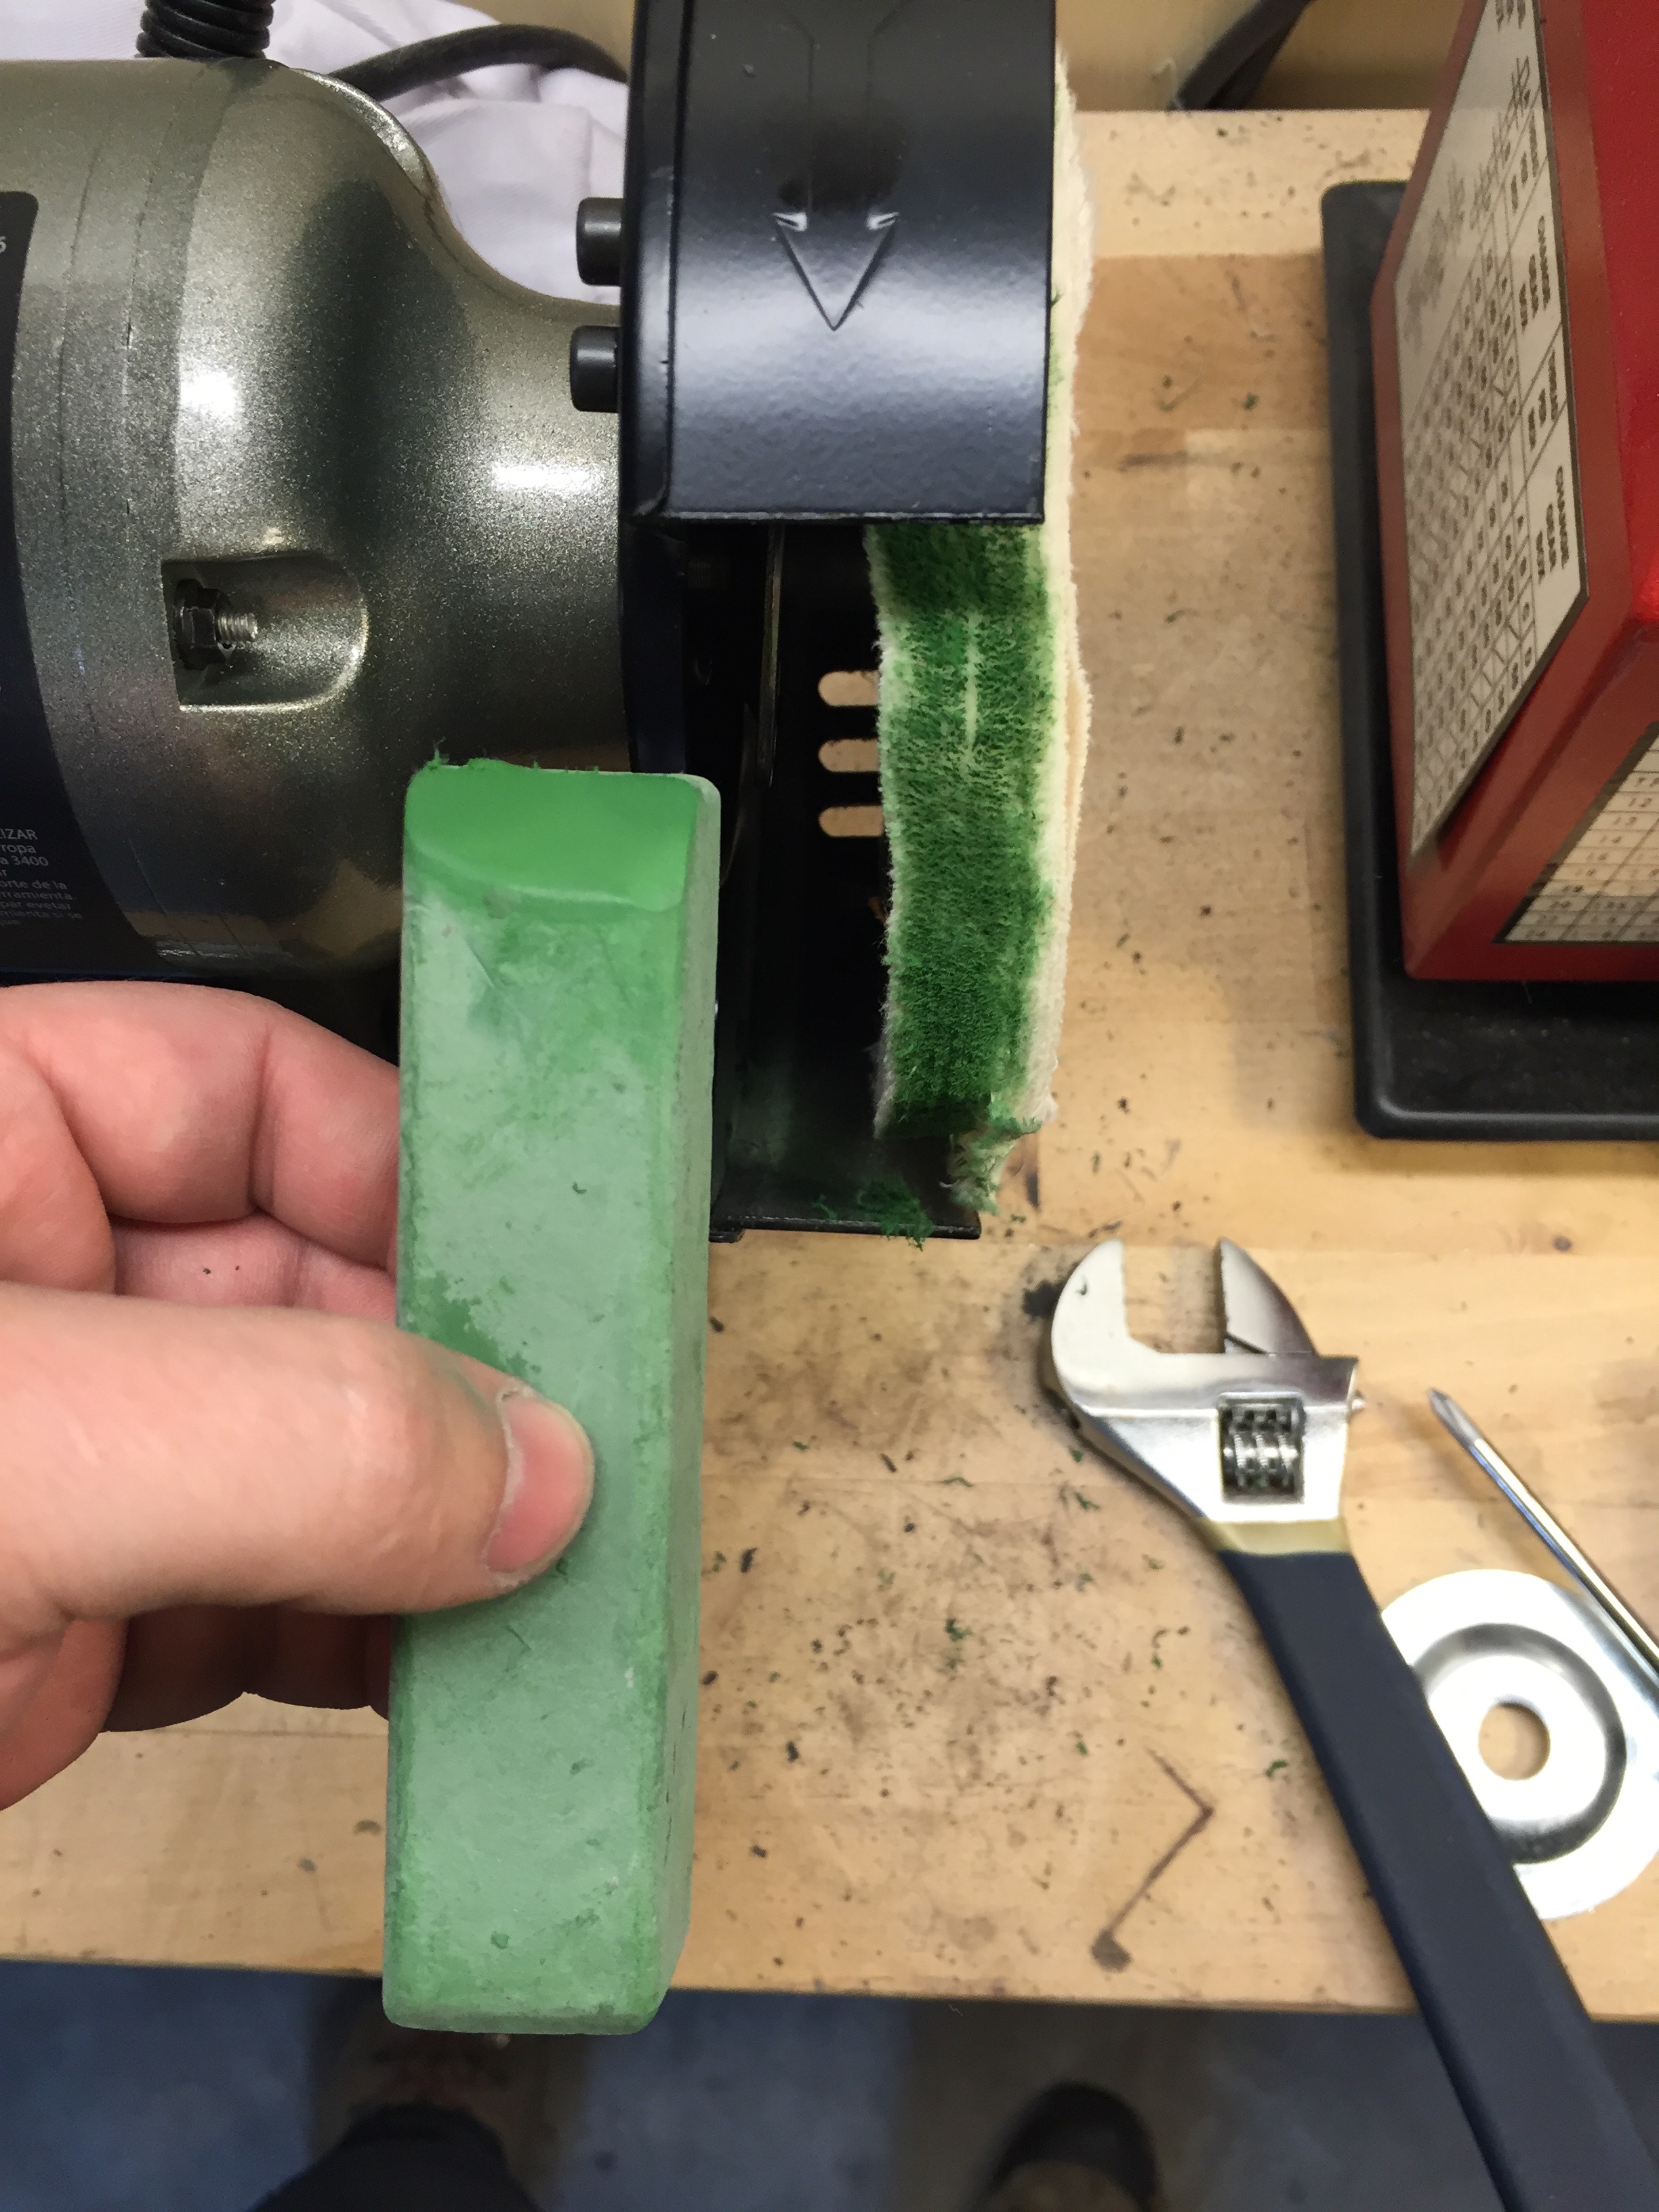
Next we’ll do a bit of tumbling and polishing!

And welcome to the final result! A shiny, aluminum star!