
Recently a friend of mine sent me a number of parts he had laying around to get me started on building a 3D printer. The parts he sent, plus some time, and a few parts I could buy would combine into a machine for making objects out of rolls of plastic.
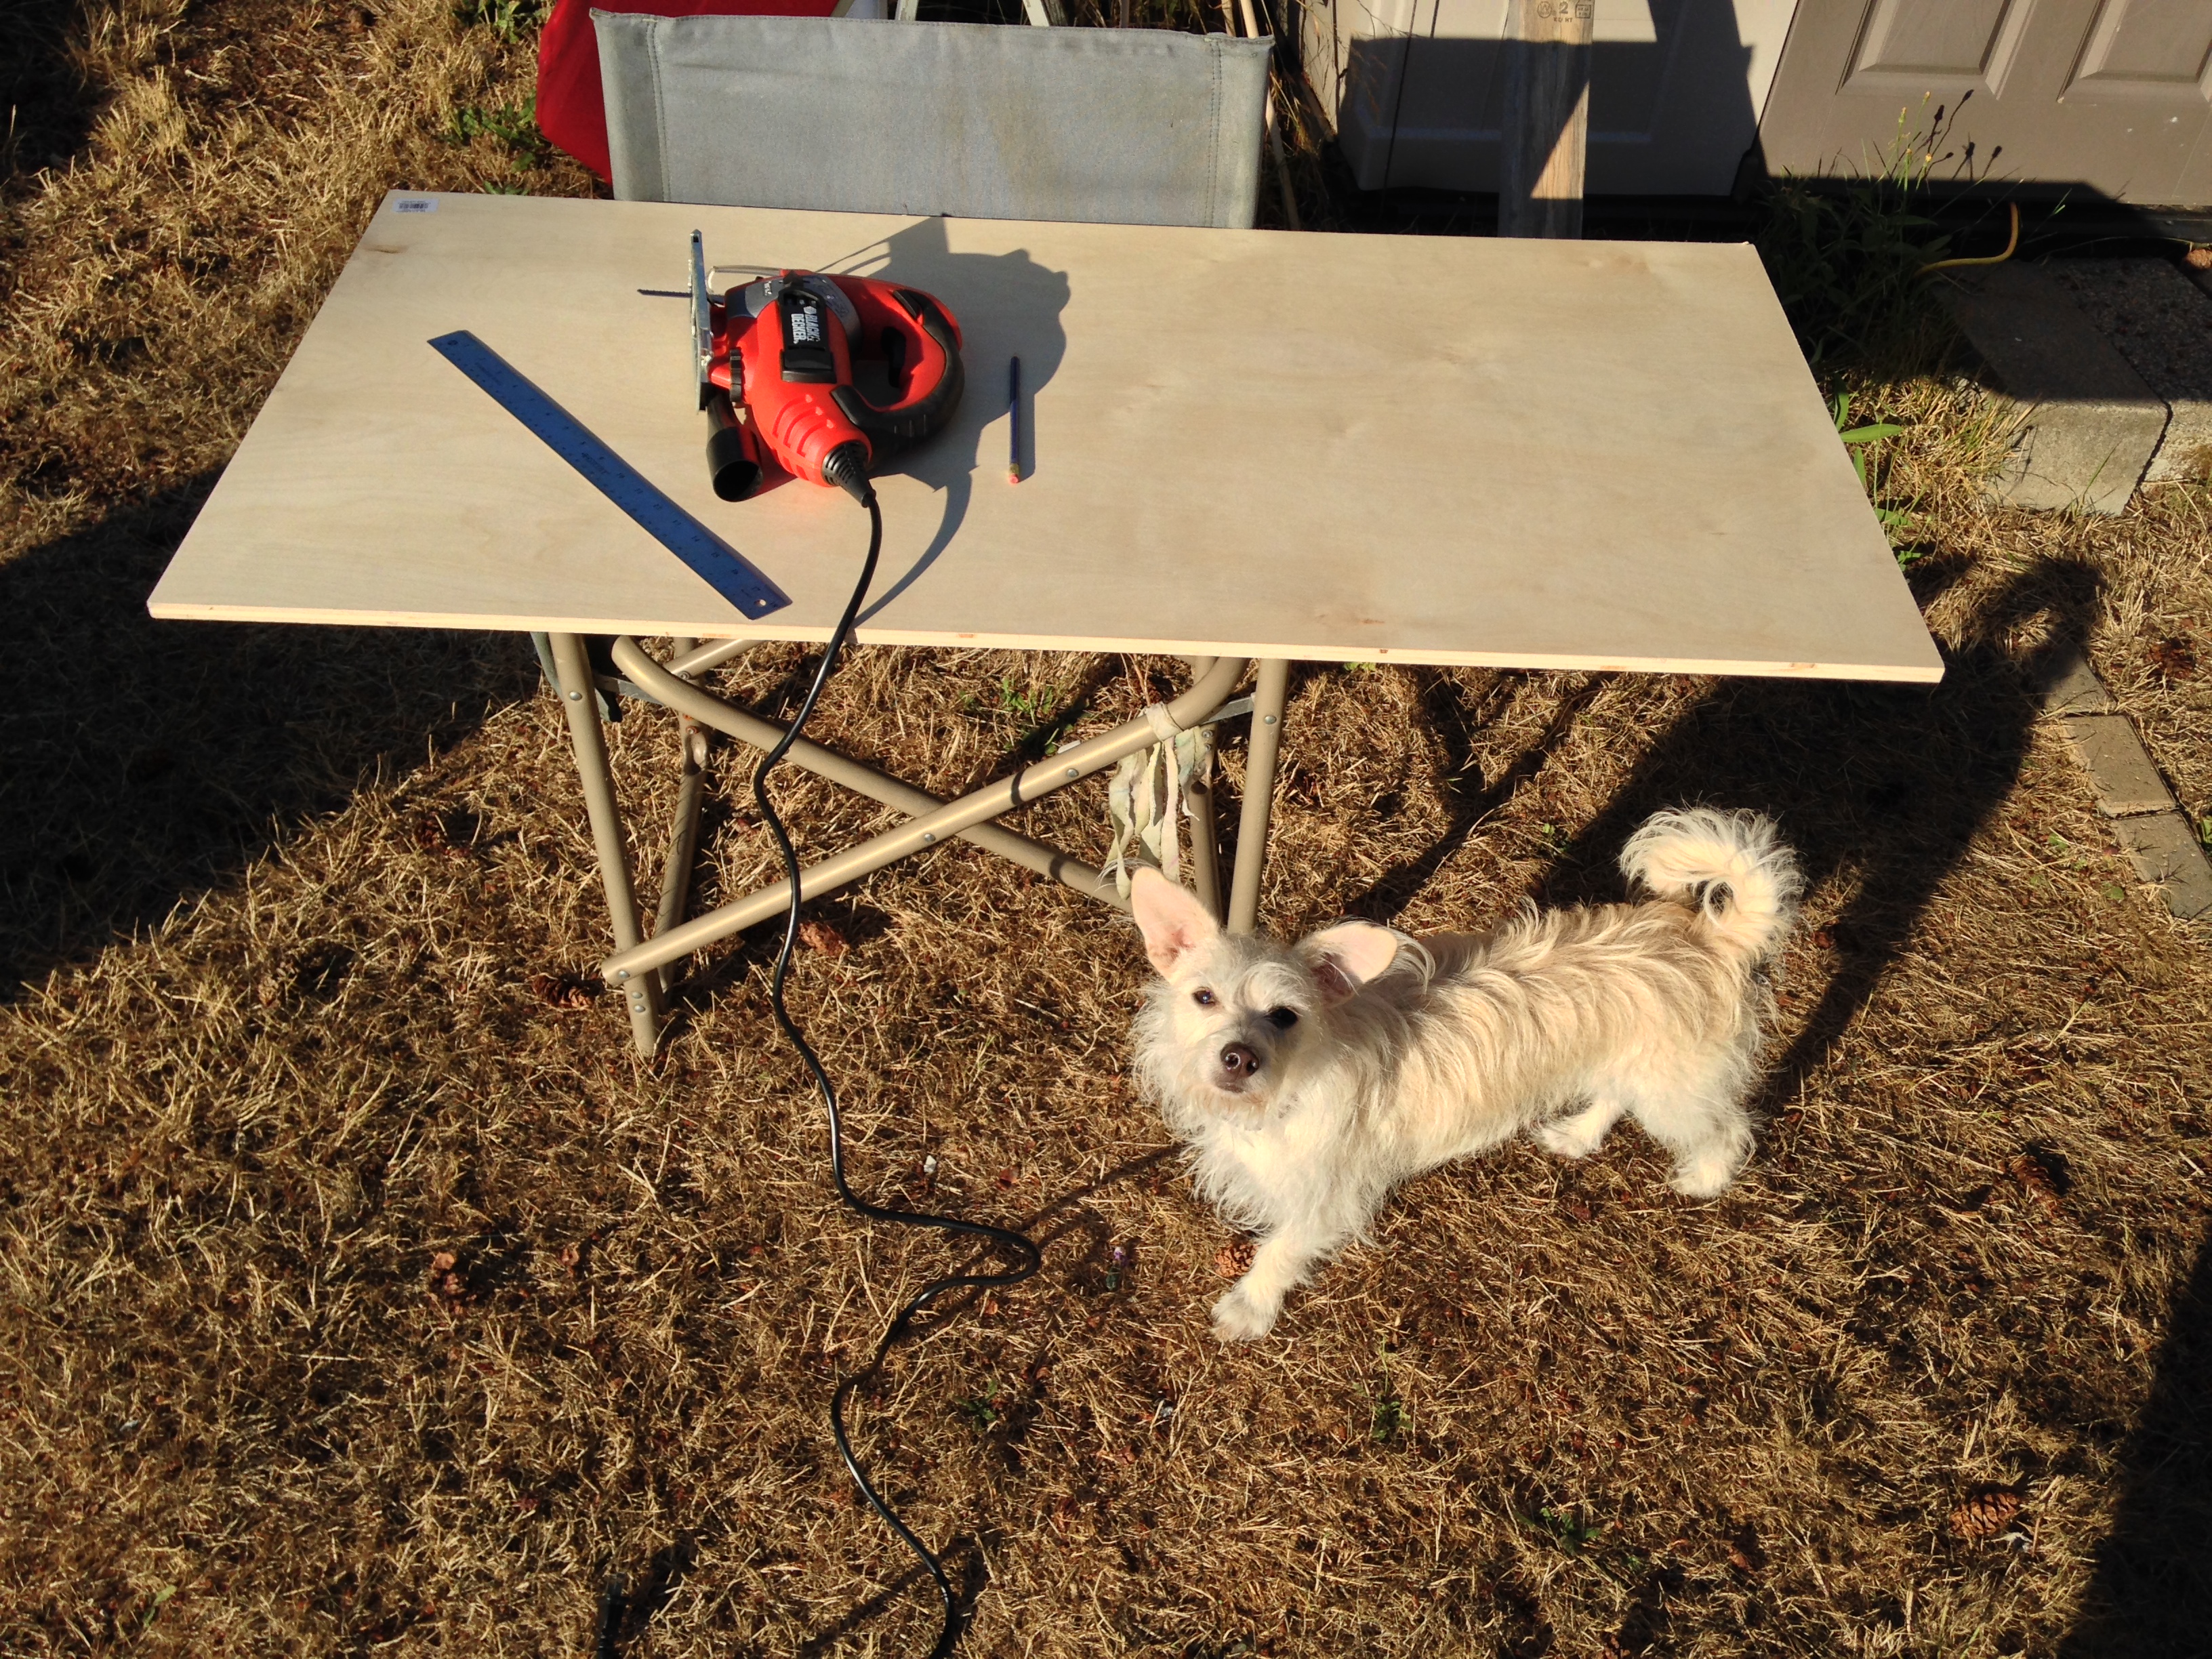
Once his shipment arrived, it was time for me to construct the frame, which everything else would attach to. I ended up building the frame from some finish plywood I picked up at the local Home Depot. After which came the measuring and cutting. Of course, I had my puppy helper to distract me.
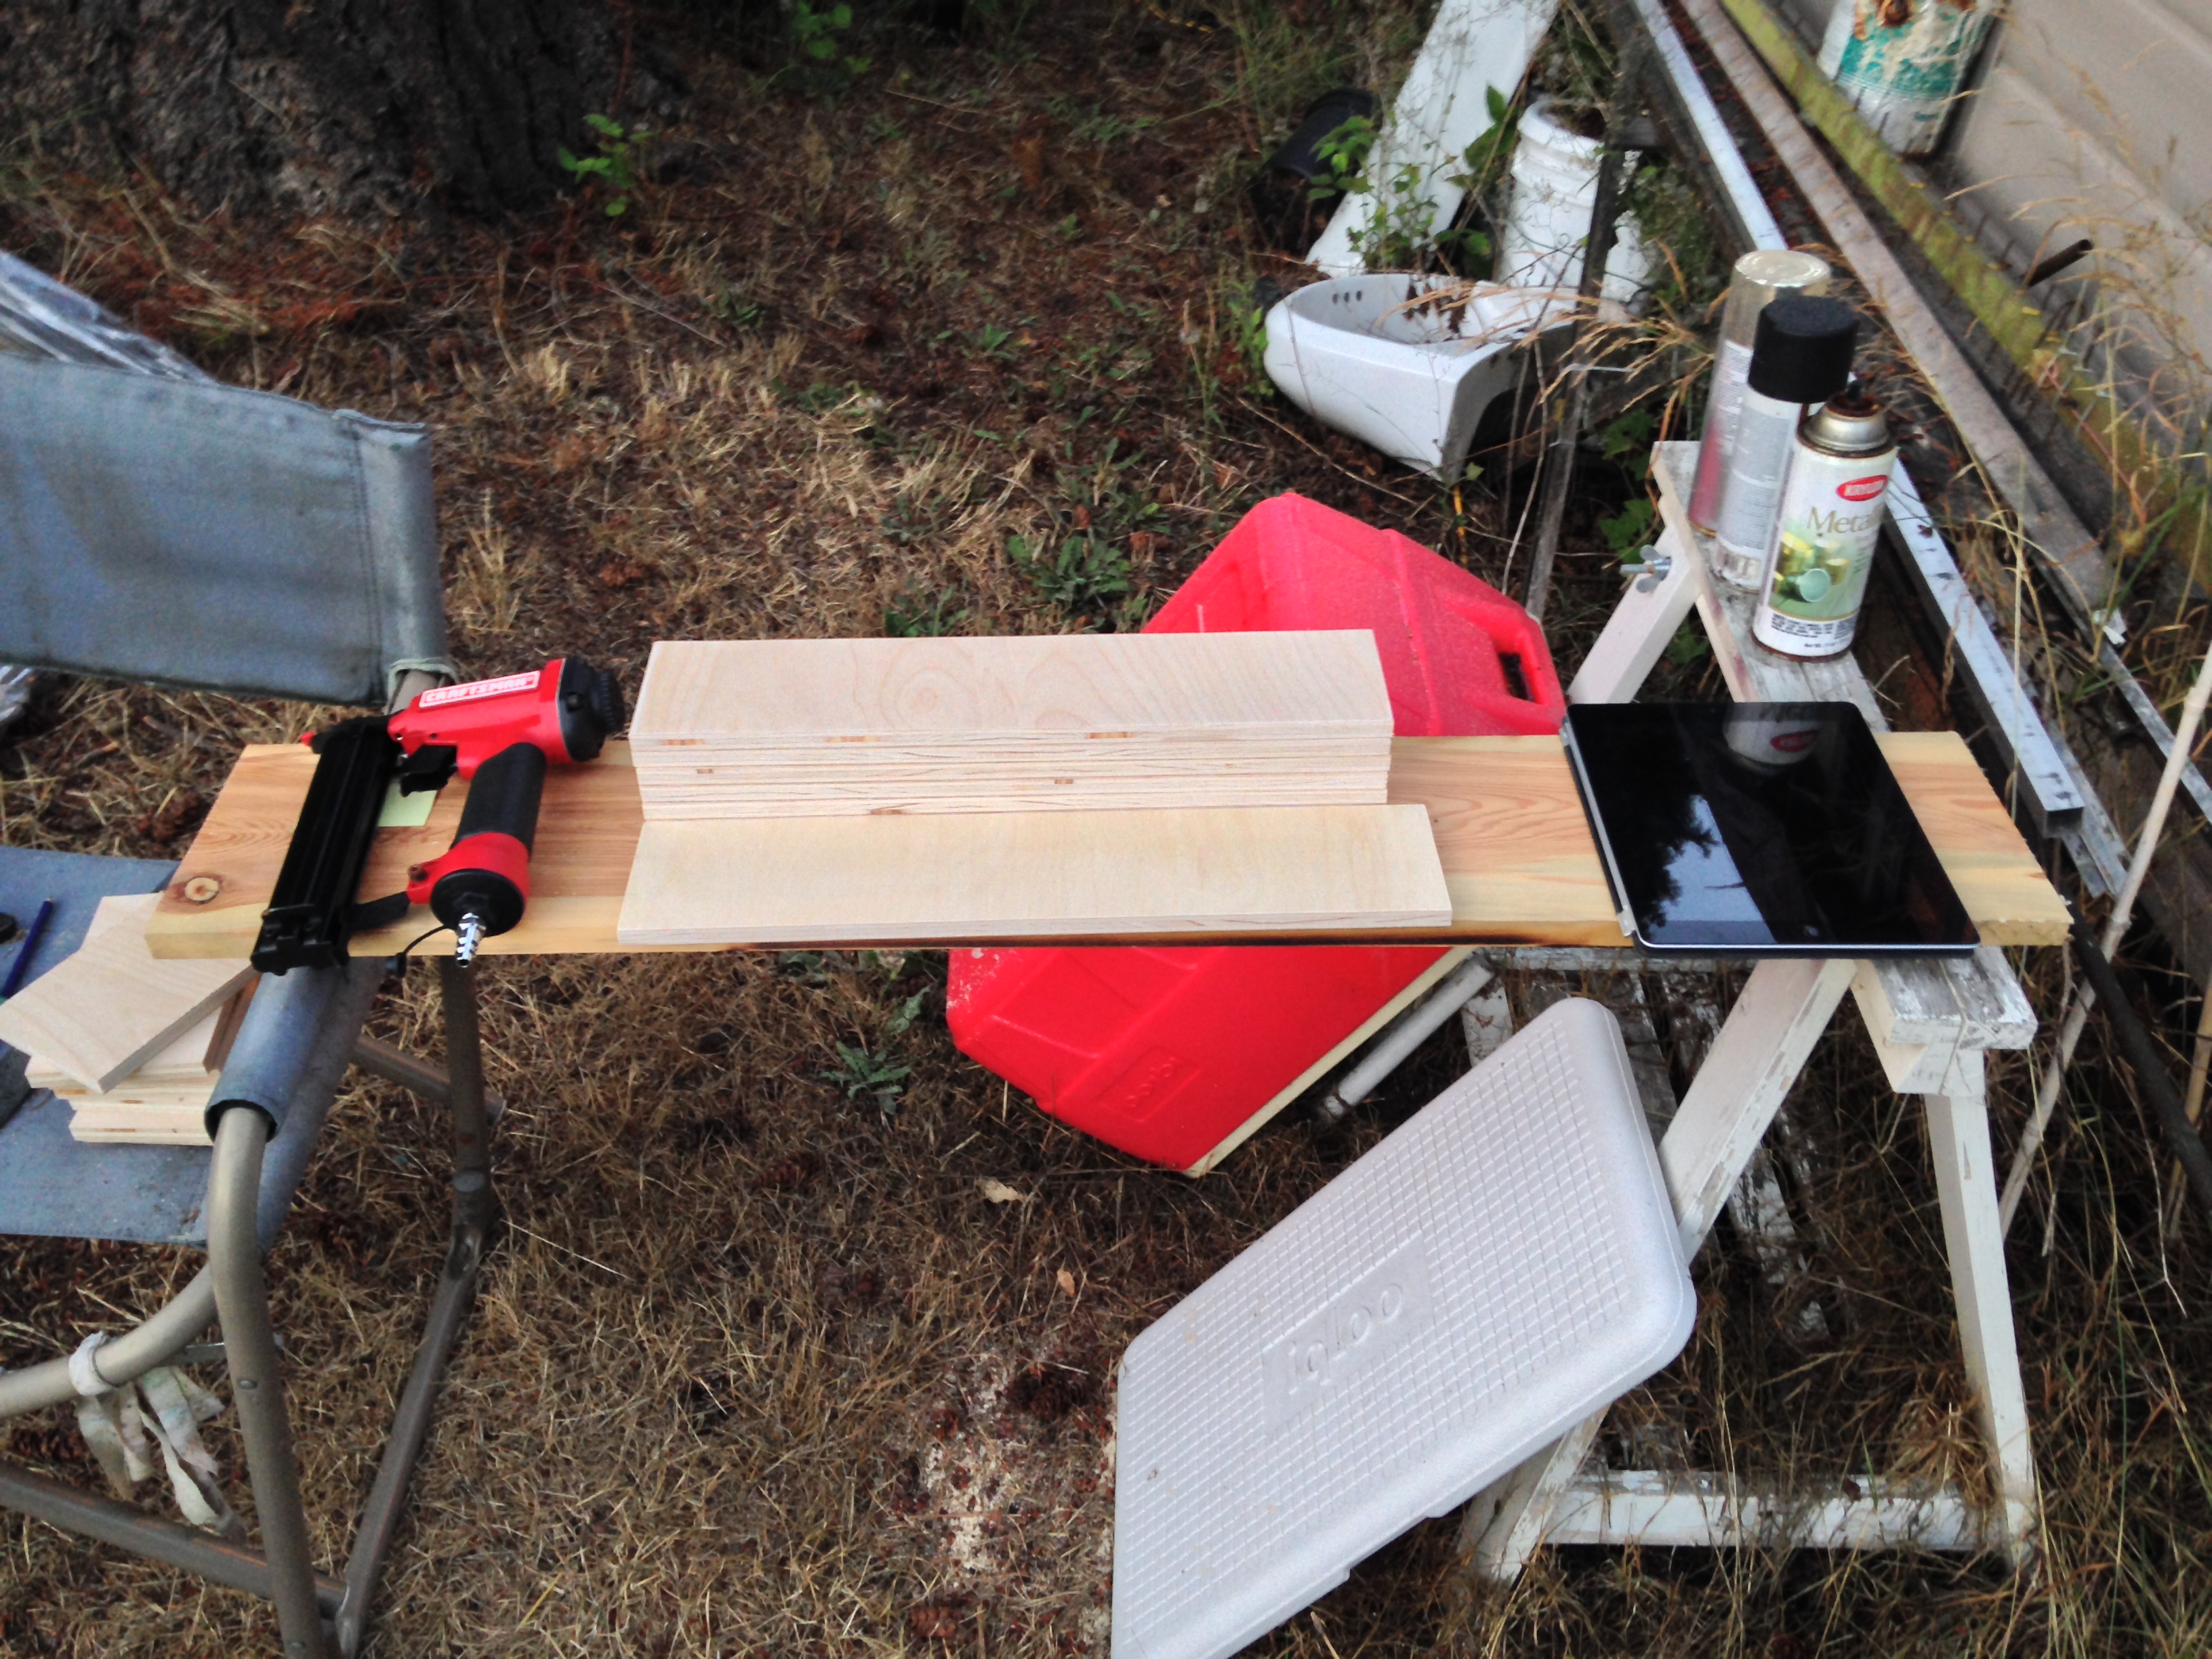
After the panels were cut, I grabbed the iPad for directions, and my finish nail gun to tack the whole thing together.
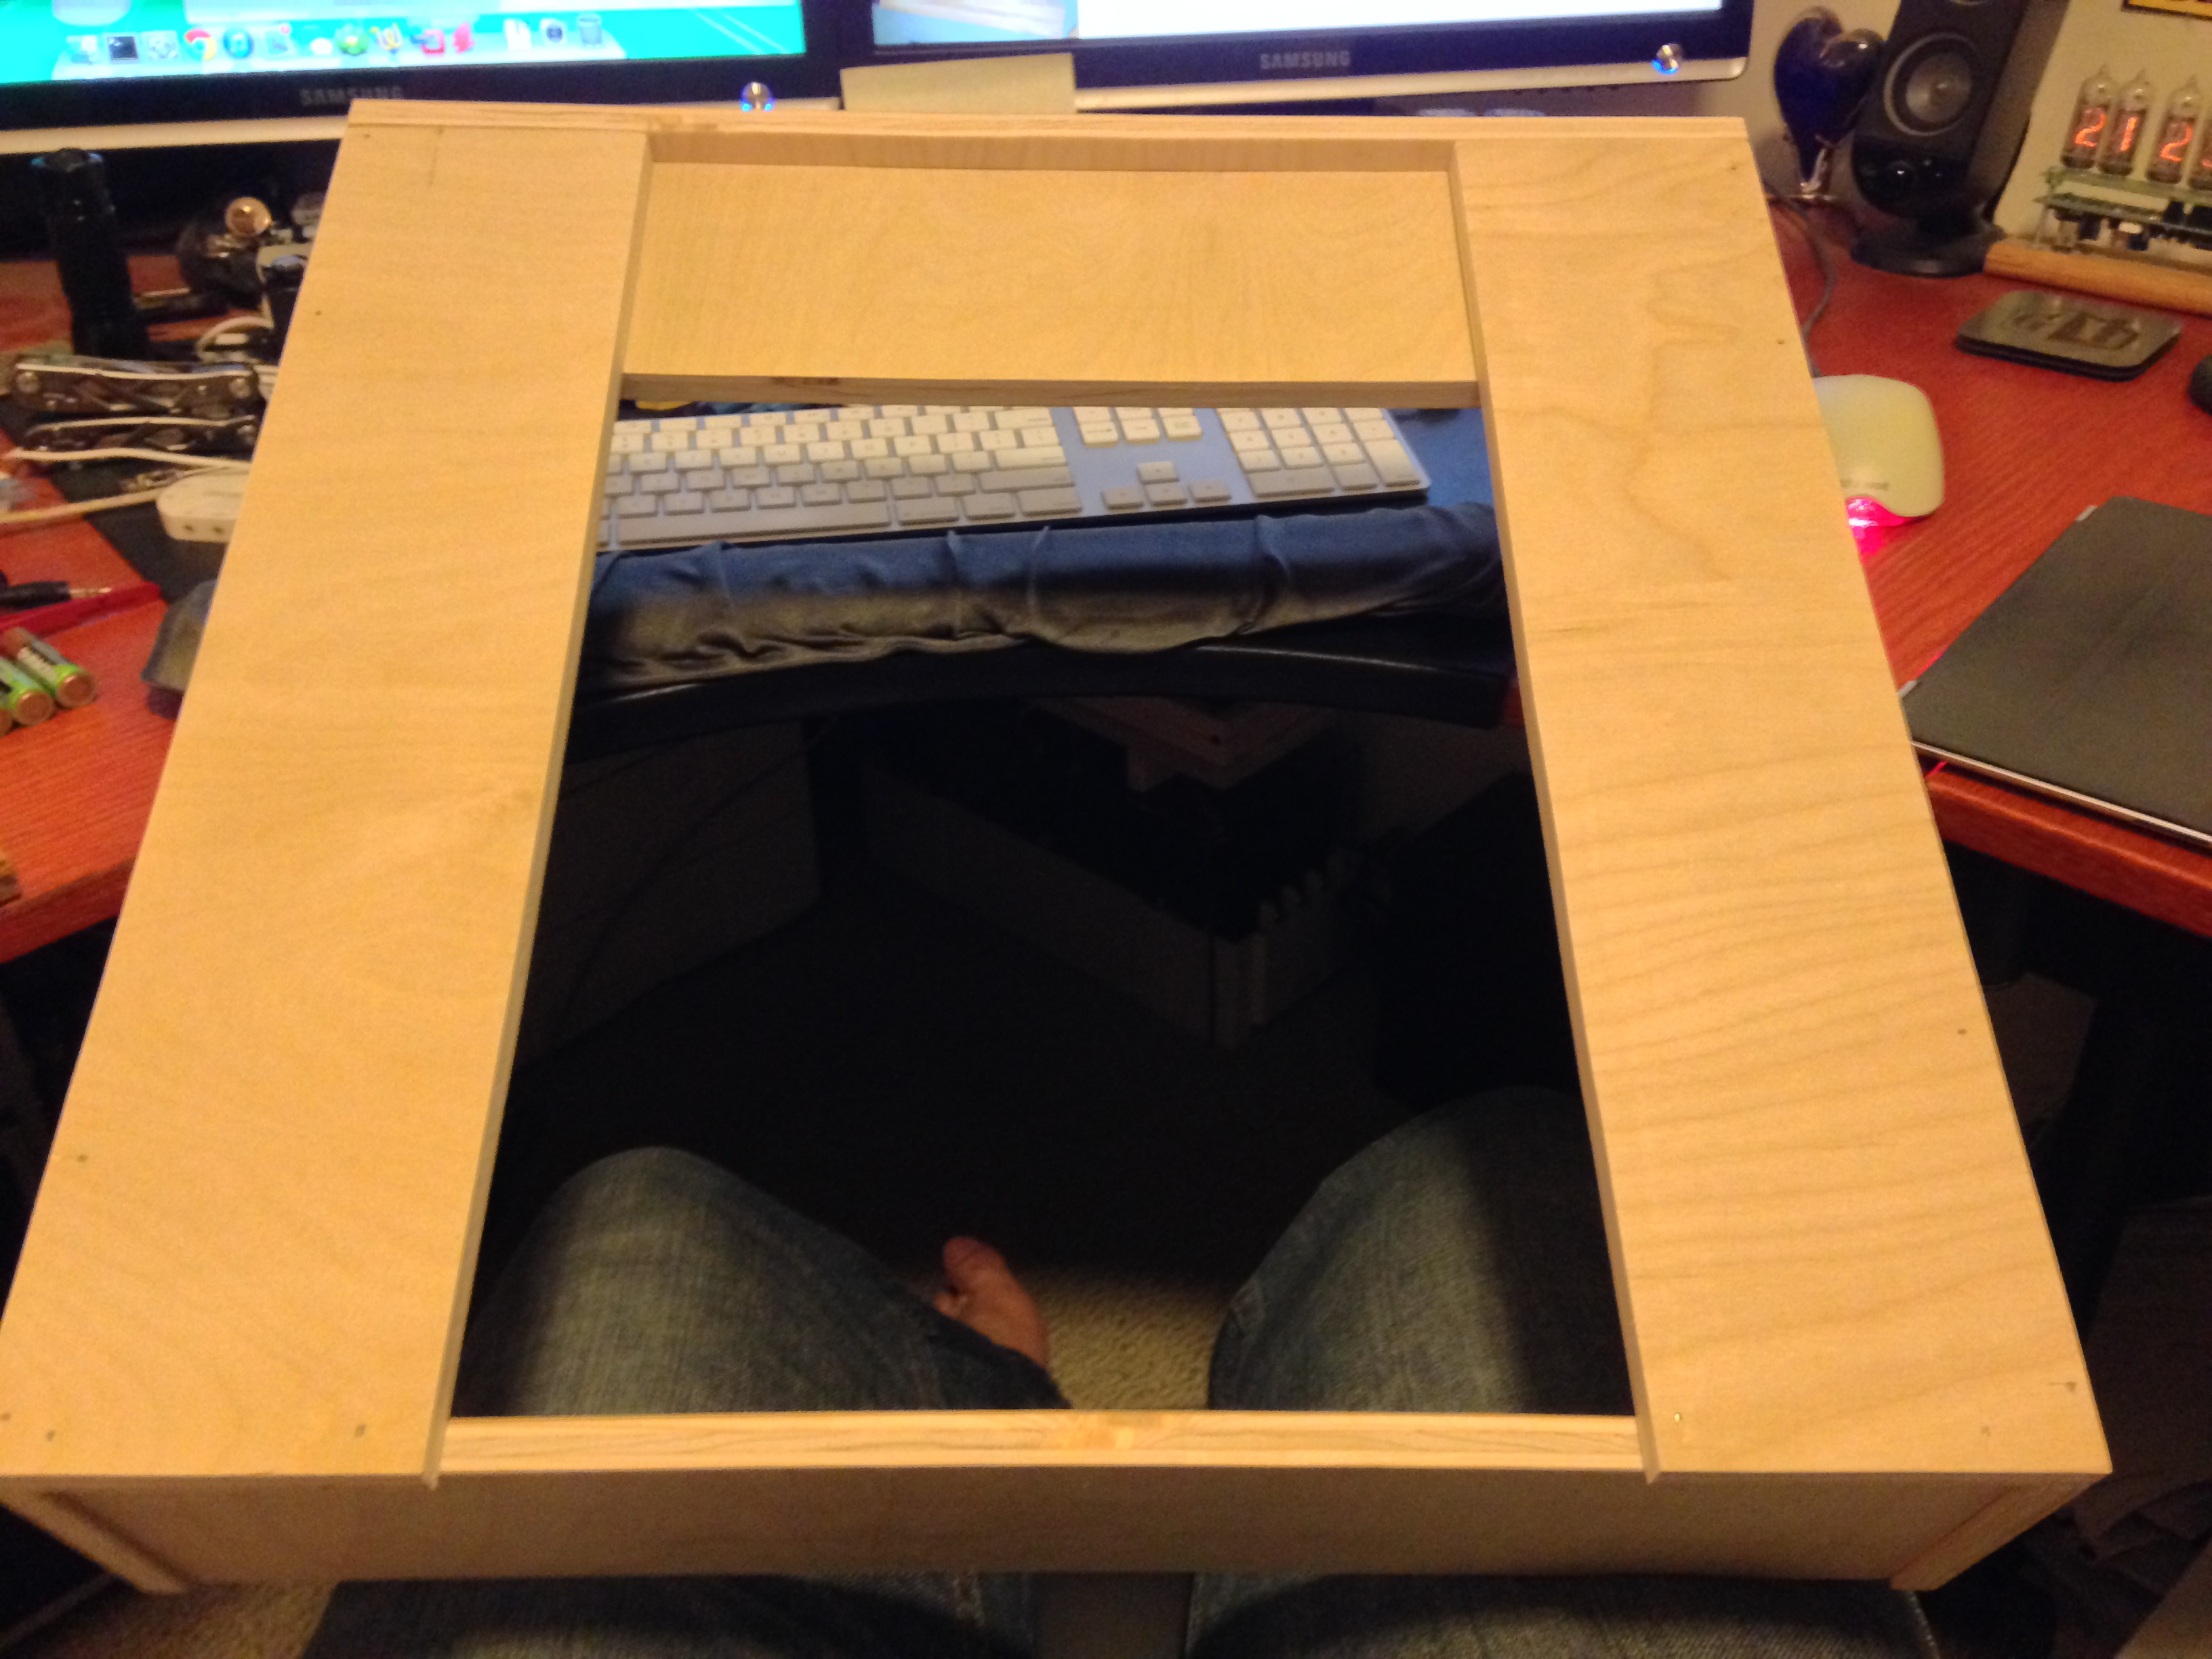
And with the magic of the finish nail gun, nearly instantaneously a frame appeared before my eyes.
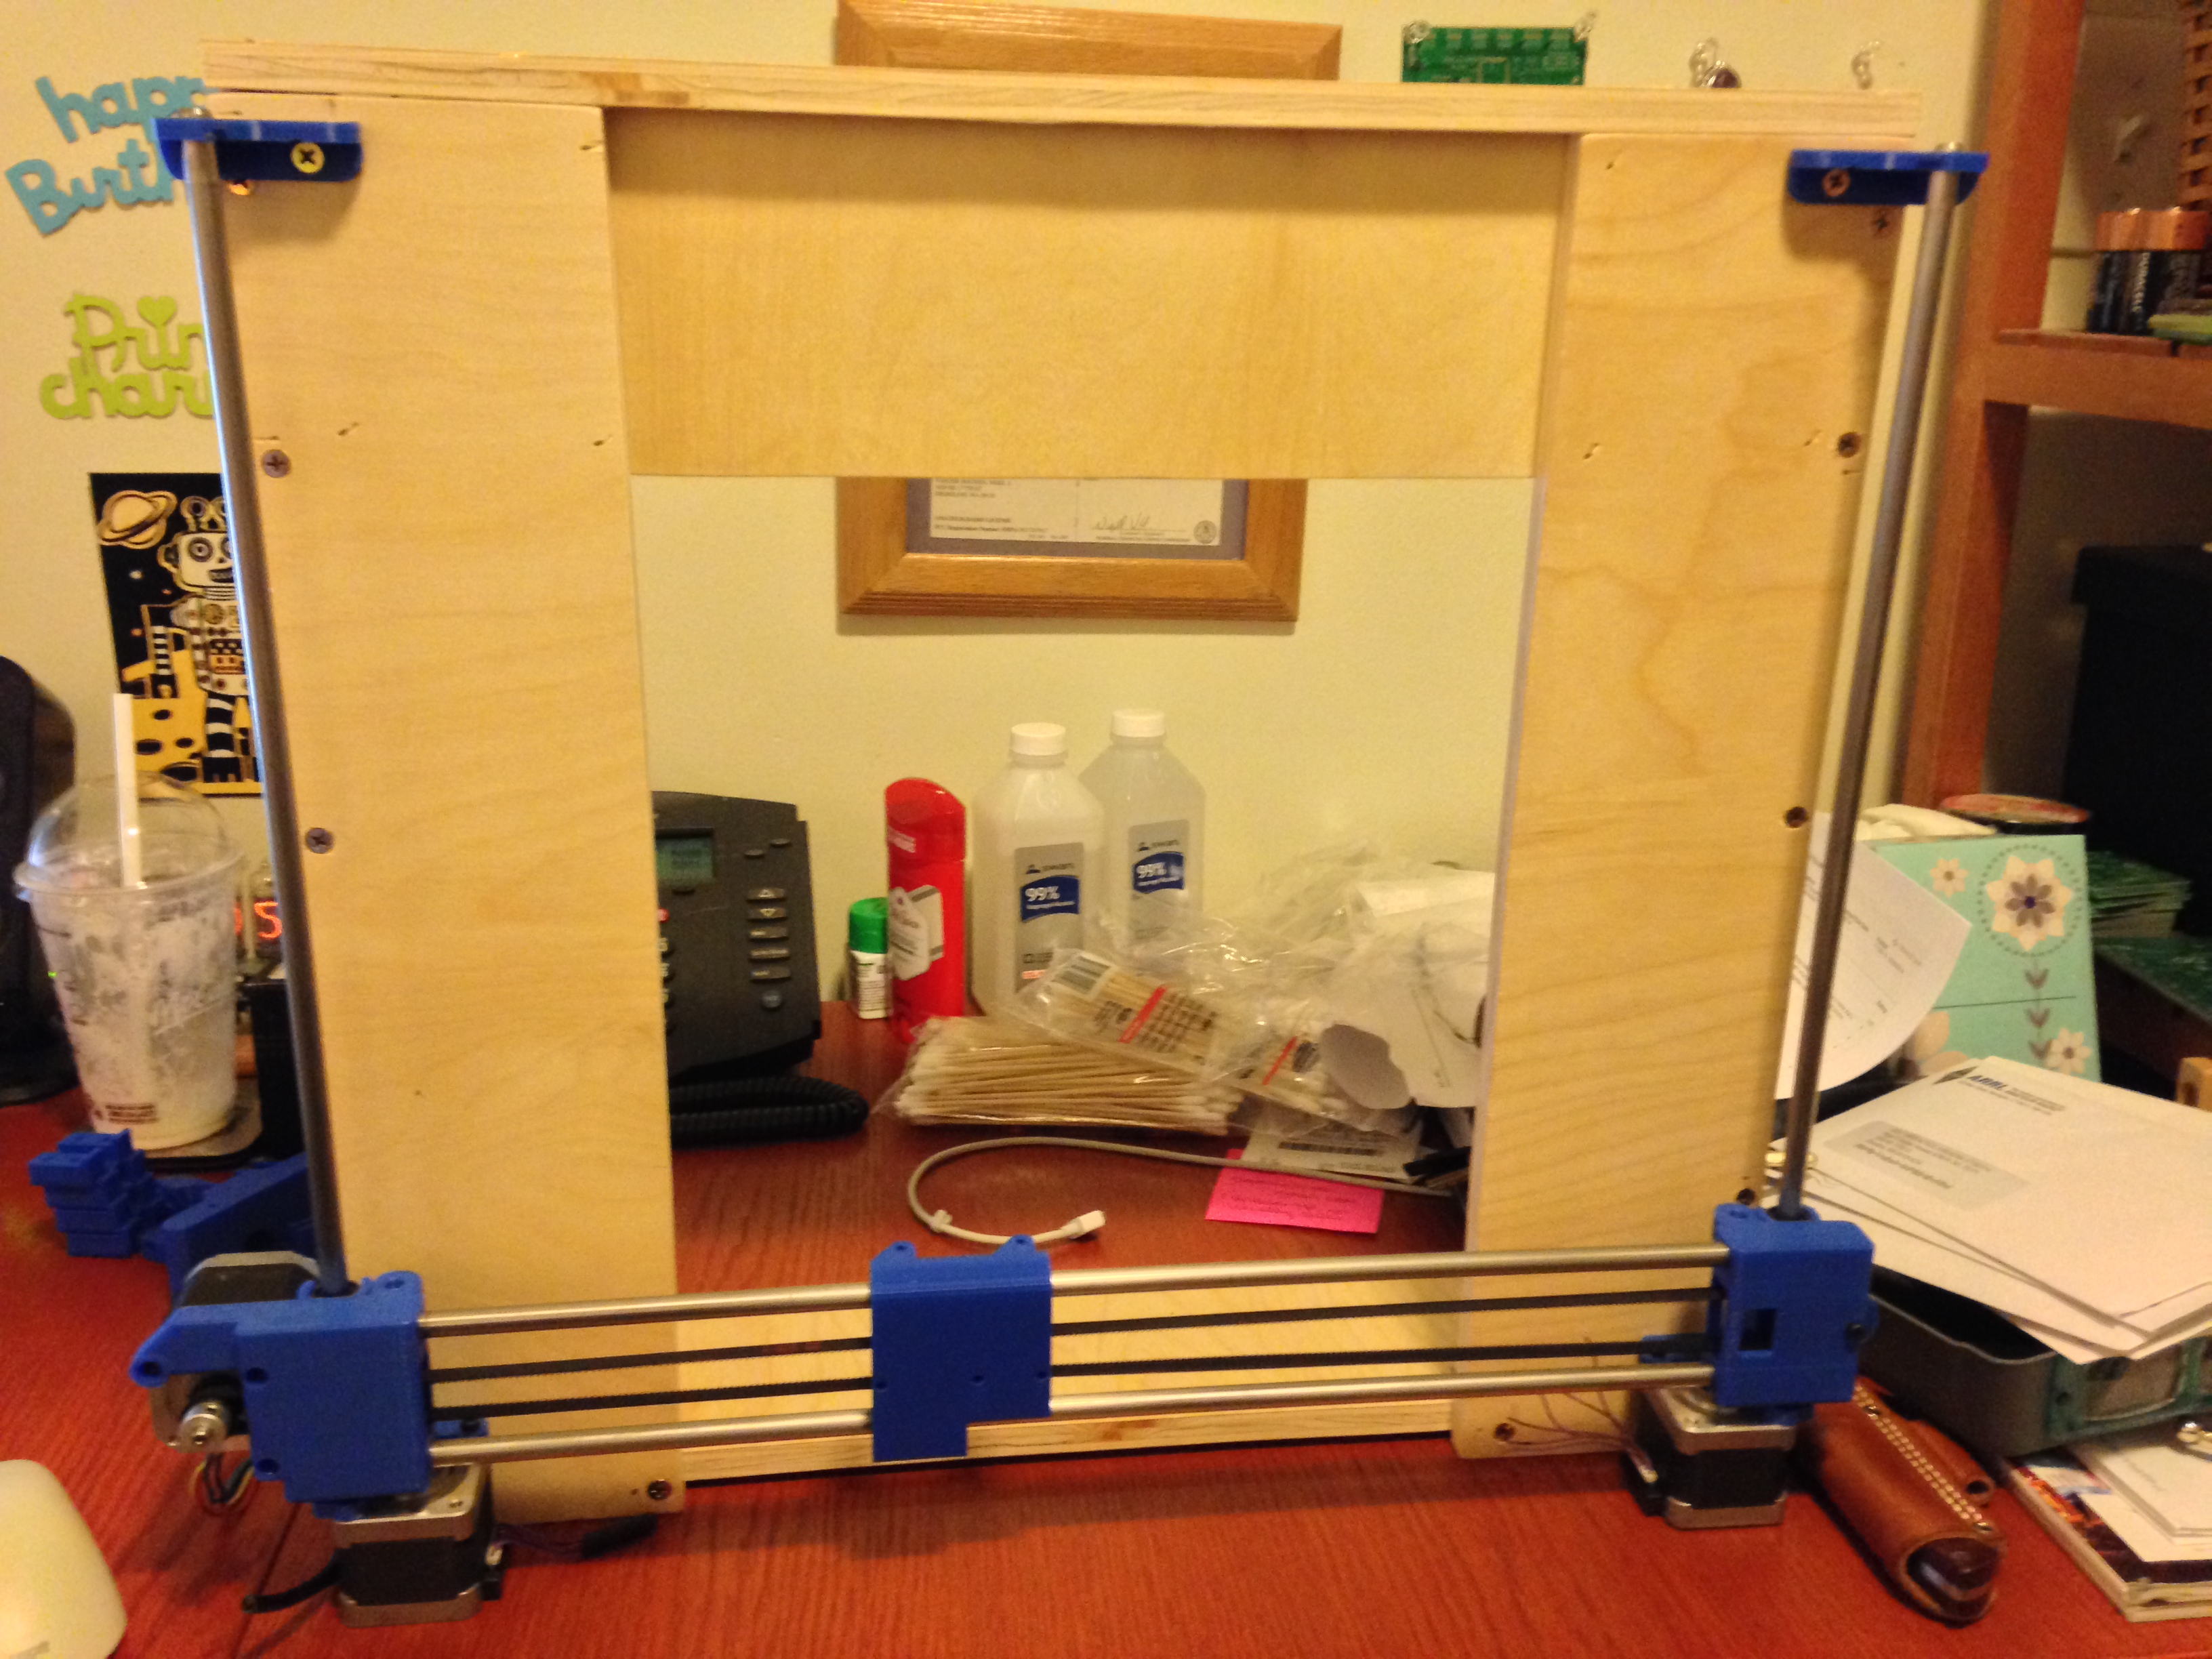
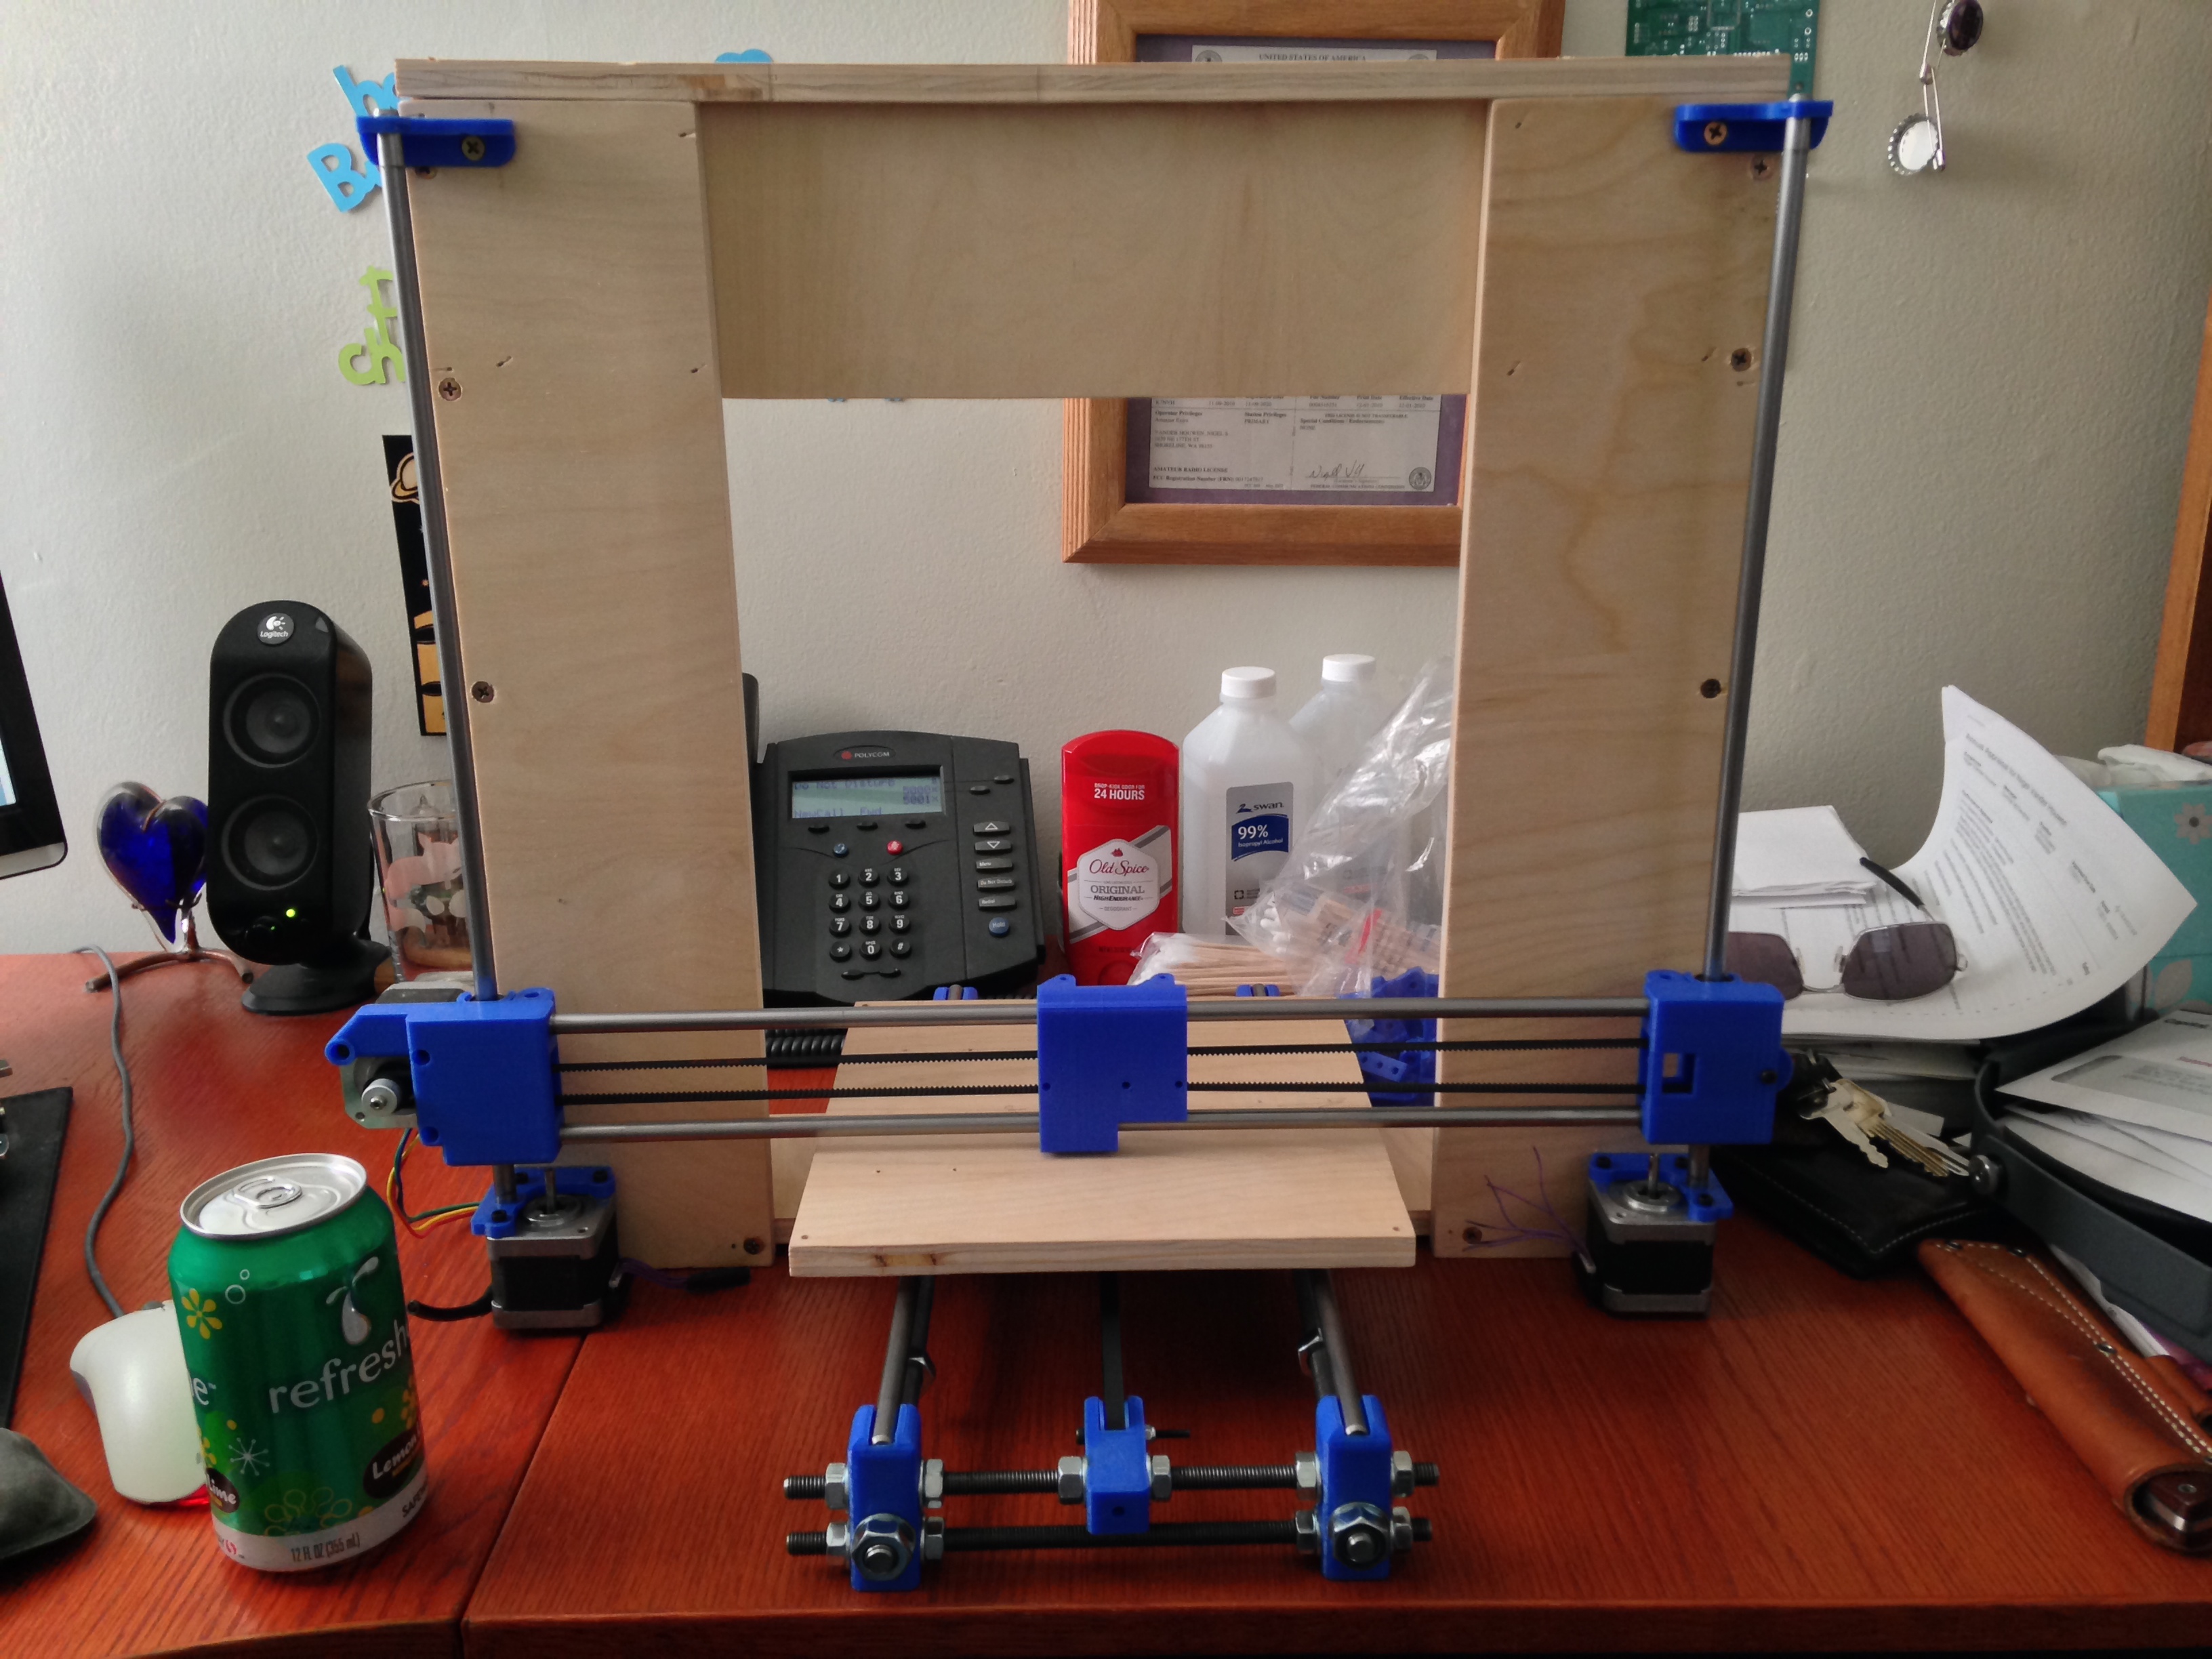
After the frame was built, it was time to start attaching parts to it. First to come was the X axis and carriage, and the Z axis that supports it.
Next came the Y axis which has the bed, and moves back and forth underneath the X axis.
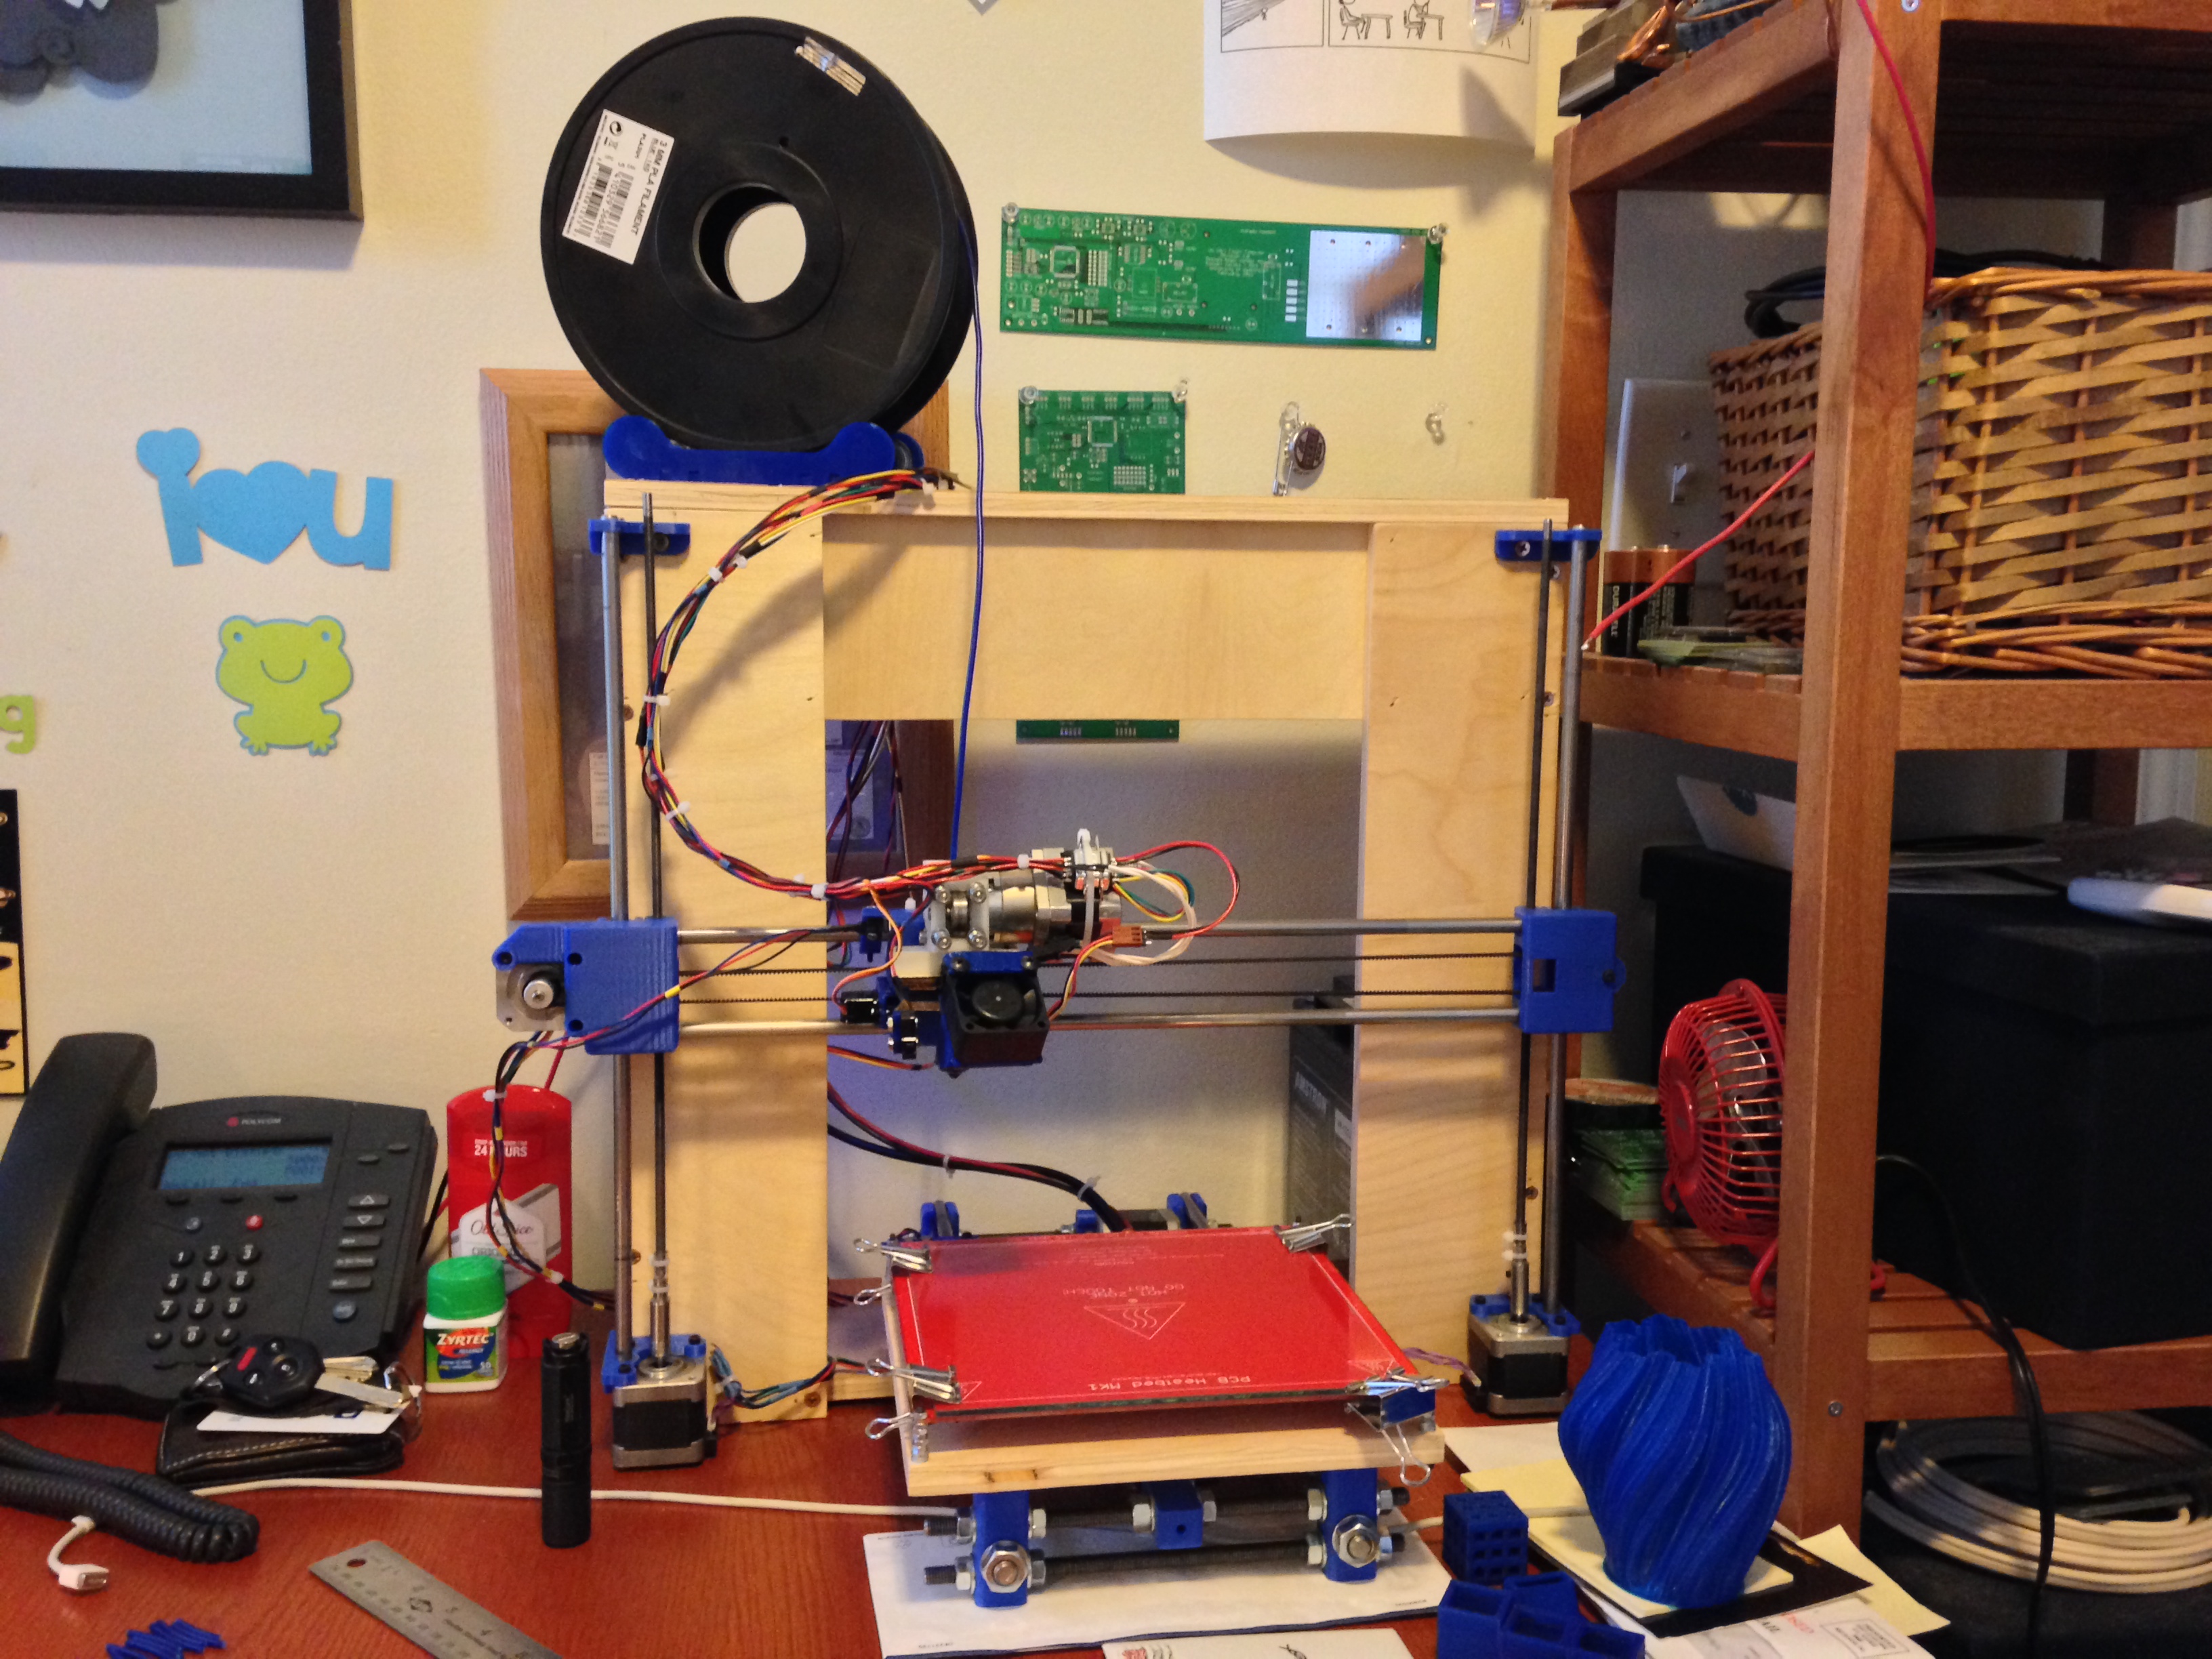
 Then, through the magic of not taking pictures, all the electronics get installed and the printer is complete!
Then it came down to fiddling all the settings, and tuning things here and there, and calibration, and repeating everything, and etc, etc, until finally you get something printed!
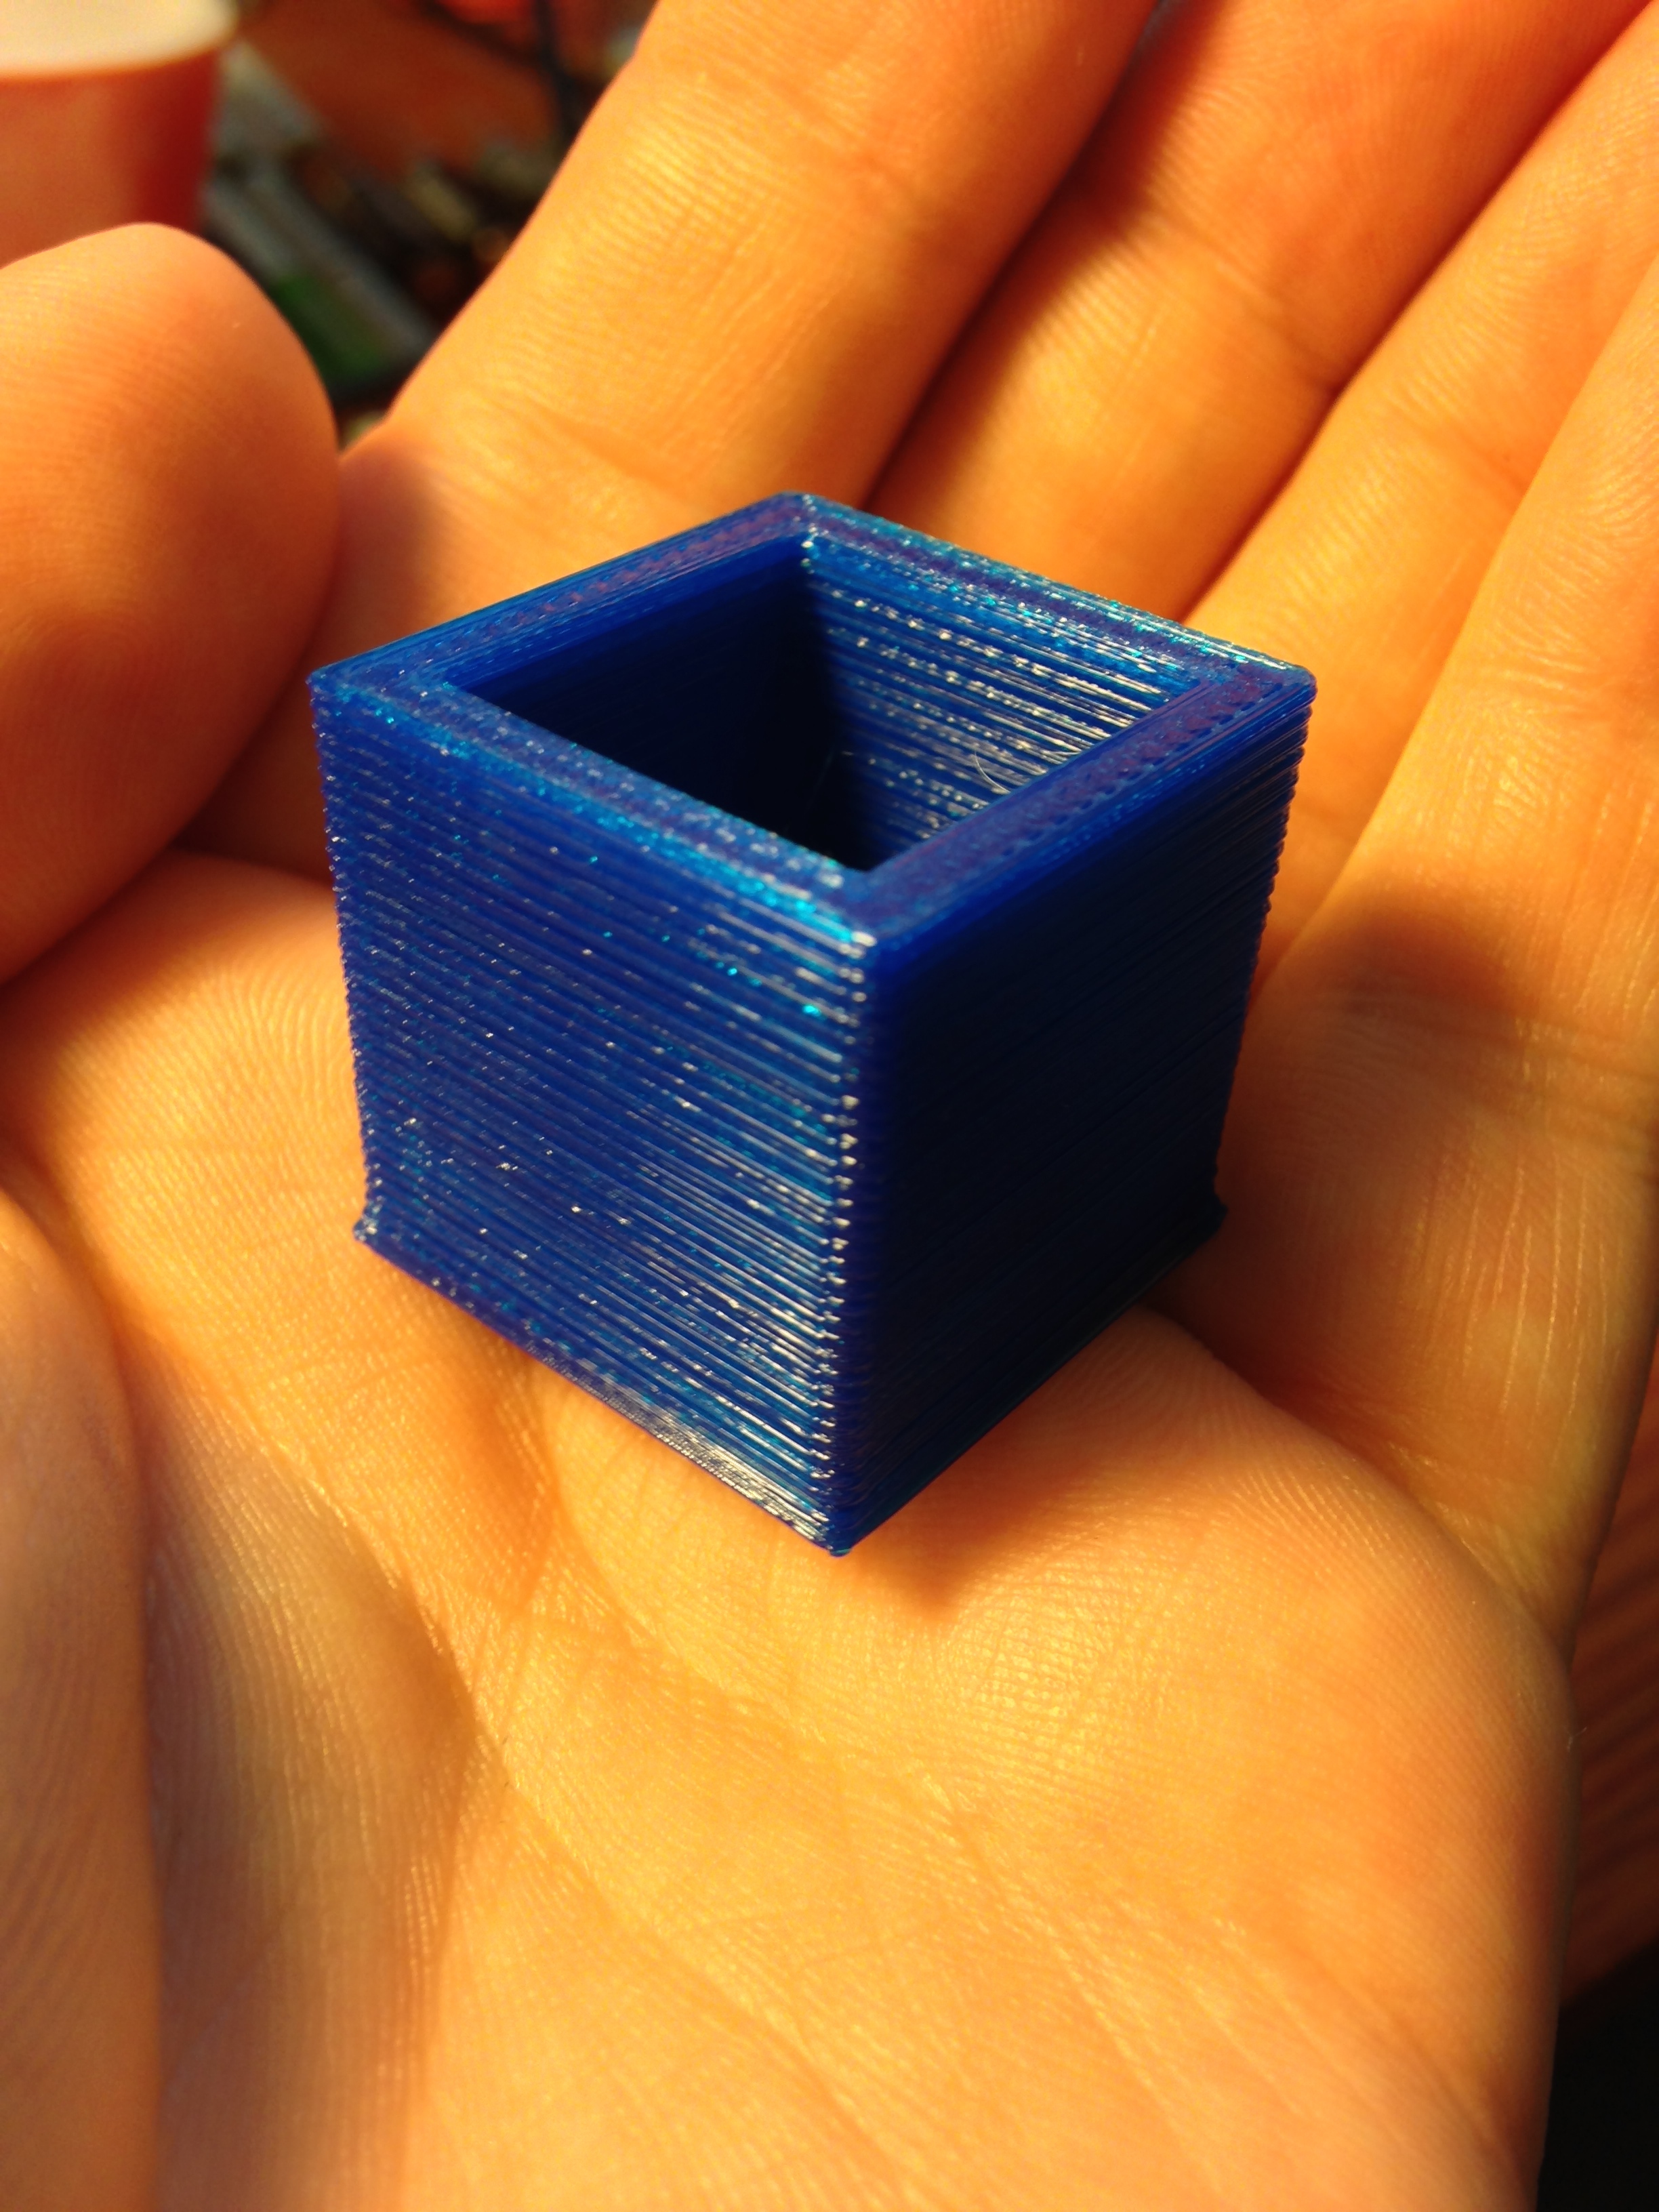
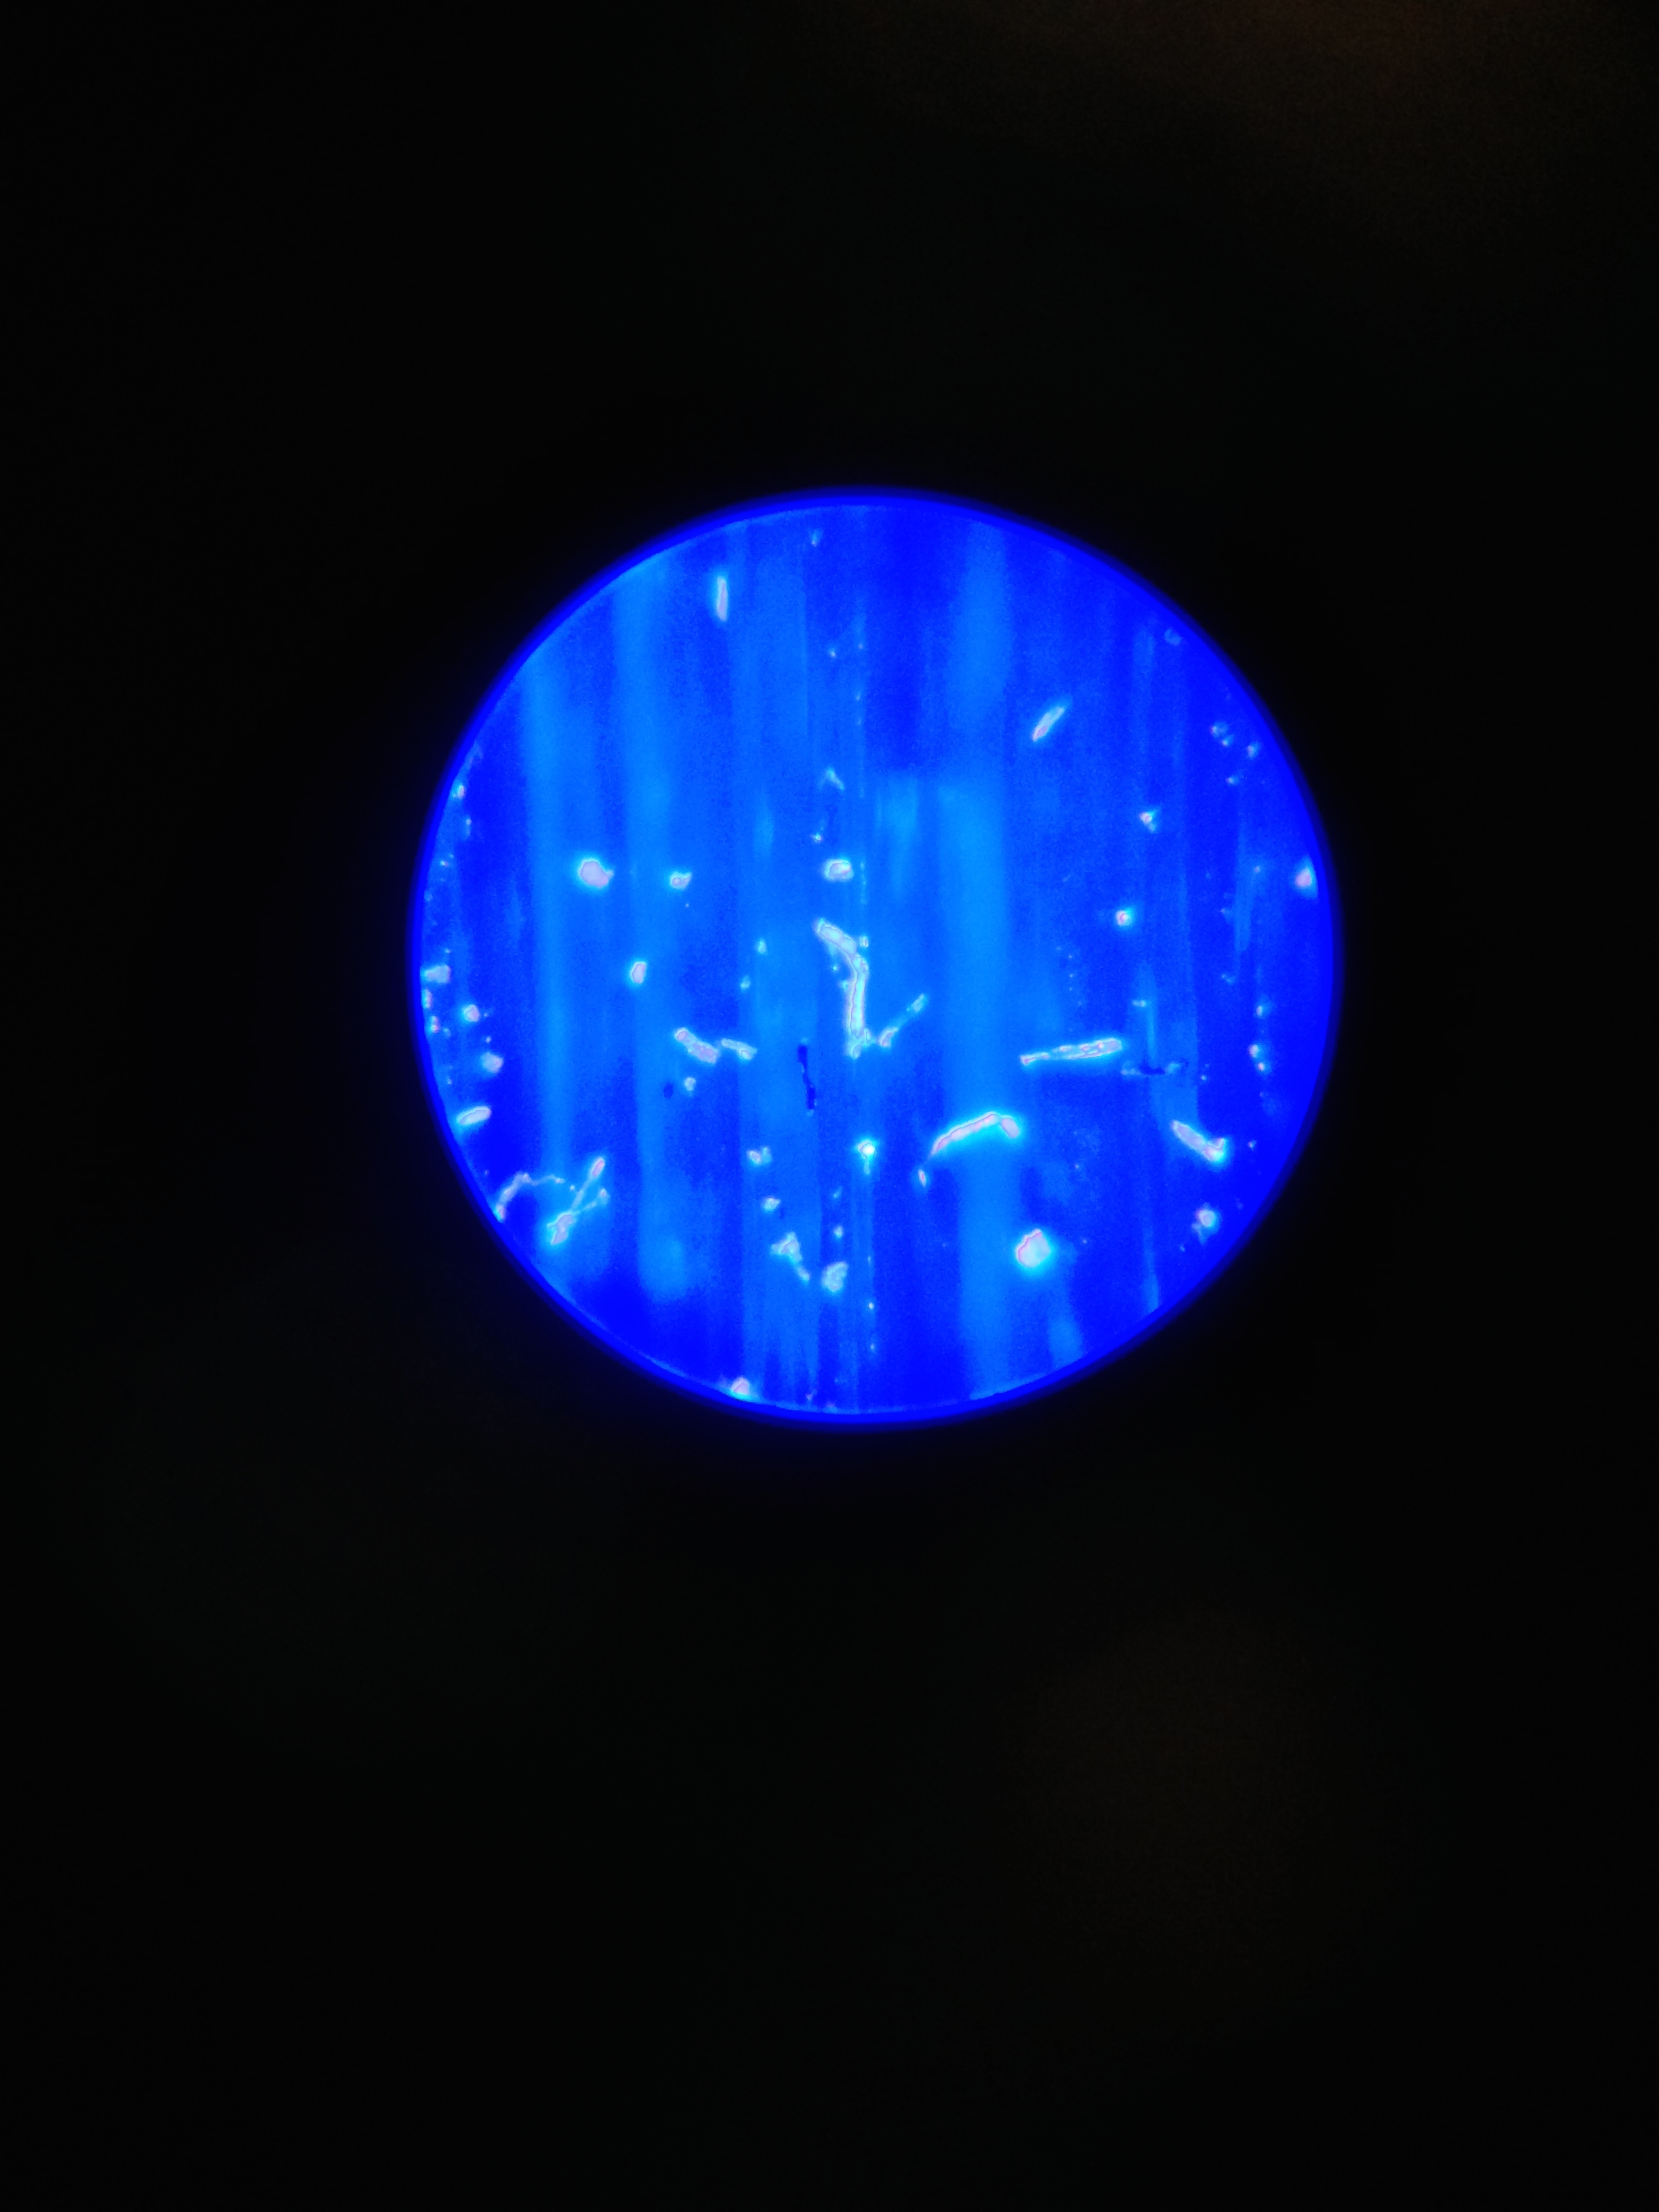
Hey! Look at that! It’s a box! Also, for the heck of it, I put my magnifier on the box. Oooooh 60X magnification!
Anyway, after all the initial calibration is done, you can start doing fancy parts, like this freaking awesome gear bearing I printed!
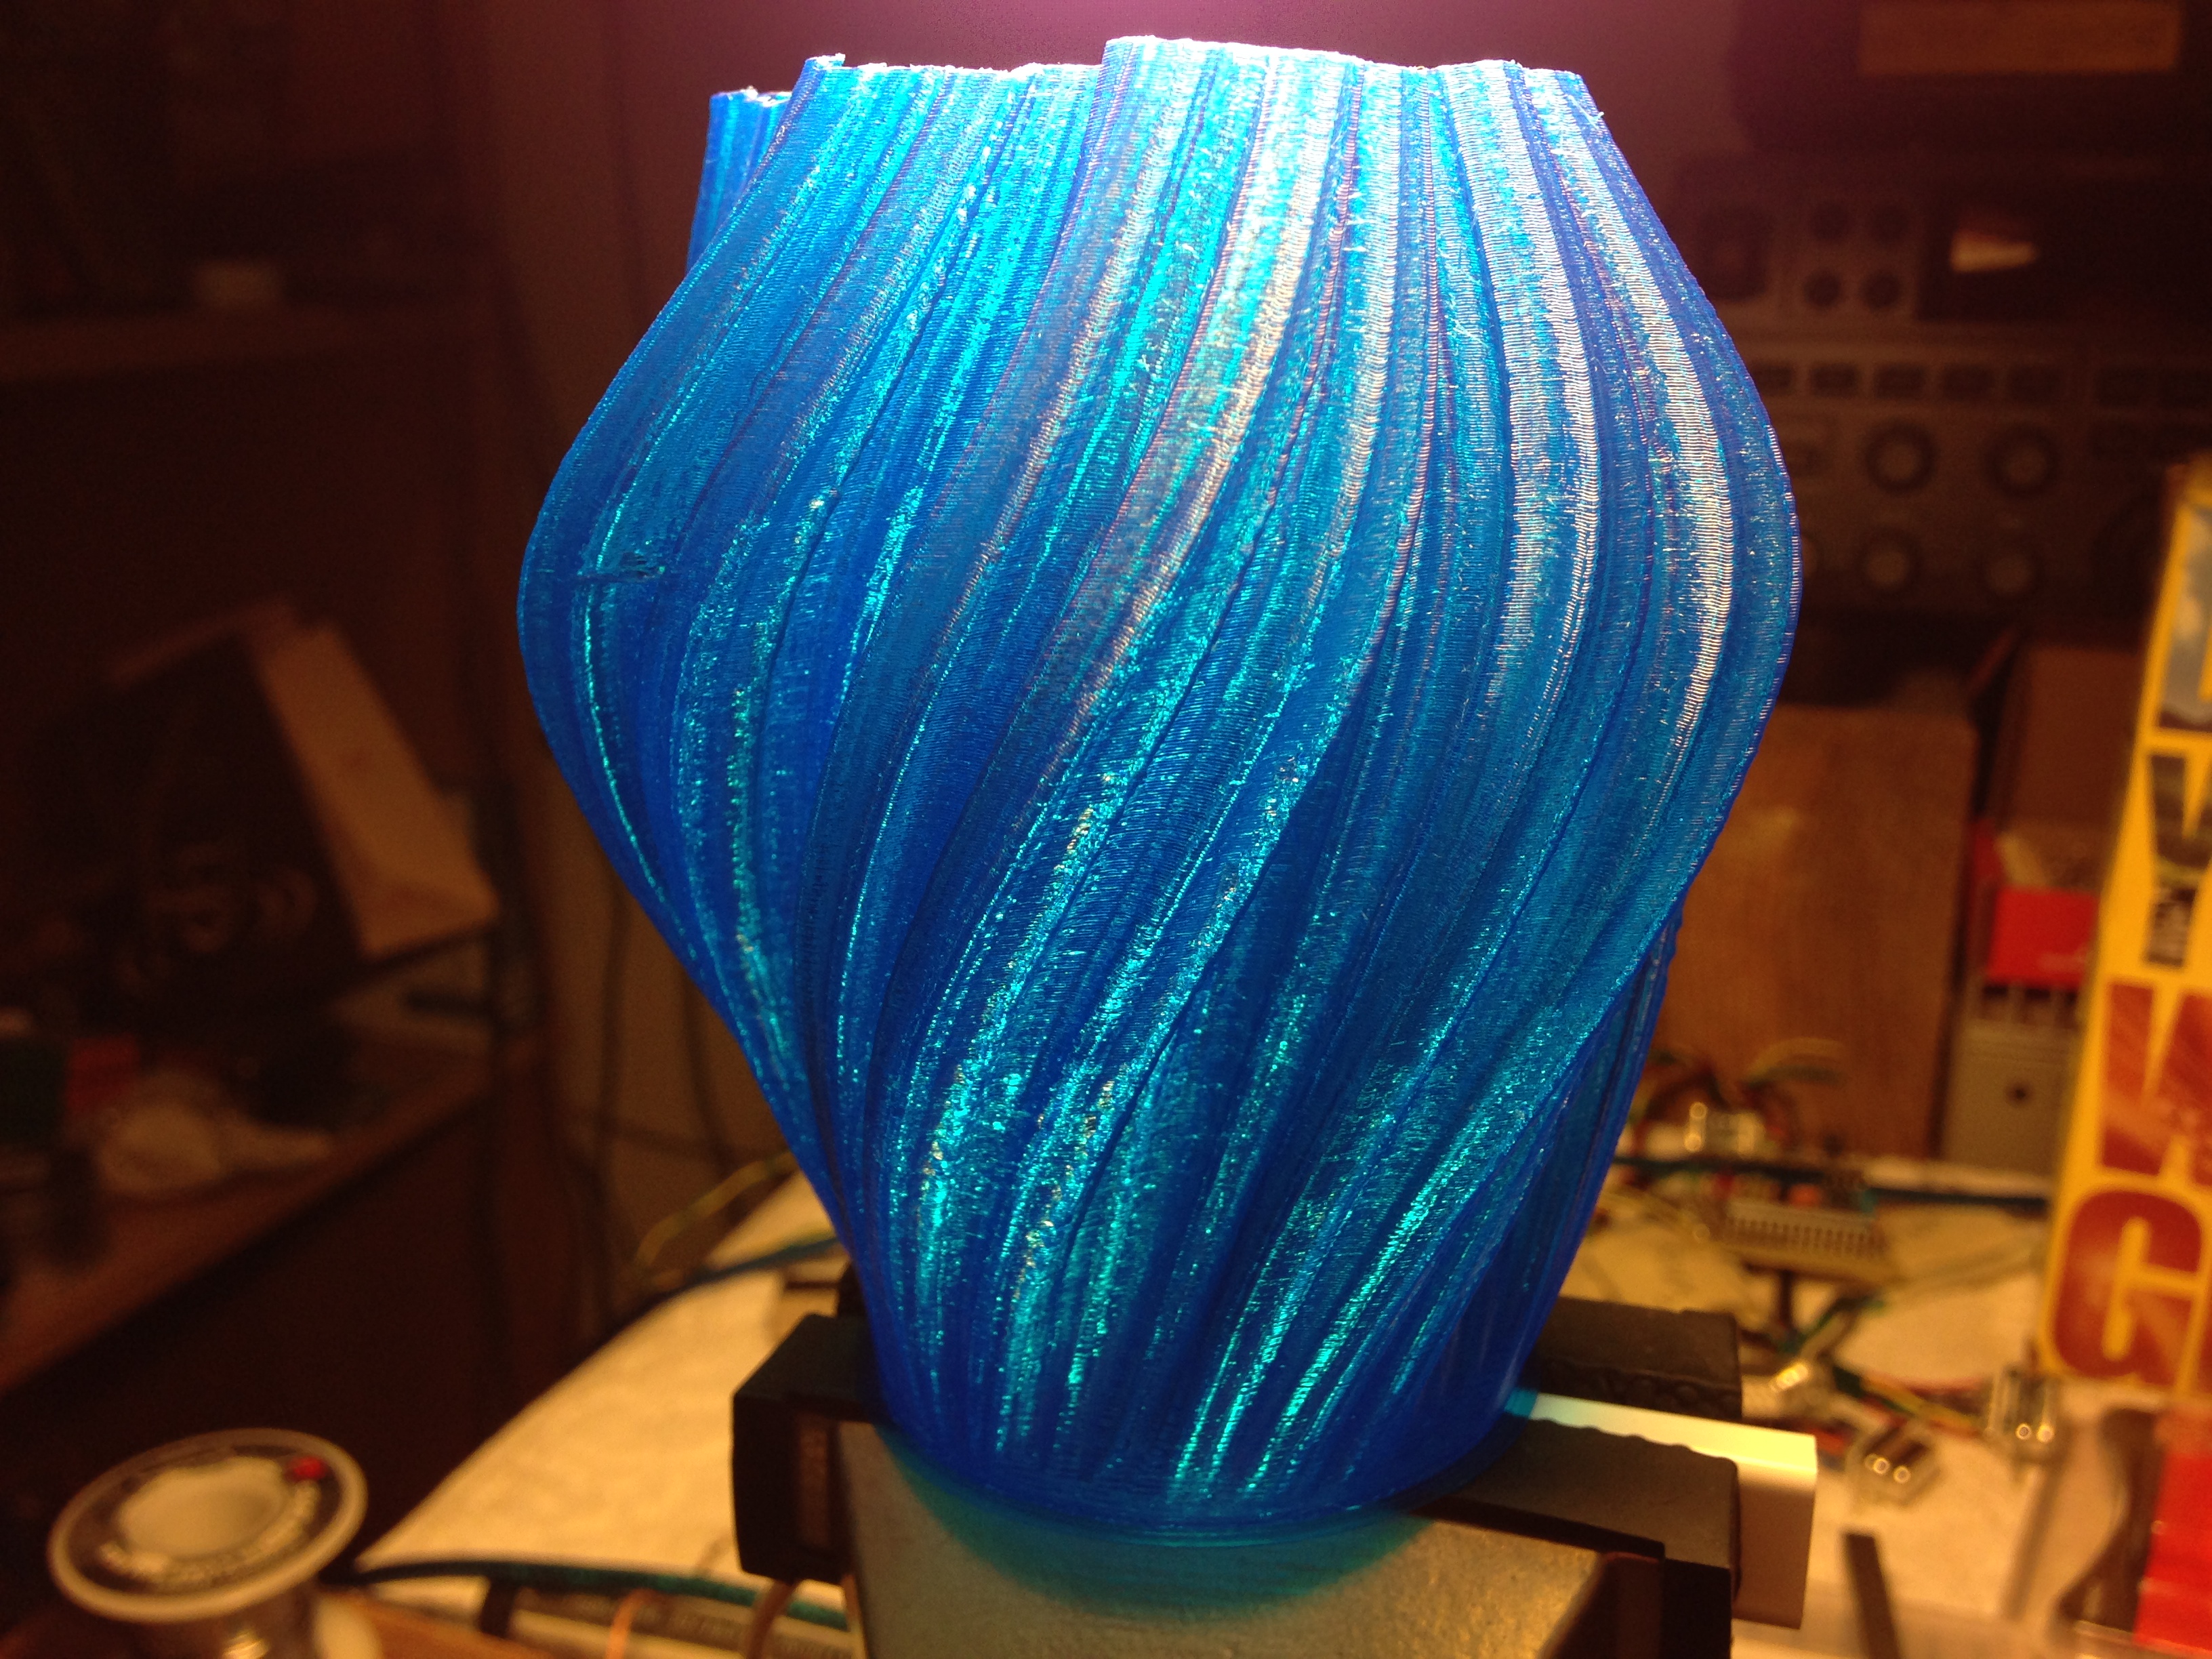
Or this awesome vase-like-object, which maybe I’ll use to hold pens or something!
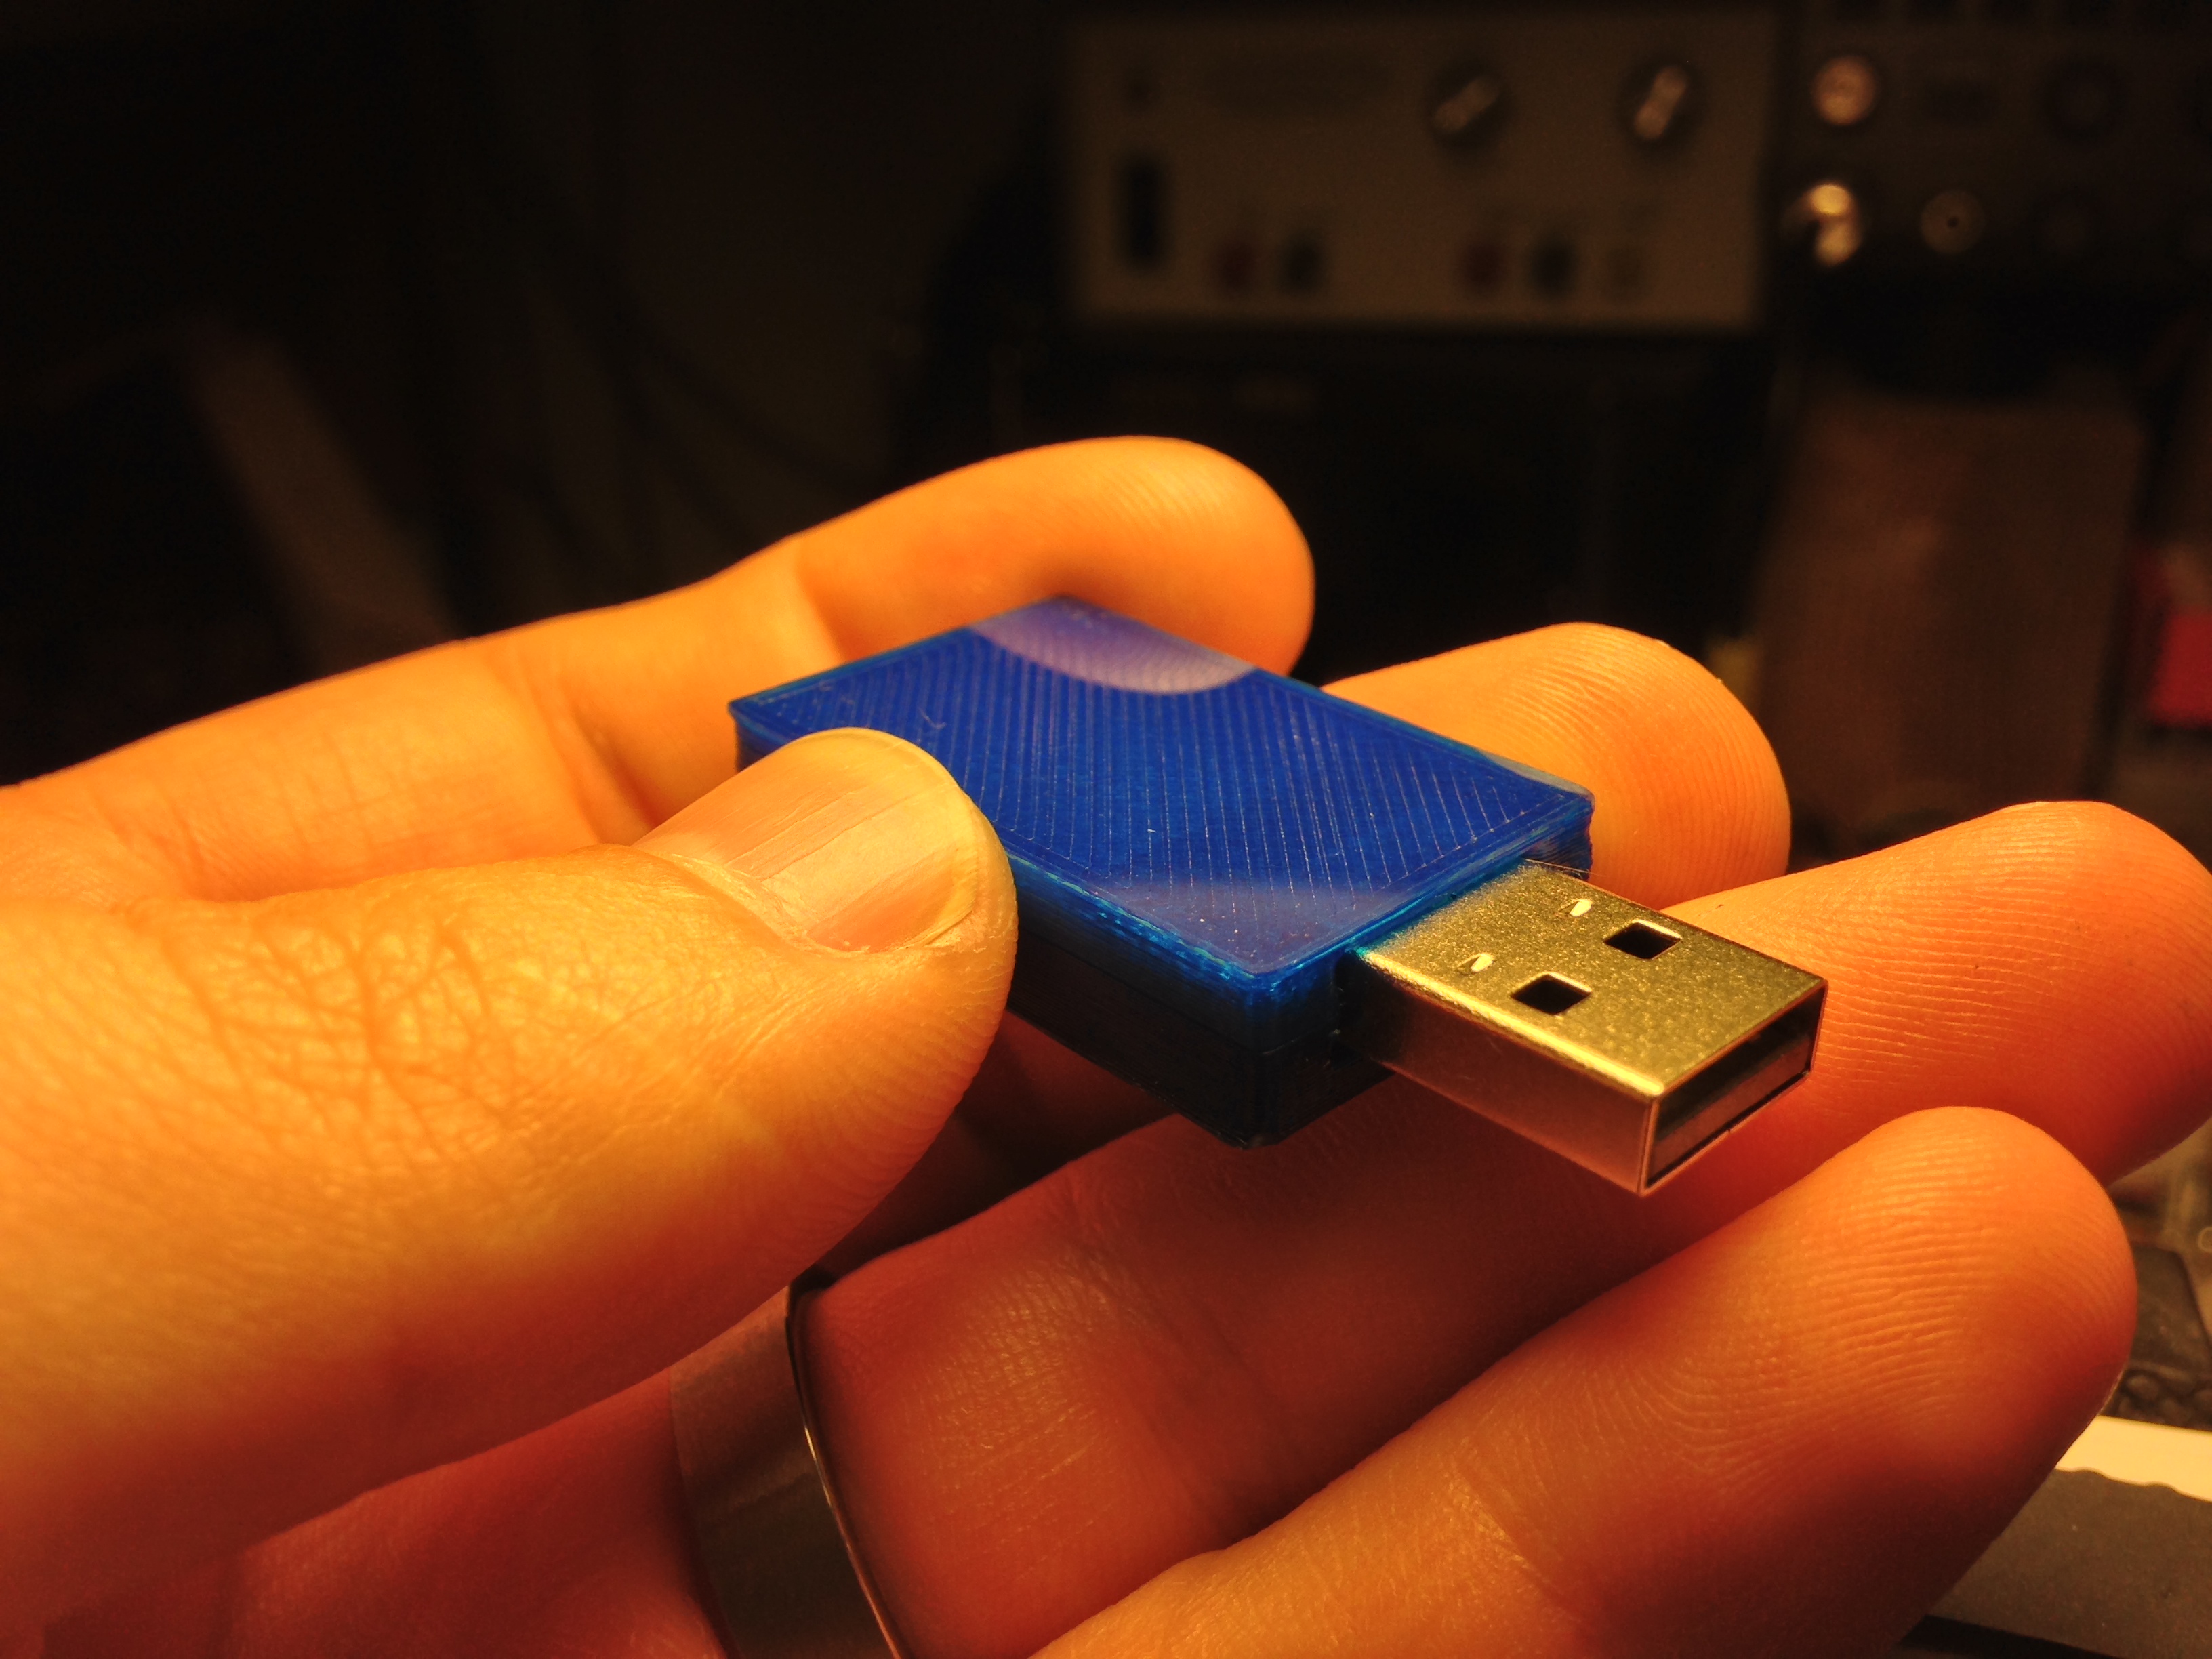
 Or, practical things like a case for the Random Number Generator USB stick I talked about a few posts back!
Anyway, it’s been very interesting building the printer and tuning it up to make decent prints, and I think it will find a lot of use as it dovetails in with my other electronics and hobby projects.