
I recently read an article about growing salt crystals and was impressed with the quality of growth they were able to achieve. It seemed like an interesting thing to try, and could add to my rocks and minerals collection.
I won’t rehash everything the article talks about, as they go into good detail on the process, but I will add some bits of commentary on my experiences trying it.
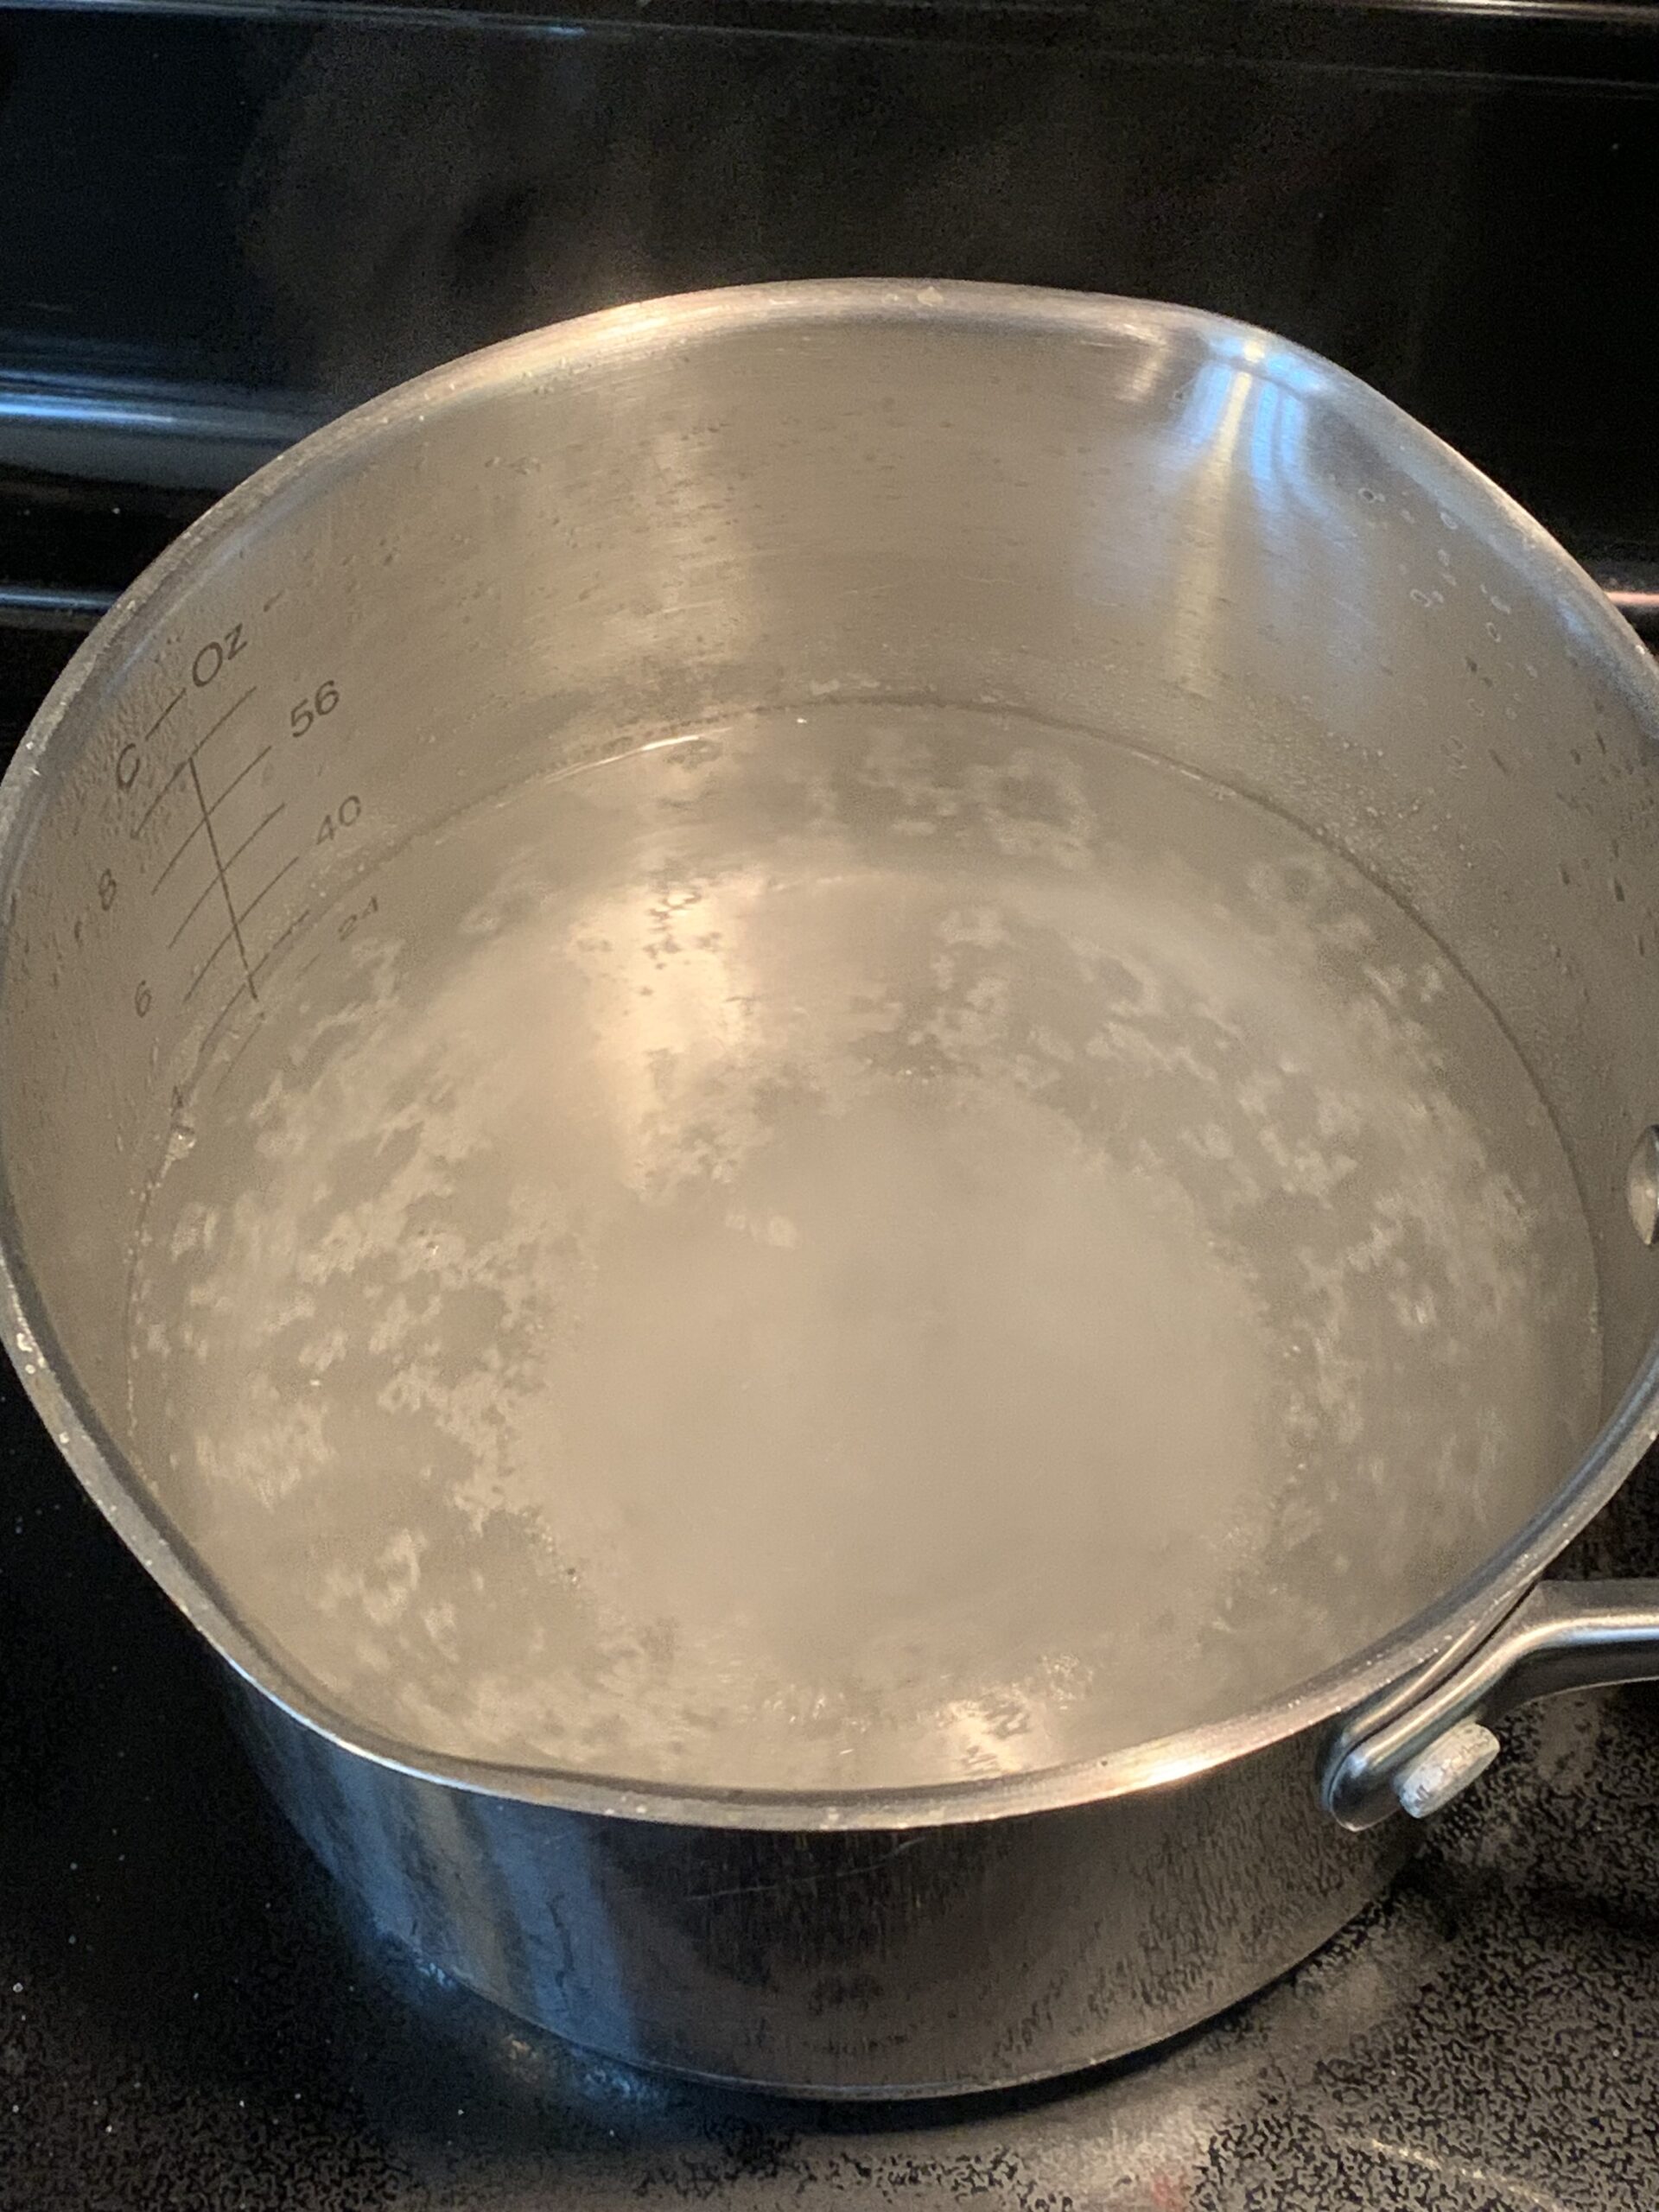
You start with boiling some water and adding salt to it until no more will dissolve. I used regular tap water, but I am curious if places with more mineral content in the water might get different results, for me tap water worked fine.
I aimed for a temperature that gave me a very low boil. I didn’t want a big roiling boil, and it really took a lot more salt than I expected. I left it boiling for some time, stirring occasionally, to make sure it really got as much dissolved as possible. The article talks about starting to see crystals forming on the surface of the water, which I saw as well, and was a good indication.
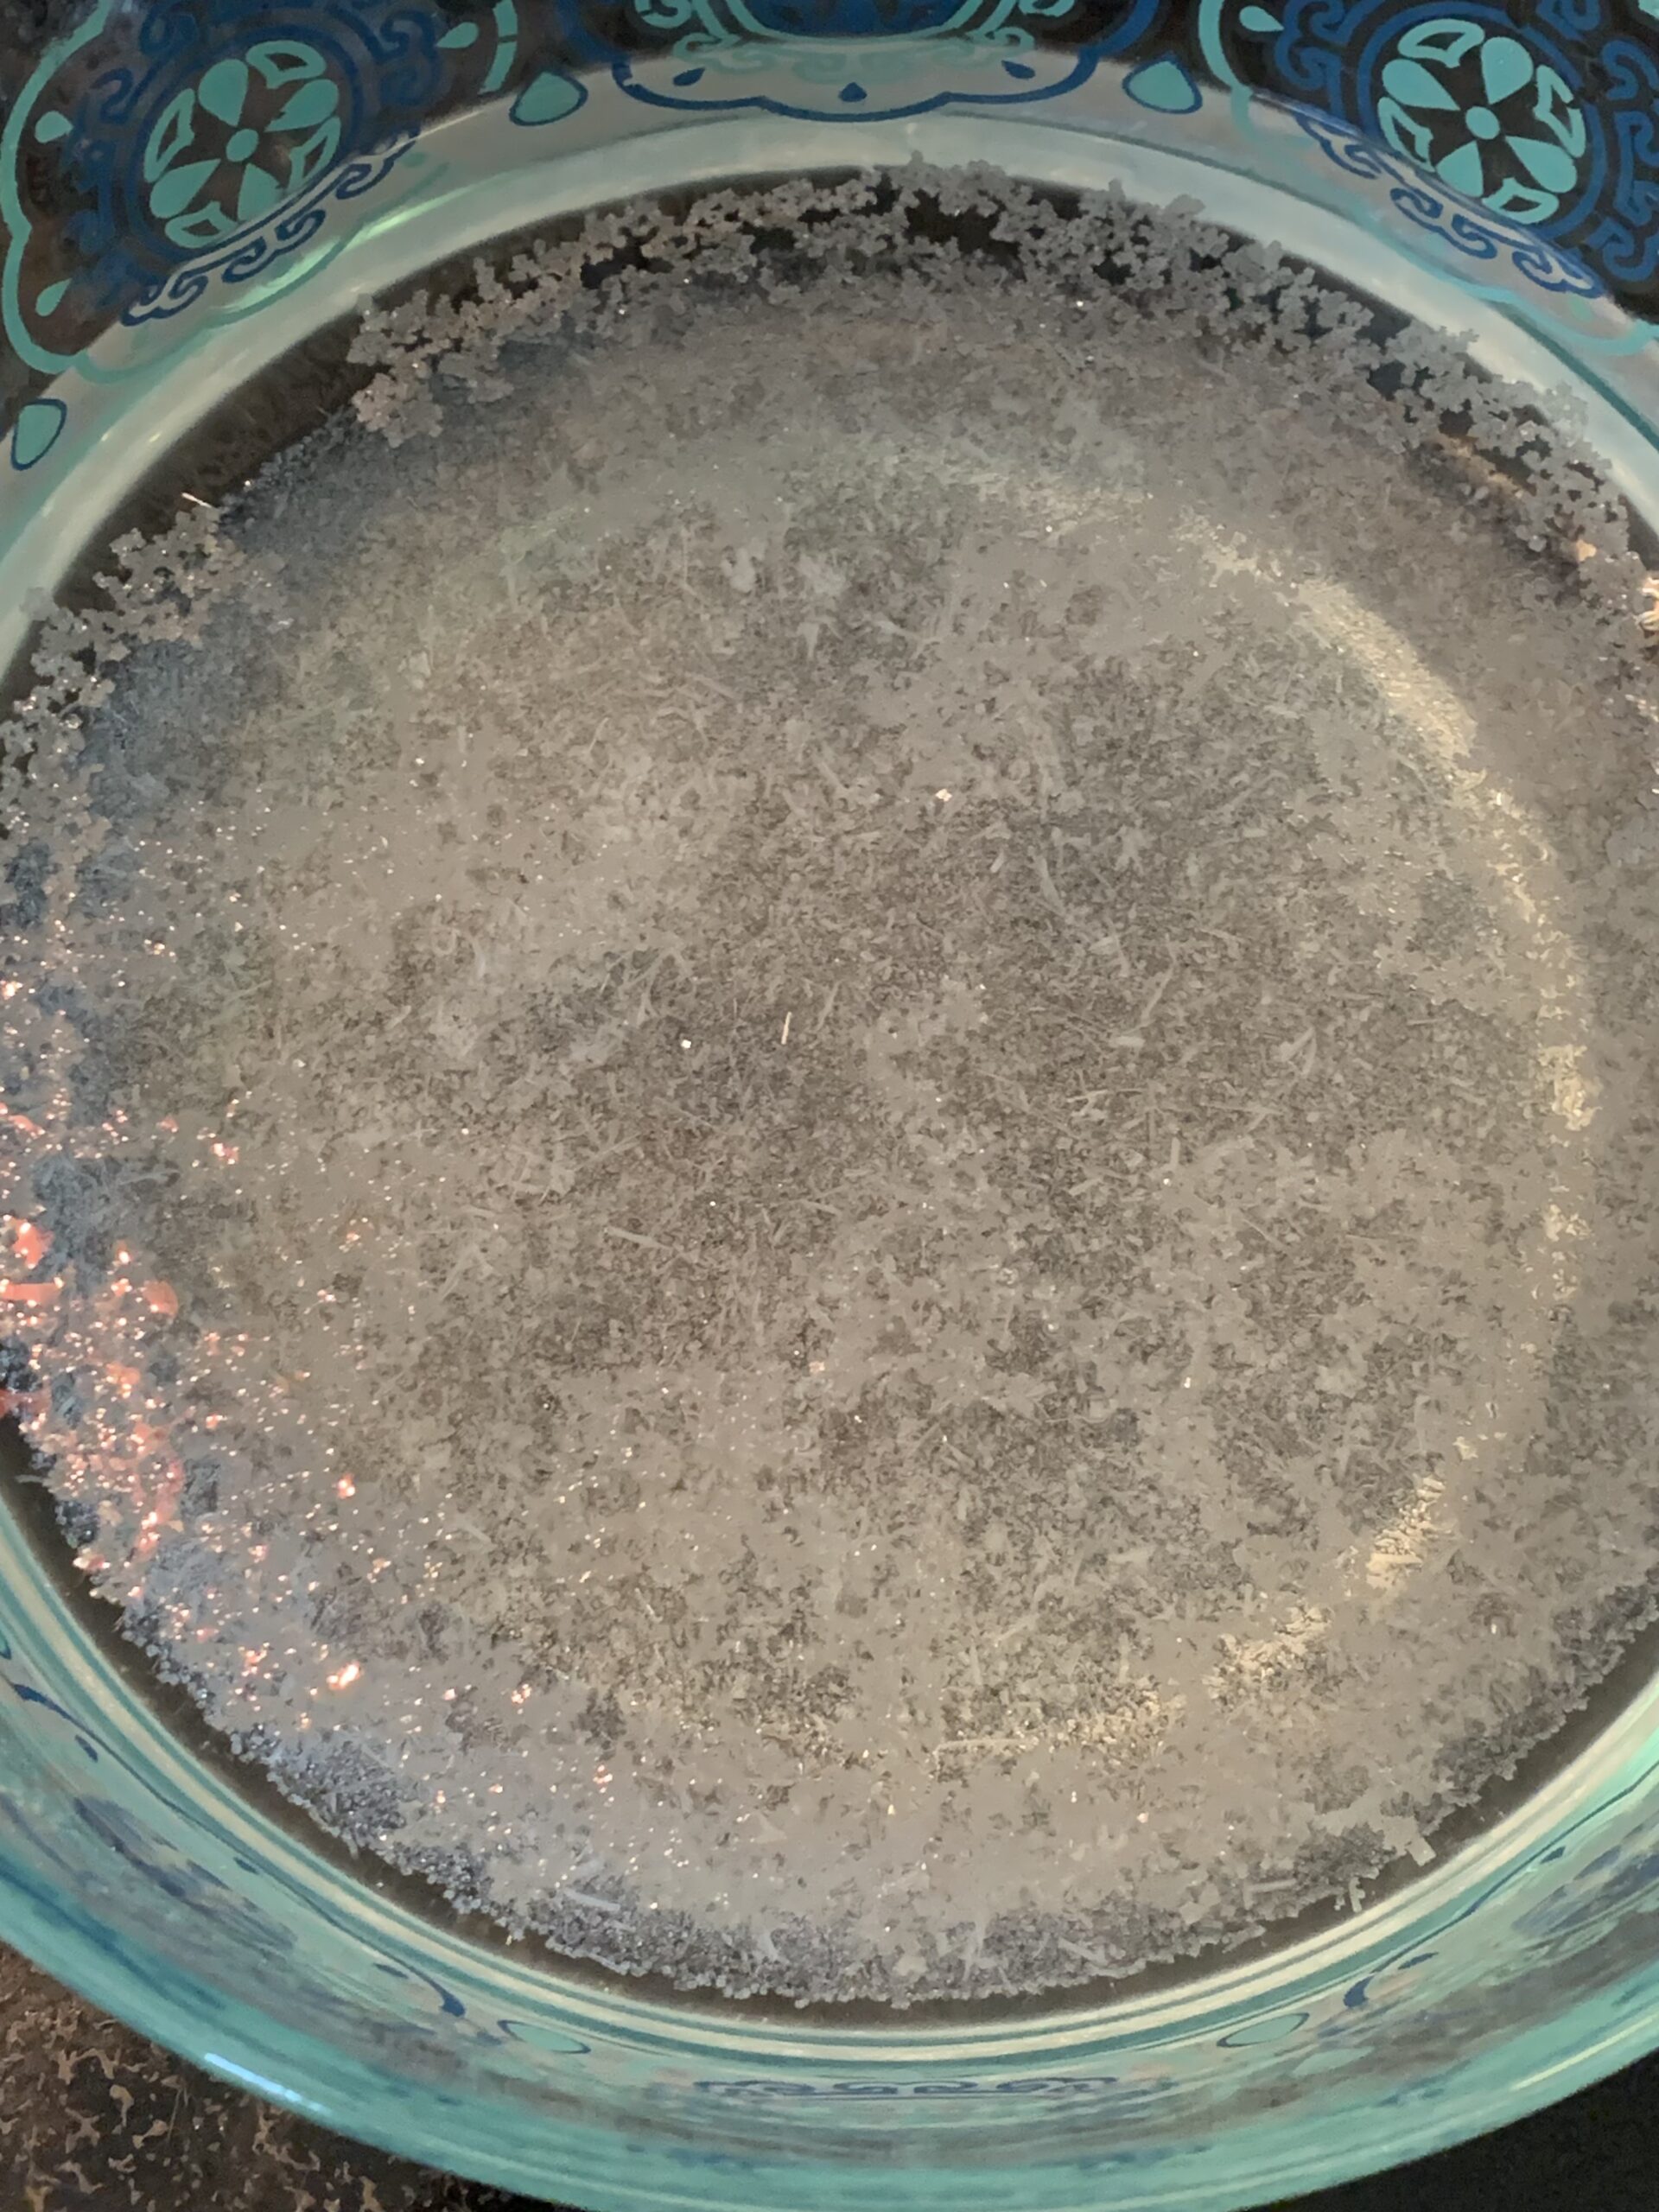
The saturated salt solution was put into a pyrex dish, covered with a lid, and left to sit for a day to stabilize. We expect a bunch of disorderly crystals to form here as the solution cools and equalizes with room temperature. The room temperature water can’t hold as much salt, so crystals start to drop out of solution.
After a day the solution has come to a reasonable equilibrium and we can filter out any crystals and transfer just the liquid solution into a new container.
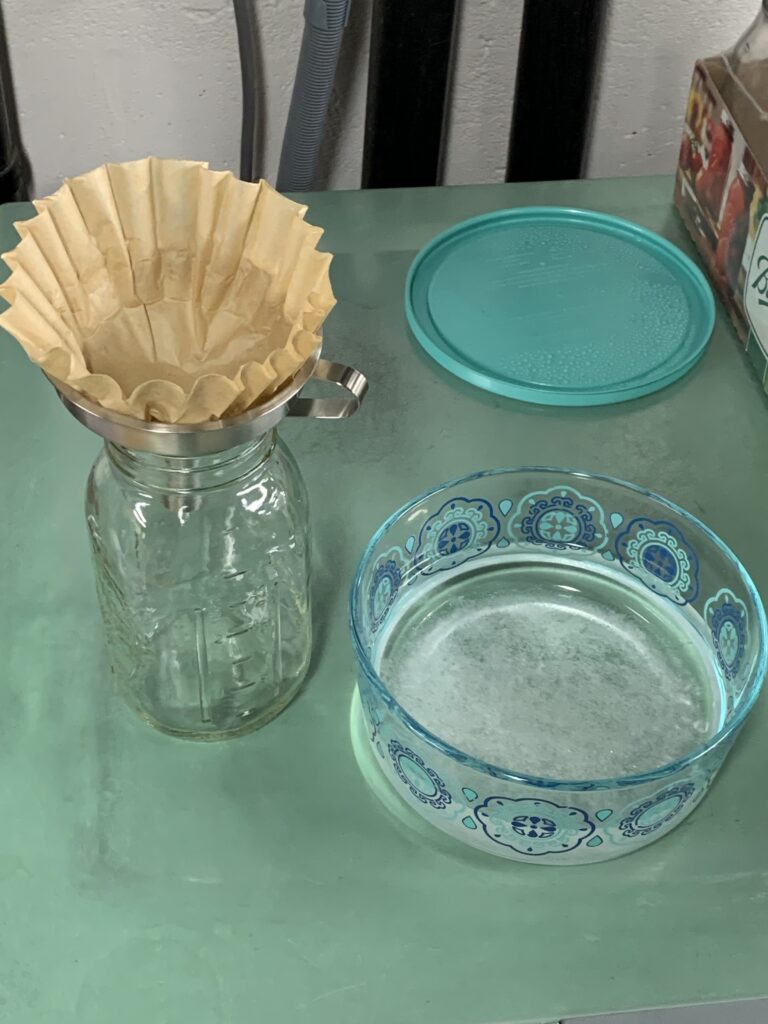
Now that we have our stable and saturated salt solution, we need to grow some seed crystals.
From here on out, we are controlling crystal growth by controlling evaporation. Temperature plays a role in how much salt the water can carry as well, as we know from the initial boil, but we’re assuming that everything is in a reasonably temperature stable environment. So with the temperature stable, what controls how much salt the water can hold on to, is how much water there is overall. As water evaporates from the solution, there will be left too much salt for the remaining water to hold in solution, and it will have to crystalize out. We control the growth by controlling how fast the water can evaporate.
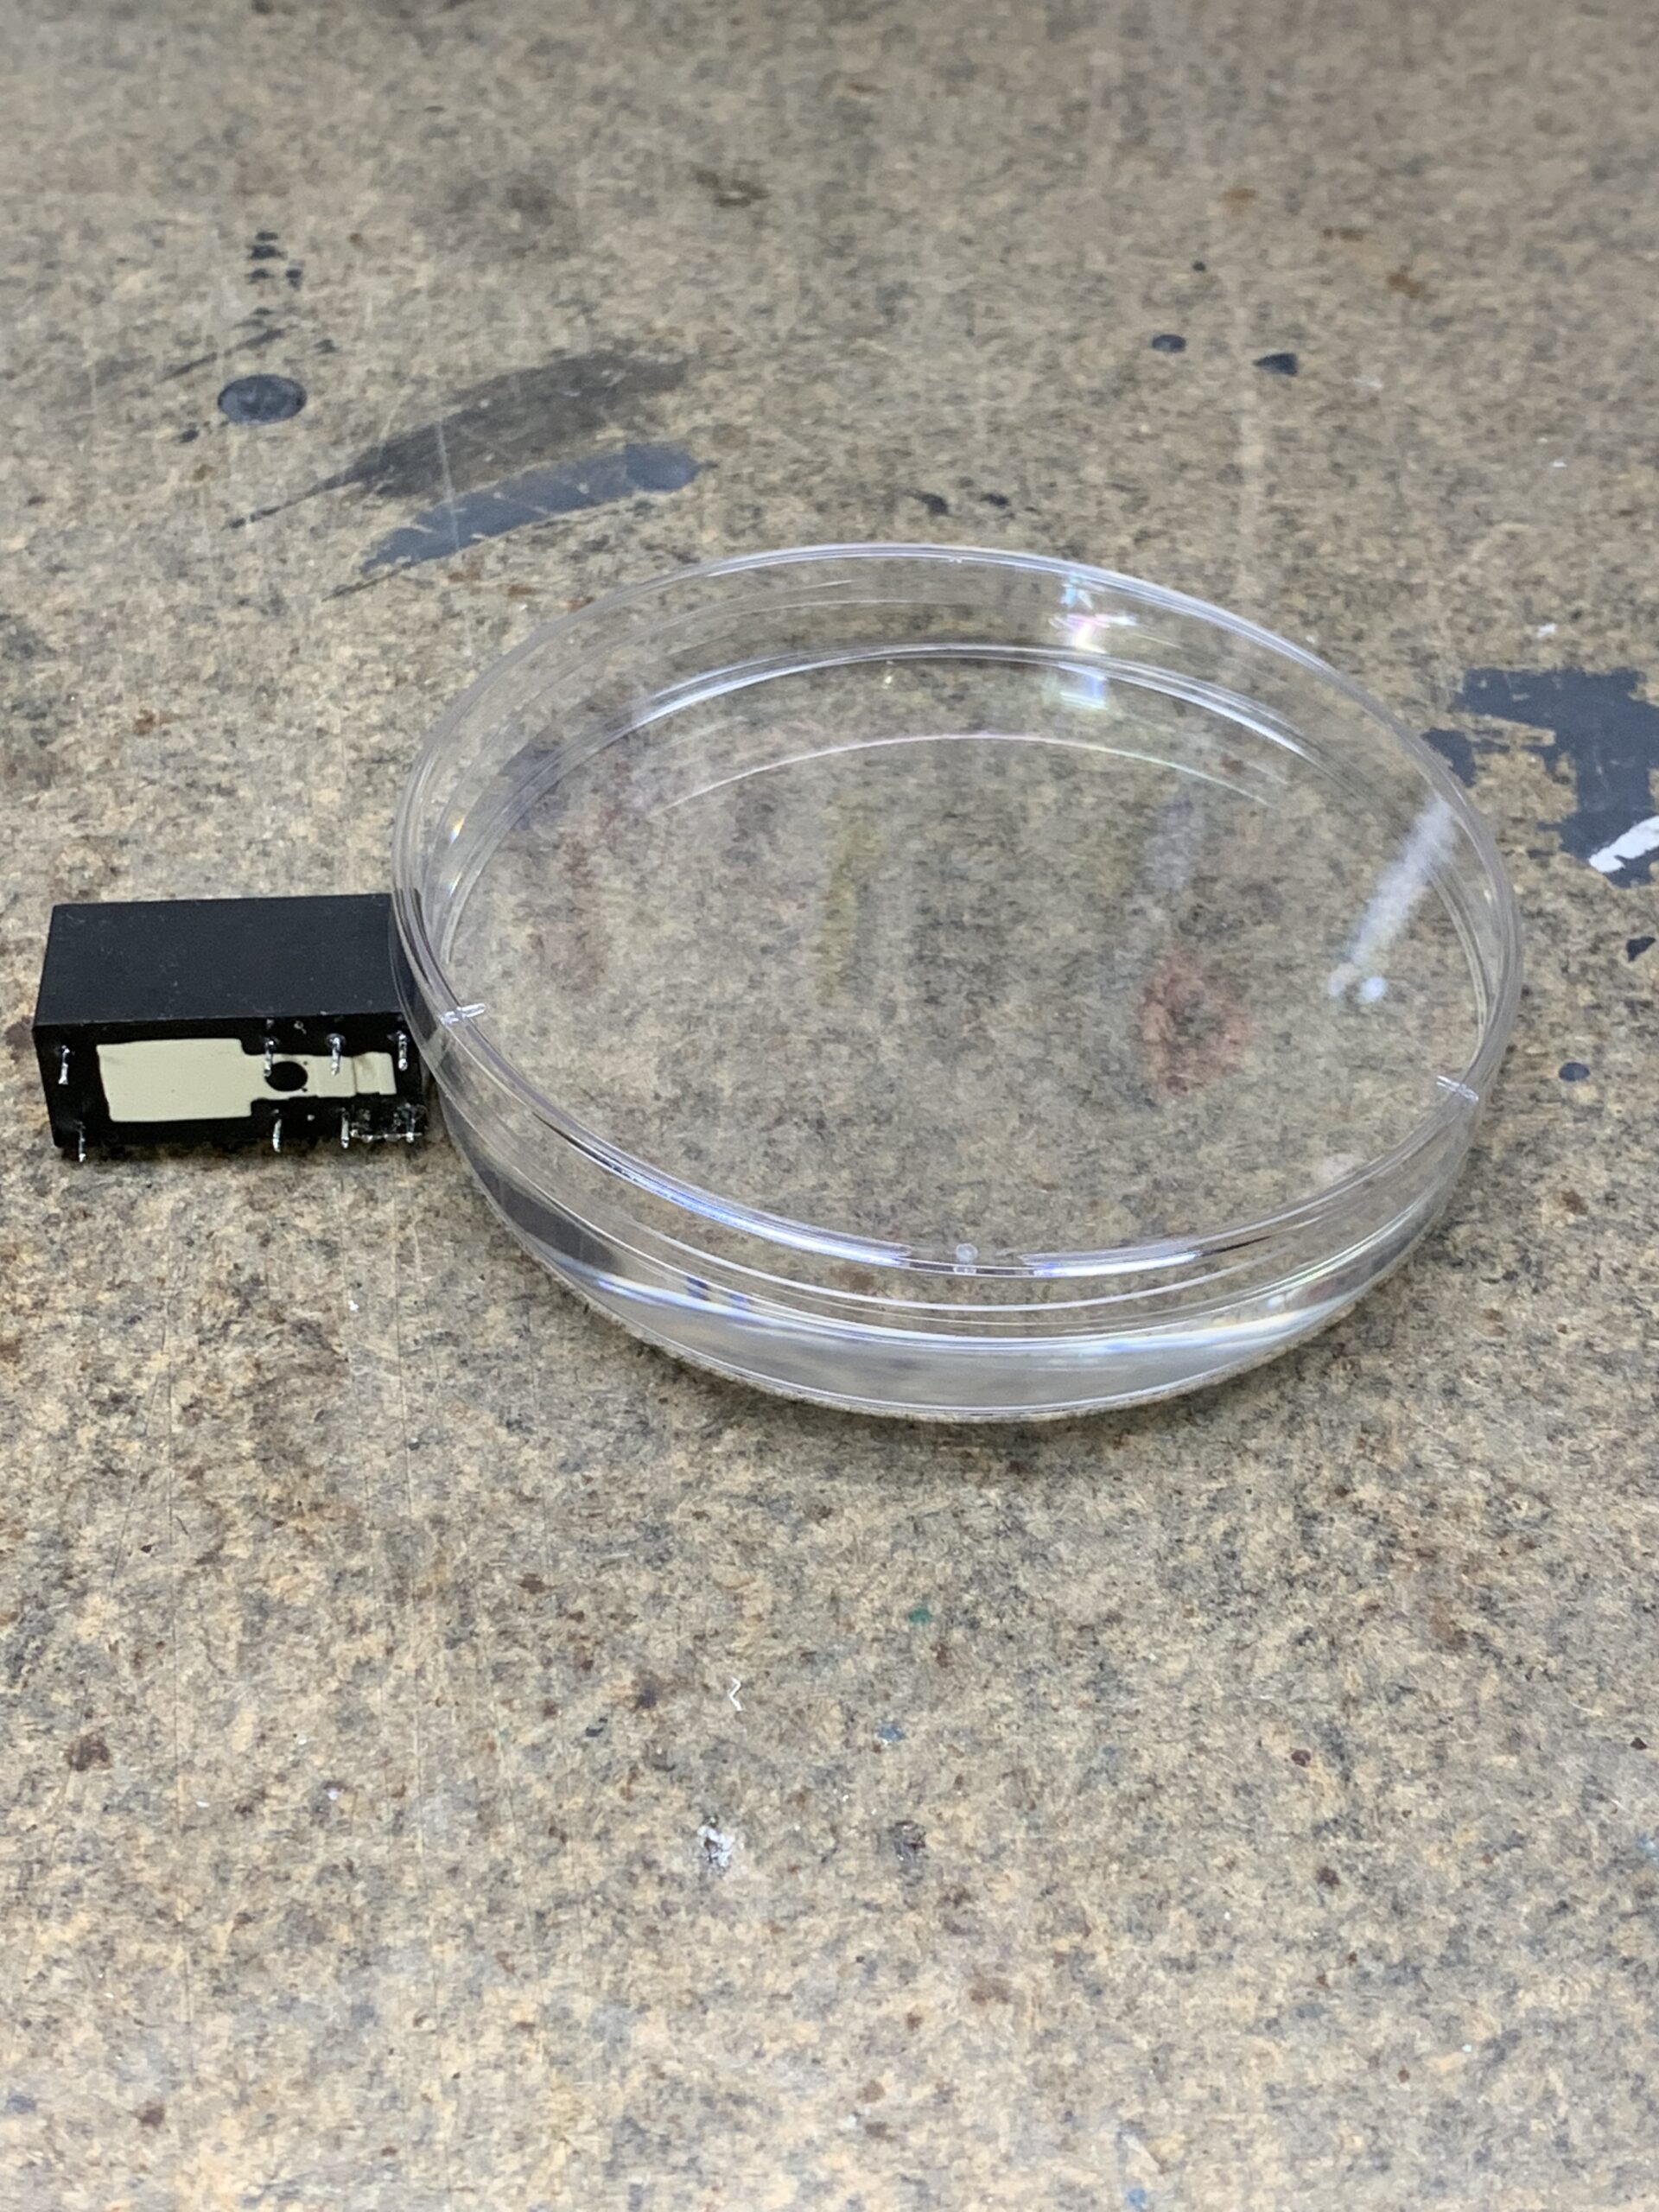
I used some inexpensive petri dishes from Amazon as my containers for growing my crystals. These petri dishes have three tiny little bumps on the inside of the lid that allow for just the smallest bit of an air gap when the lid is on. This seems to be a good setup for the later growth stage, but here where we’re trying to get a large number of seed crystals to start, we want a bit more evaporation. I just propped up one side of the lid a bit to allow for a little more air exchange.
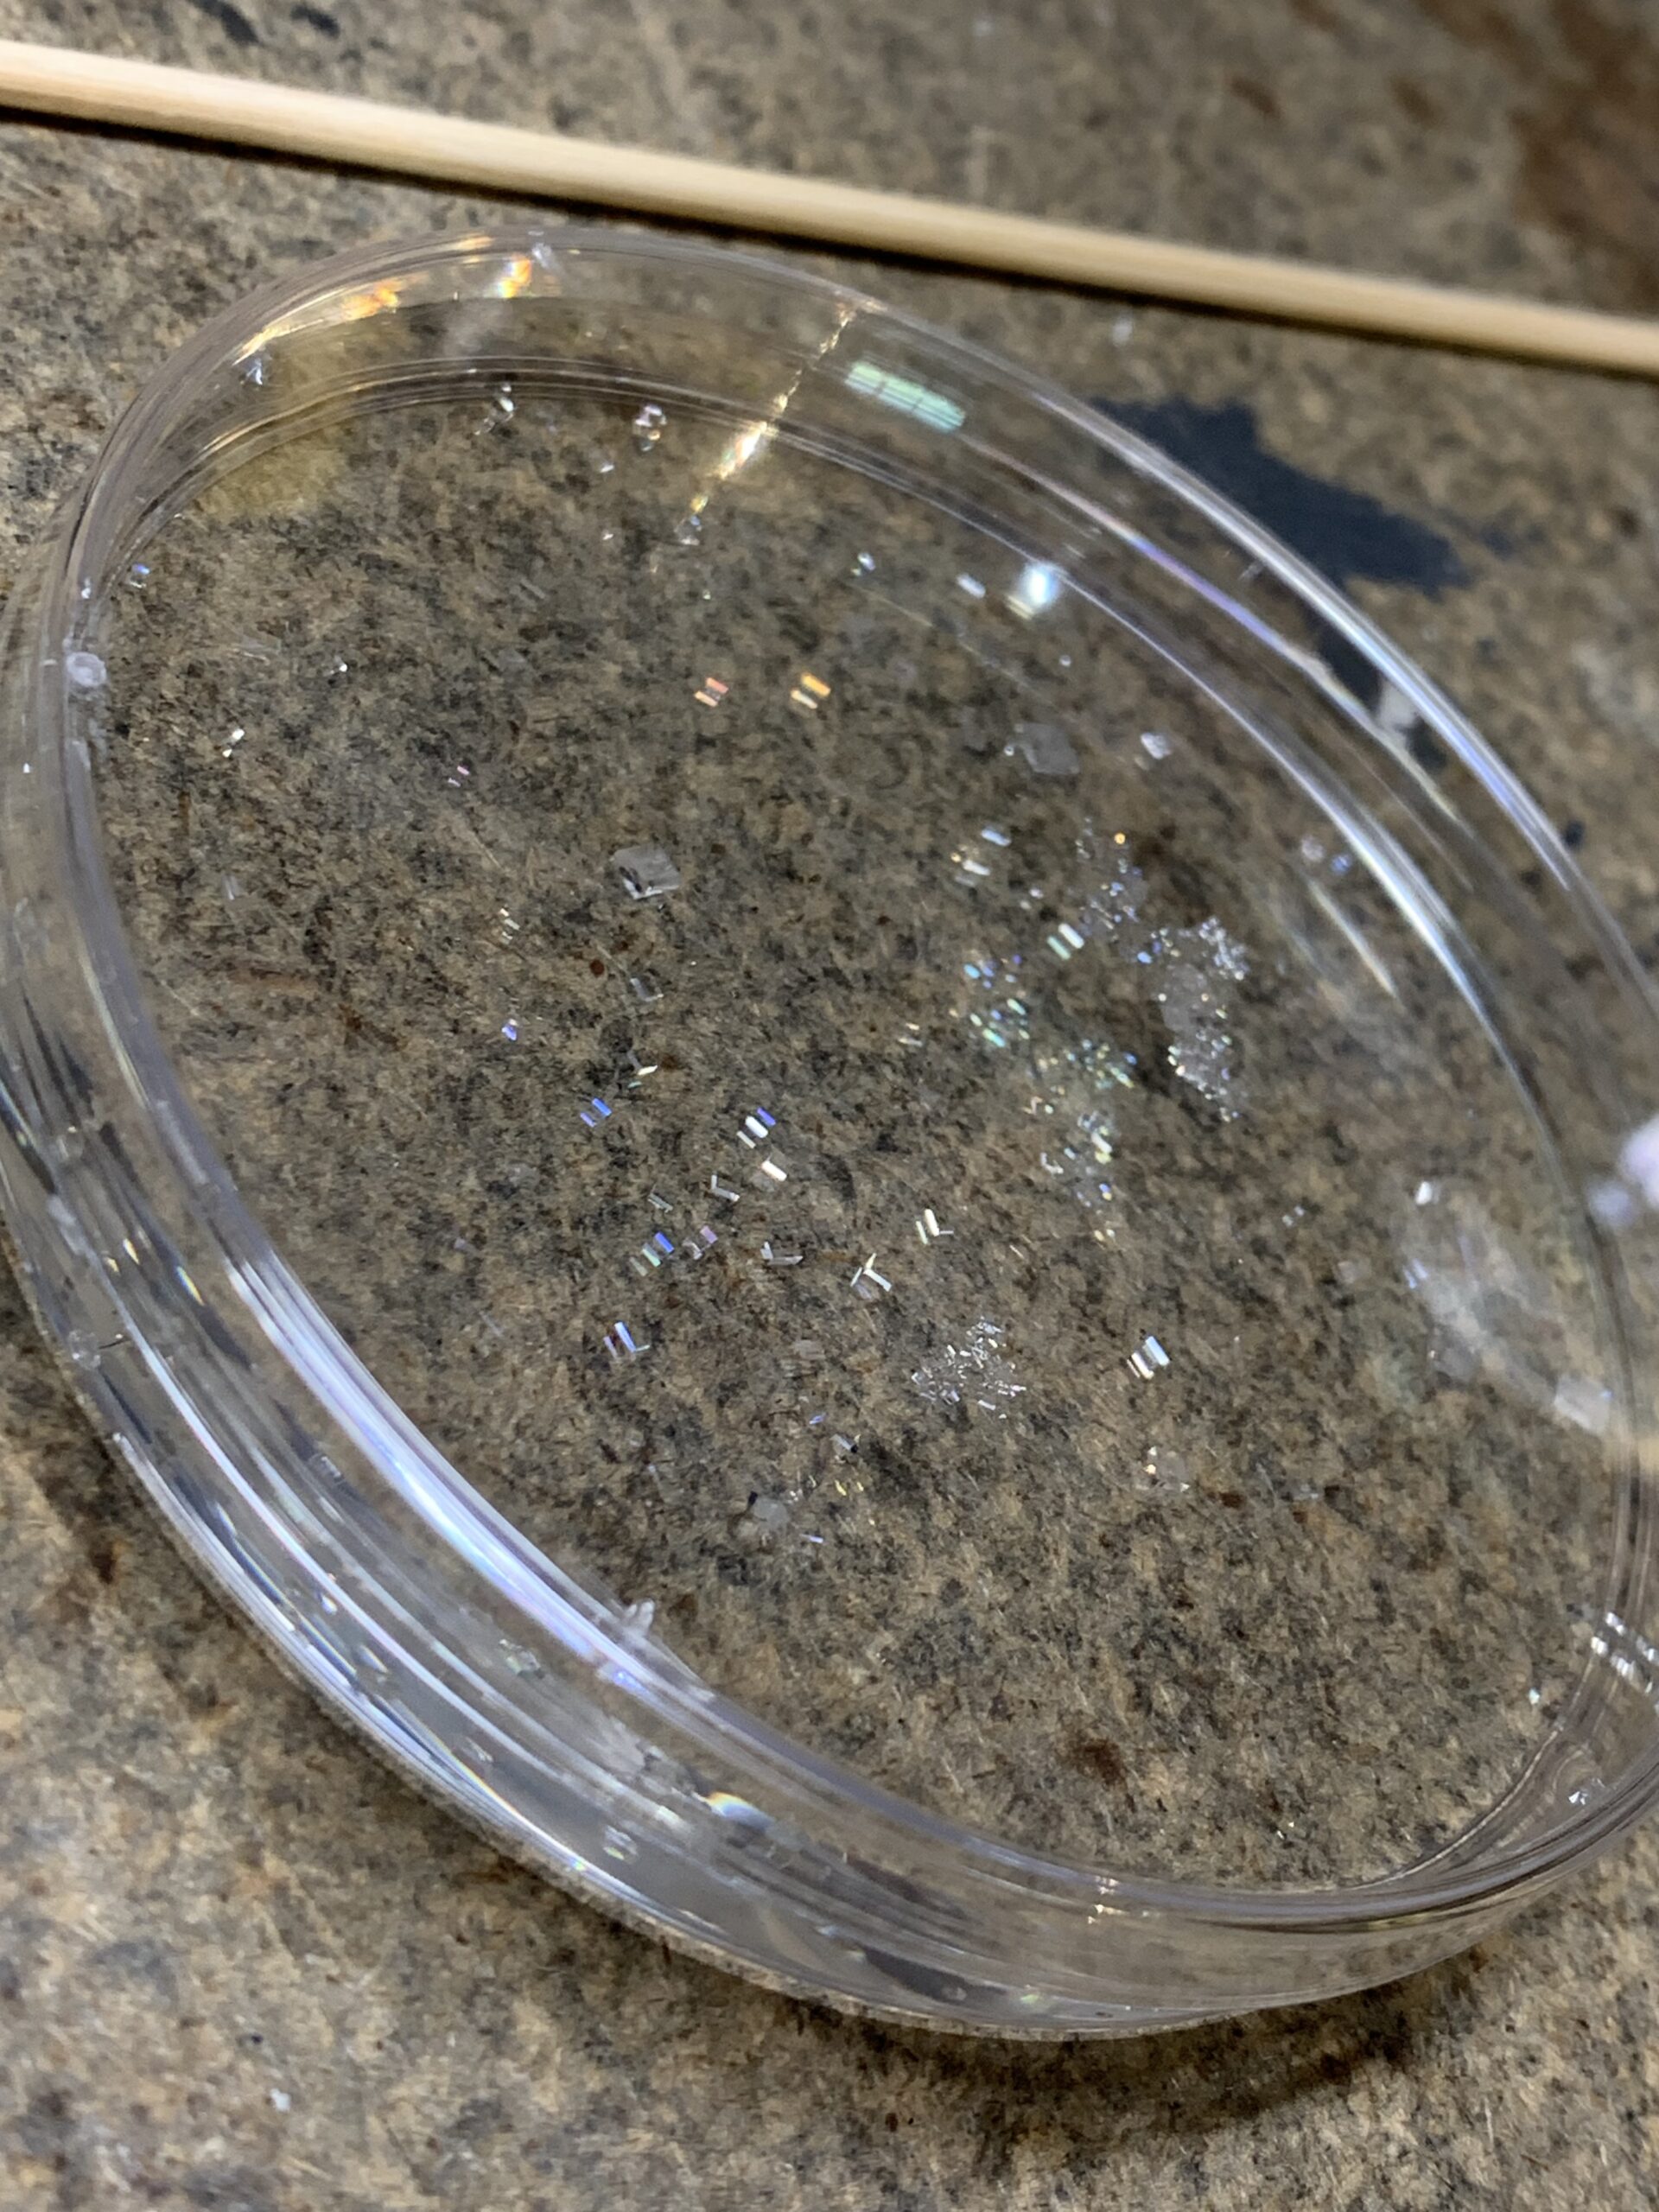
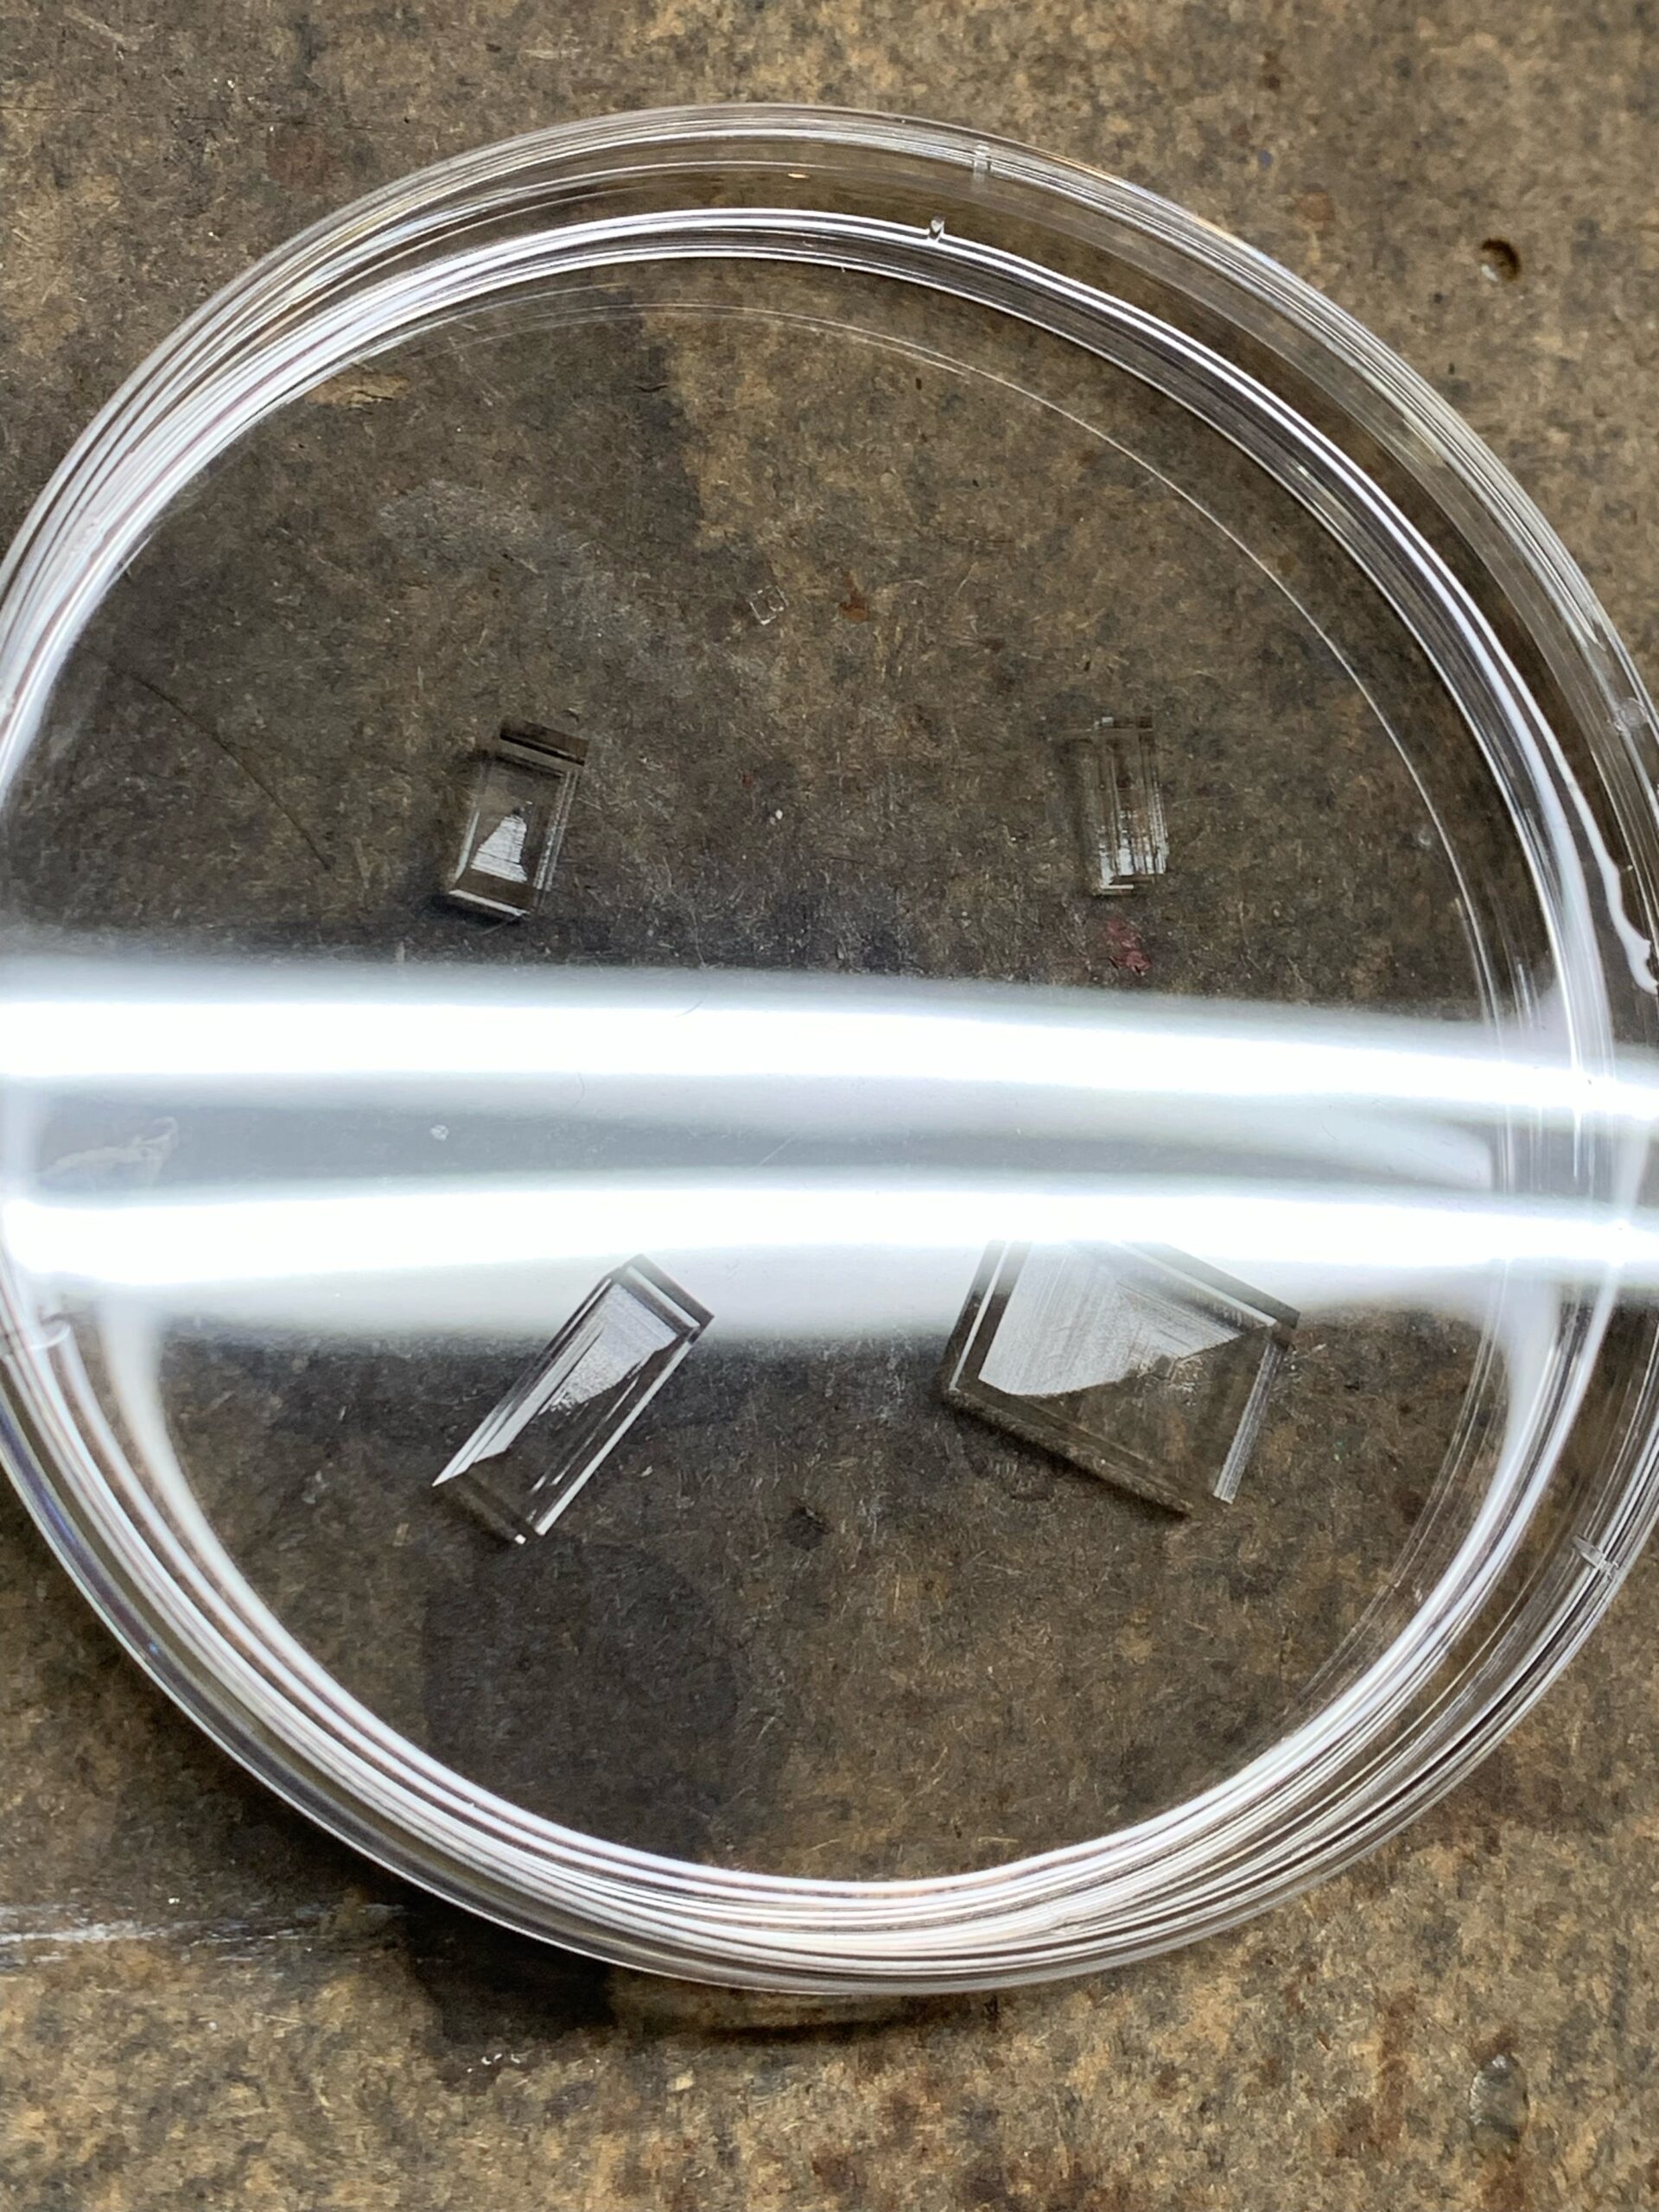
Within a day or two, I had a large number of tiny seed crystals in this starter dish. Here you’ll need to take some time looking carefully and select a small number of the most perfect ones you can see. Prepare another dish with the salt solution, and place your seed crystal(s) in. Because I was using larger containers than the original article, I did four crystals per dish, rather than the one crystal they describe. They are difficult to see here, but there are four crystals I’ve selected and spaced apart in this dish.
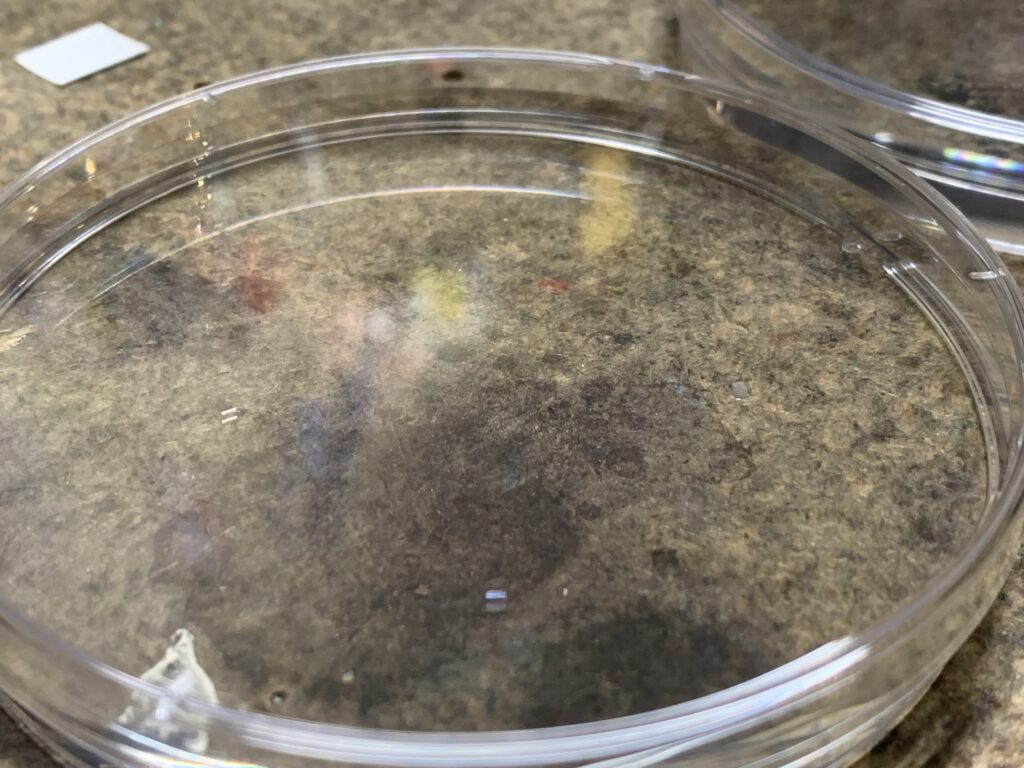
We put the lid on all the way to limit evaporation, and now it’s a waiting game. Keep them undisturbed, and check on them every few days to a week to keep tabs on the progress.

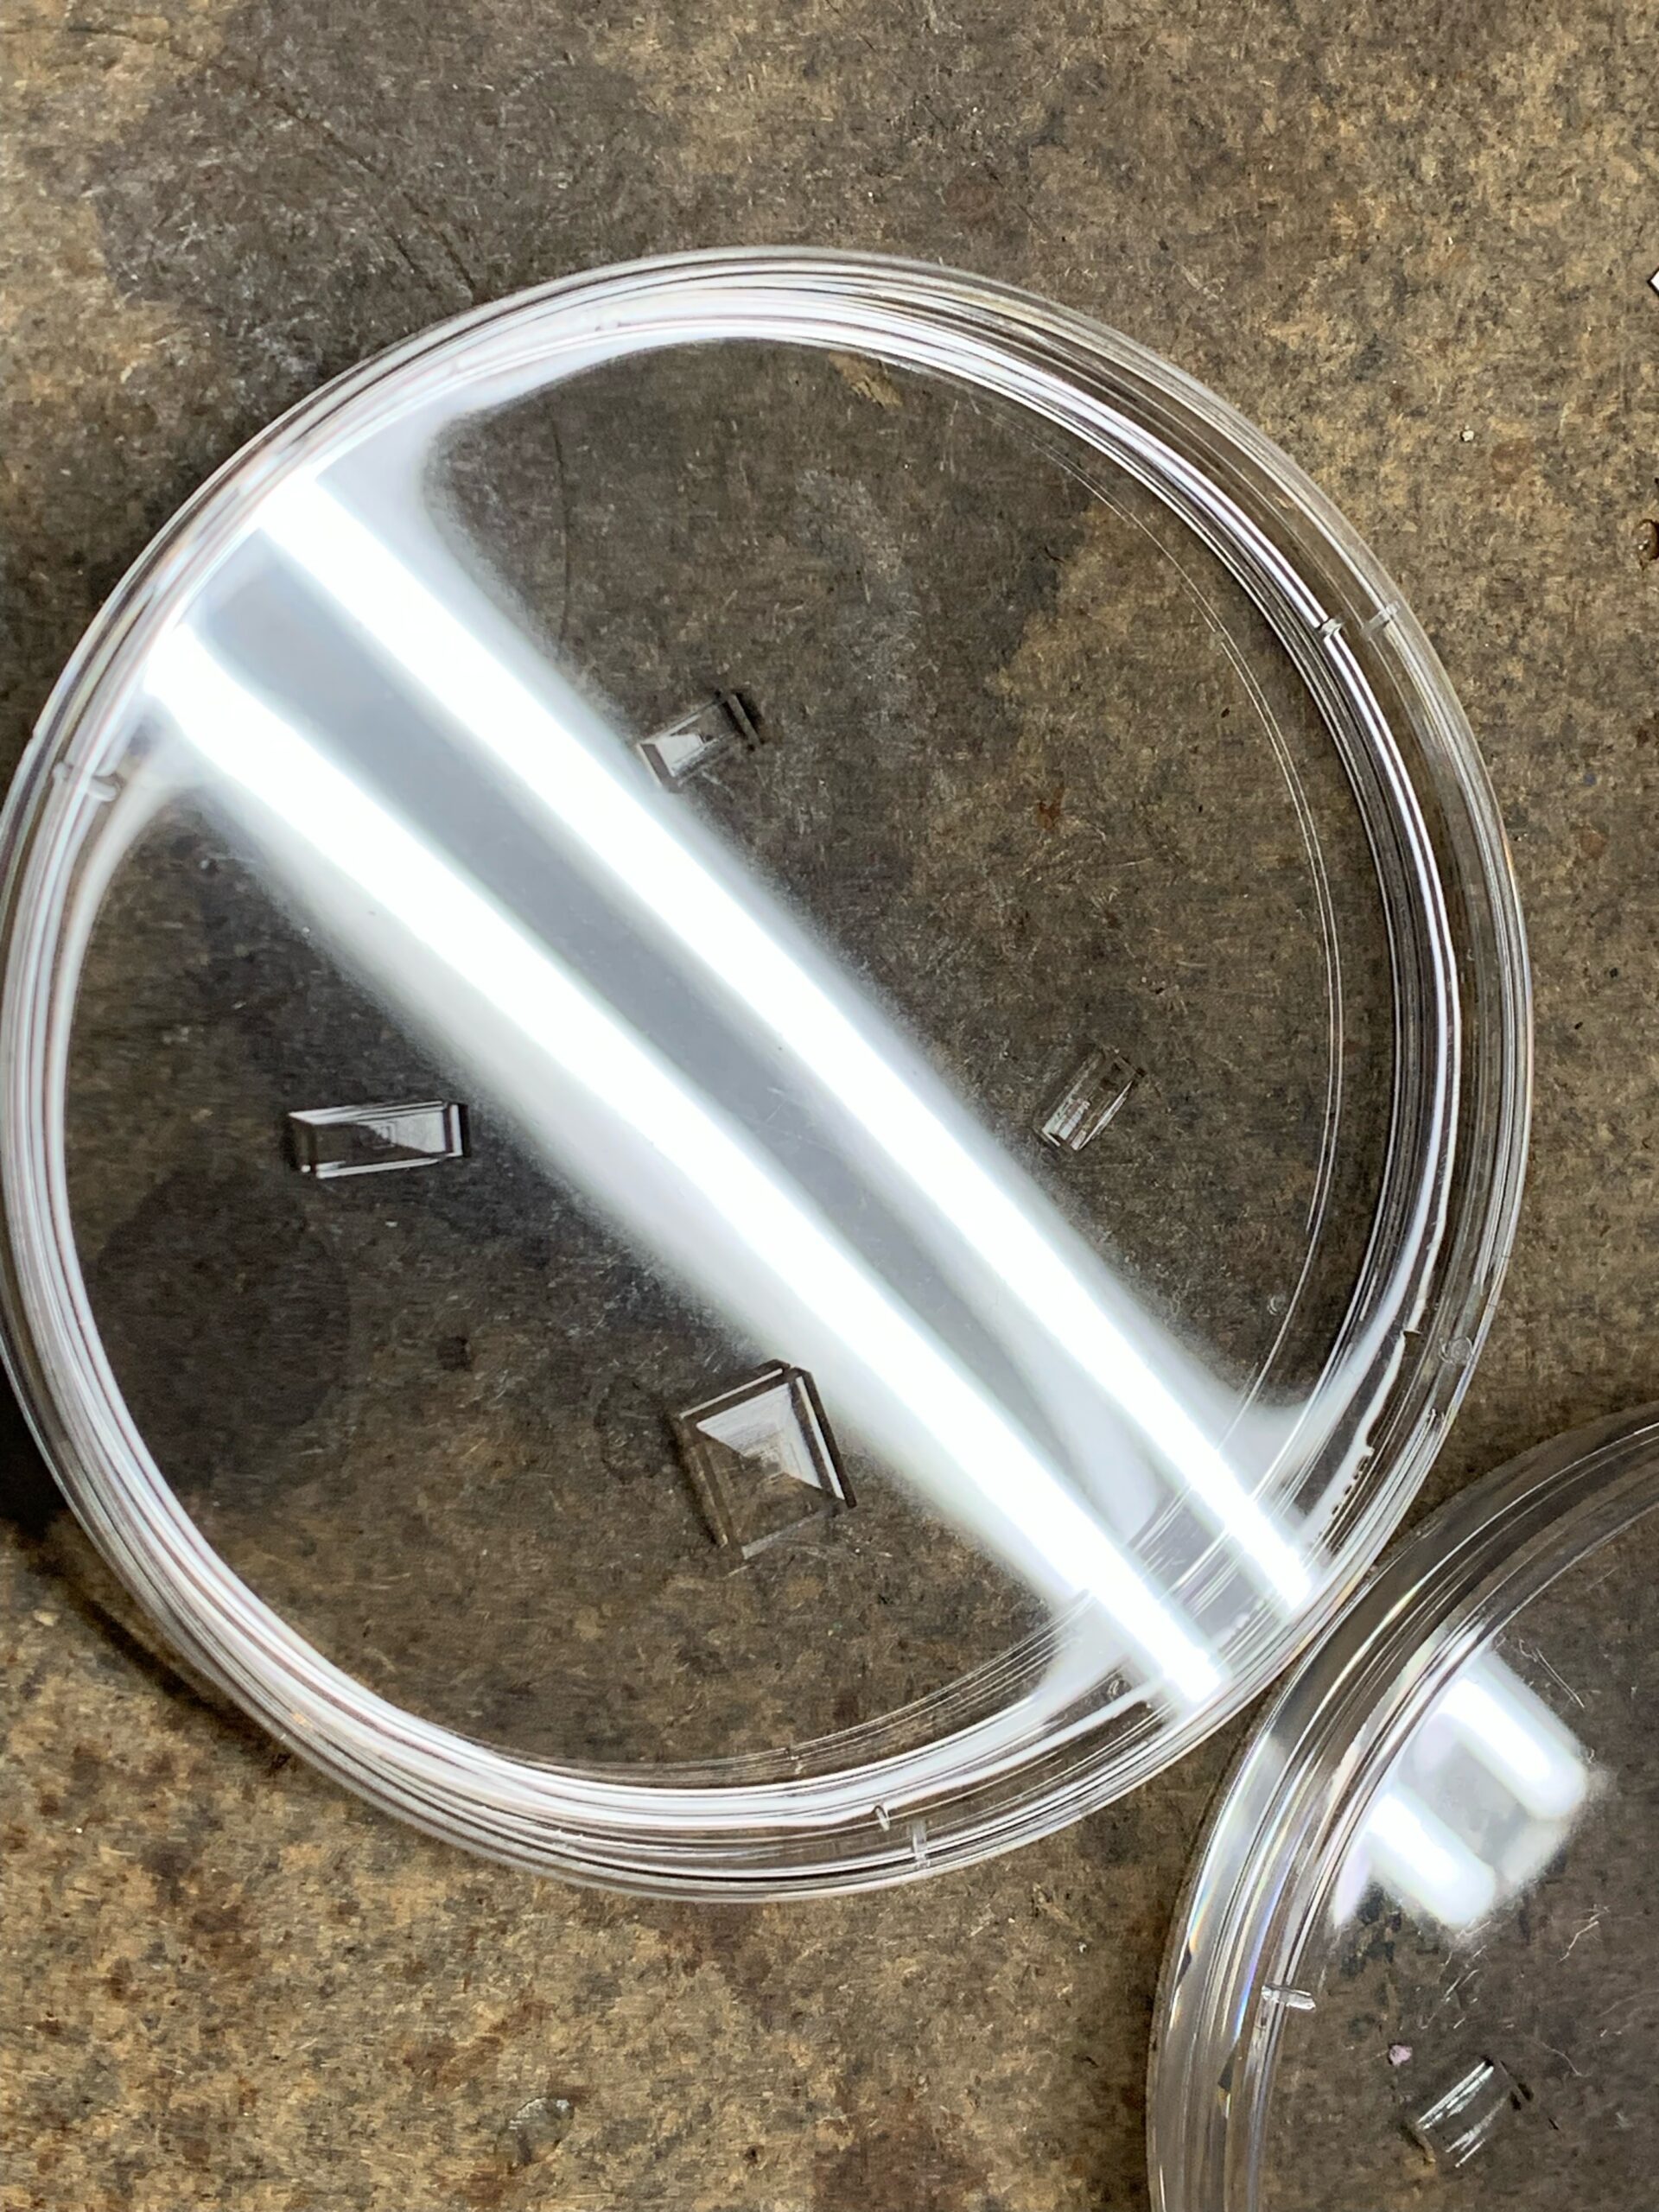
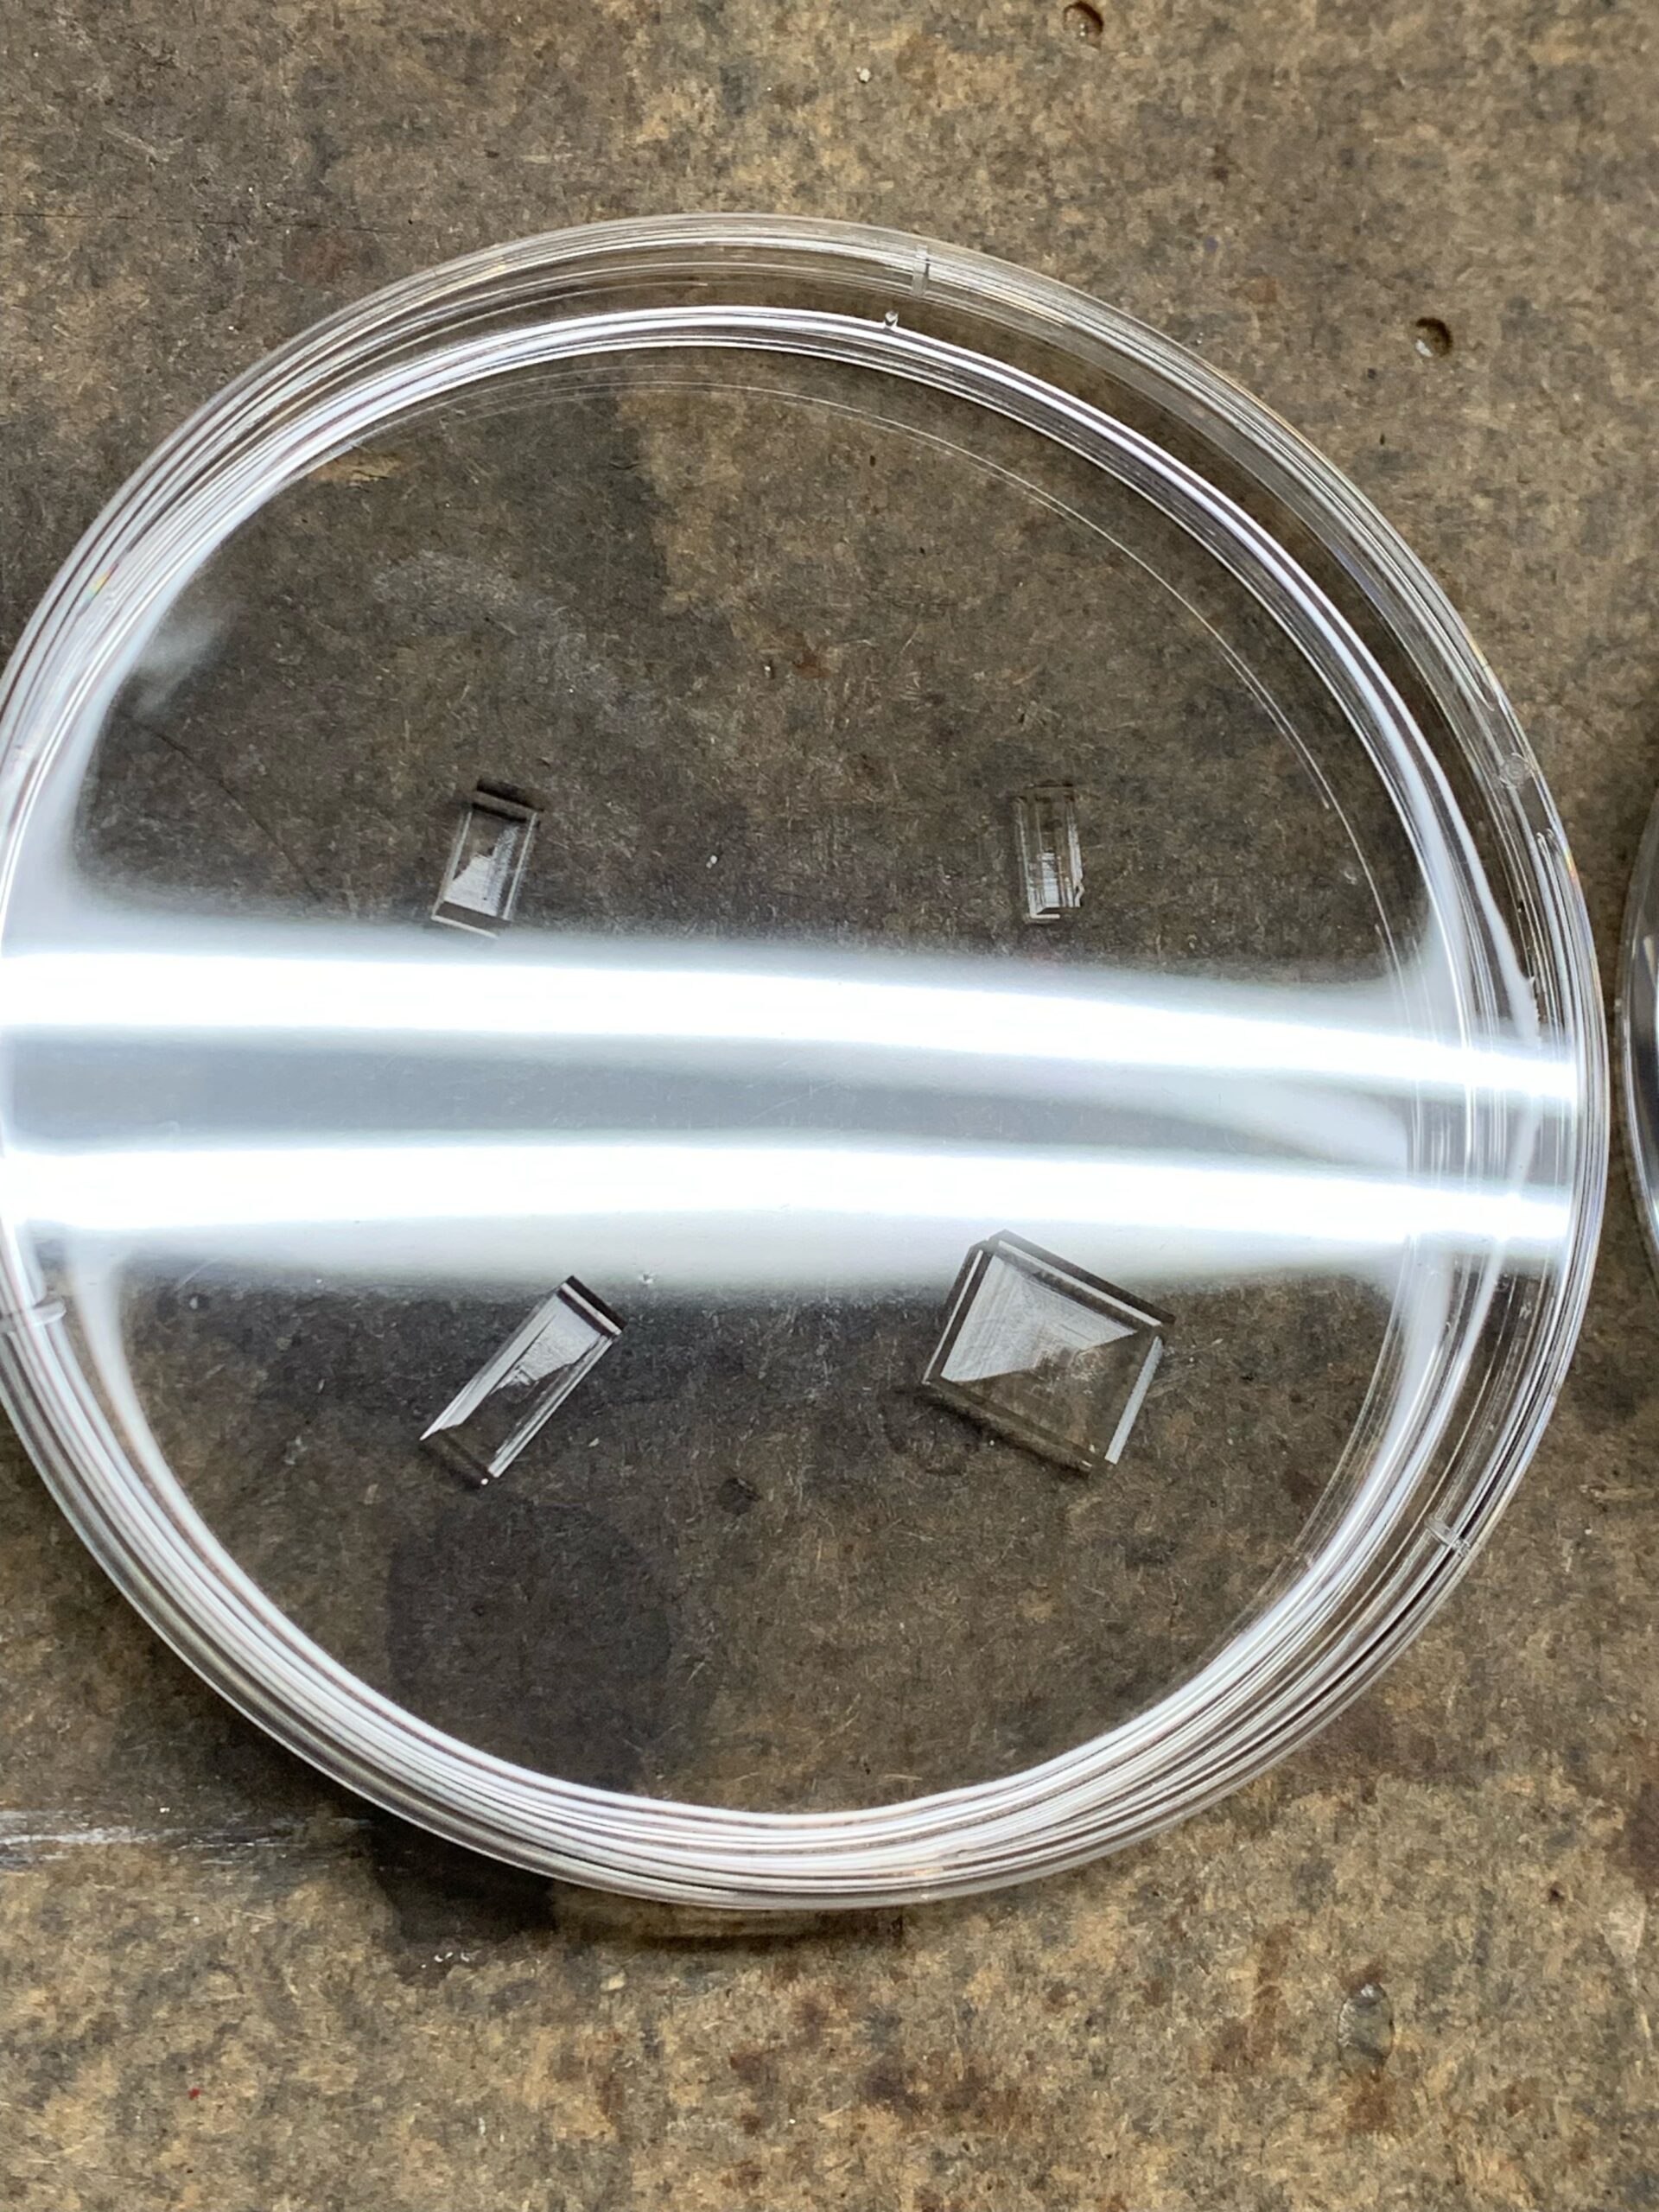

After 5 weeks, I ended up having to move the dishes to make room for another project, and the disturbance seems to have been enough to set off a bunch of new crystal formation. I started seeing new seed crystals forming, as well as non-uniform growth on the larger existing crystals, so I ended this run at 6 weeks.
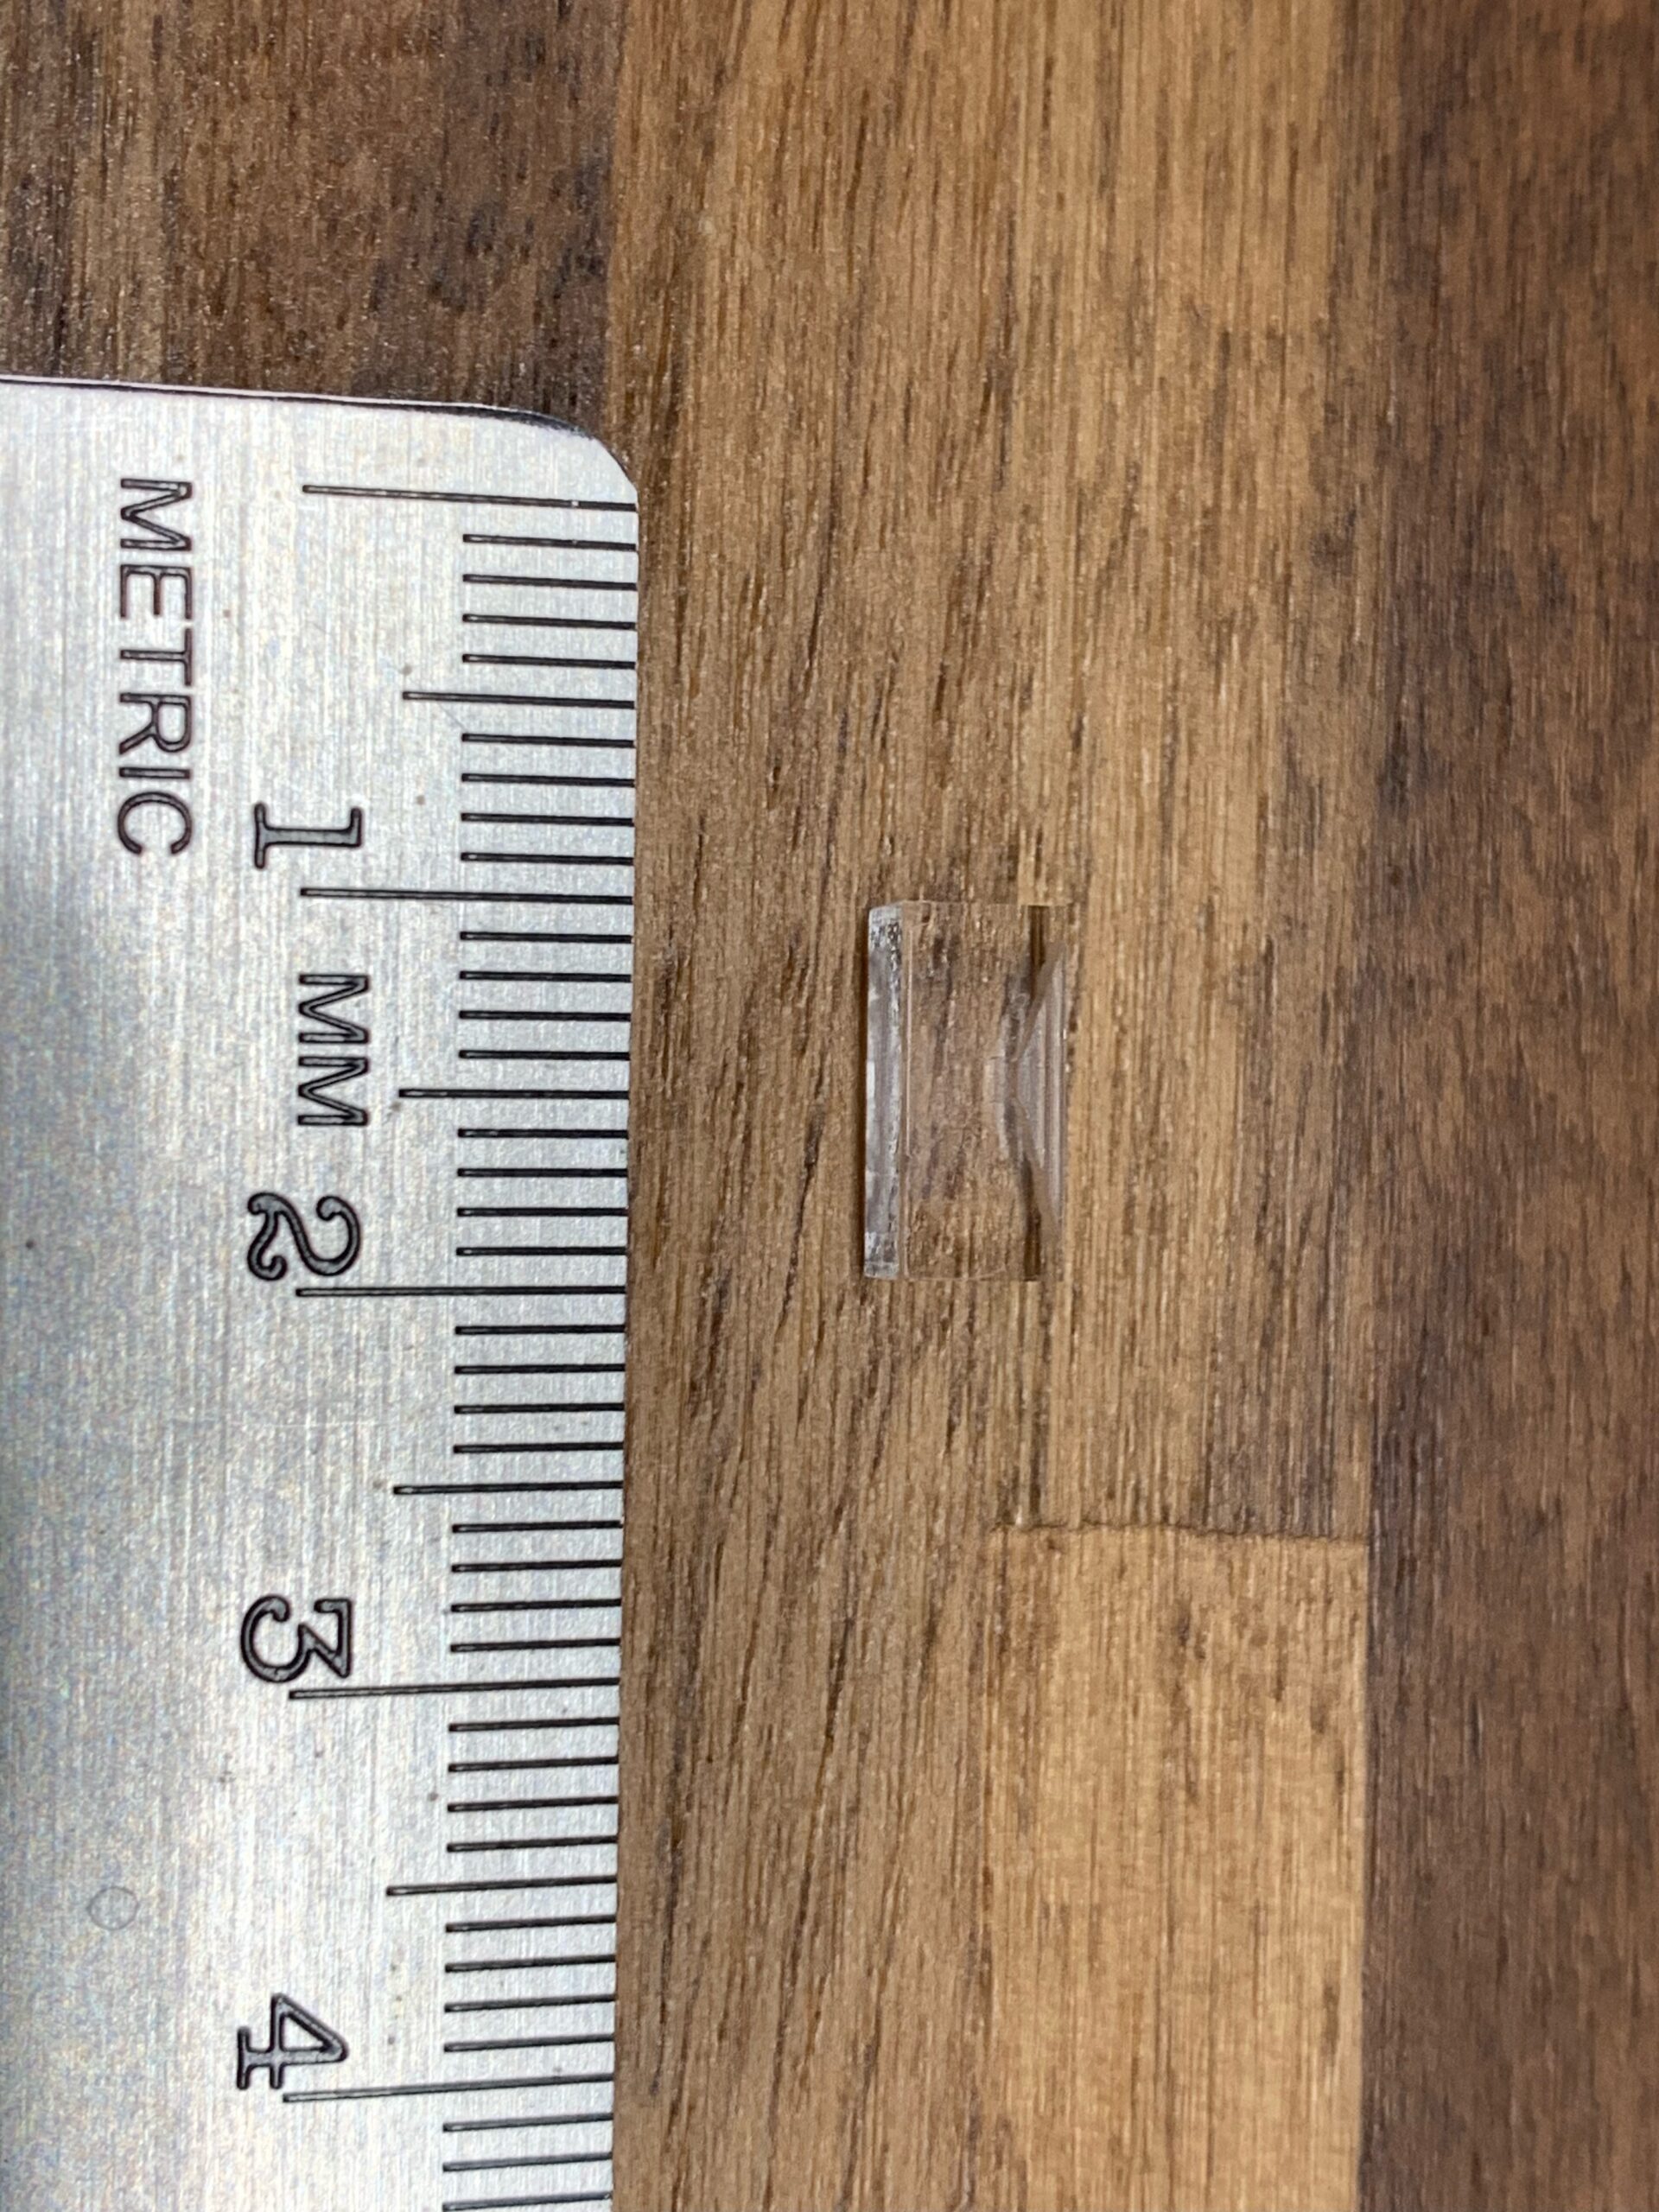
The crystals were pulled out, blot dried on a paper towel, and left to finish drying overnight. These are complete, ready to handle, and be put on display in my collection.
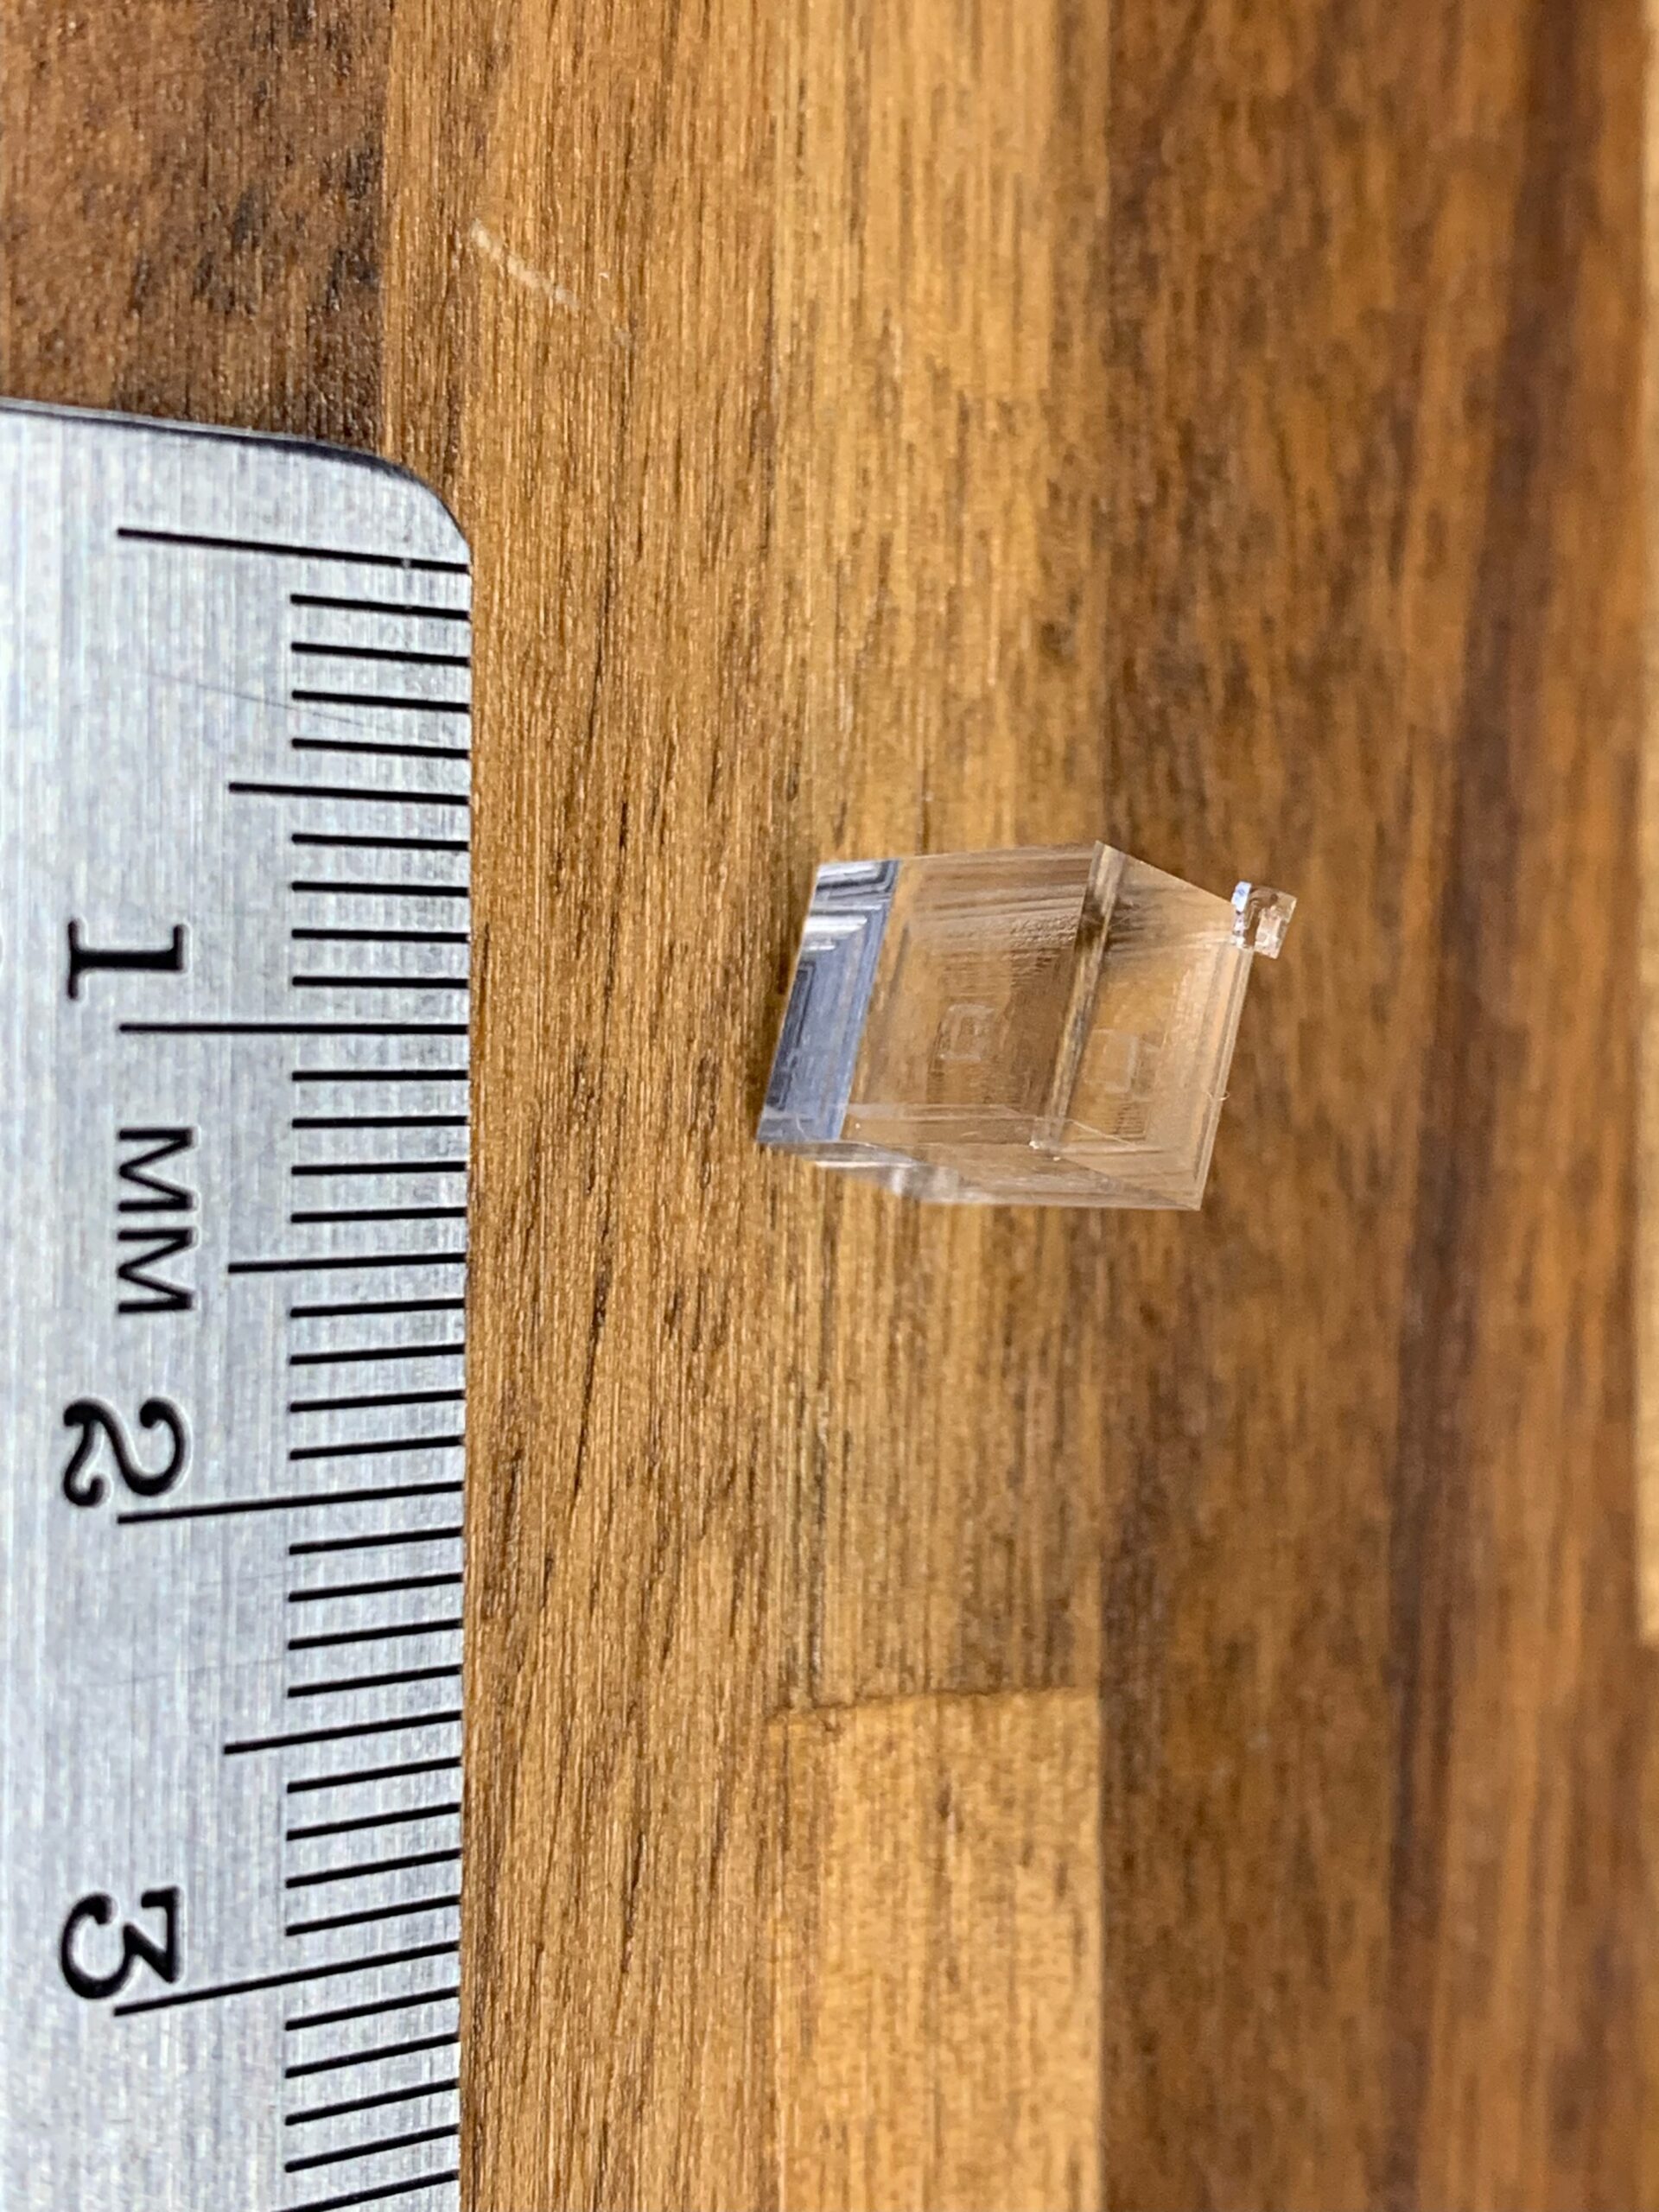
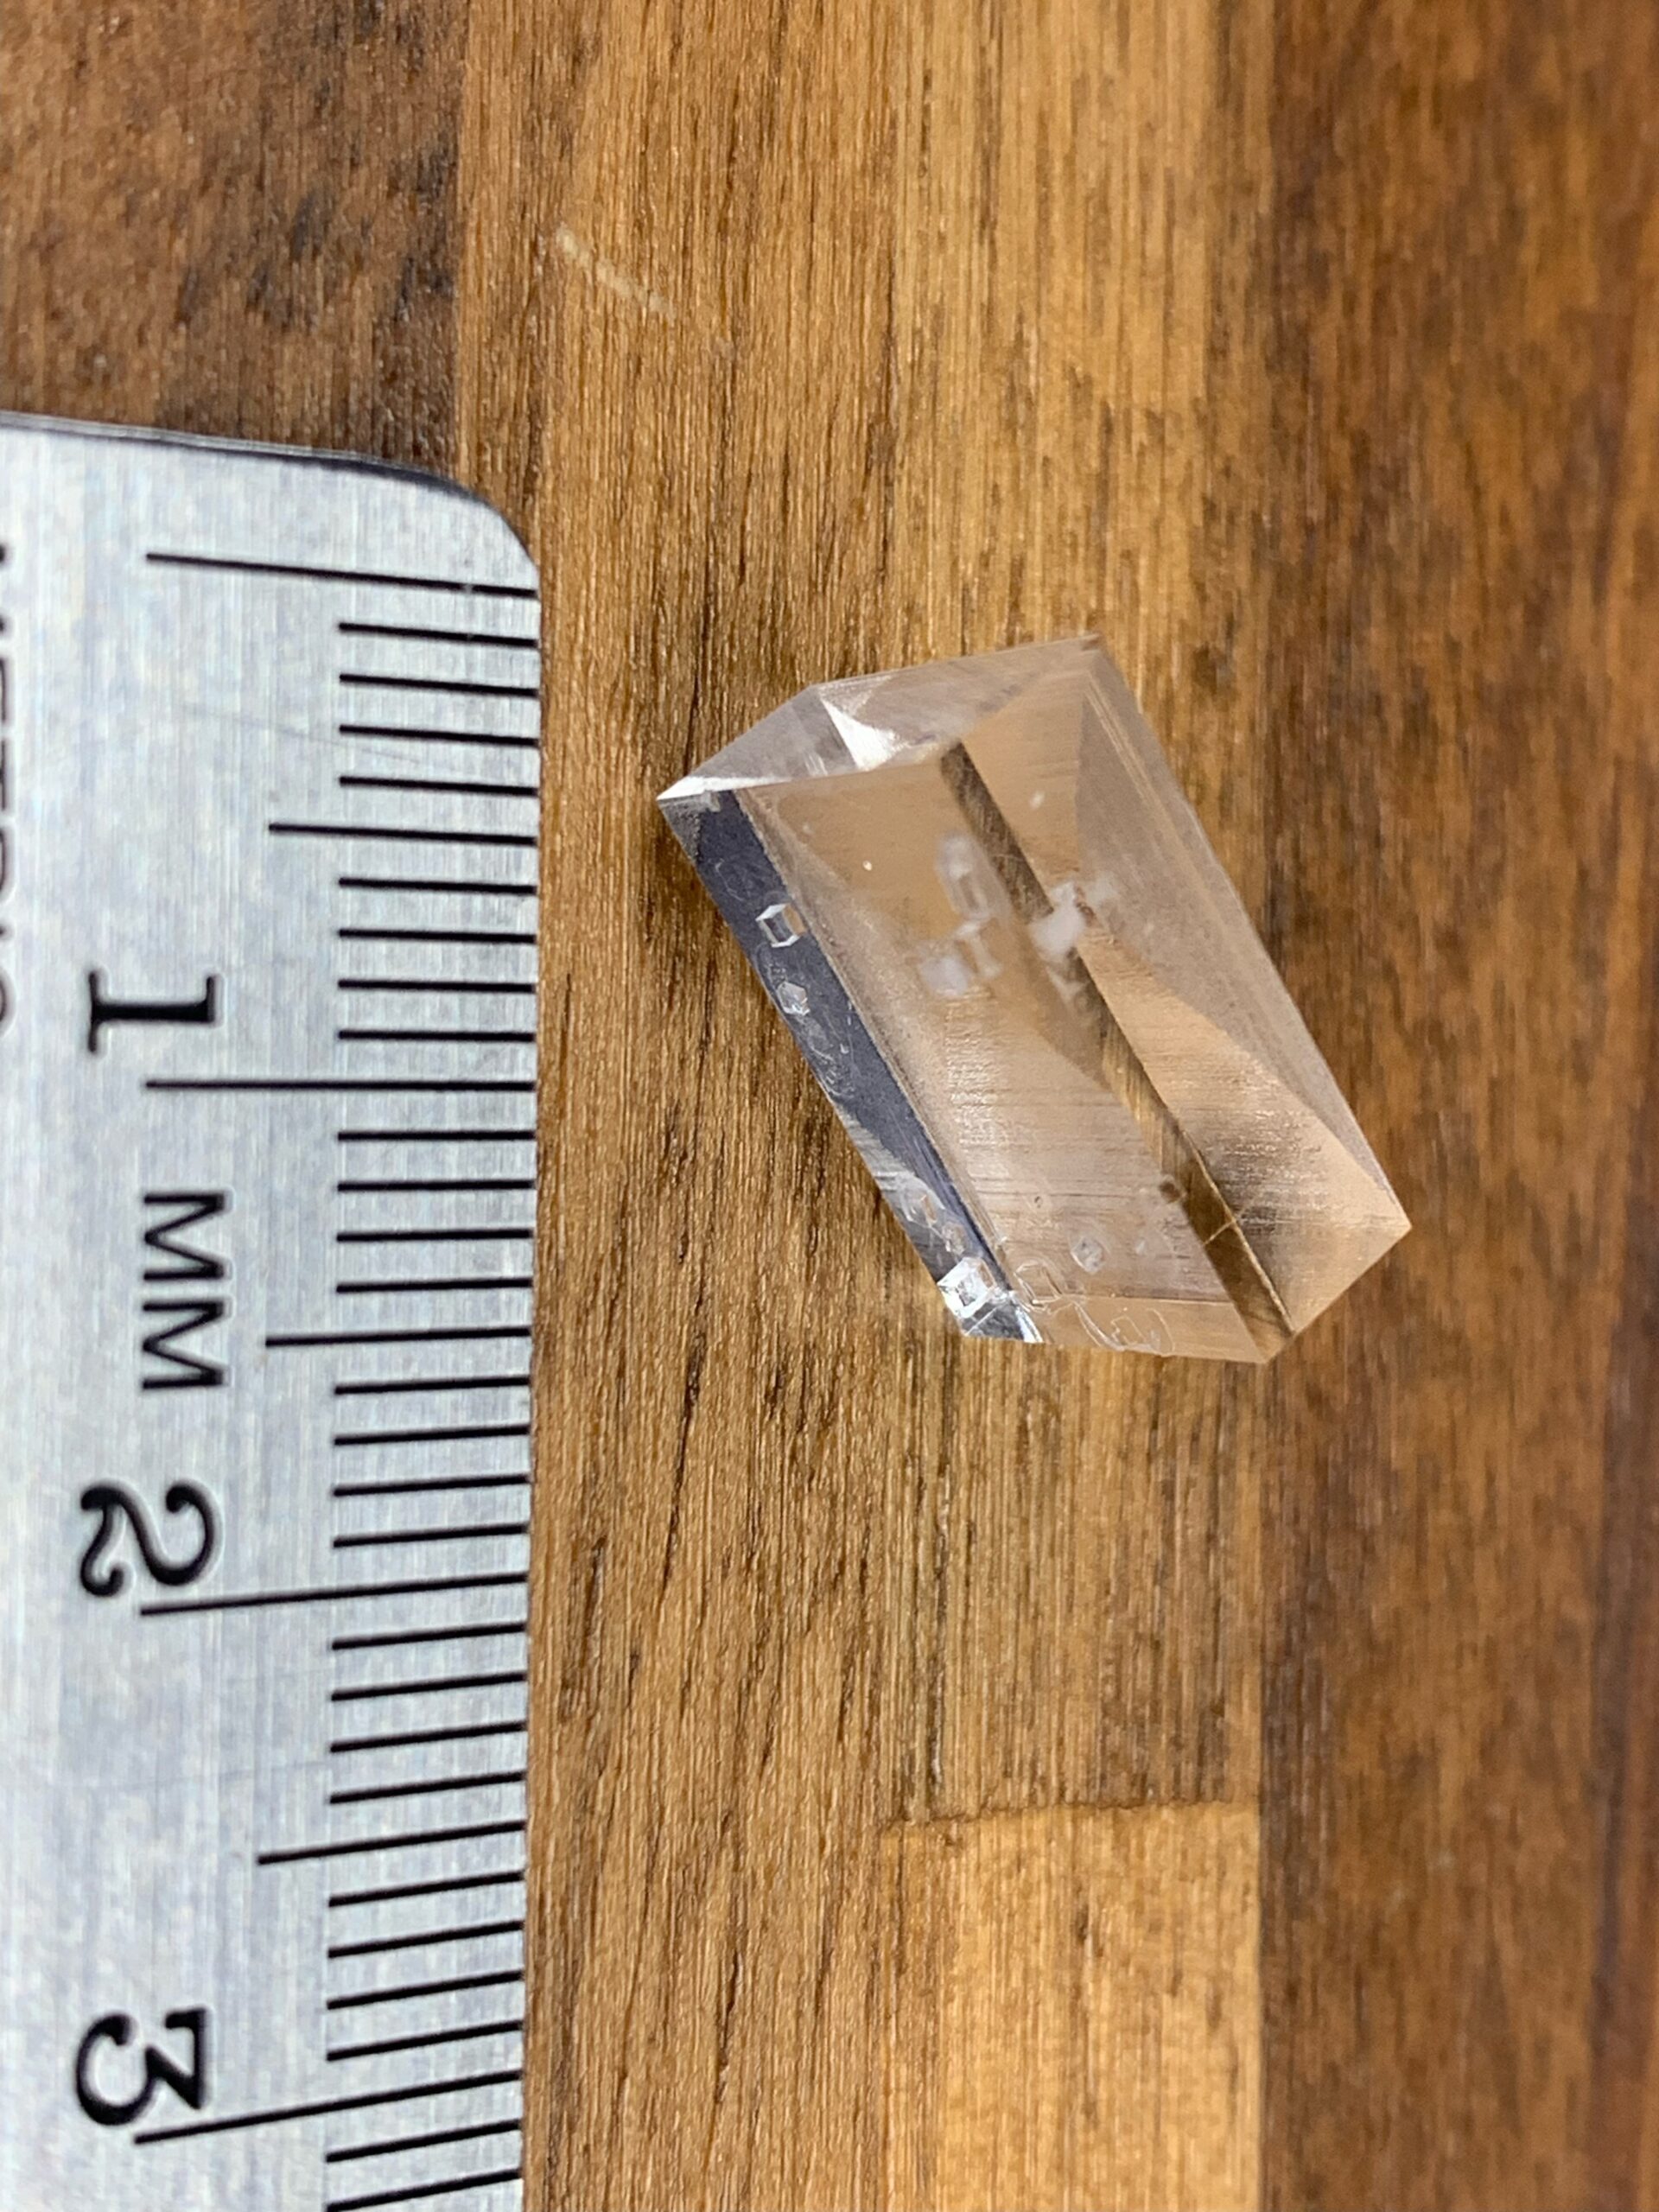
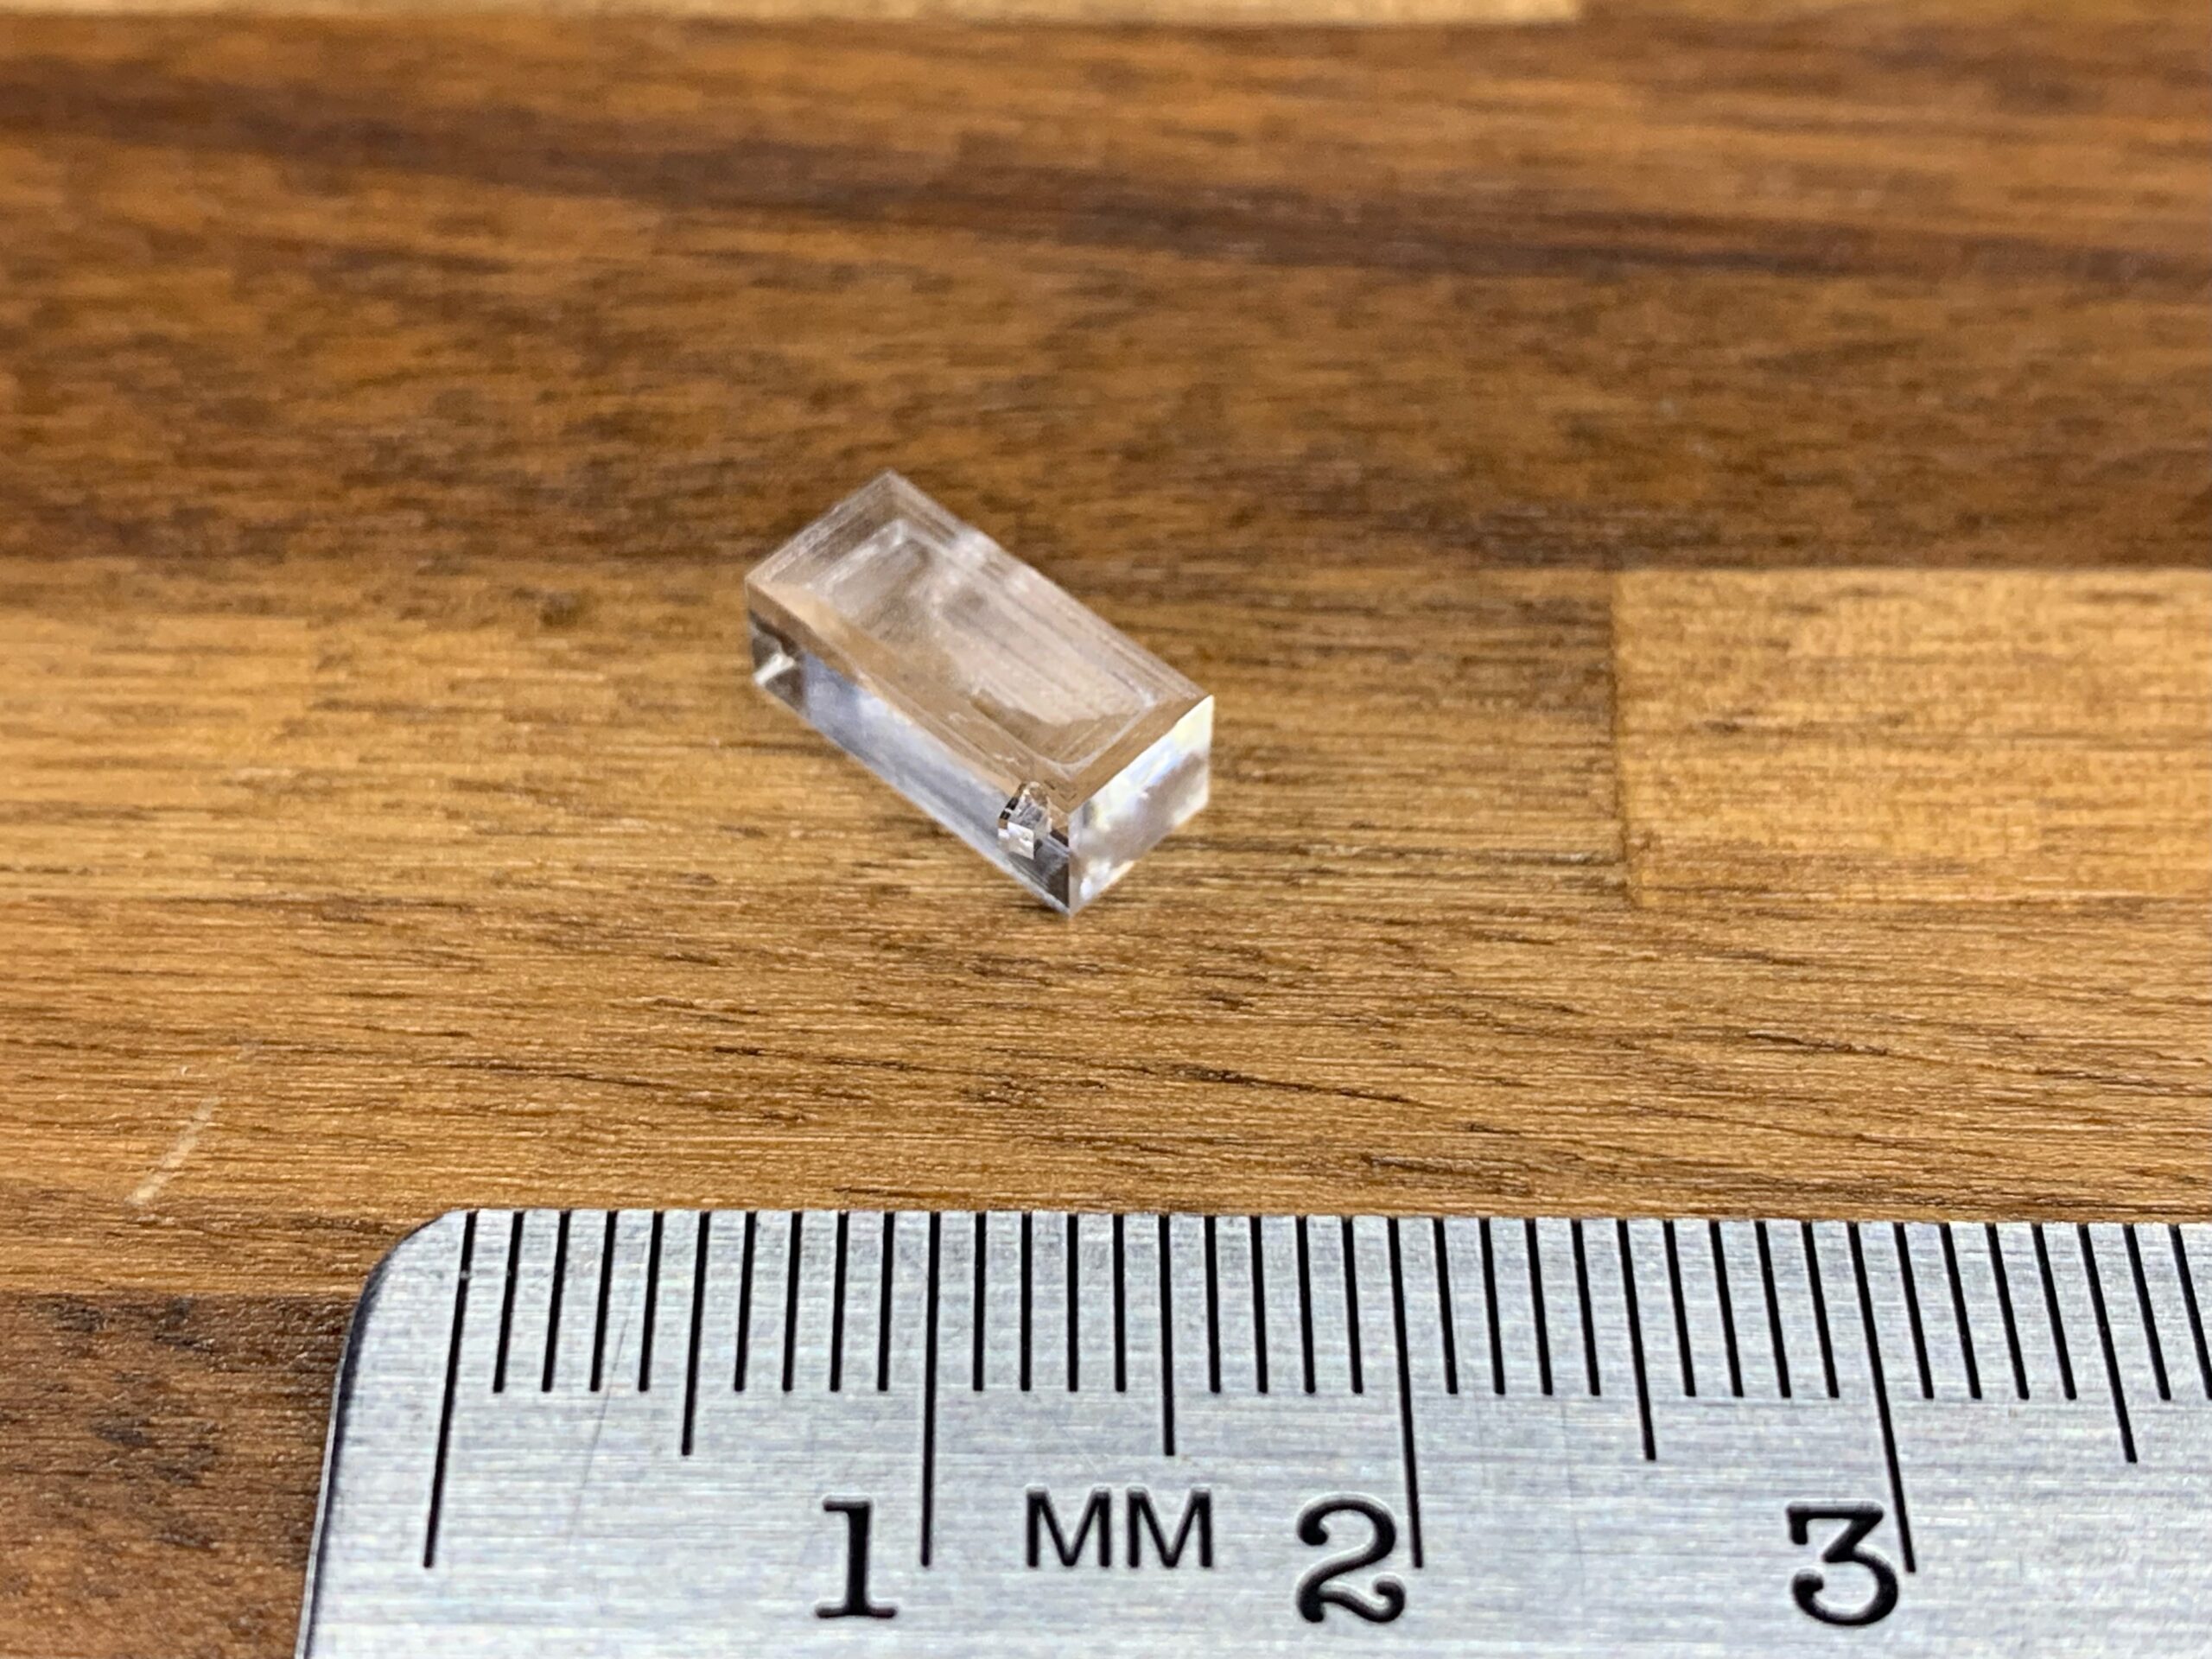
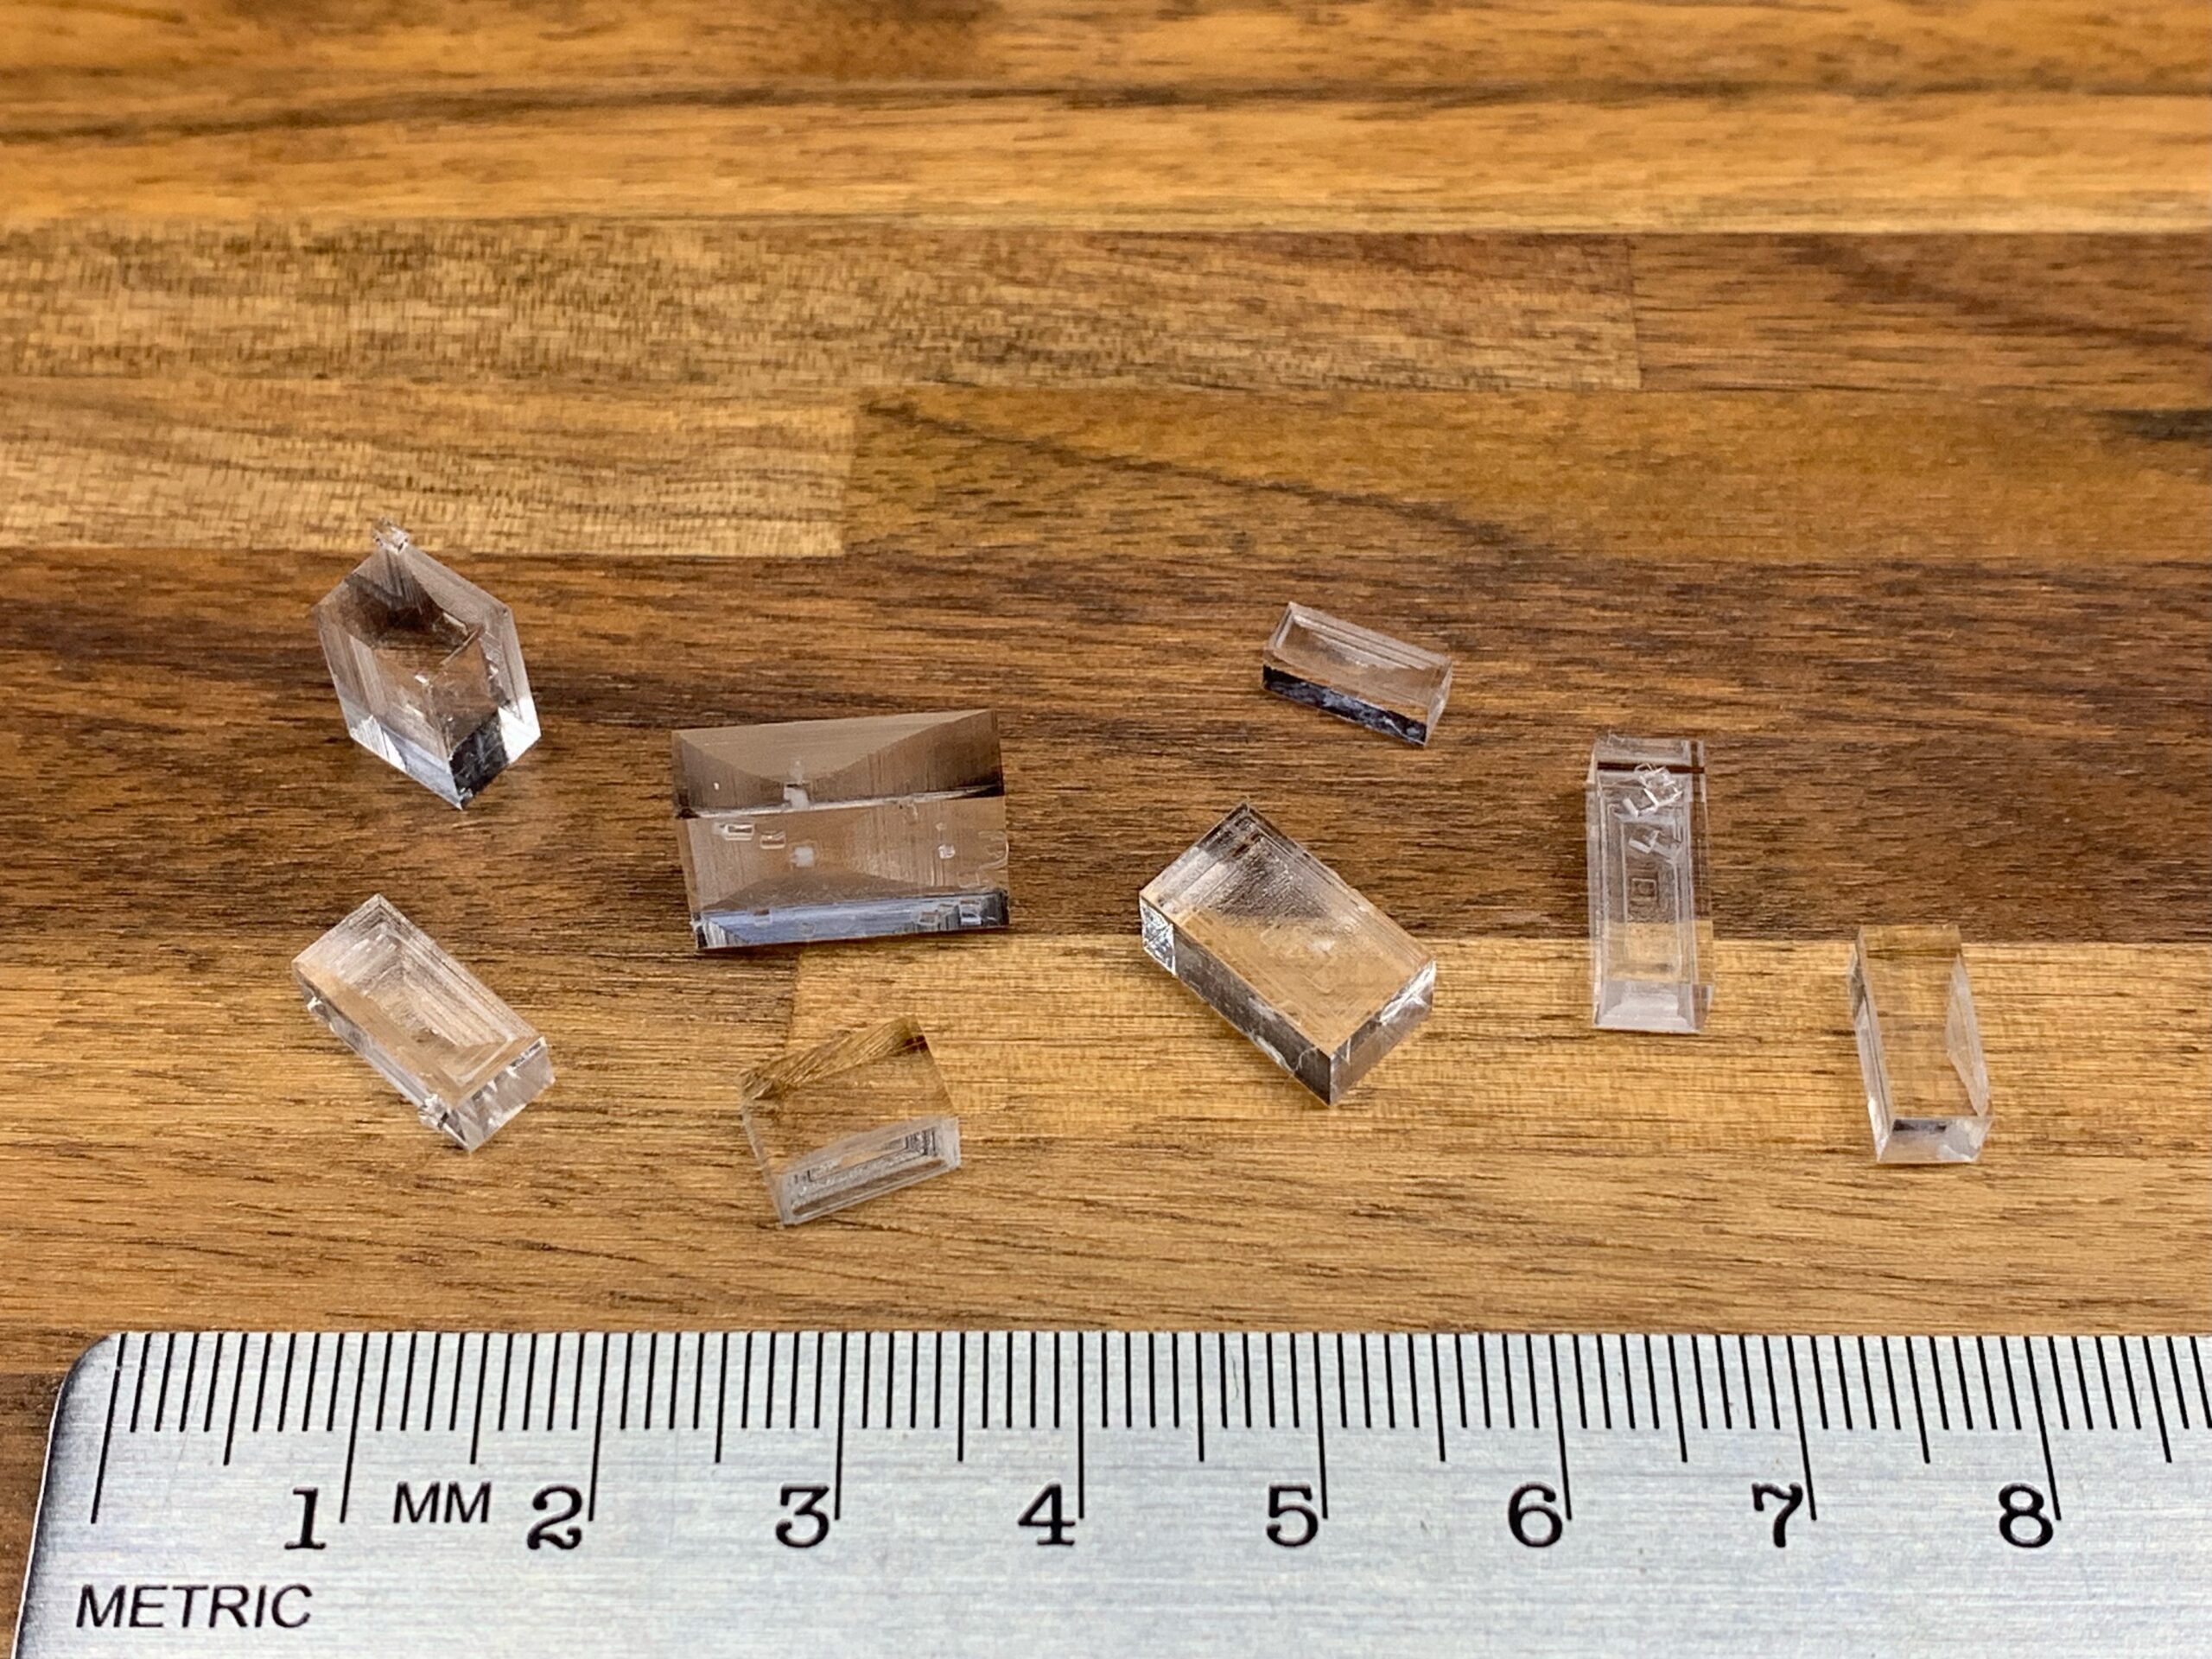
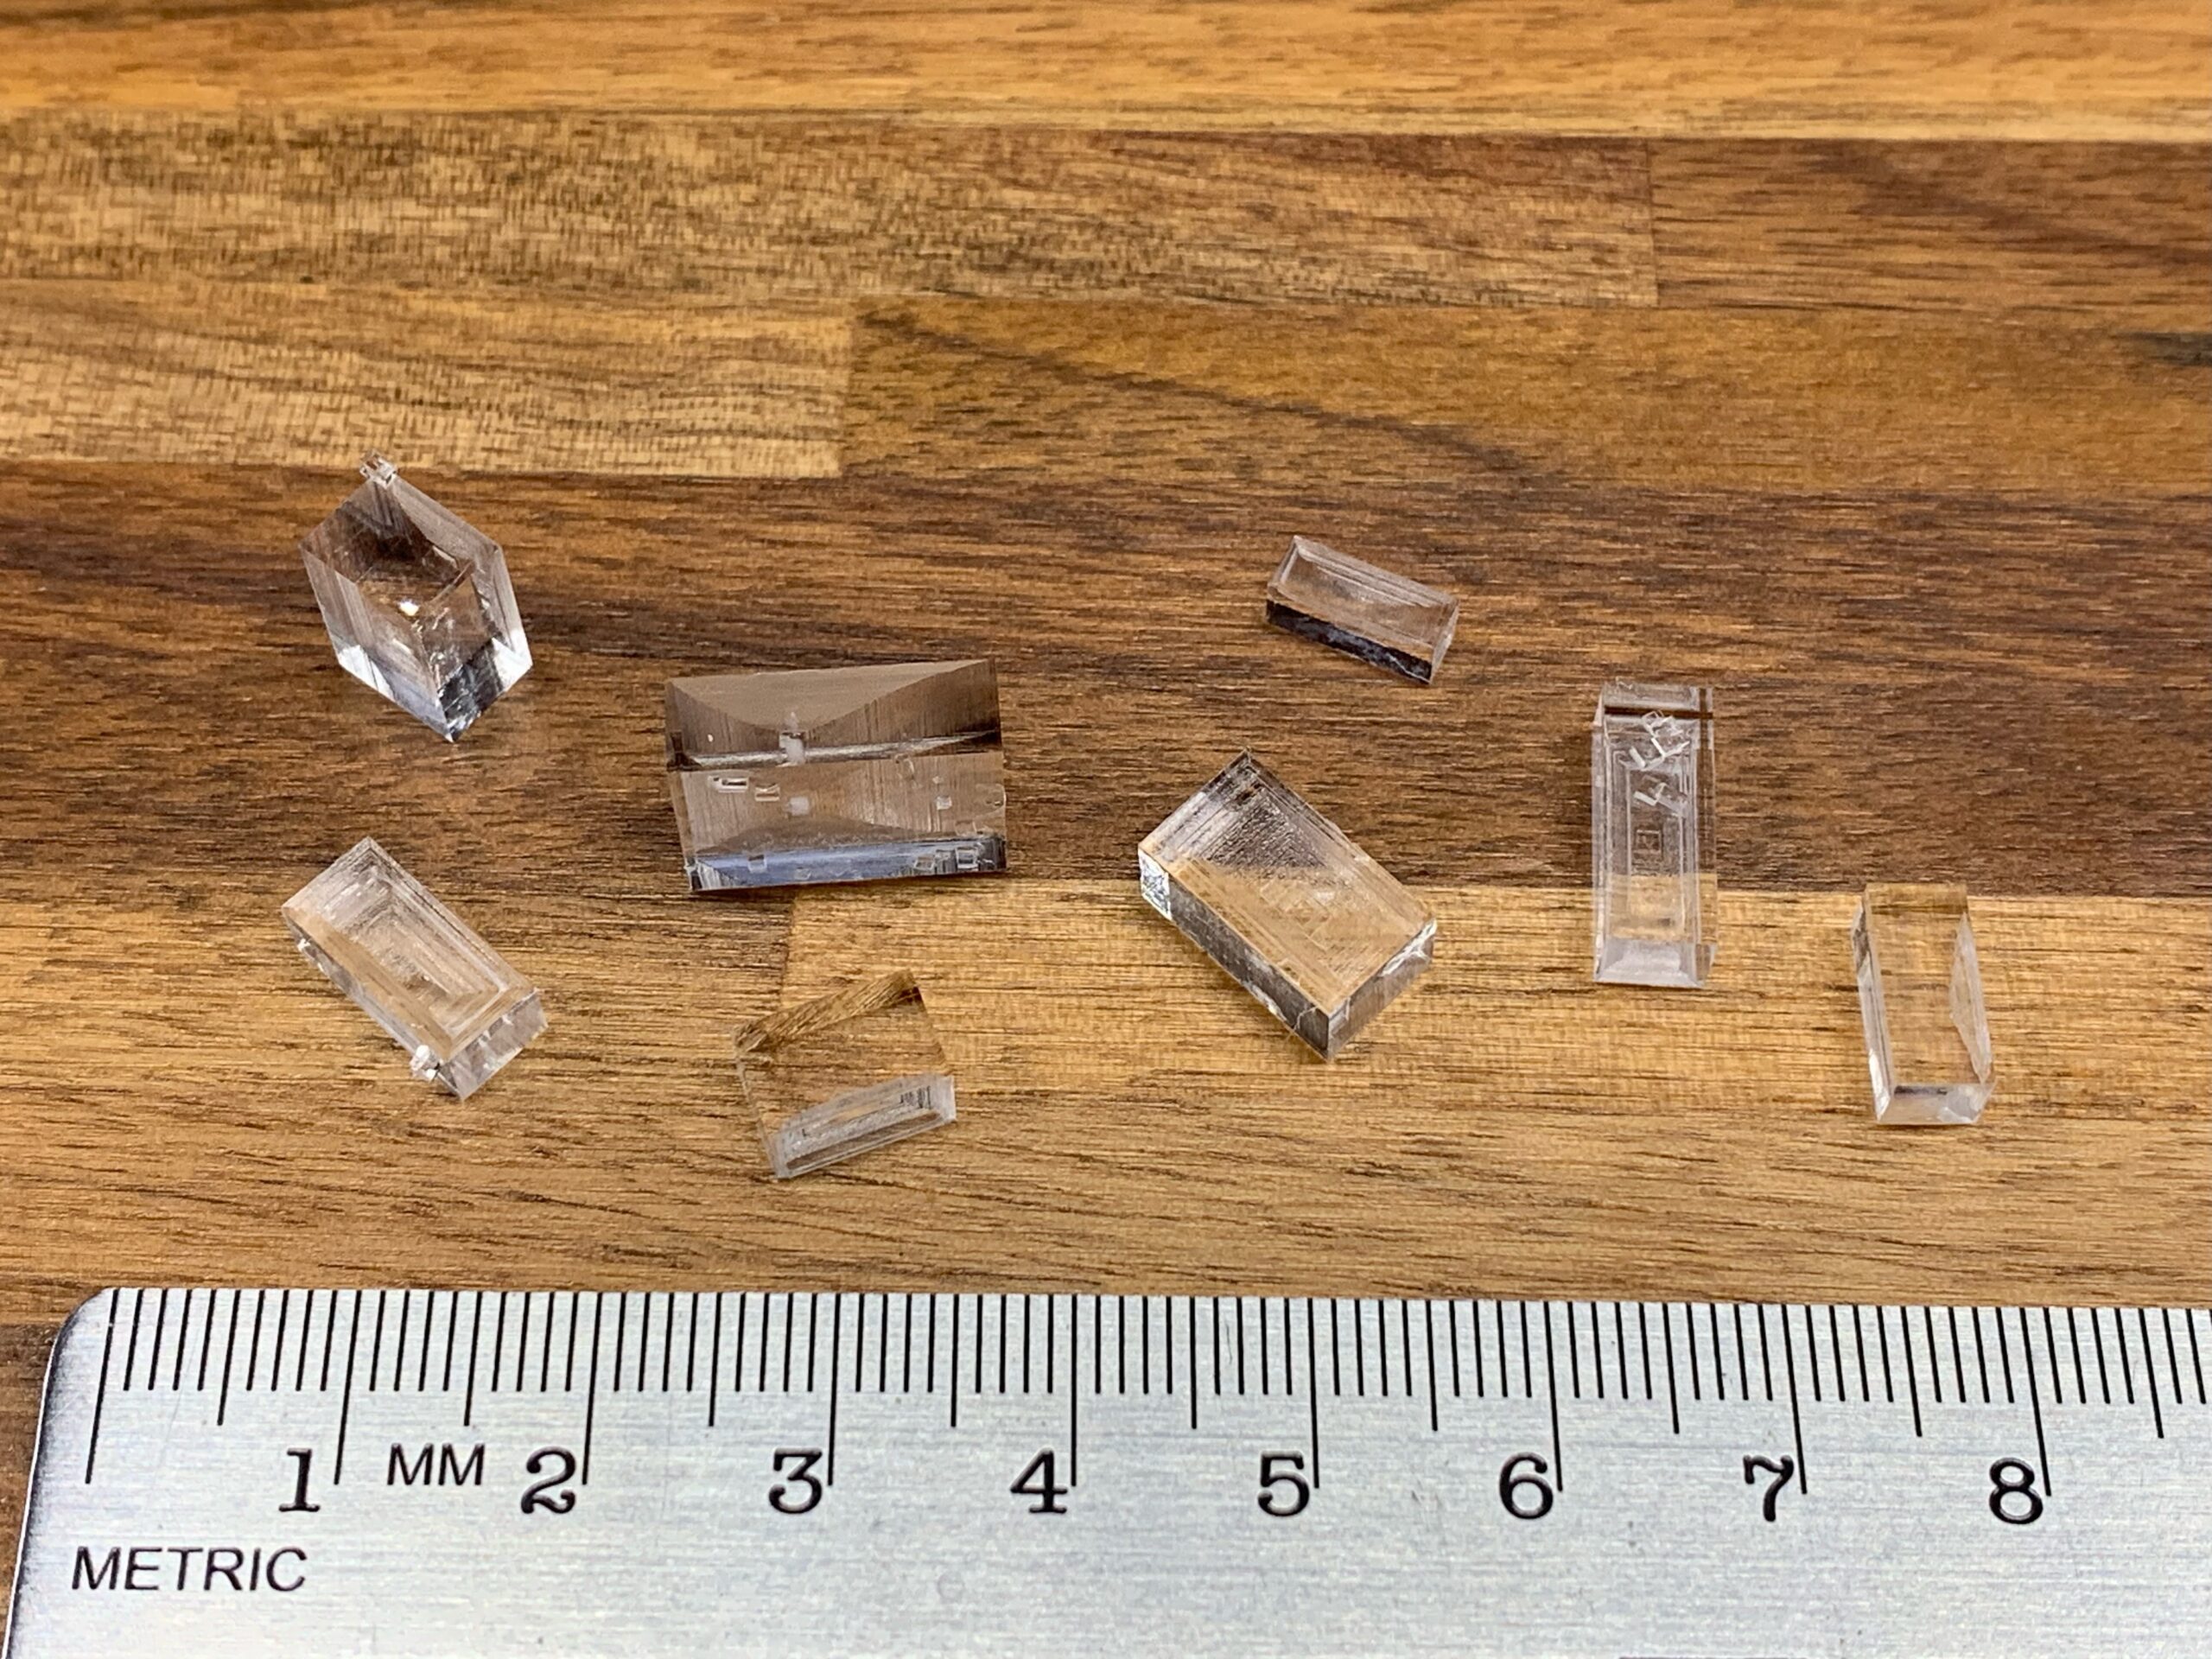

Overall I’m very impressed with the results. It’s a reasonably straightforward process and is a fun little experiment to end up with very nice large single crystal chunks of salt. It’s also easily approachable for anyone at home with basic kitchen utensils, and could also make for a good science project for a school aged child as well.
If I repeat the process, I would try to improve things by getting the growth dishes into a place where they won’t be disturbed. Additionally all of my crystals have a hollow on the underside where they were flat against the dish and were unable to get fresh solution to them to allow growth. I might also experiment with occasionally turning the crystals over to see if that can be mitigated.