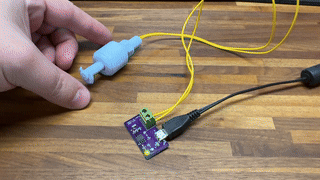
Last year I saw a friend of mine, Kenneth at thelifeofkenneth.com, had a clever idea where he made a little blinking indicator with a 555 timer and a float switch to let you know when you needed to add water to your christmas tree stand. I had ordered some float switches at the time, and they’ve sat around on my bench since then. August seems like the appropriate time to be making Christmas associated projects, so I’m going to shamelessly rip off his idea.
As you can imagine, the schematic is very simple. A USB port for power, a 555 timer, a couple LEDs and passives, and the screw terminal for the float switch.
I’ve been interested in flying for a long time, and was encouraged recently by some friends to take a discovery flight at a local school, and see what it’s like. I was able to get a session scheduled, and go up for an hour with an instructor.
We went up in a Cessna 172, and I had a really good time. Hopefully I’ll be able to start taking proper lessons, and maybe someday getting my pilot’s license.
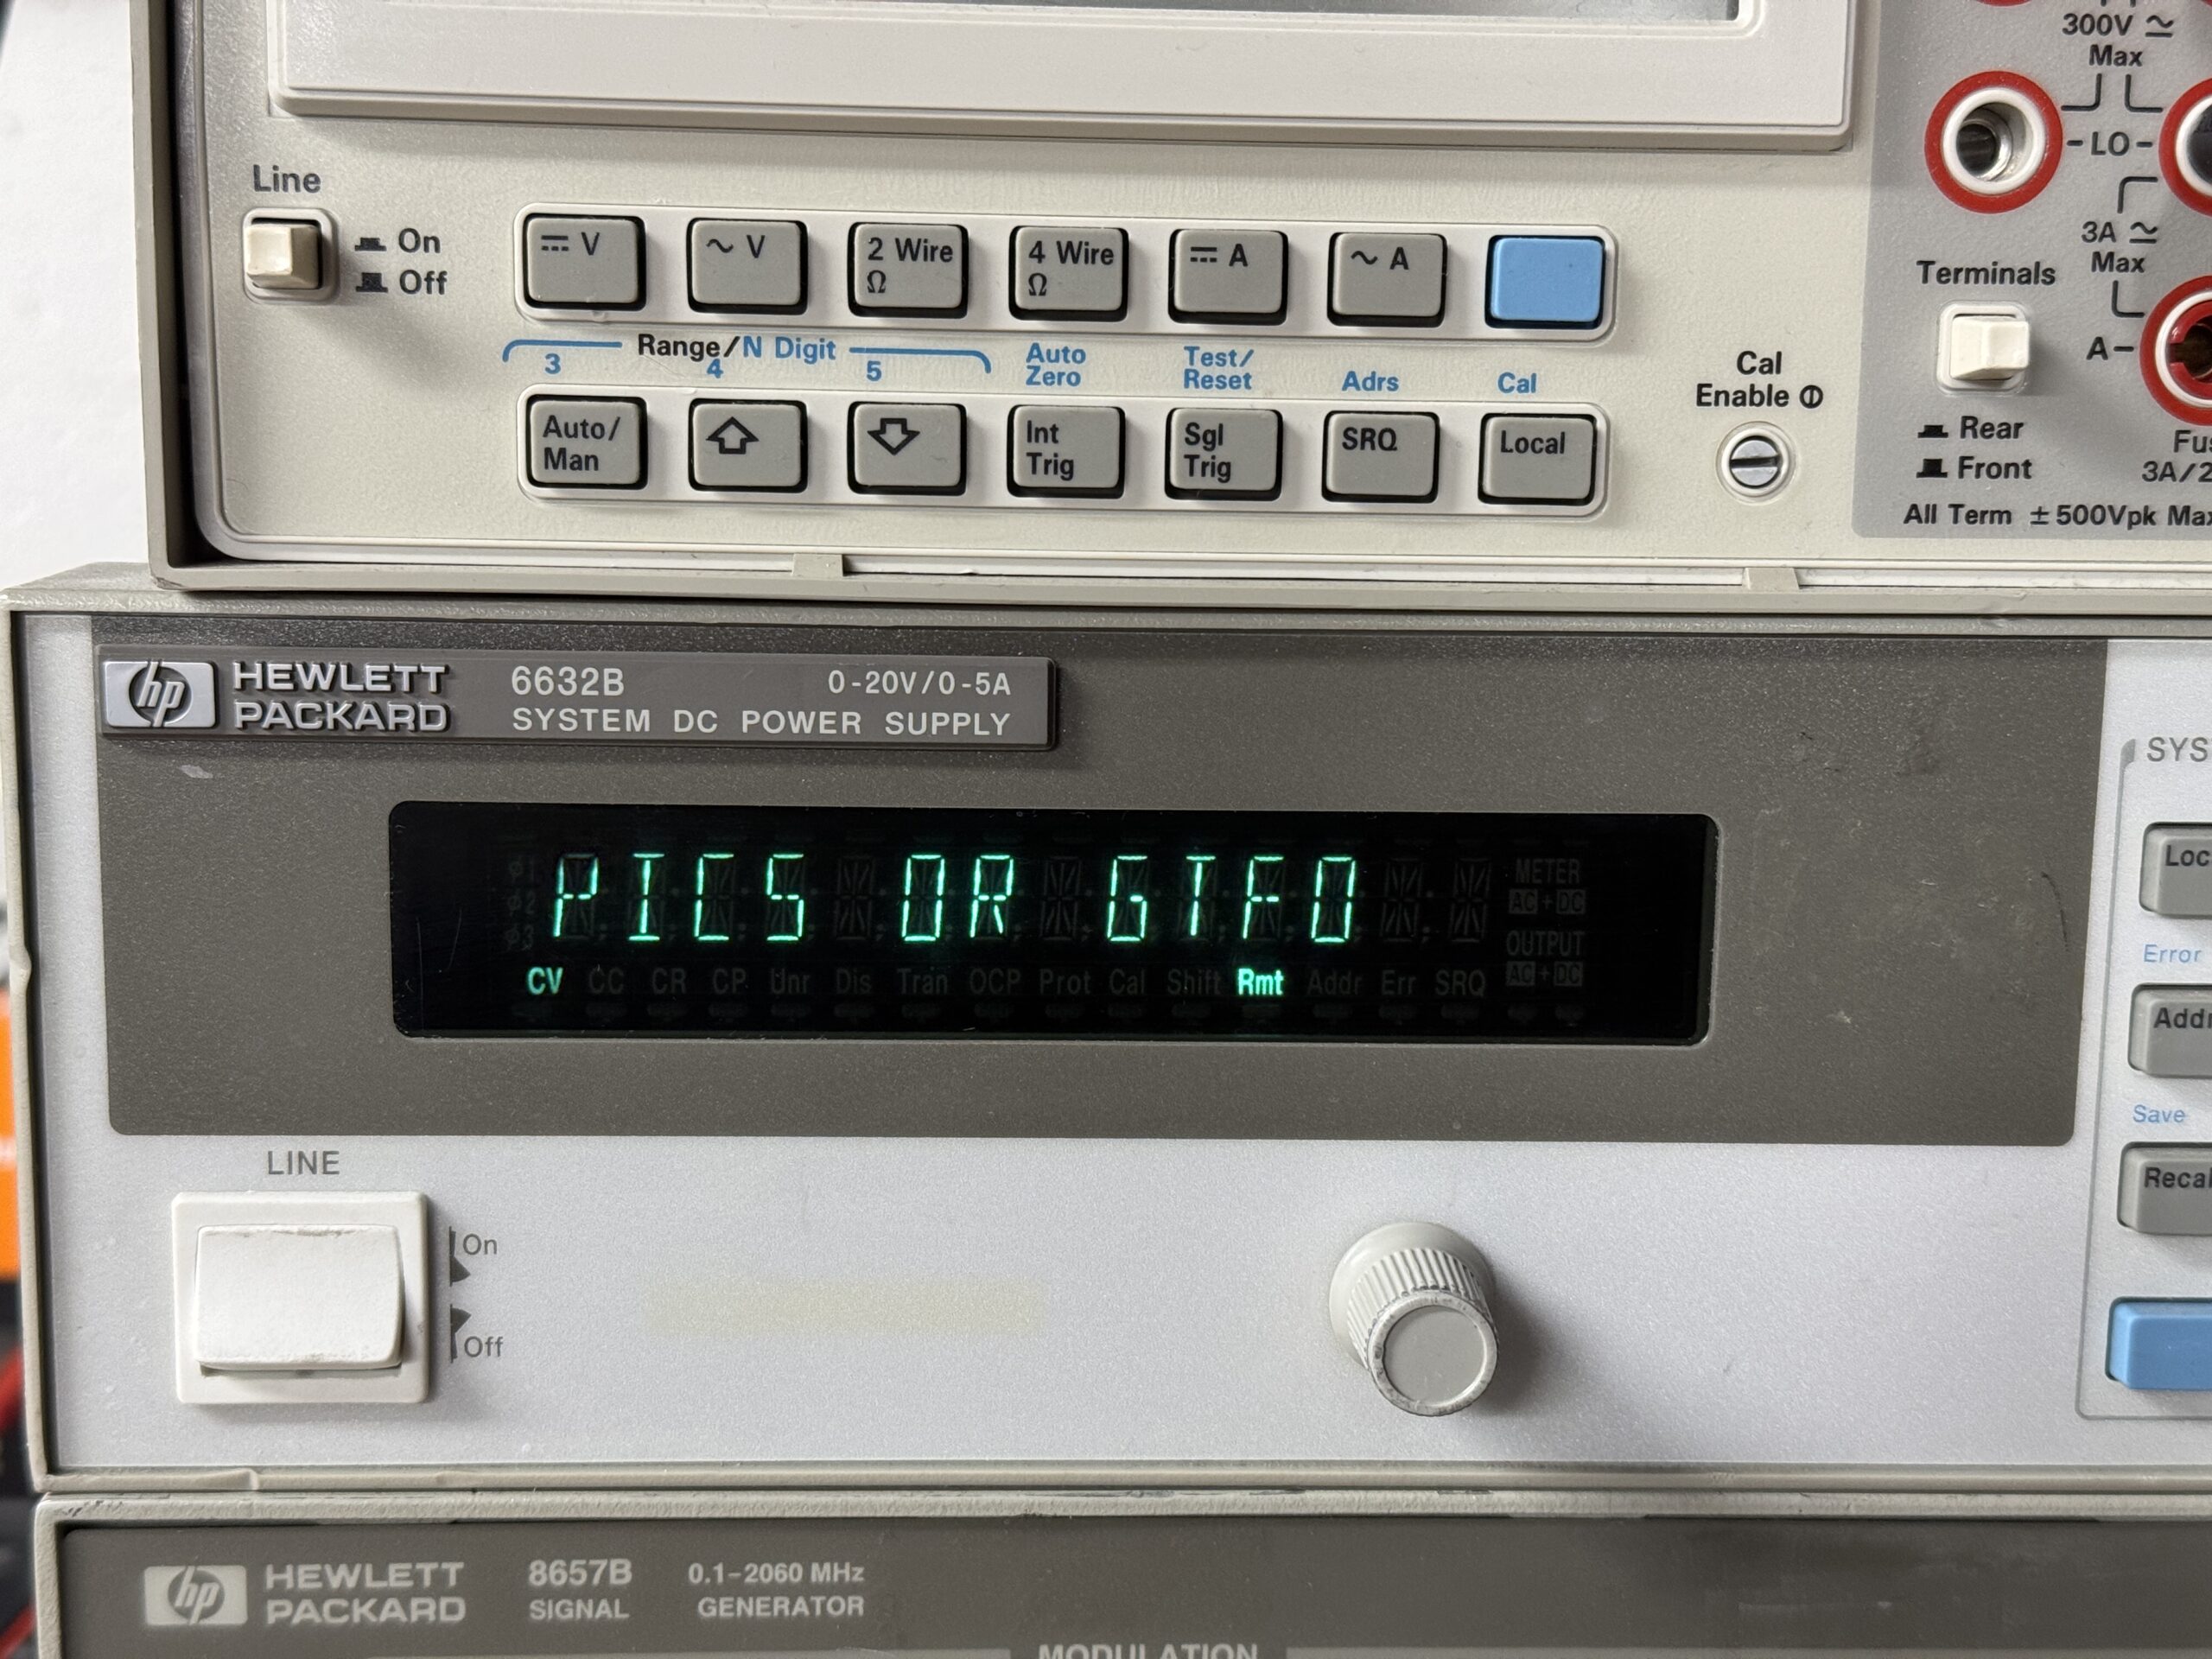
I recently picked up an old HP 6632B power supply to add to my electronics bench. It’s overall a nice supply, and is capable of two-quadrant operation so it’s useful for discharge testing batteries as well.
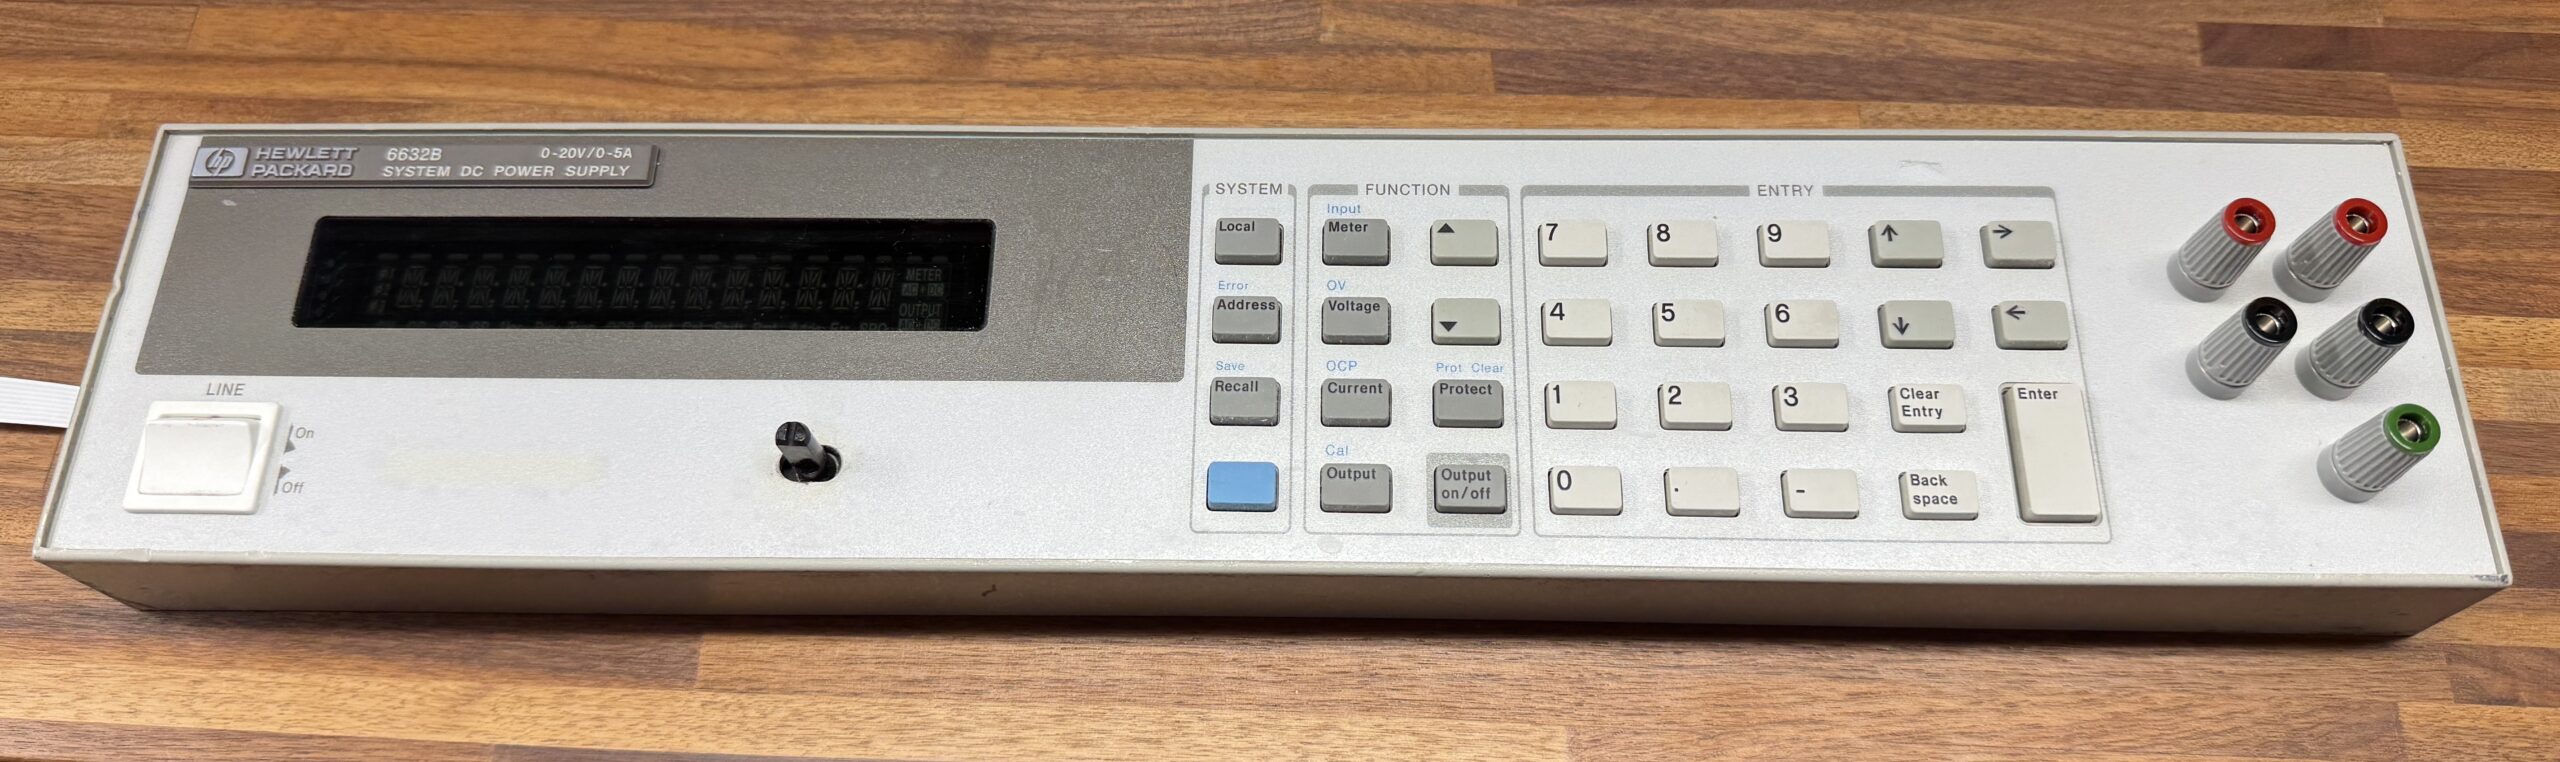
Unfortunately, the unit I got didn’t have front binding posts, and dealing with the leads coming out of the back of the unit is more of a hassle for my use case. Luckily a friend pointed me to another electronics hobbyist’s blog post talking about adding binding posts to the front of his unit as well. He was also kind enough to share the schematic for the version of the interface board he designed.
He’s got much better pictures than I bothered to take, so go check his post out if this is a mod you end up wanting to do yourself. I’m real happy I did.
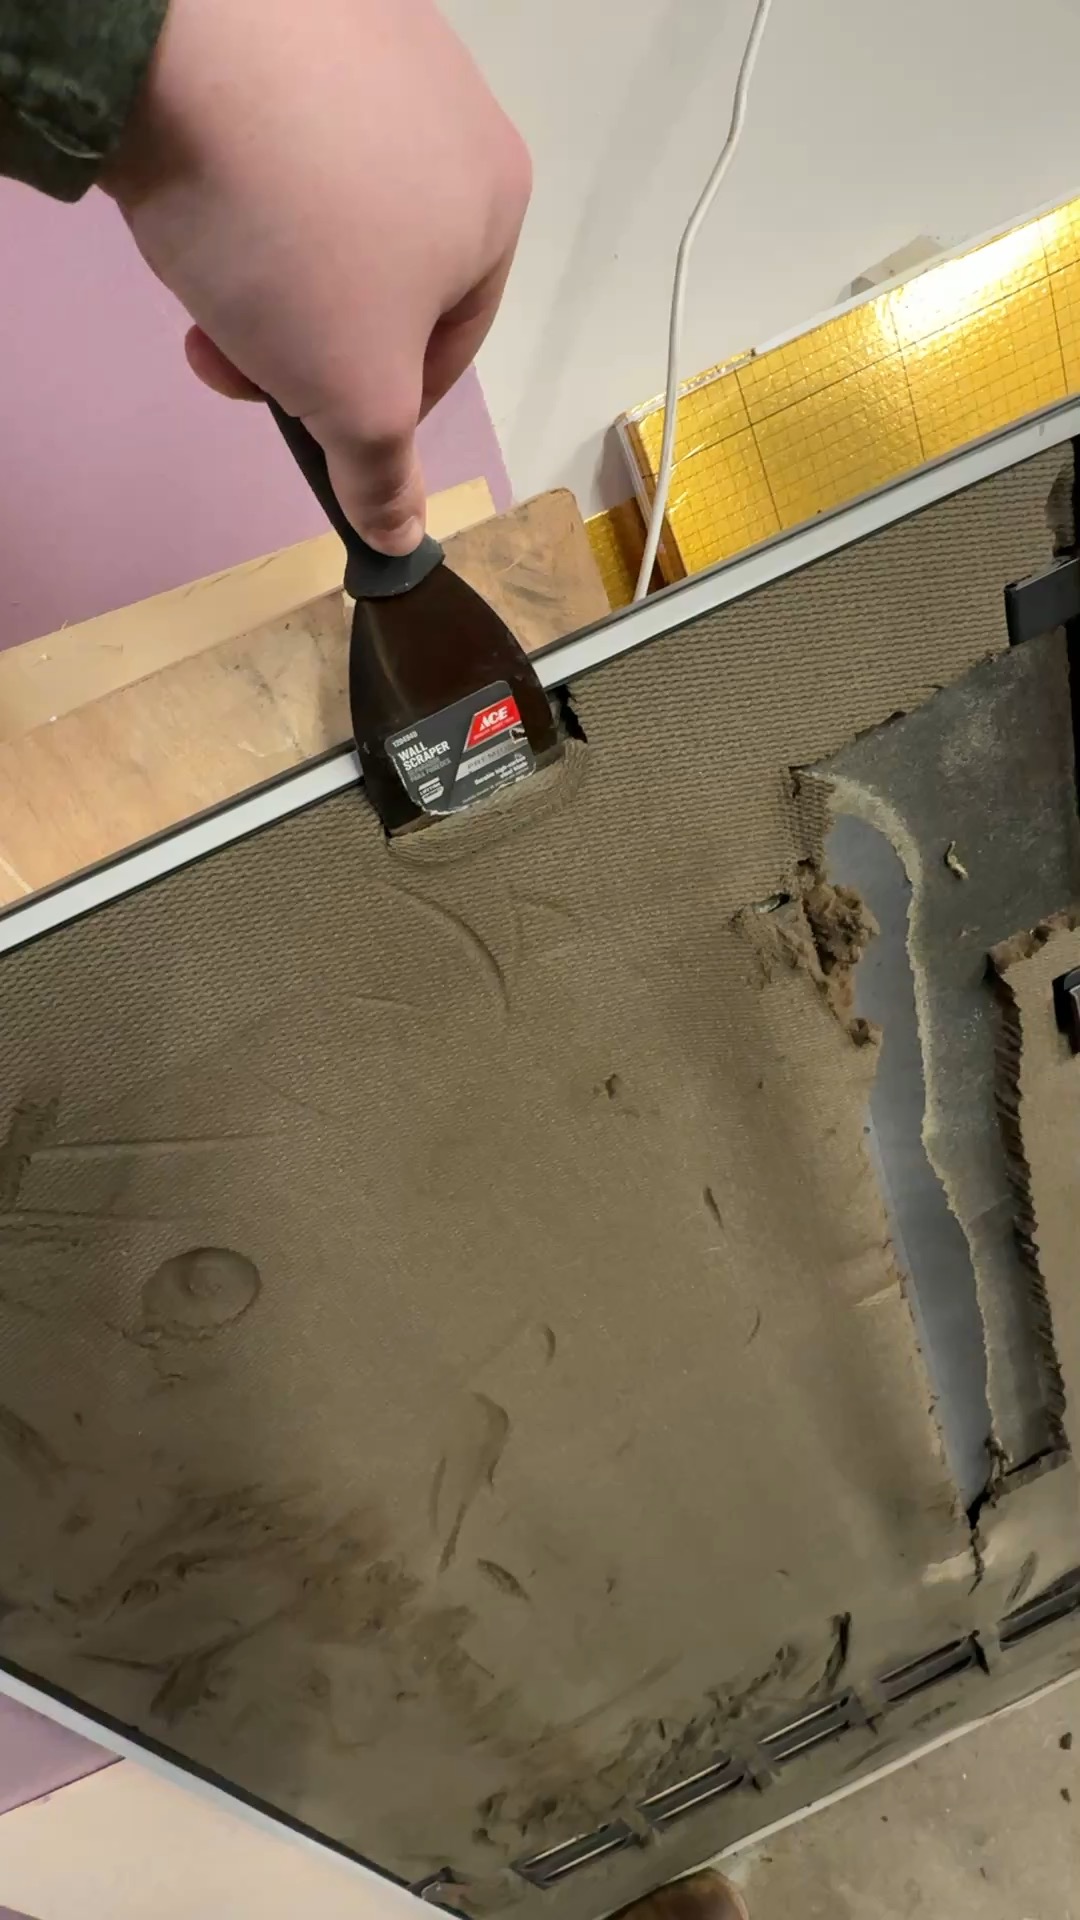
I keep my servers and networking gear in an enclosed, sound insulated rack in my garage. It keeps the noise down, makes it easy to duct the heat outside in the summer-time, and is a setup I’ve been quite happy with over the last number of years.
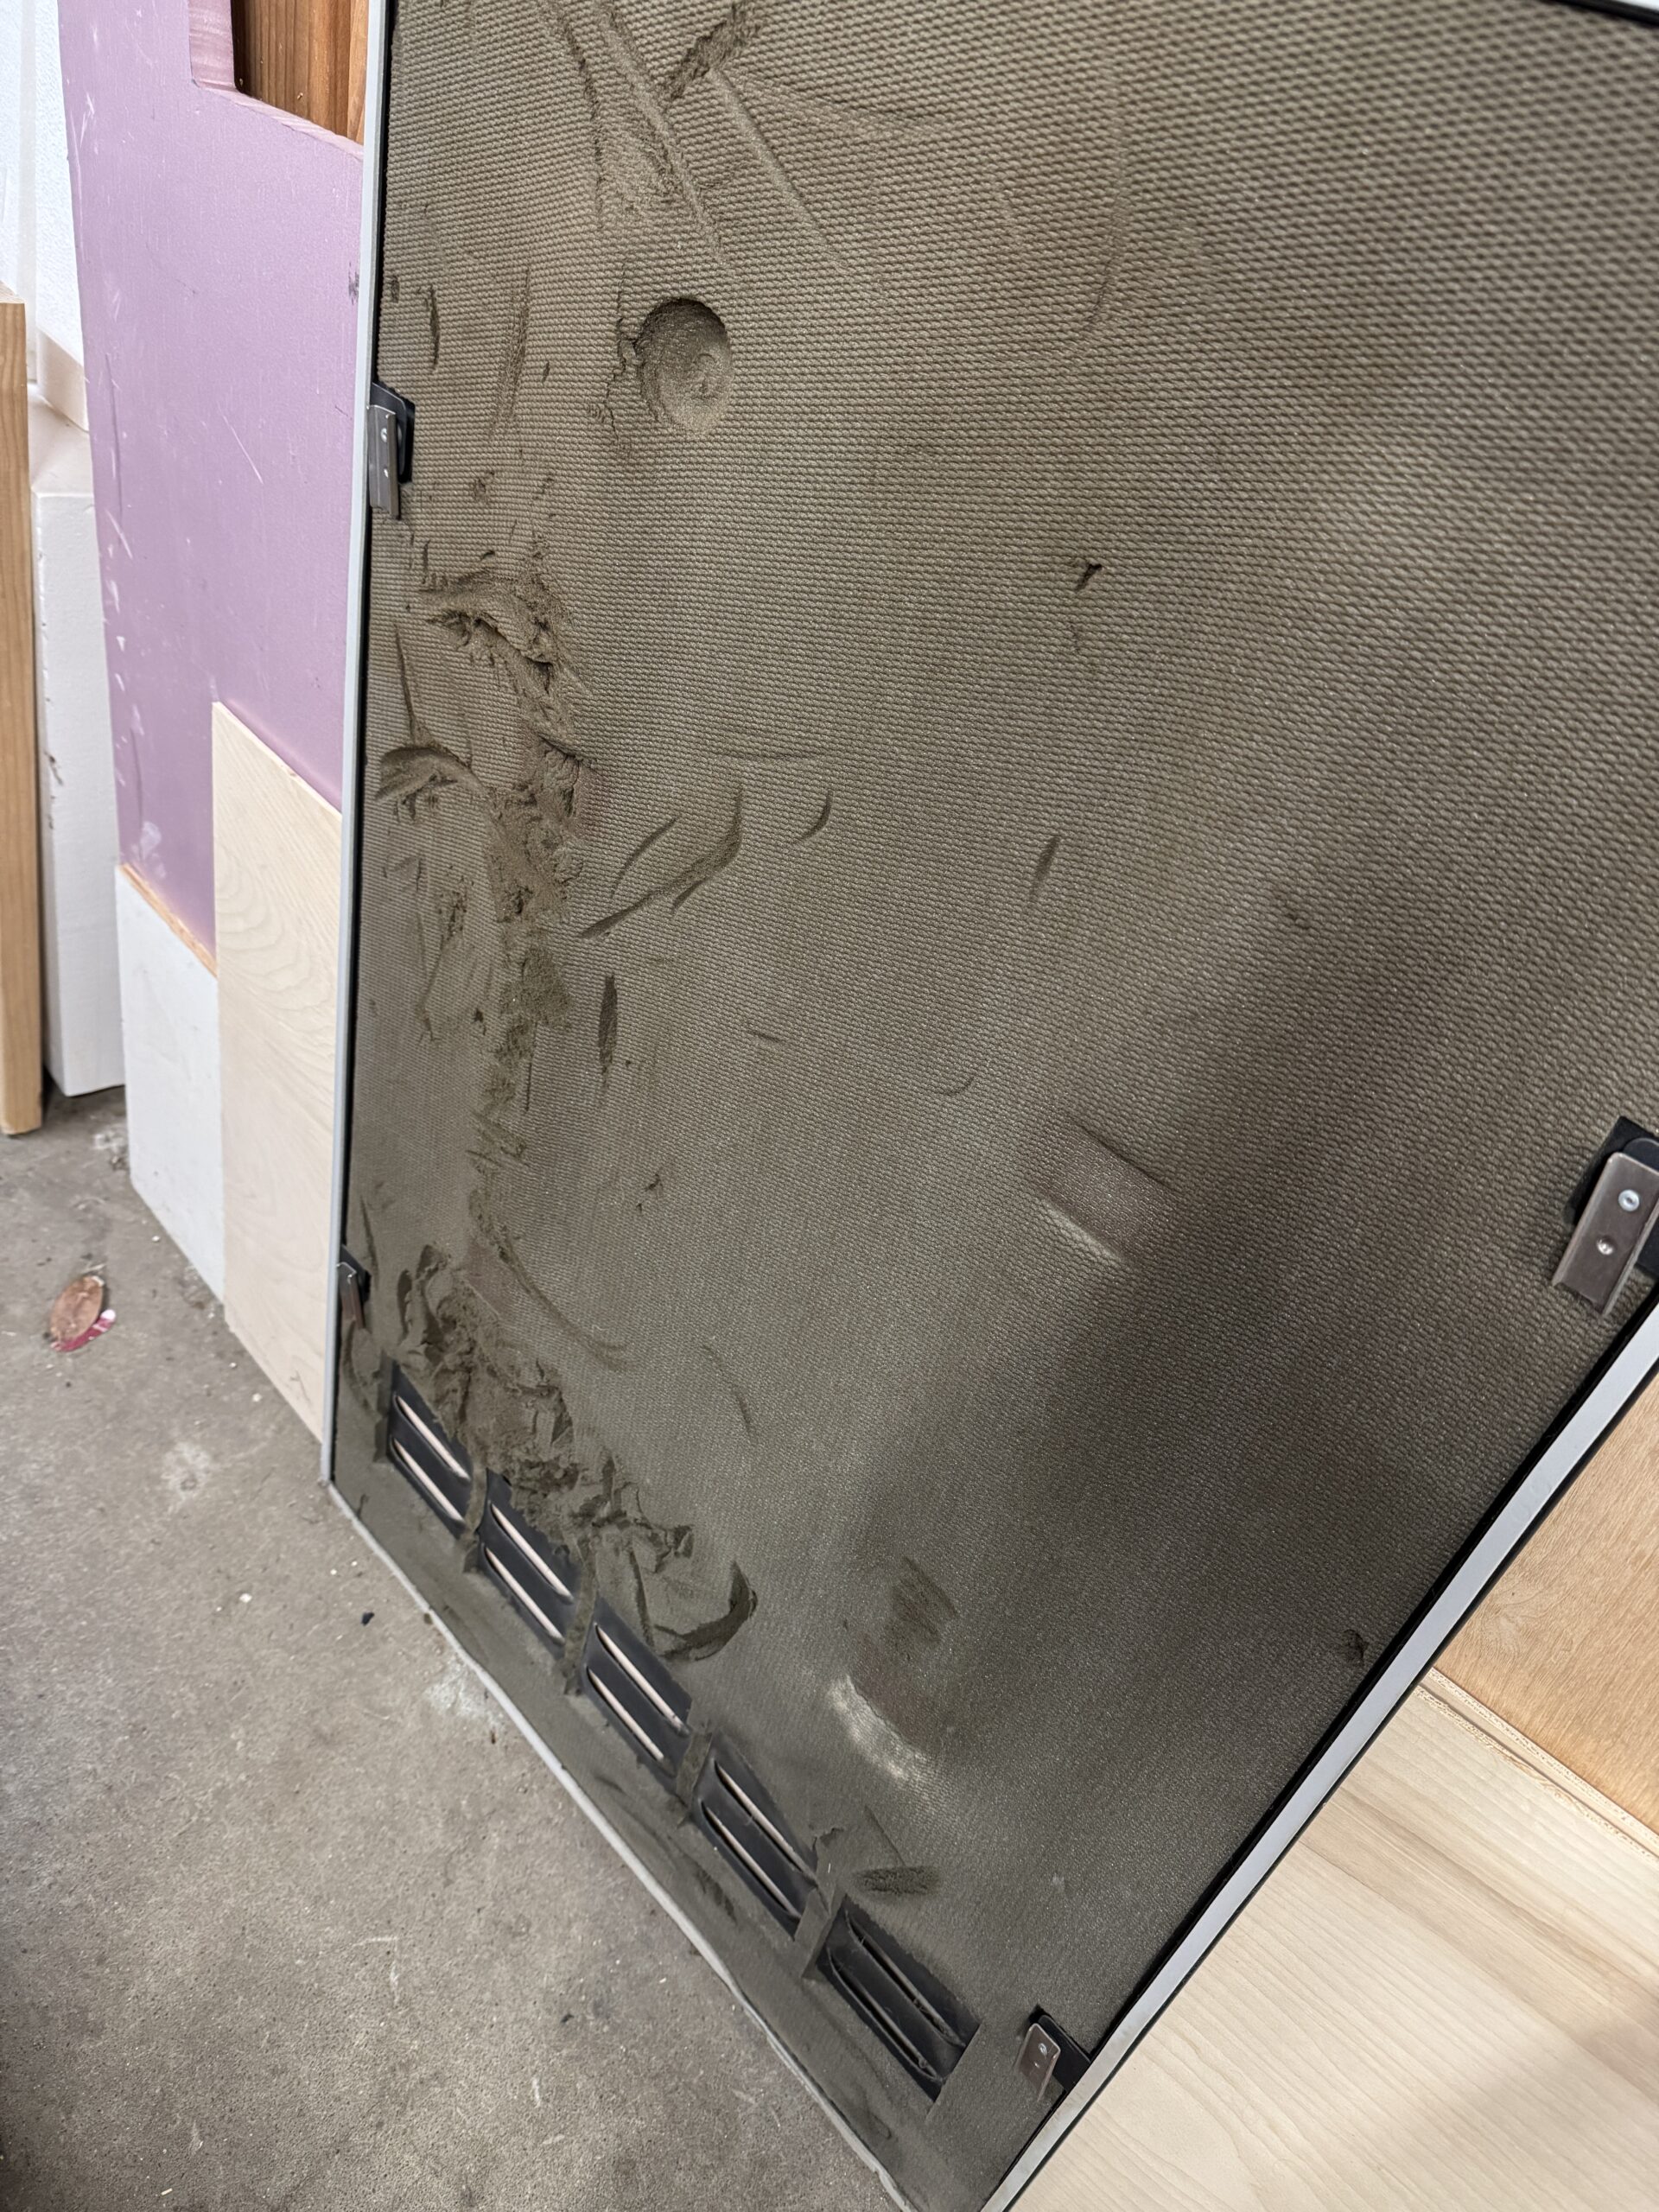
Unfortunately it seems the old sound foam has gotten to the point in its lifecycle where it starts falling apart if you look at it sideways, so it’s time for a refresh.
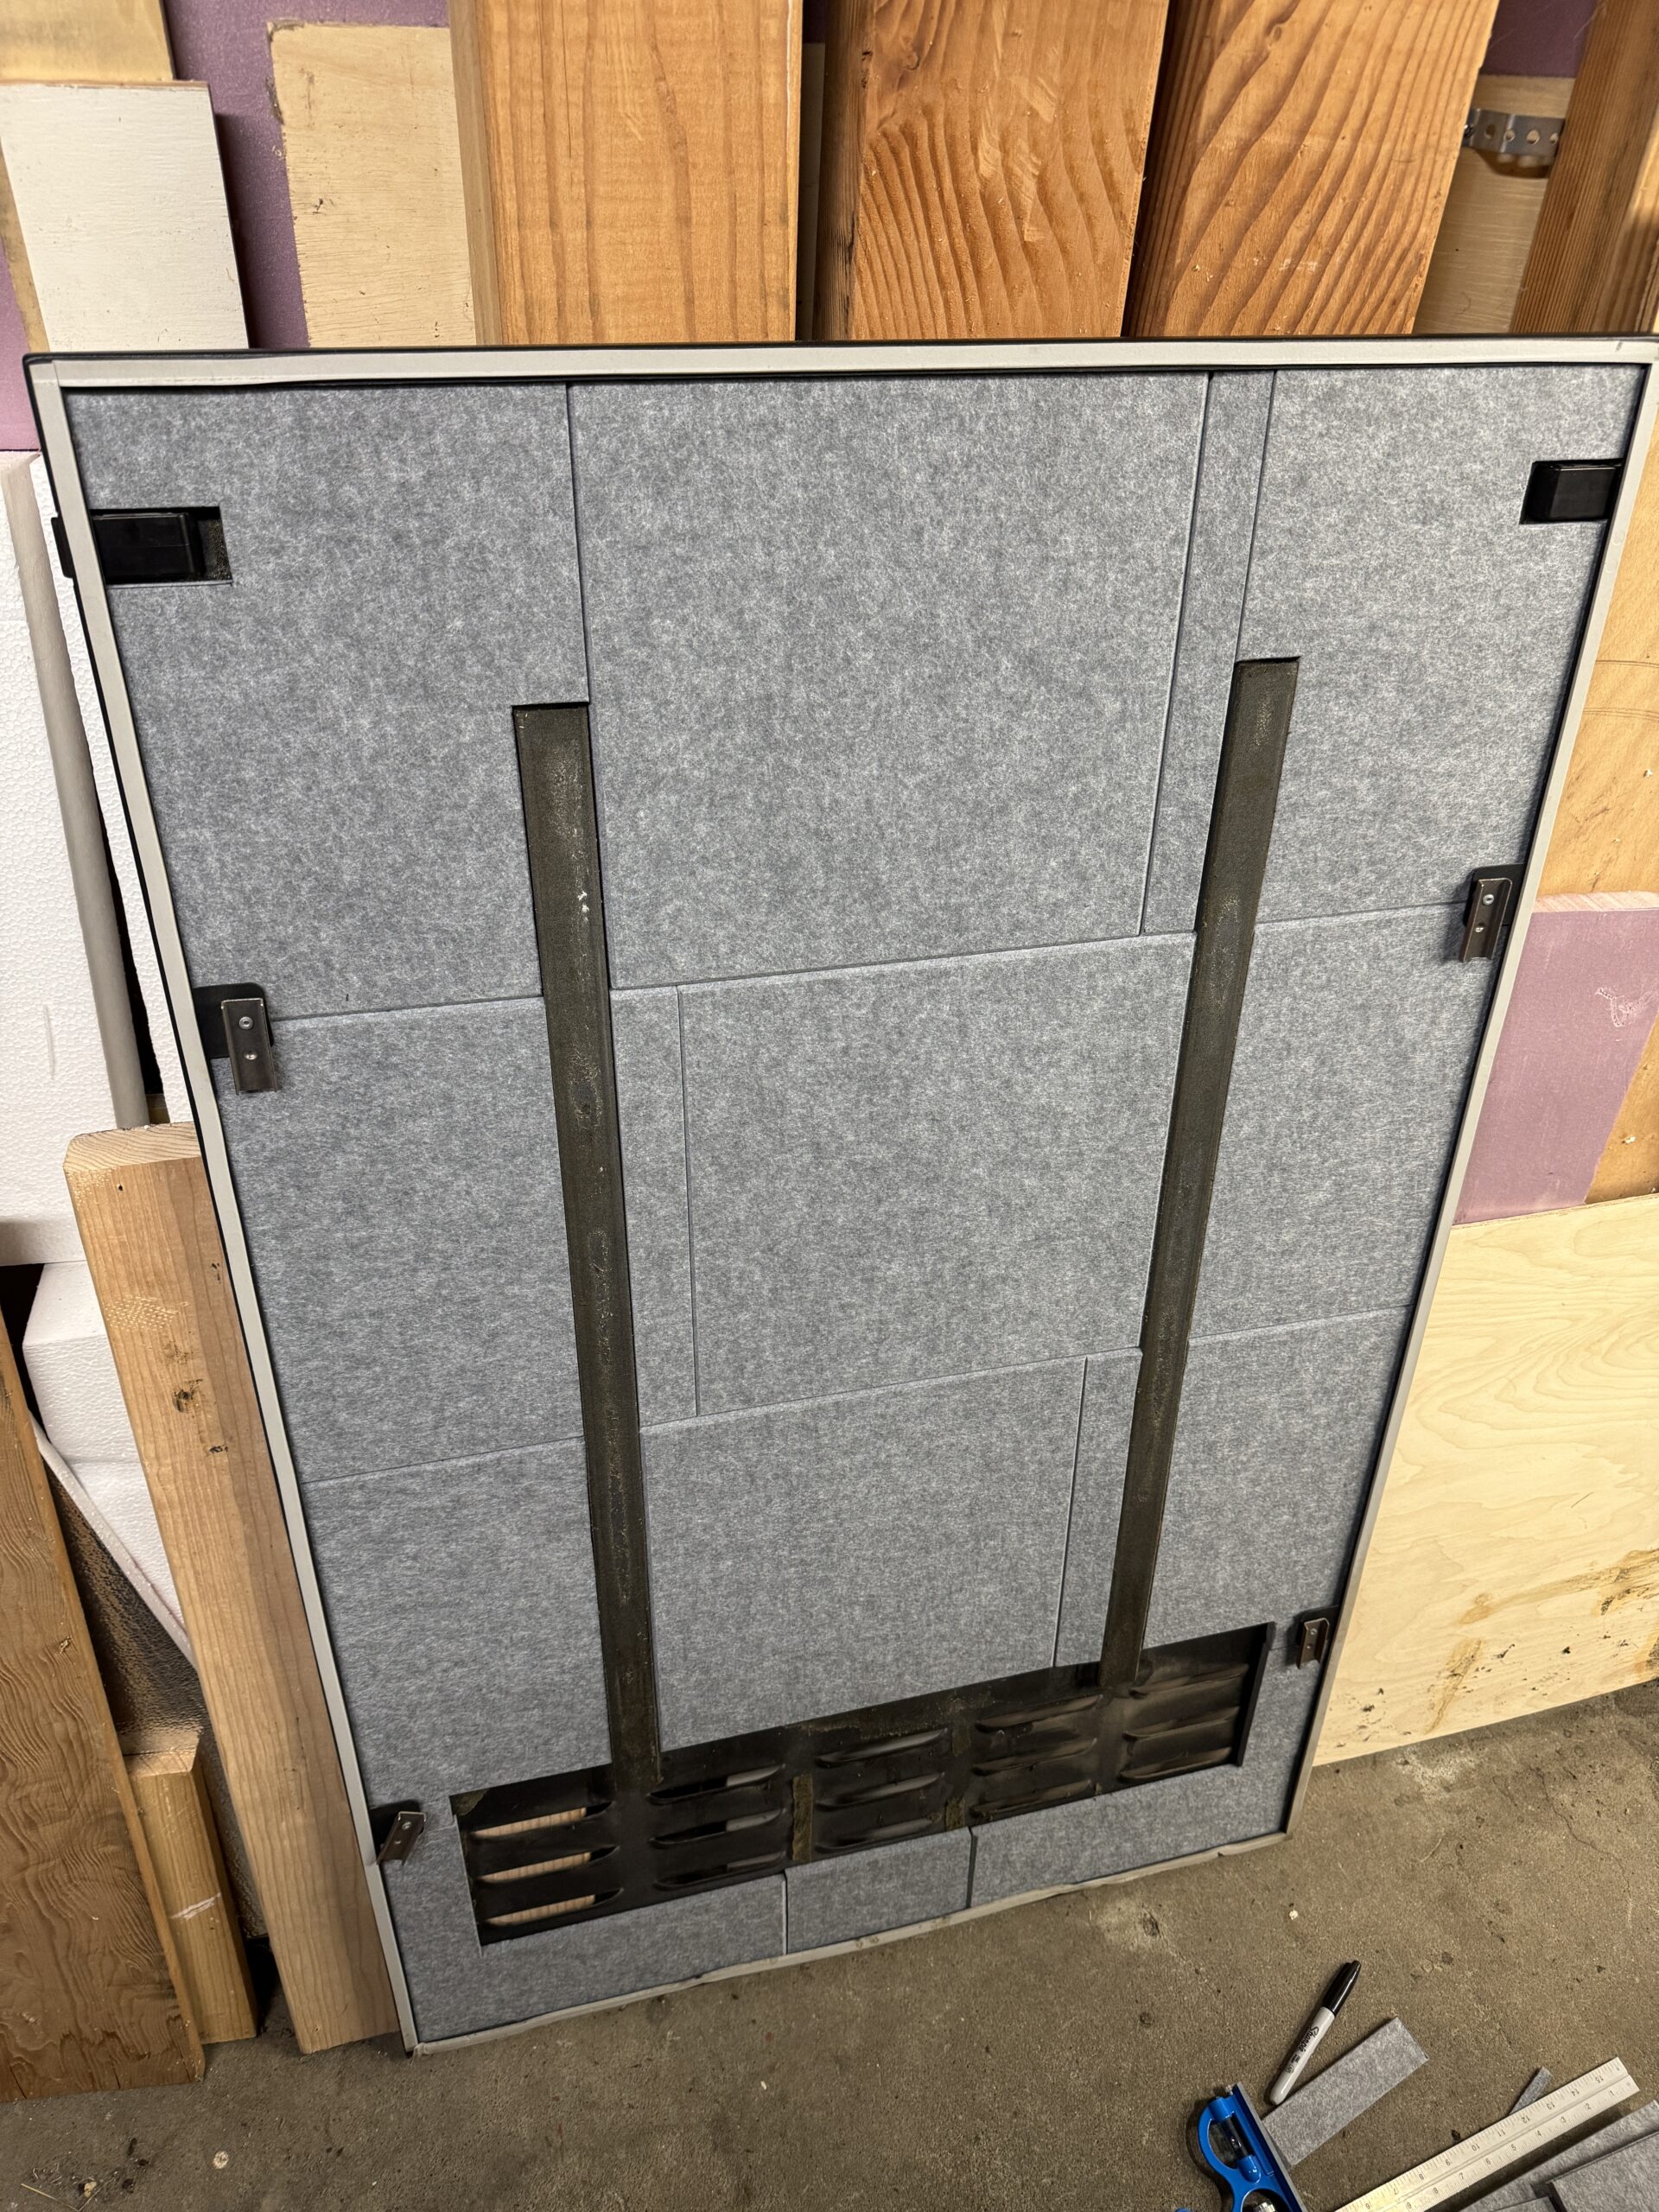
I found some inexpensive sound panels through the usual megastore, and after finishing clearing out the old foam, and giving up on getting all the old adhesive off, set to work cutting and fitting the new panels into place, and adhering them with double-sided foam tape.
Subjectively, they seem as quiet as before, but I don’t have any quantitative data. I think they look a lot nicer, and hopefully they hold up well for the next $X number of years.
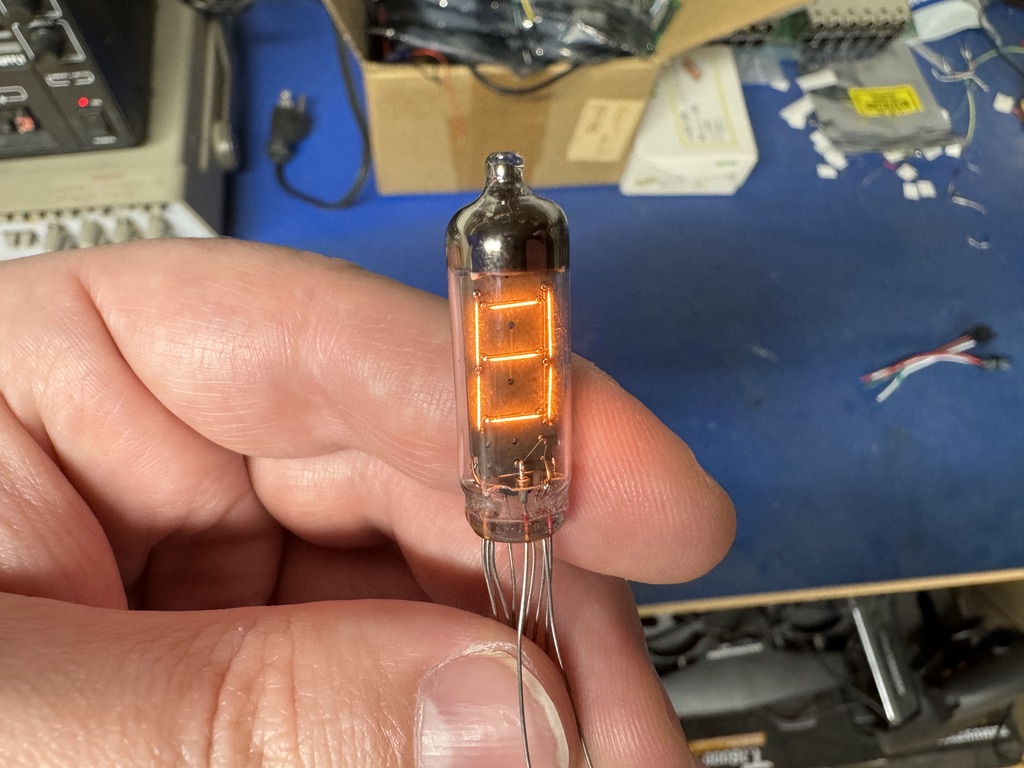
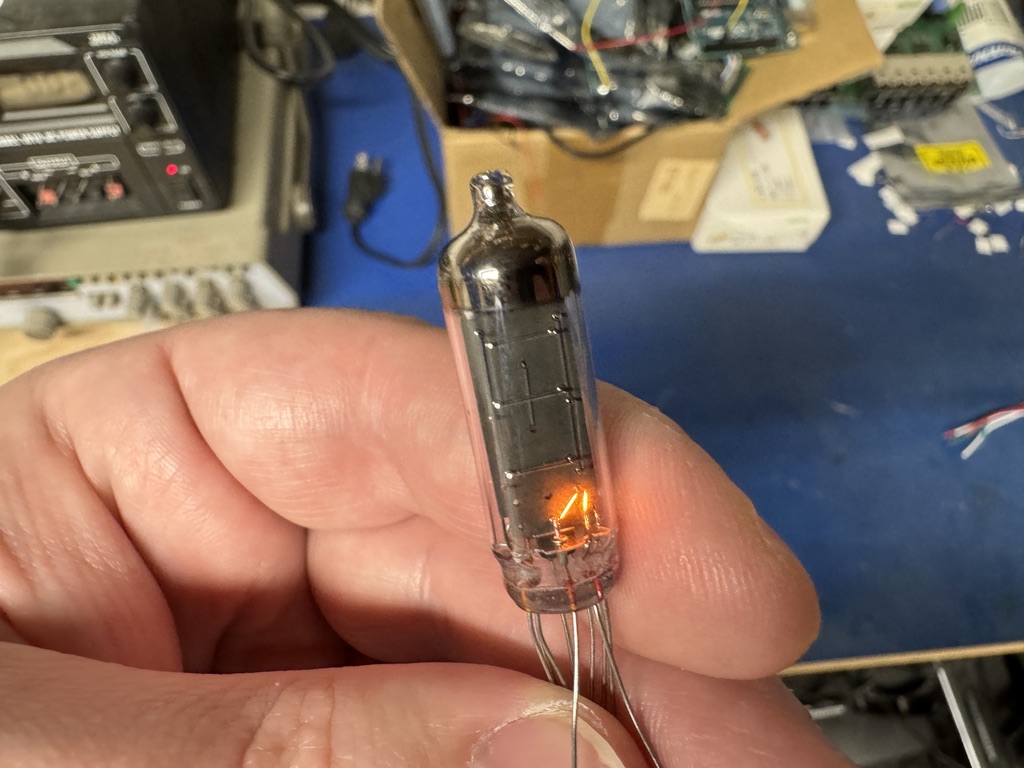
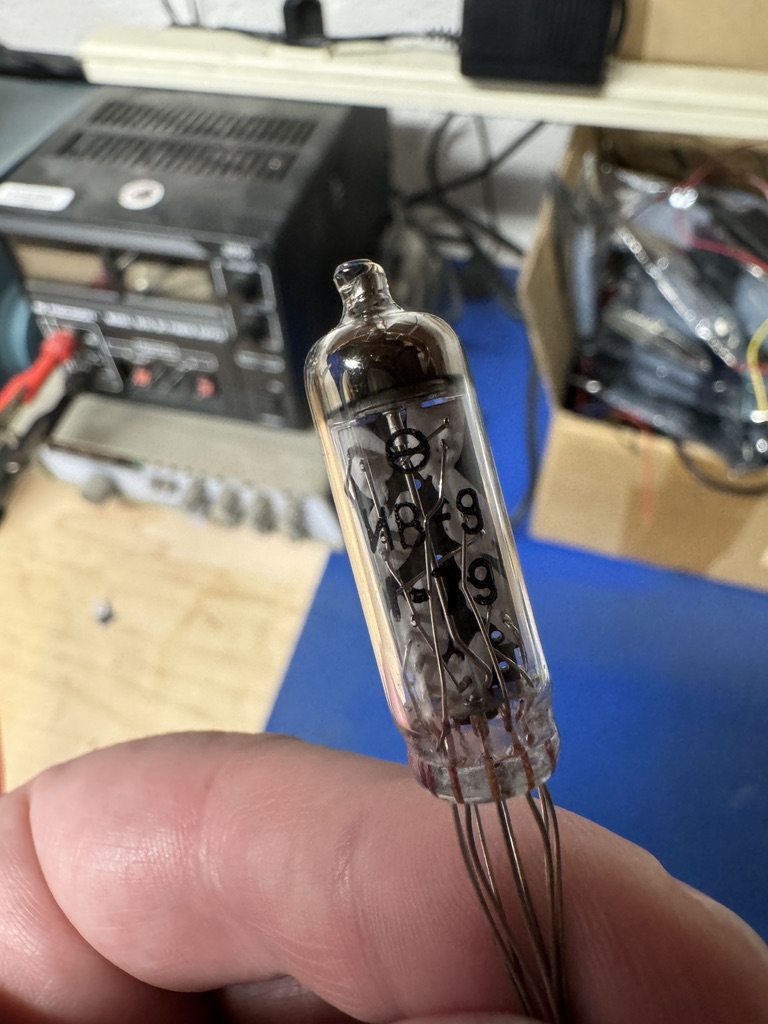
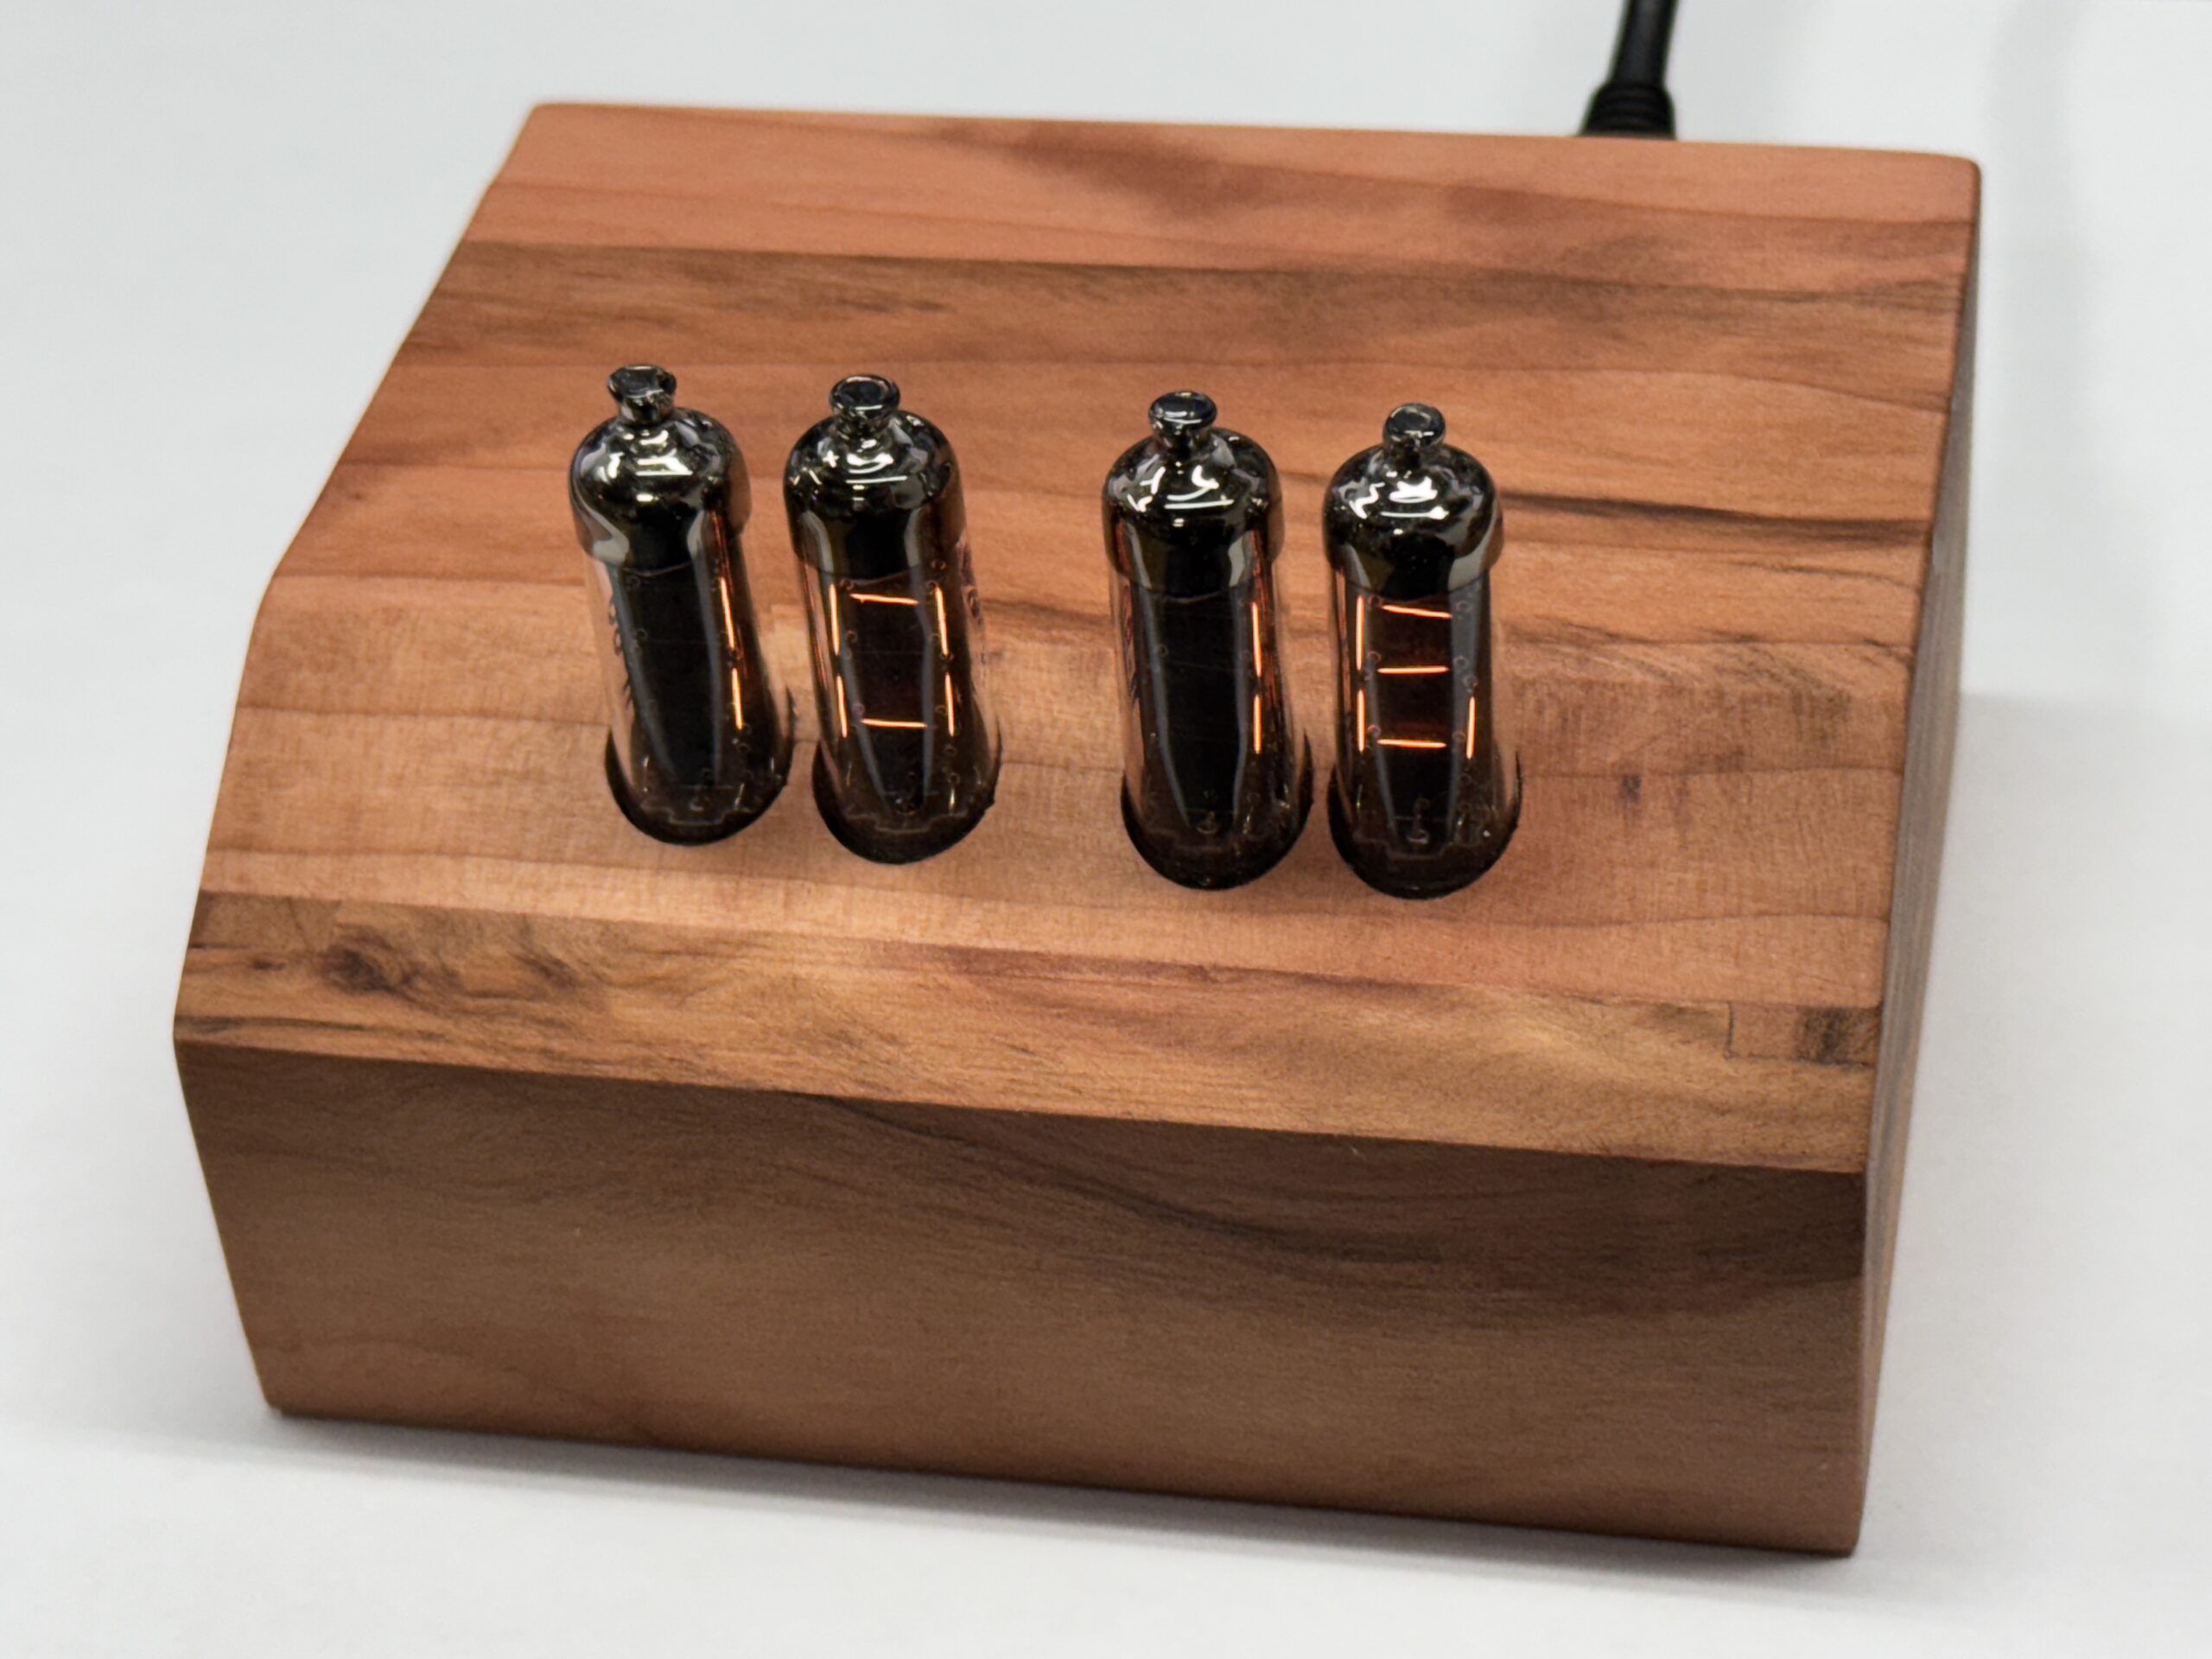
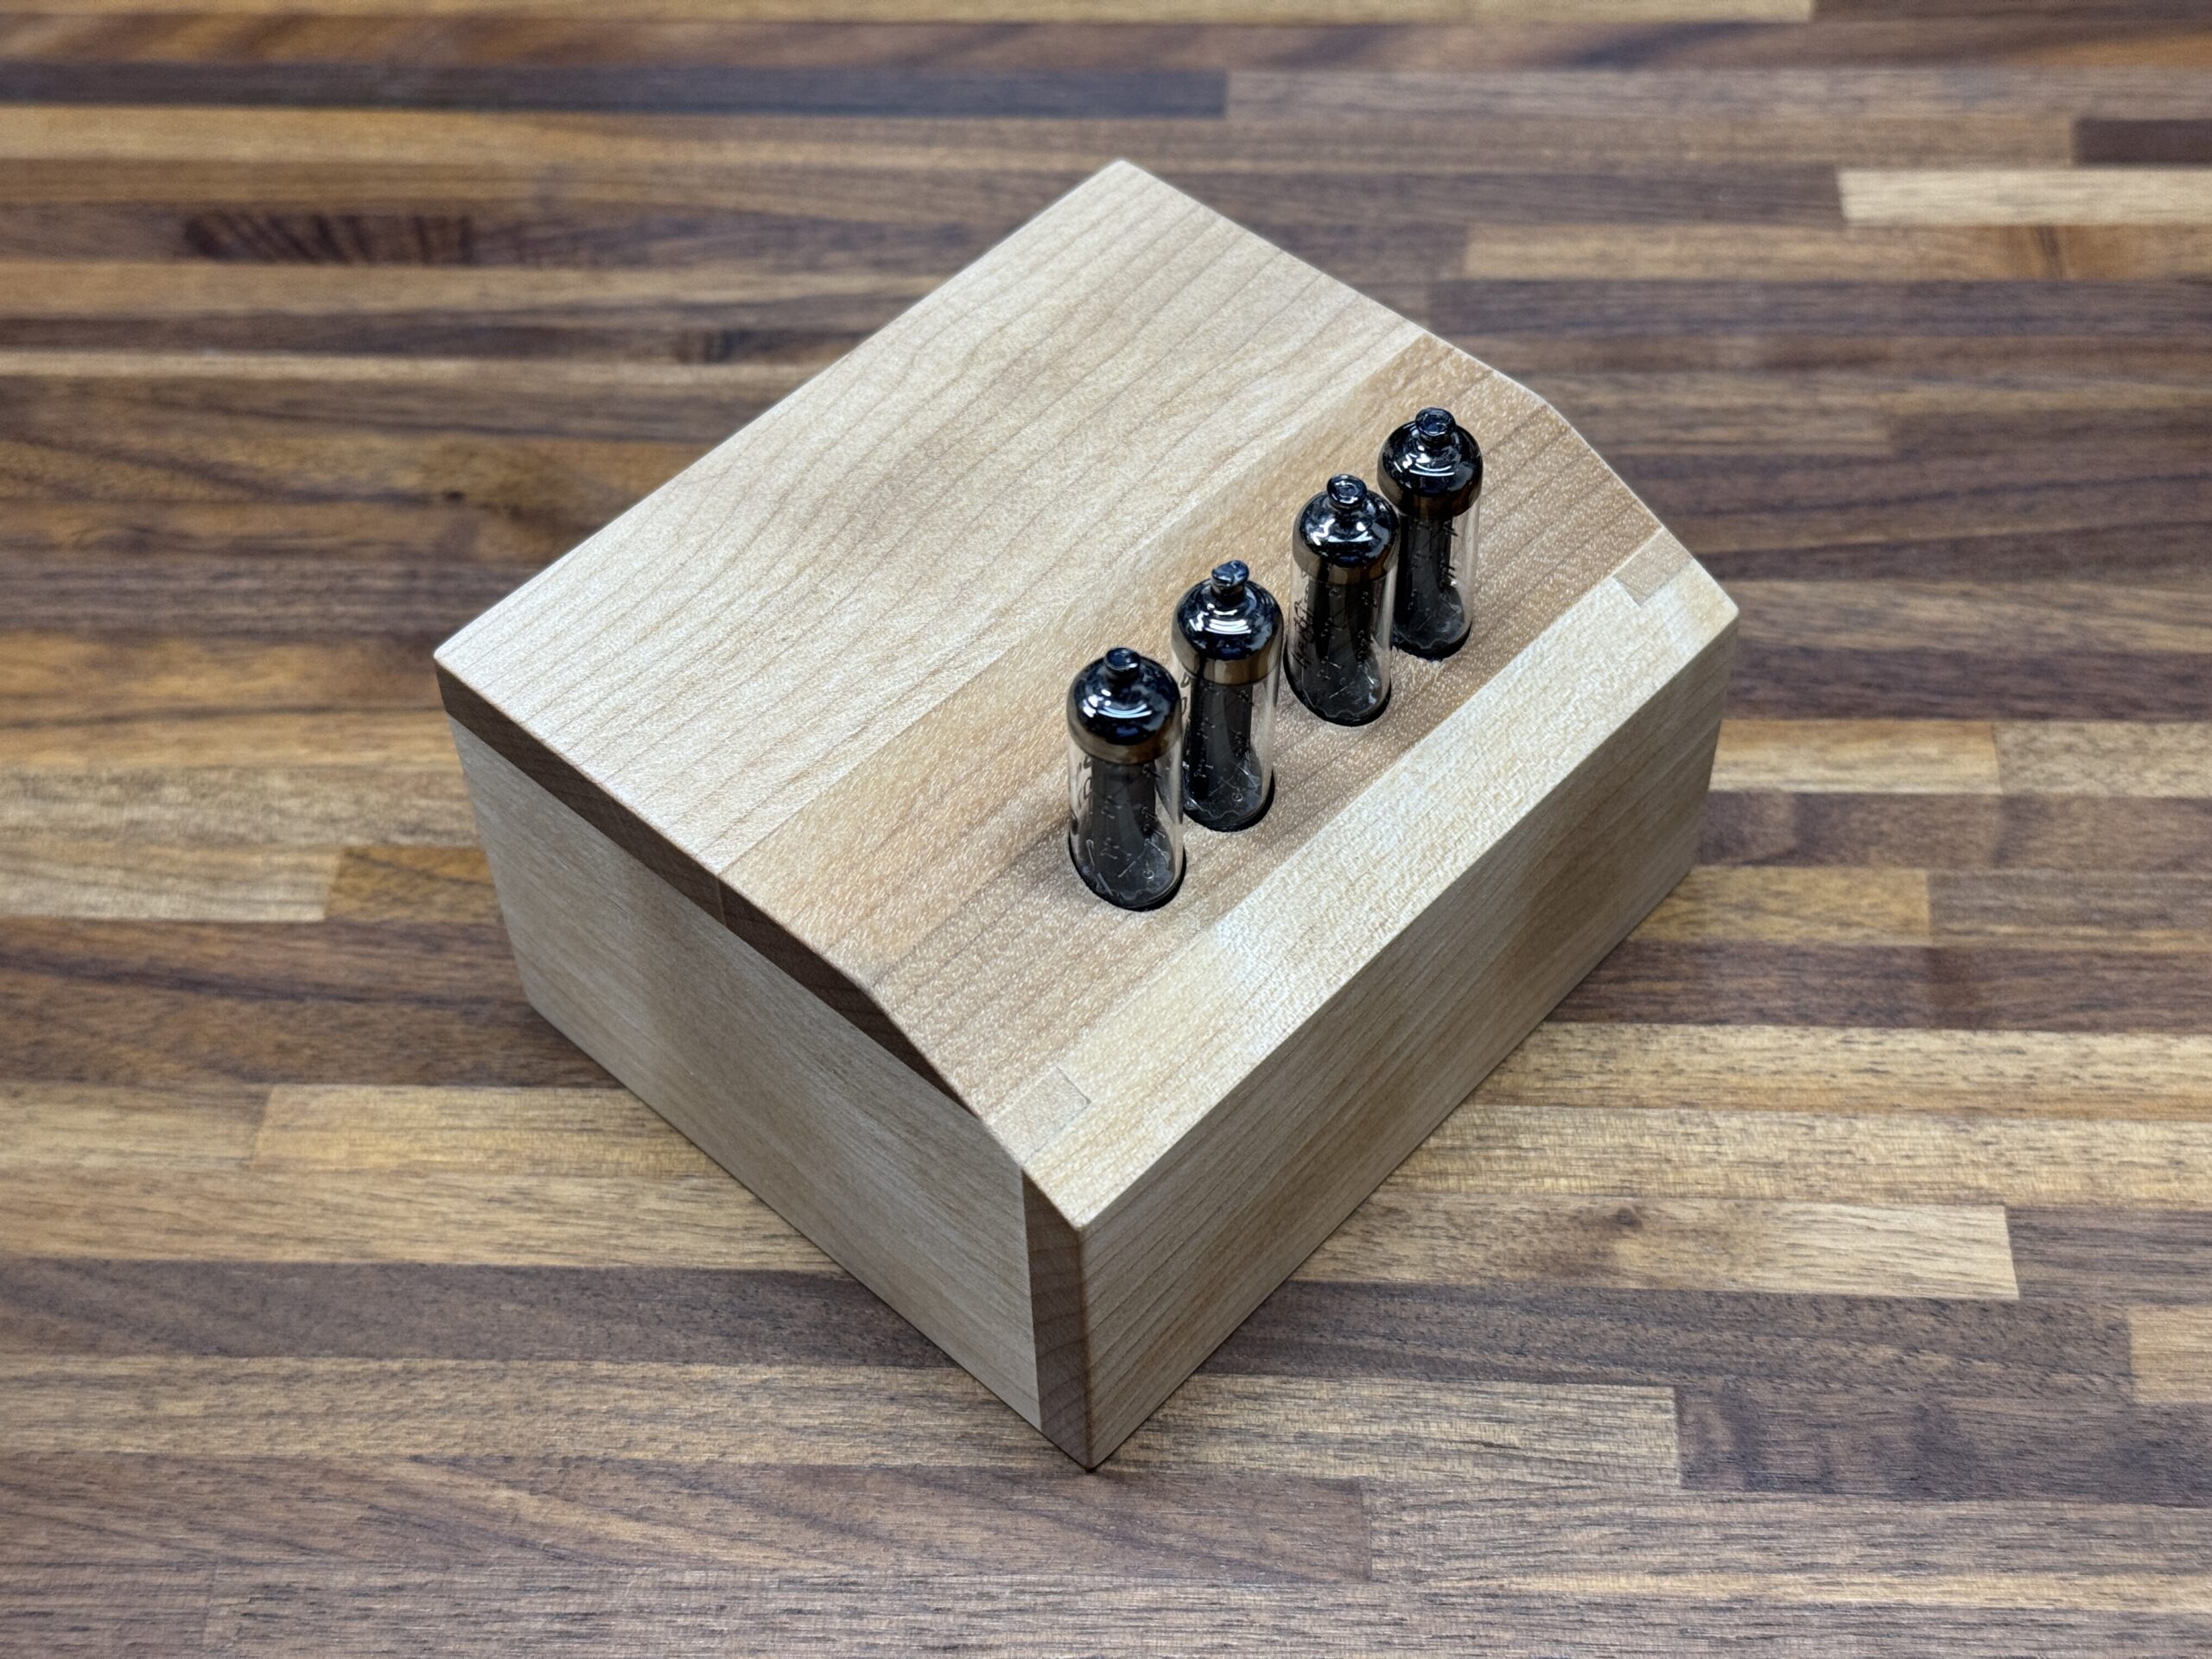
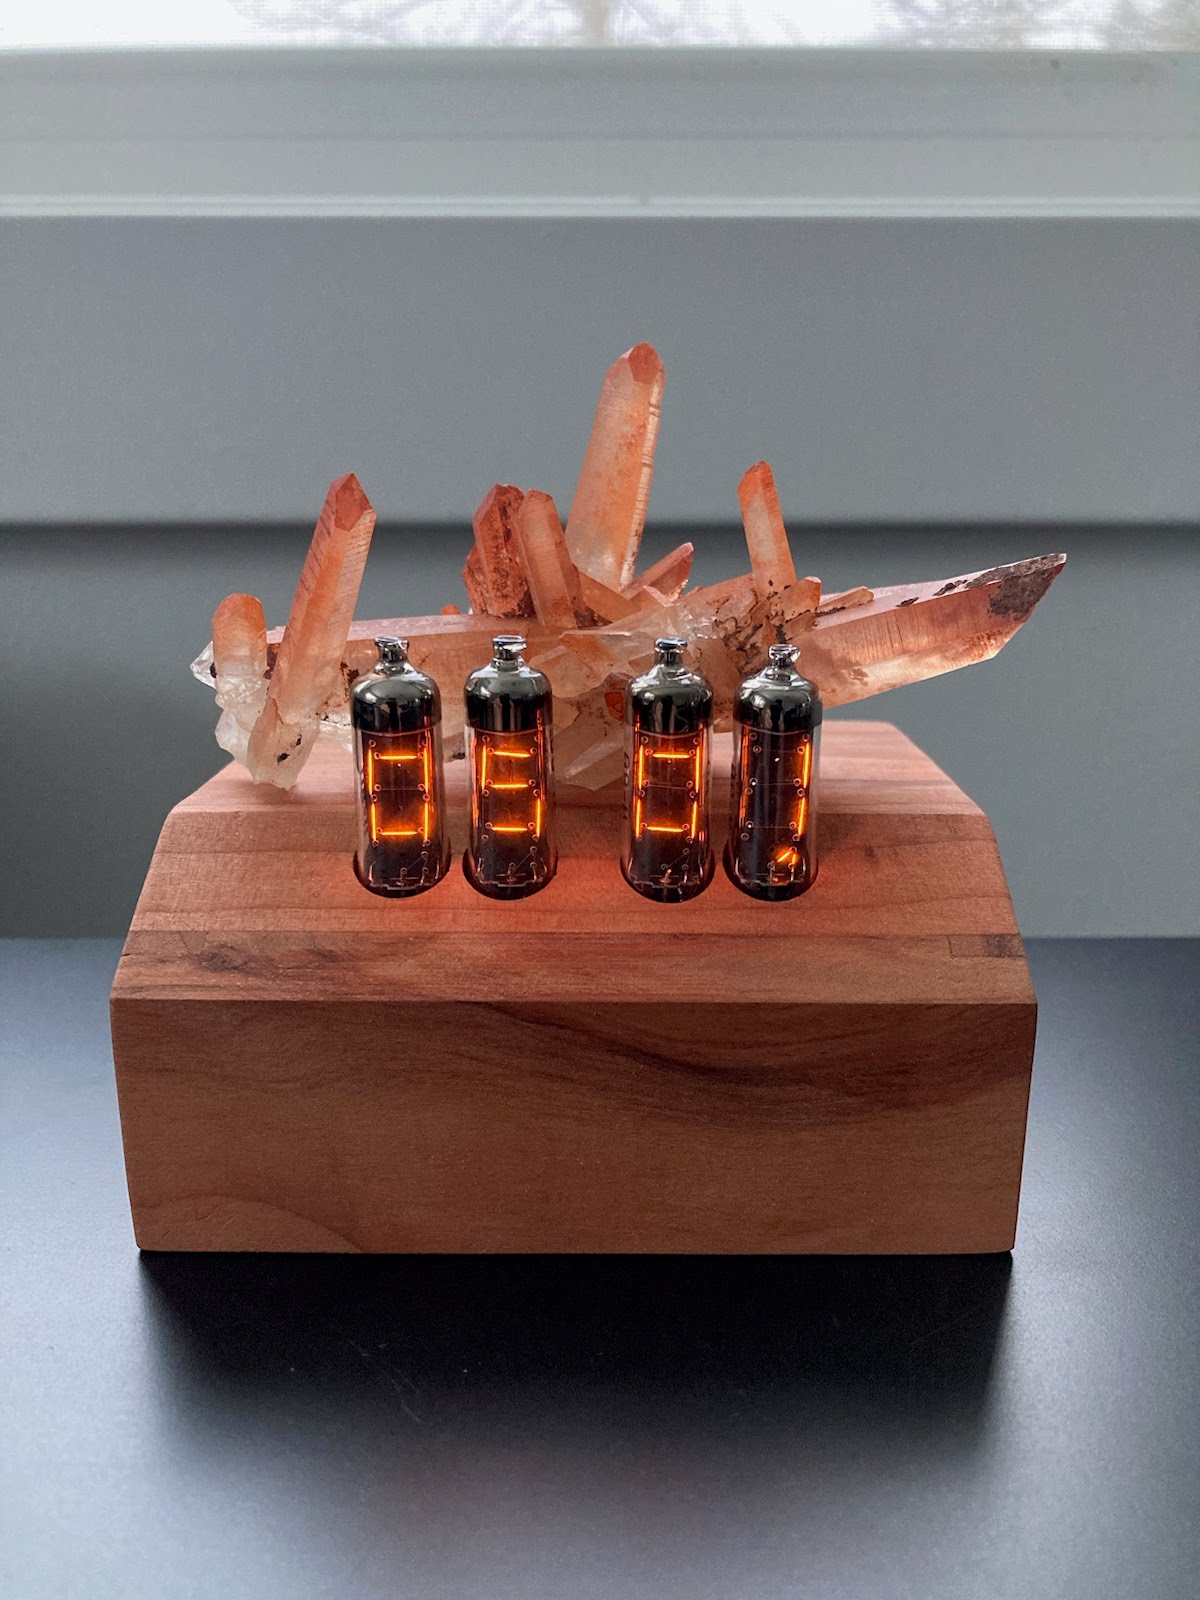
After watching a recent Technology Connections video about Numitron tubes, I was inspired to pick some up to add to my dragon’s hoard of junk. A quick visit to eBay later, and a few less dollars in my bank account, and I had some new-old-stock tubes in hand.
At first I wasn’t sure what I wanted to use them for, so the obvious answer is a clock. I did decide, that if I was going to make *yet another* clock, it was going to be a very nice one.
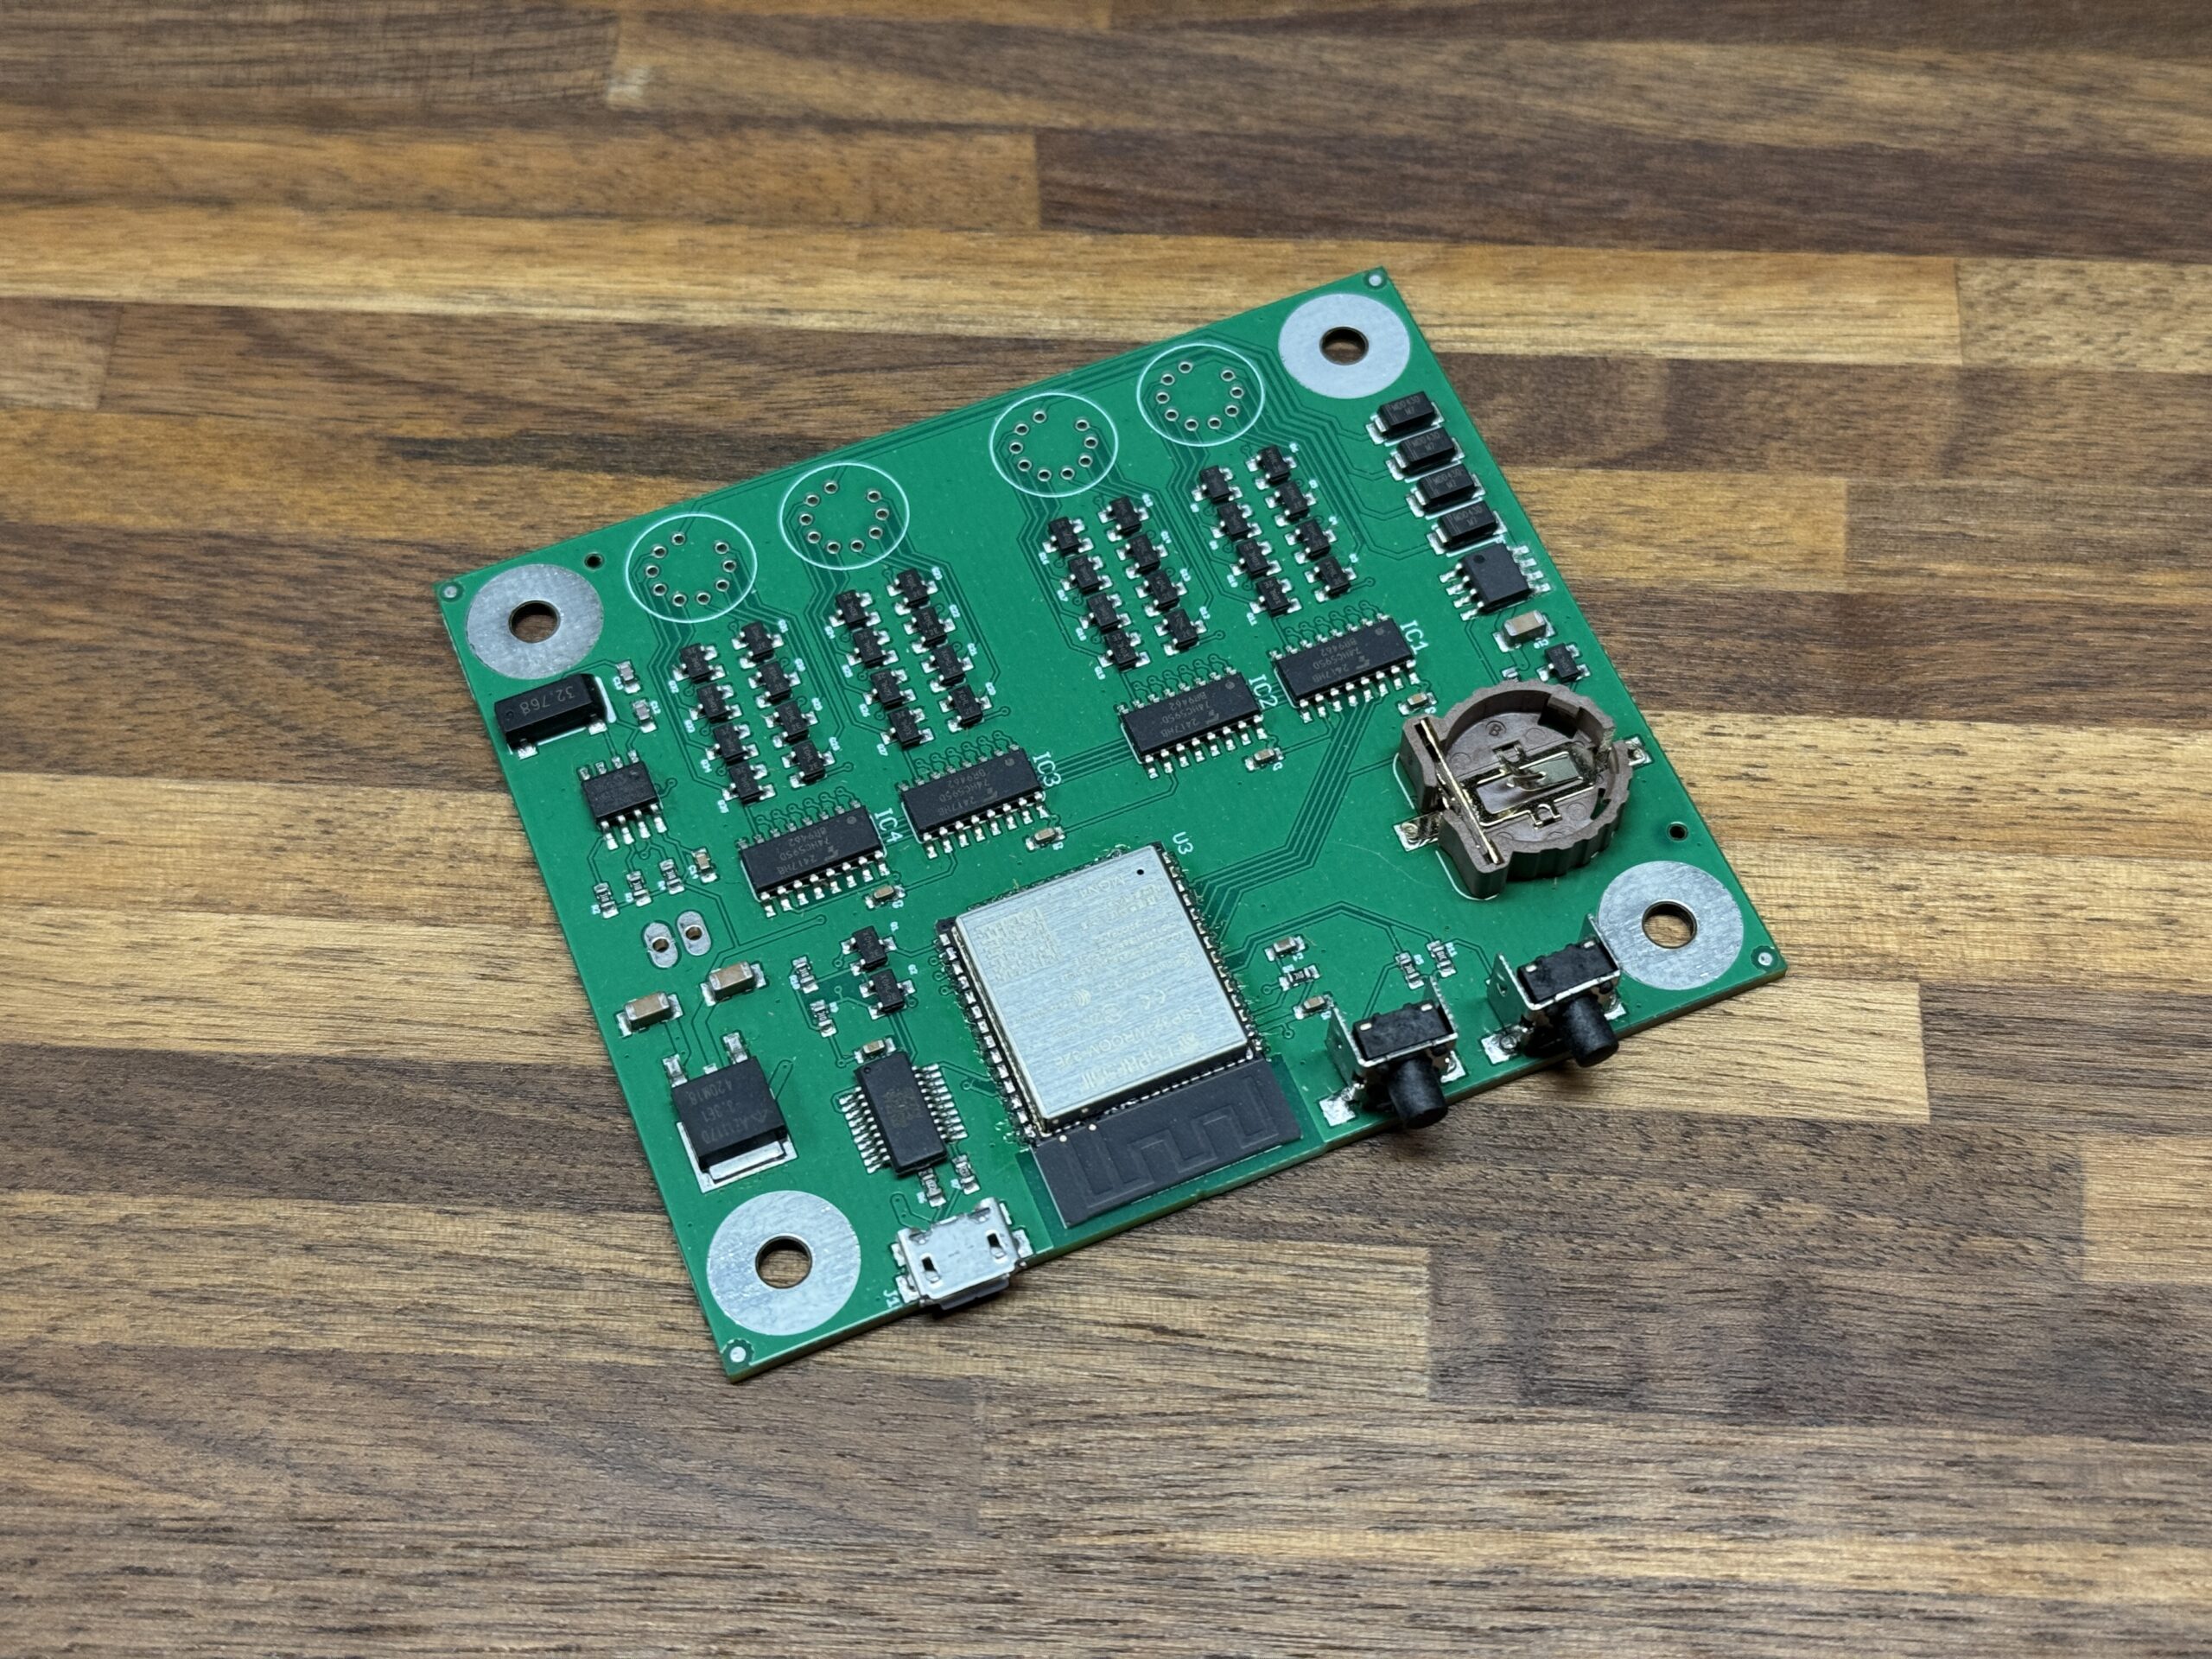
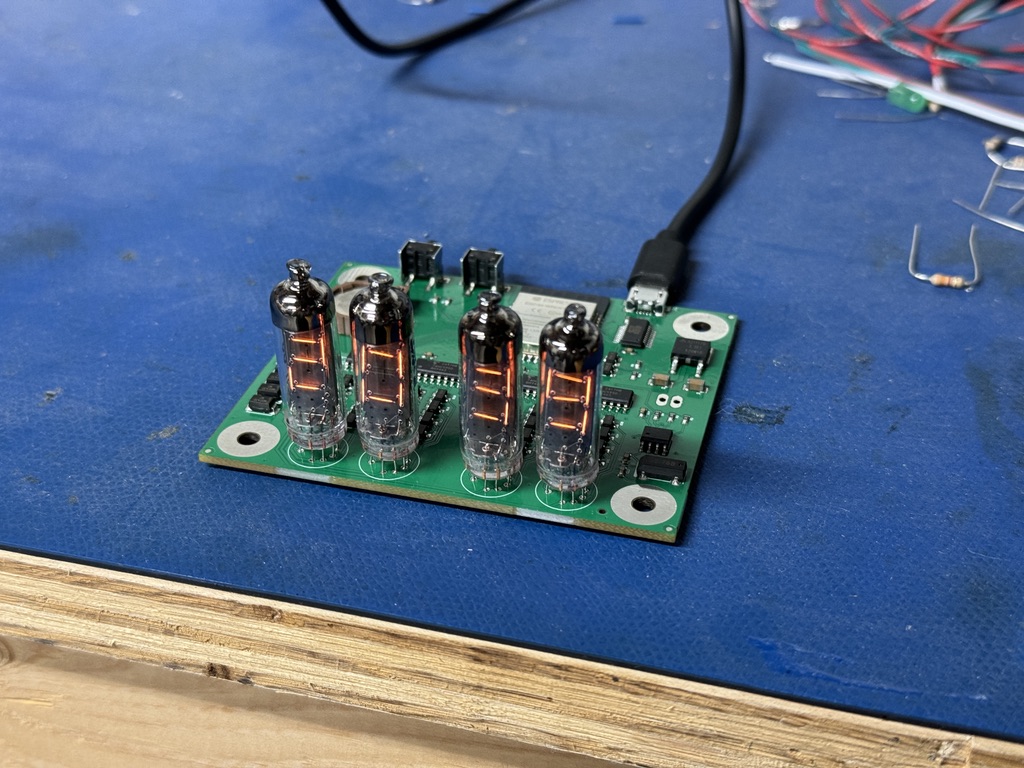
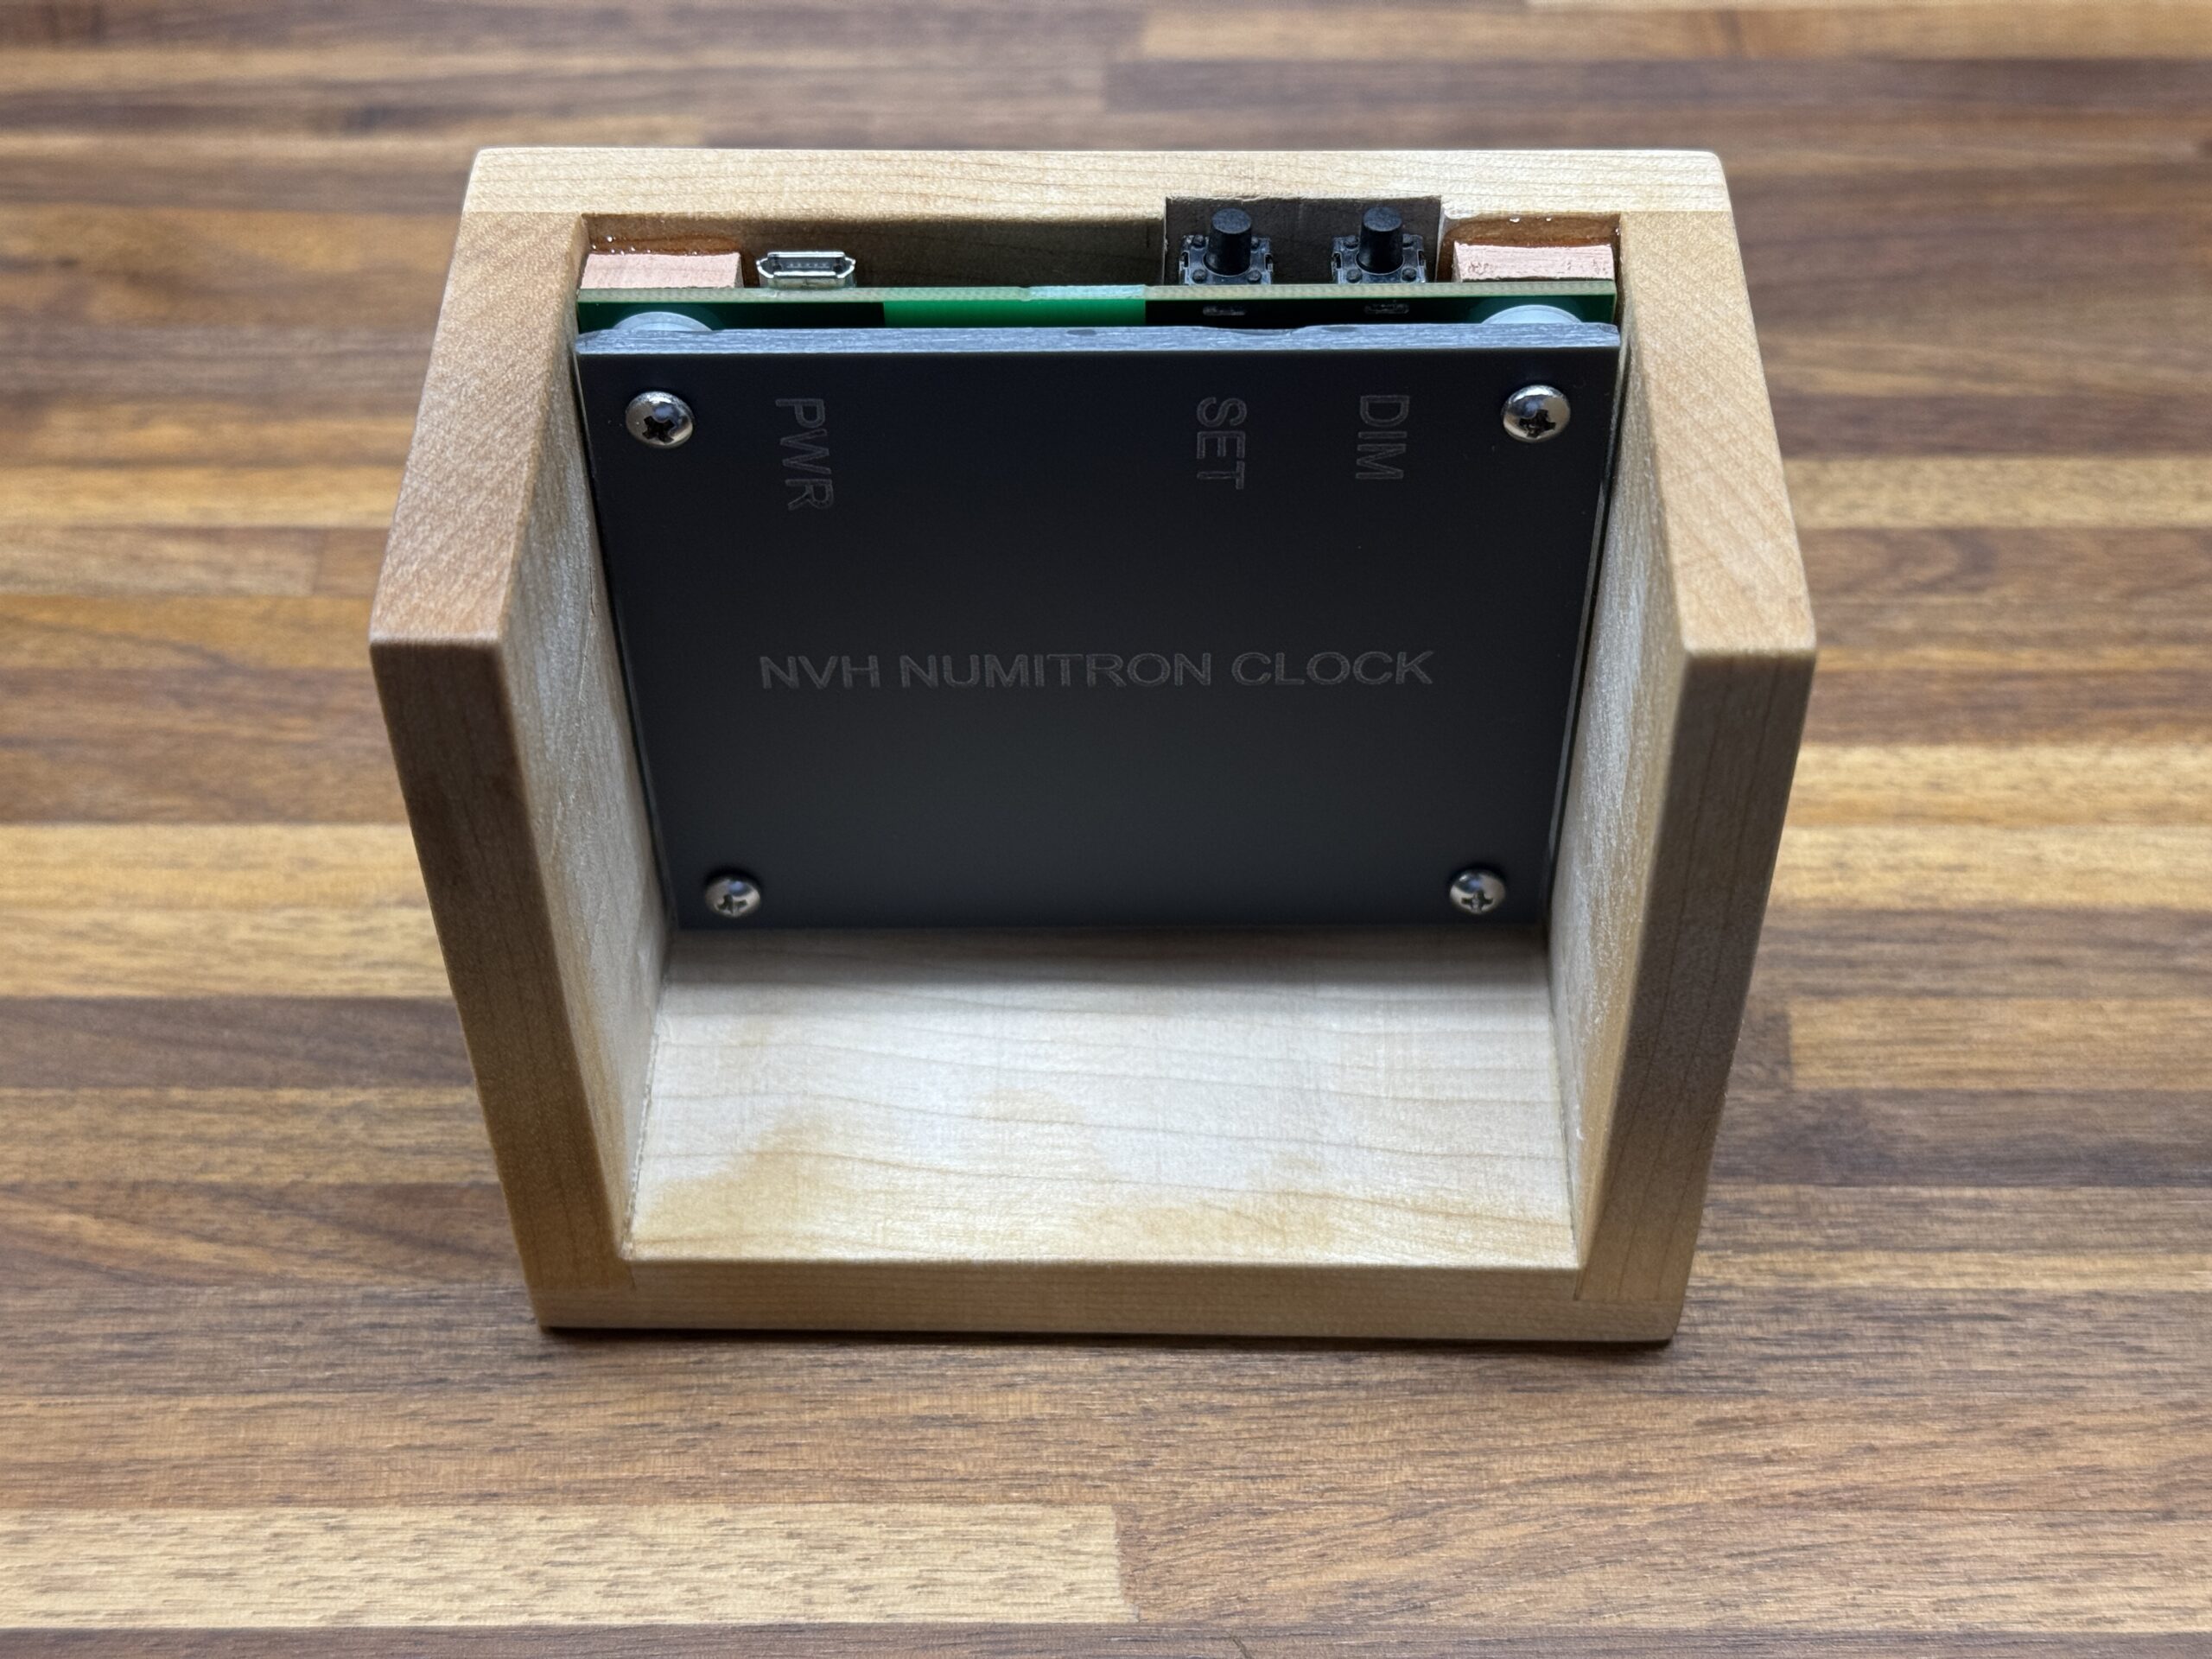
Starting with the electronics, I put together a board using an ESP32, some shift registers and driver transistors, and a Real-Time Clock chip with battery backup to keep time even when the clock is unplugged.
A little bit of bad Arduino code later, and we have a functional clock, with 12/24hr modes, three brightness levels (done with PWM), and calibration methods so I can calibrate the cheap quartz crystal on the board against something better, like a GPSDO or my Rubidium standard. It won’t really be that accurate over the long term, but I can calibrate out enough error that you’ll never notice the clock being wrong before you have to re-set it again anyway next time daylight savings rolls around to give everyone the big middle finger.
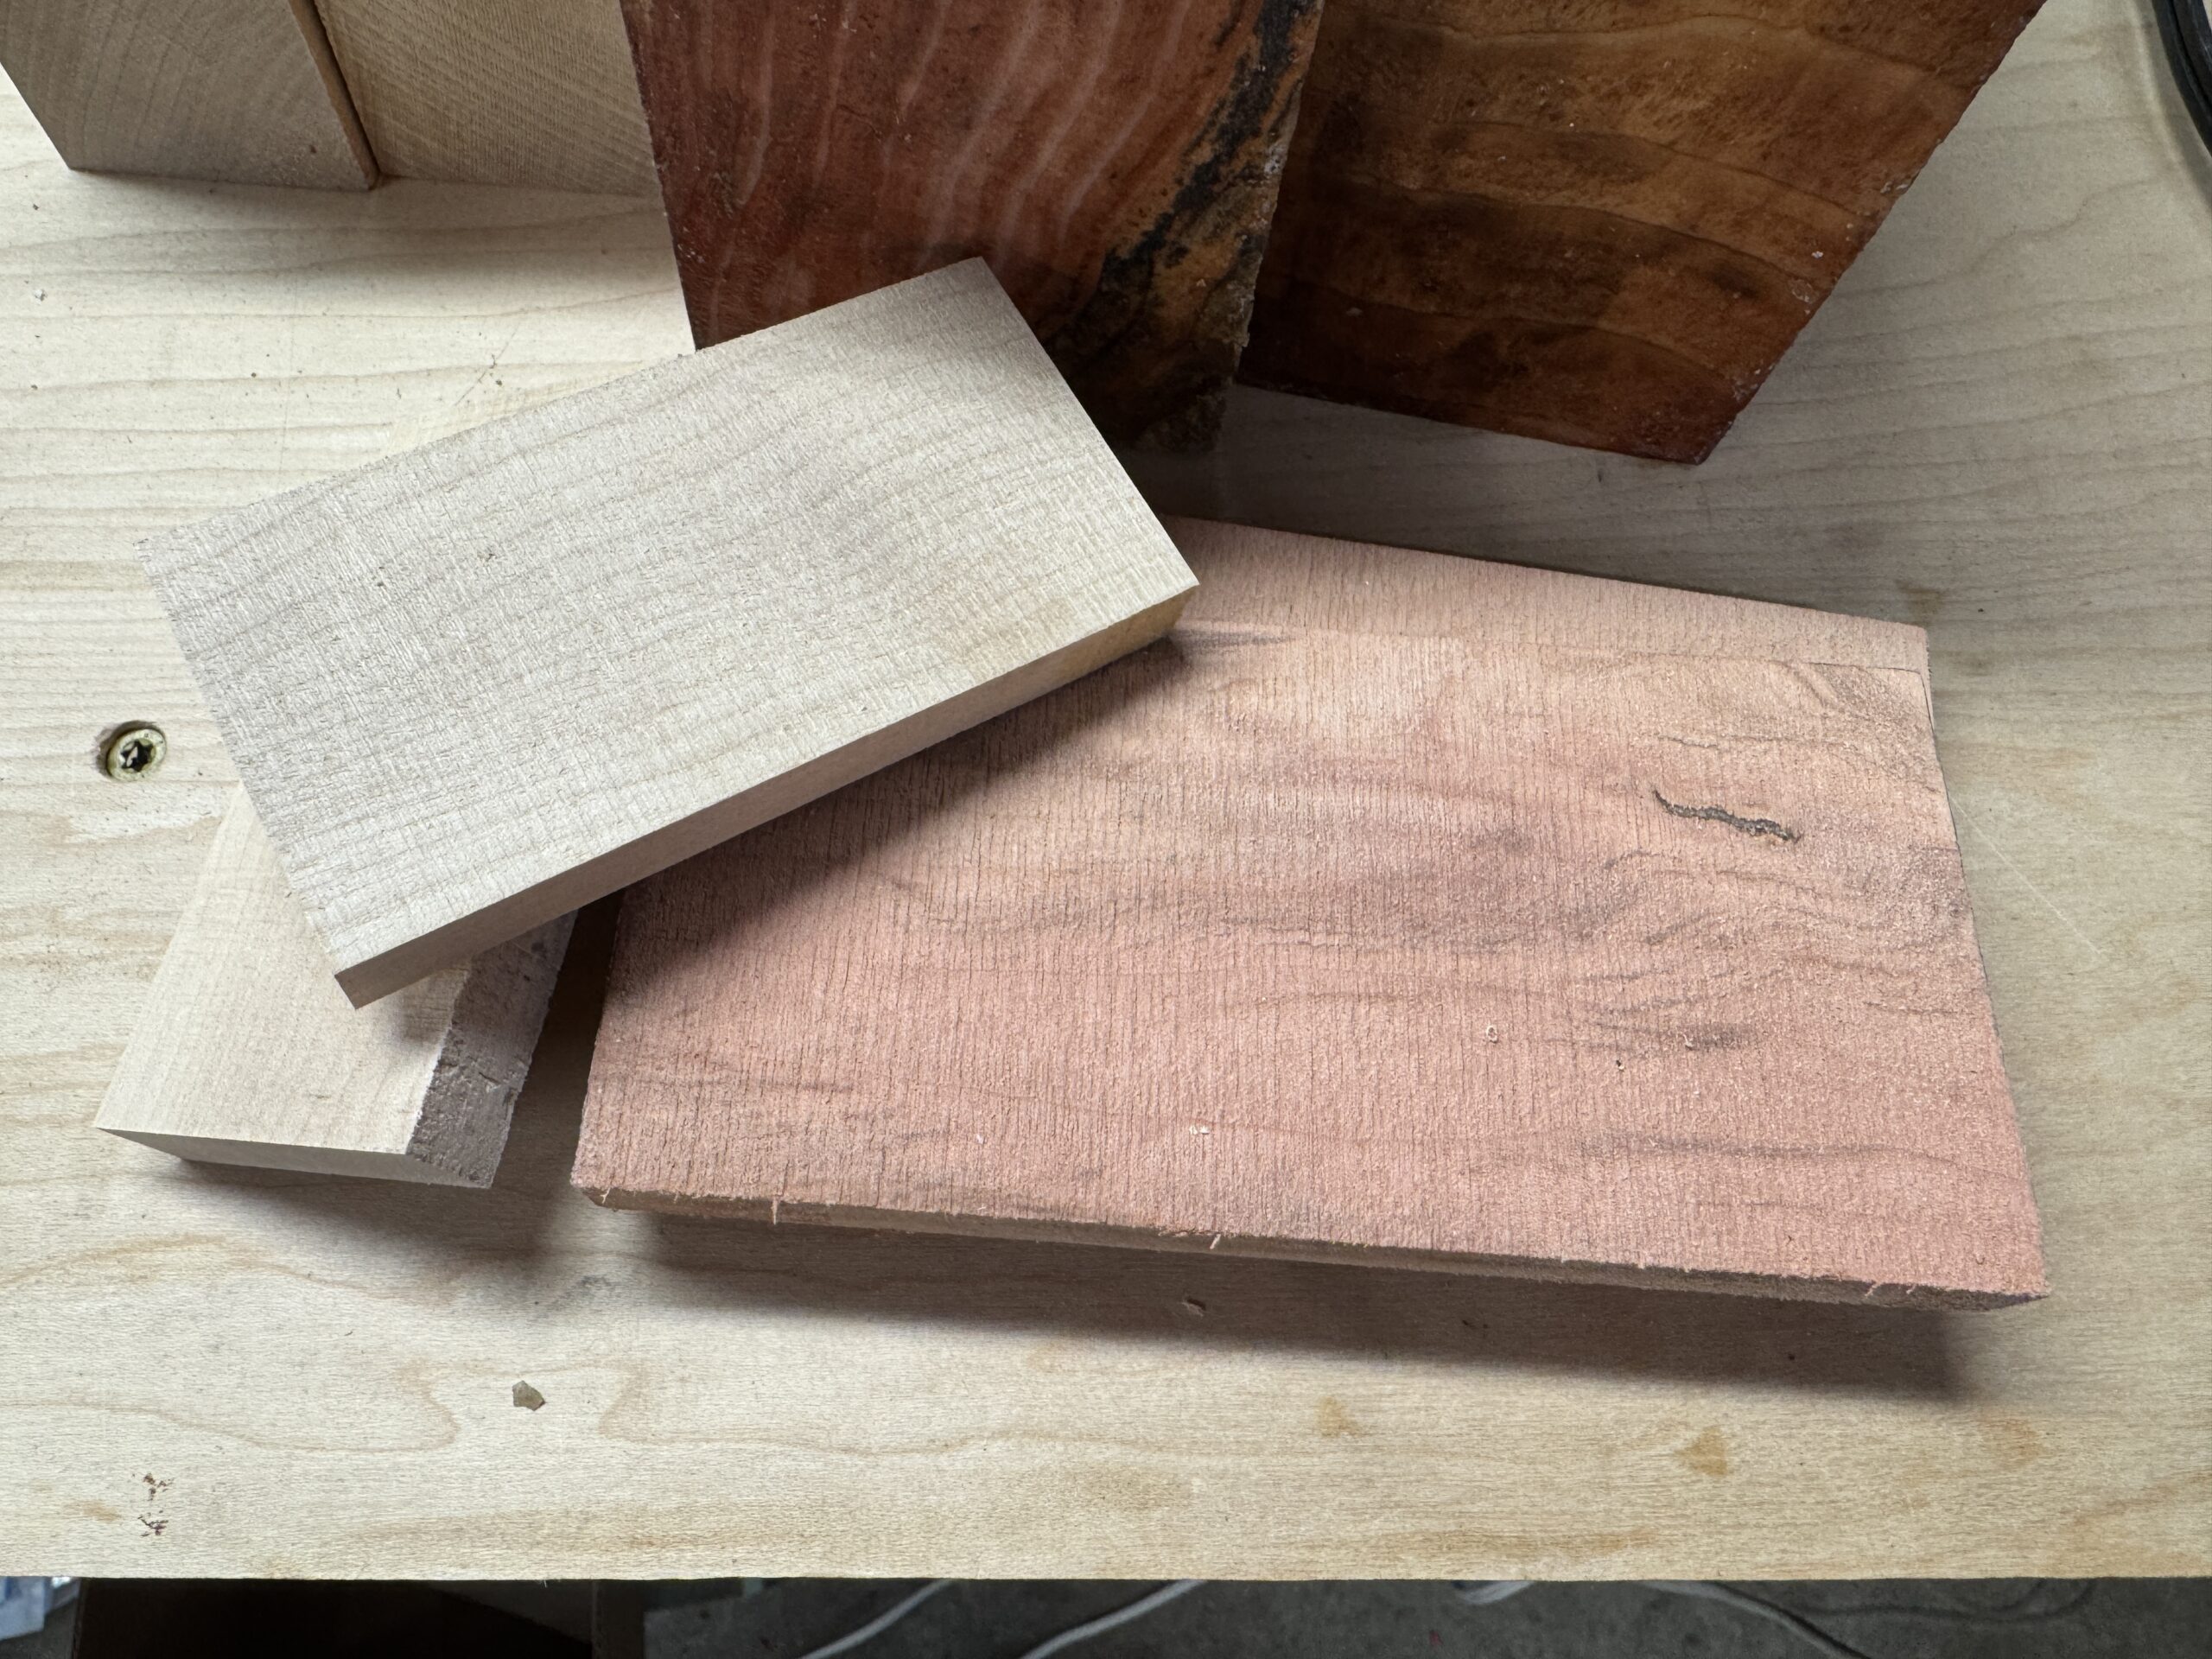
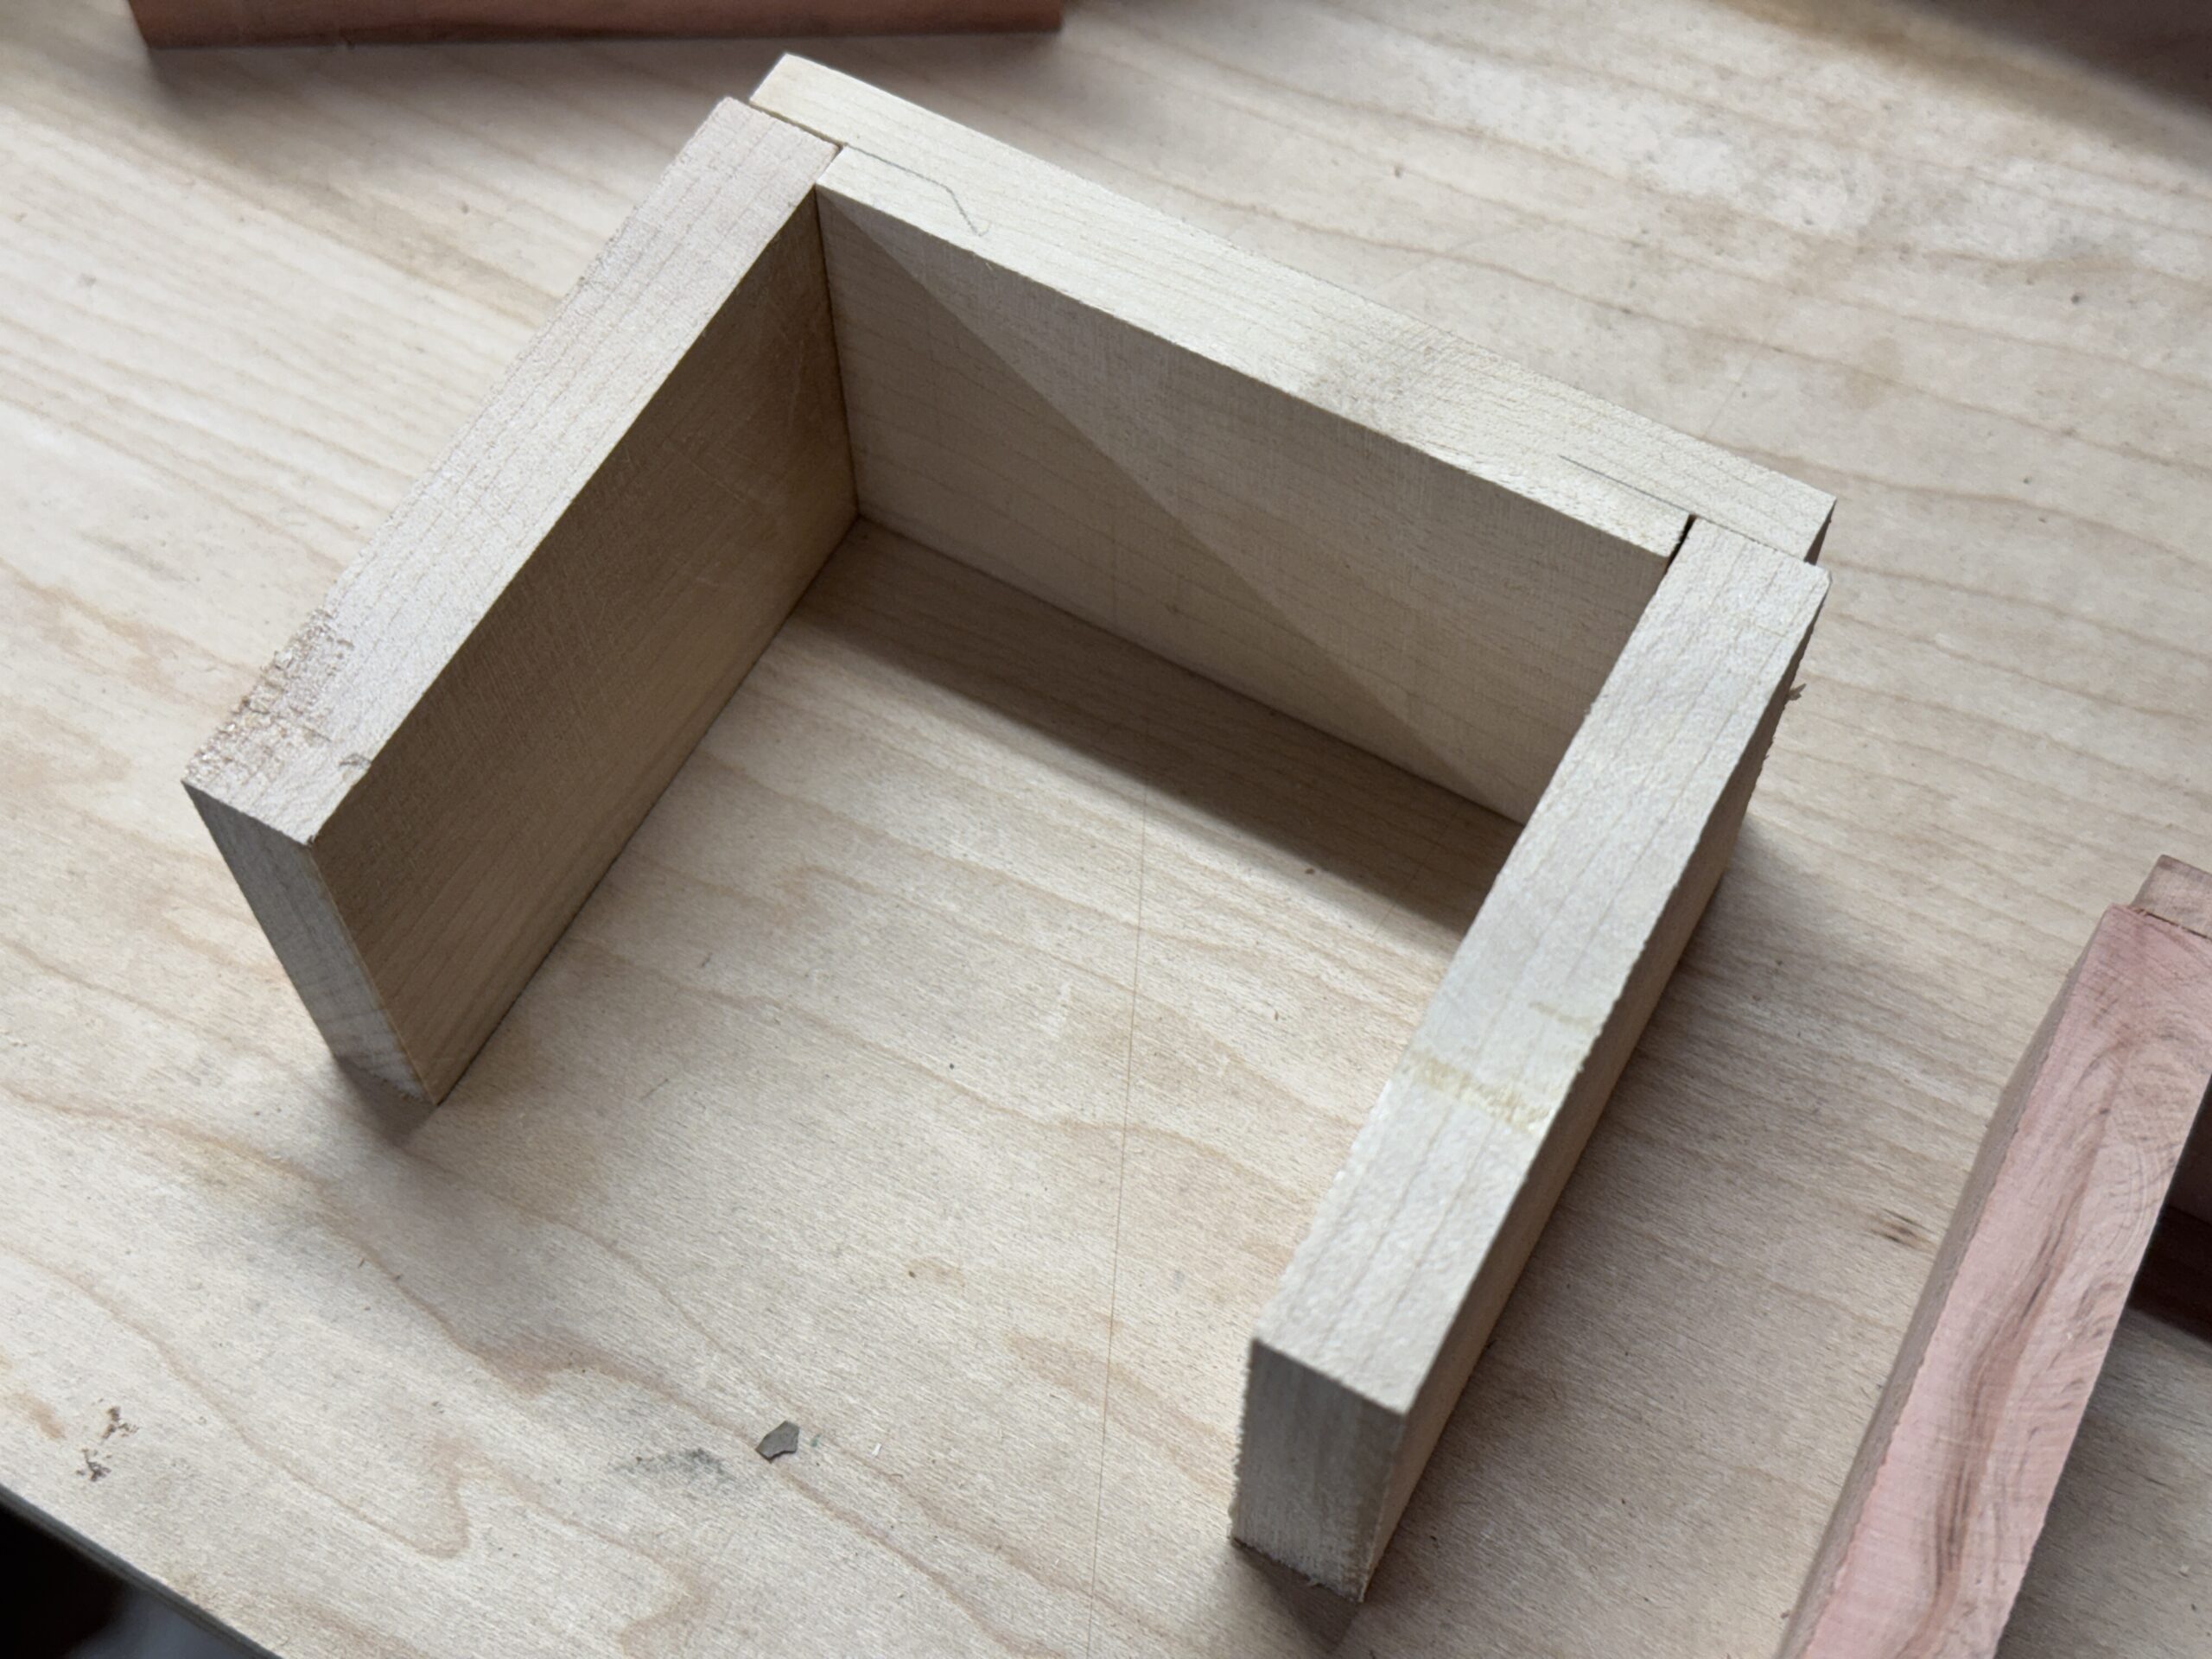
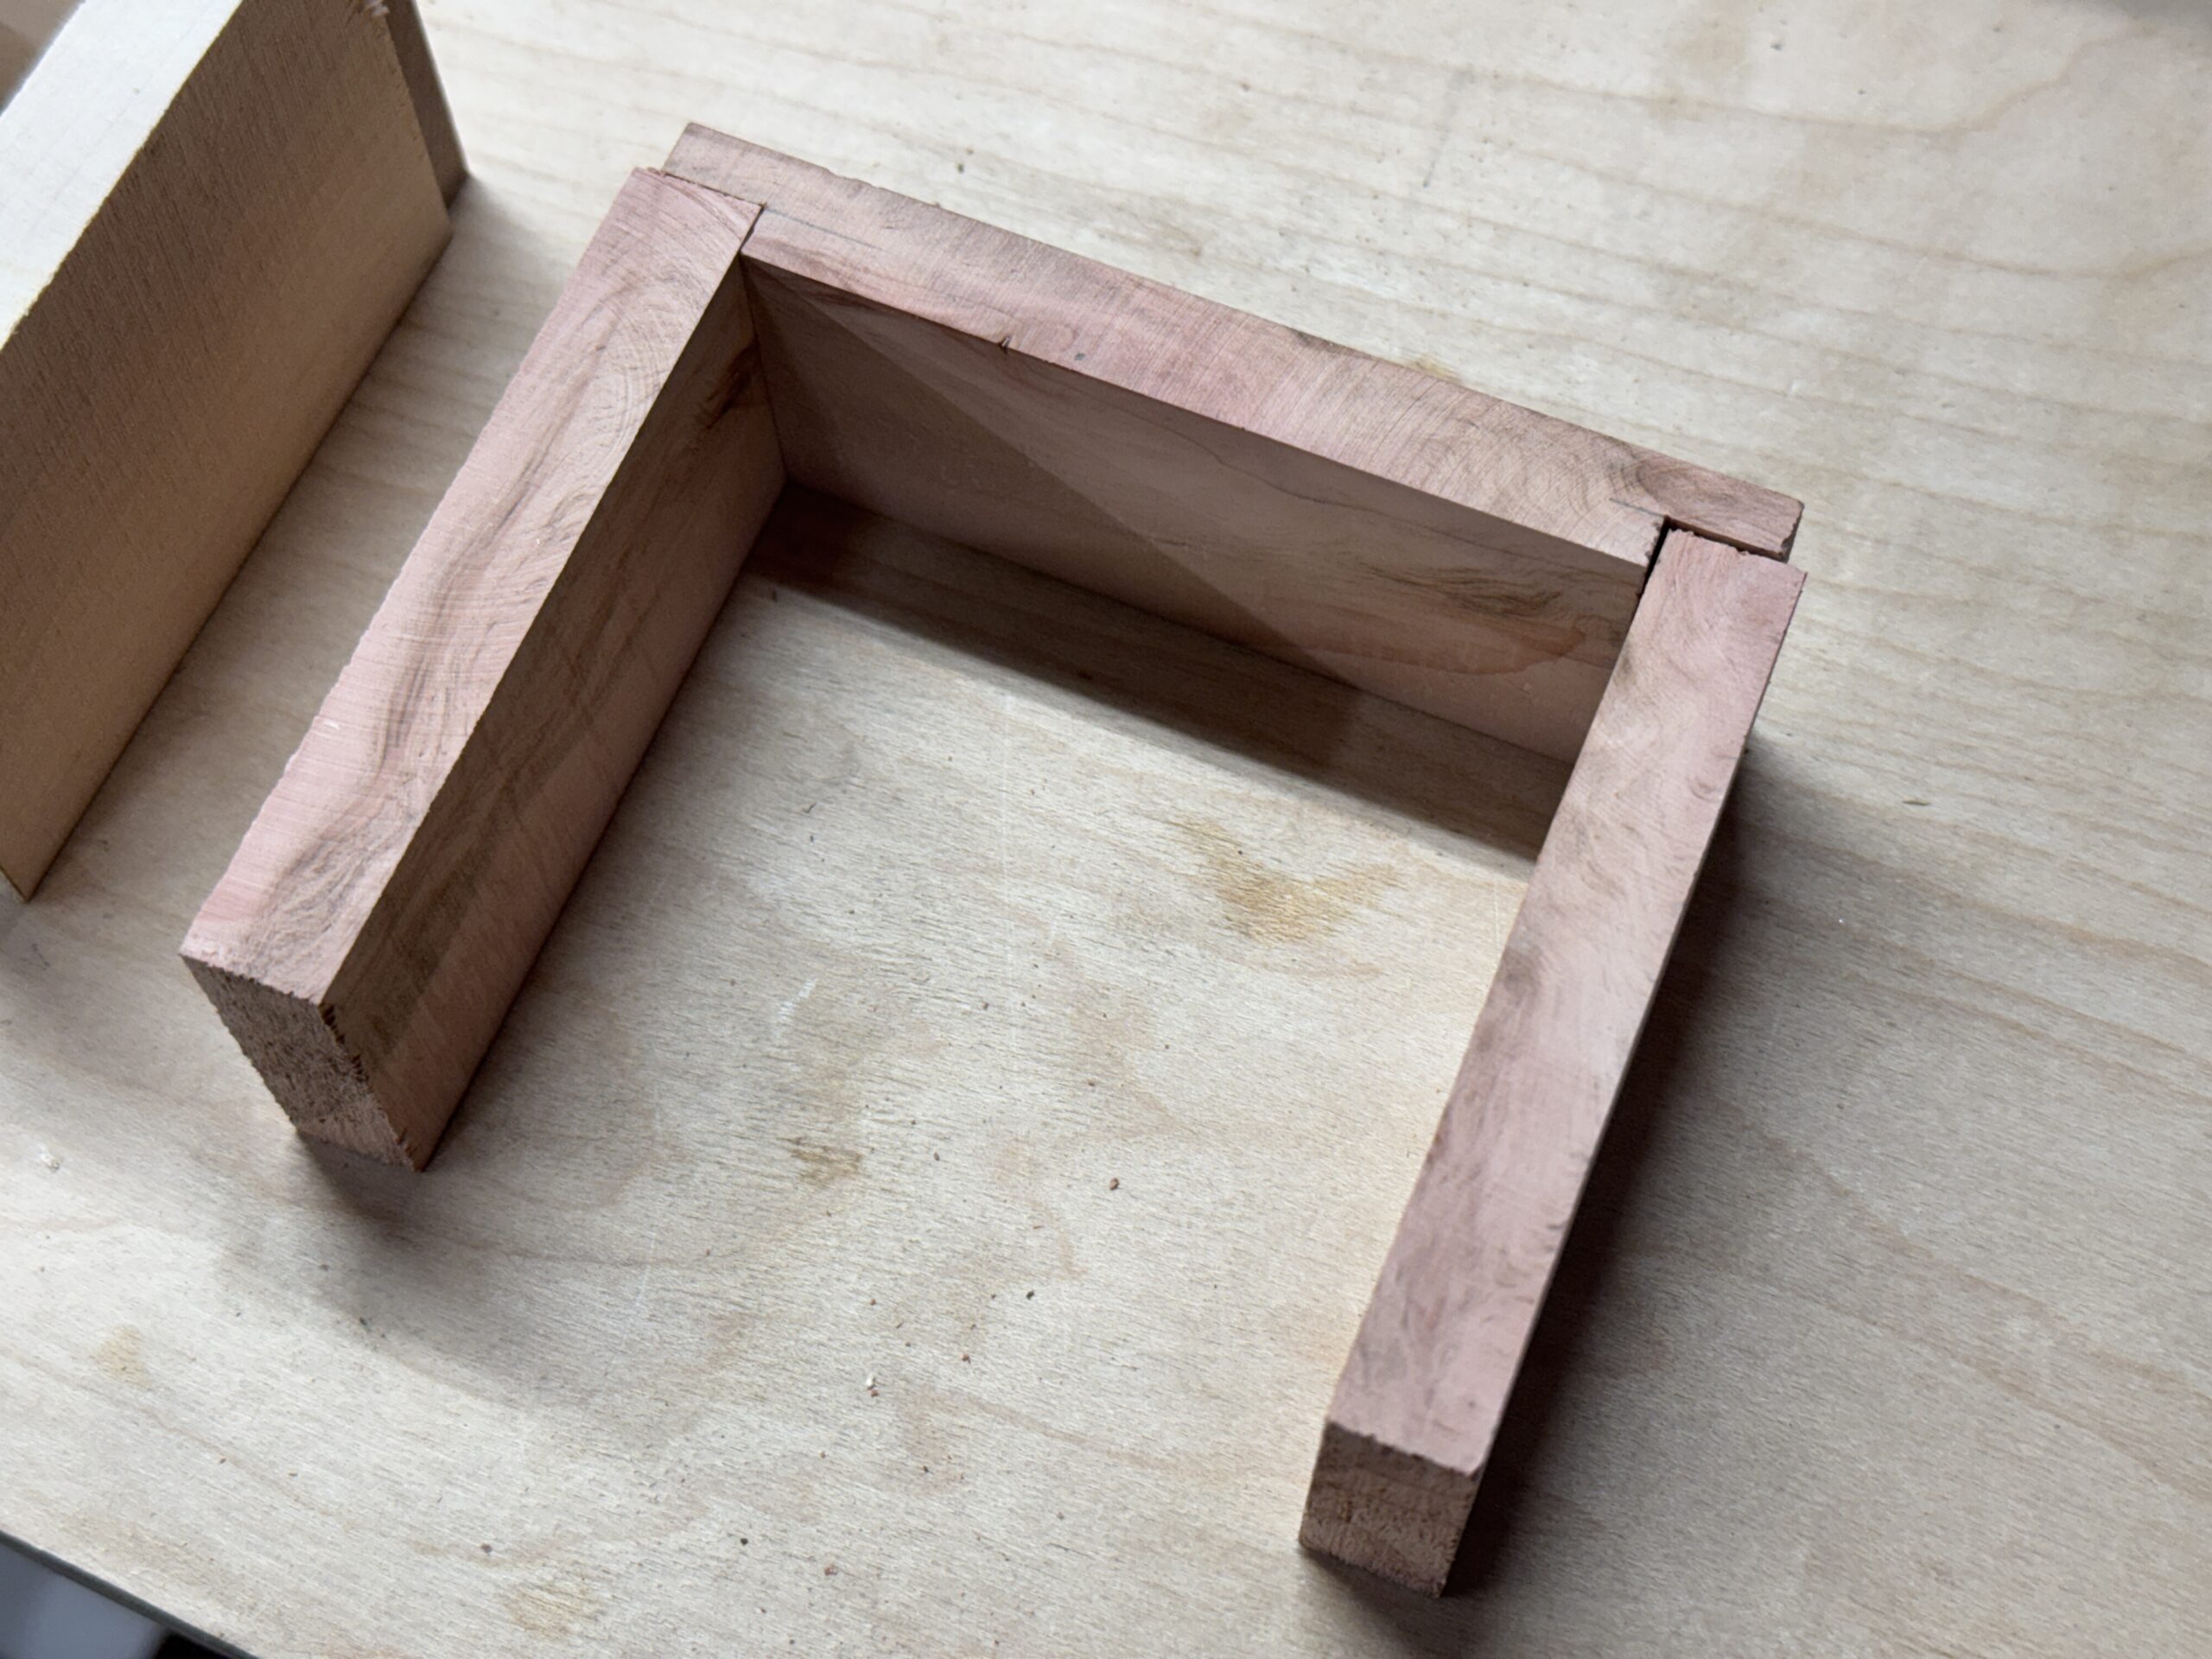
Next was to figure out a case for it. Obviously 3D printing would be an option, I thought about laser cut acrylic as well, but I didn’t think it really made for a polished enough end product, and the overall look seemed off to me. So I get to pretend like I’m a woodworker, and ordered some small blocks of maple and redwood (from already fallen trees) from a specialty wood supplier.
And just like a TV cooking show, through the magic of a million hours of cutting, sanding, chiseling, gluing, finishing, and self-loathing that we’re not going to show you, it’s done!
I’m really happy with both of them. The redwood and the maple both have some really appealing characteristics. I ended up keeping the maple one for myself, and giving the redwood one to my dad for the holidays. He displays his with a quartz crystal he was also gifted this year.