
As part of my continued work on my Homebrew GPSDO, I’ve been working on a new circuit board design to both add new functionality, improve existing functionality, and consolidate a bunch of the parts in the last revision, onto a single board.
It’s a reasonably sized board at 2.5″ x 4″, with some fairly tight pitched components (TQFP-100). While I’ve soldered those sorts of components by hand before, I felt like this would be a good opportunity to up the game a bit. So, instead of soldering the board by hand, I decided that I would paste the boards (with a syringe, not a stencil), and place the whole board in an oven for reflow, which would solder all the parts at once.
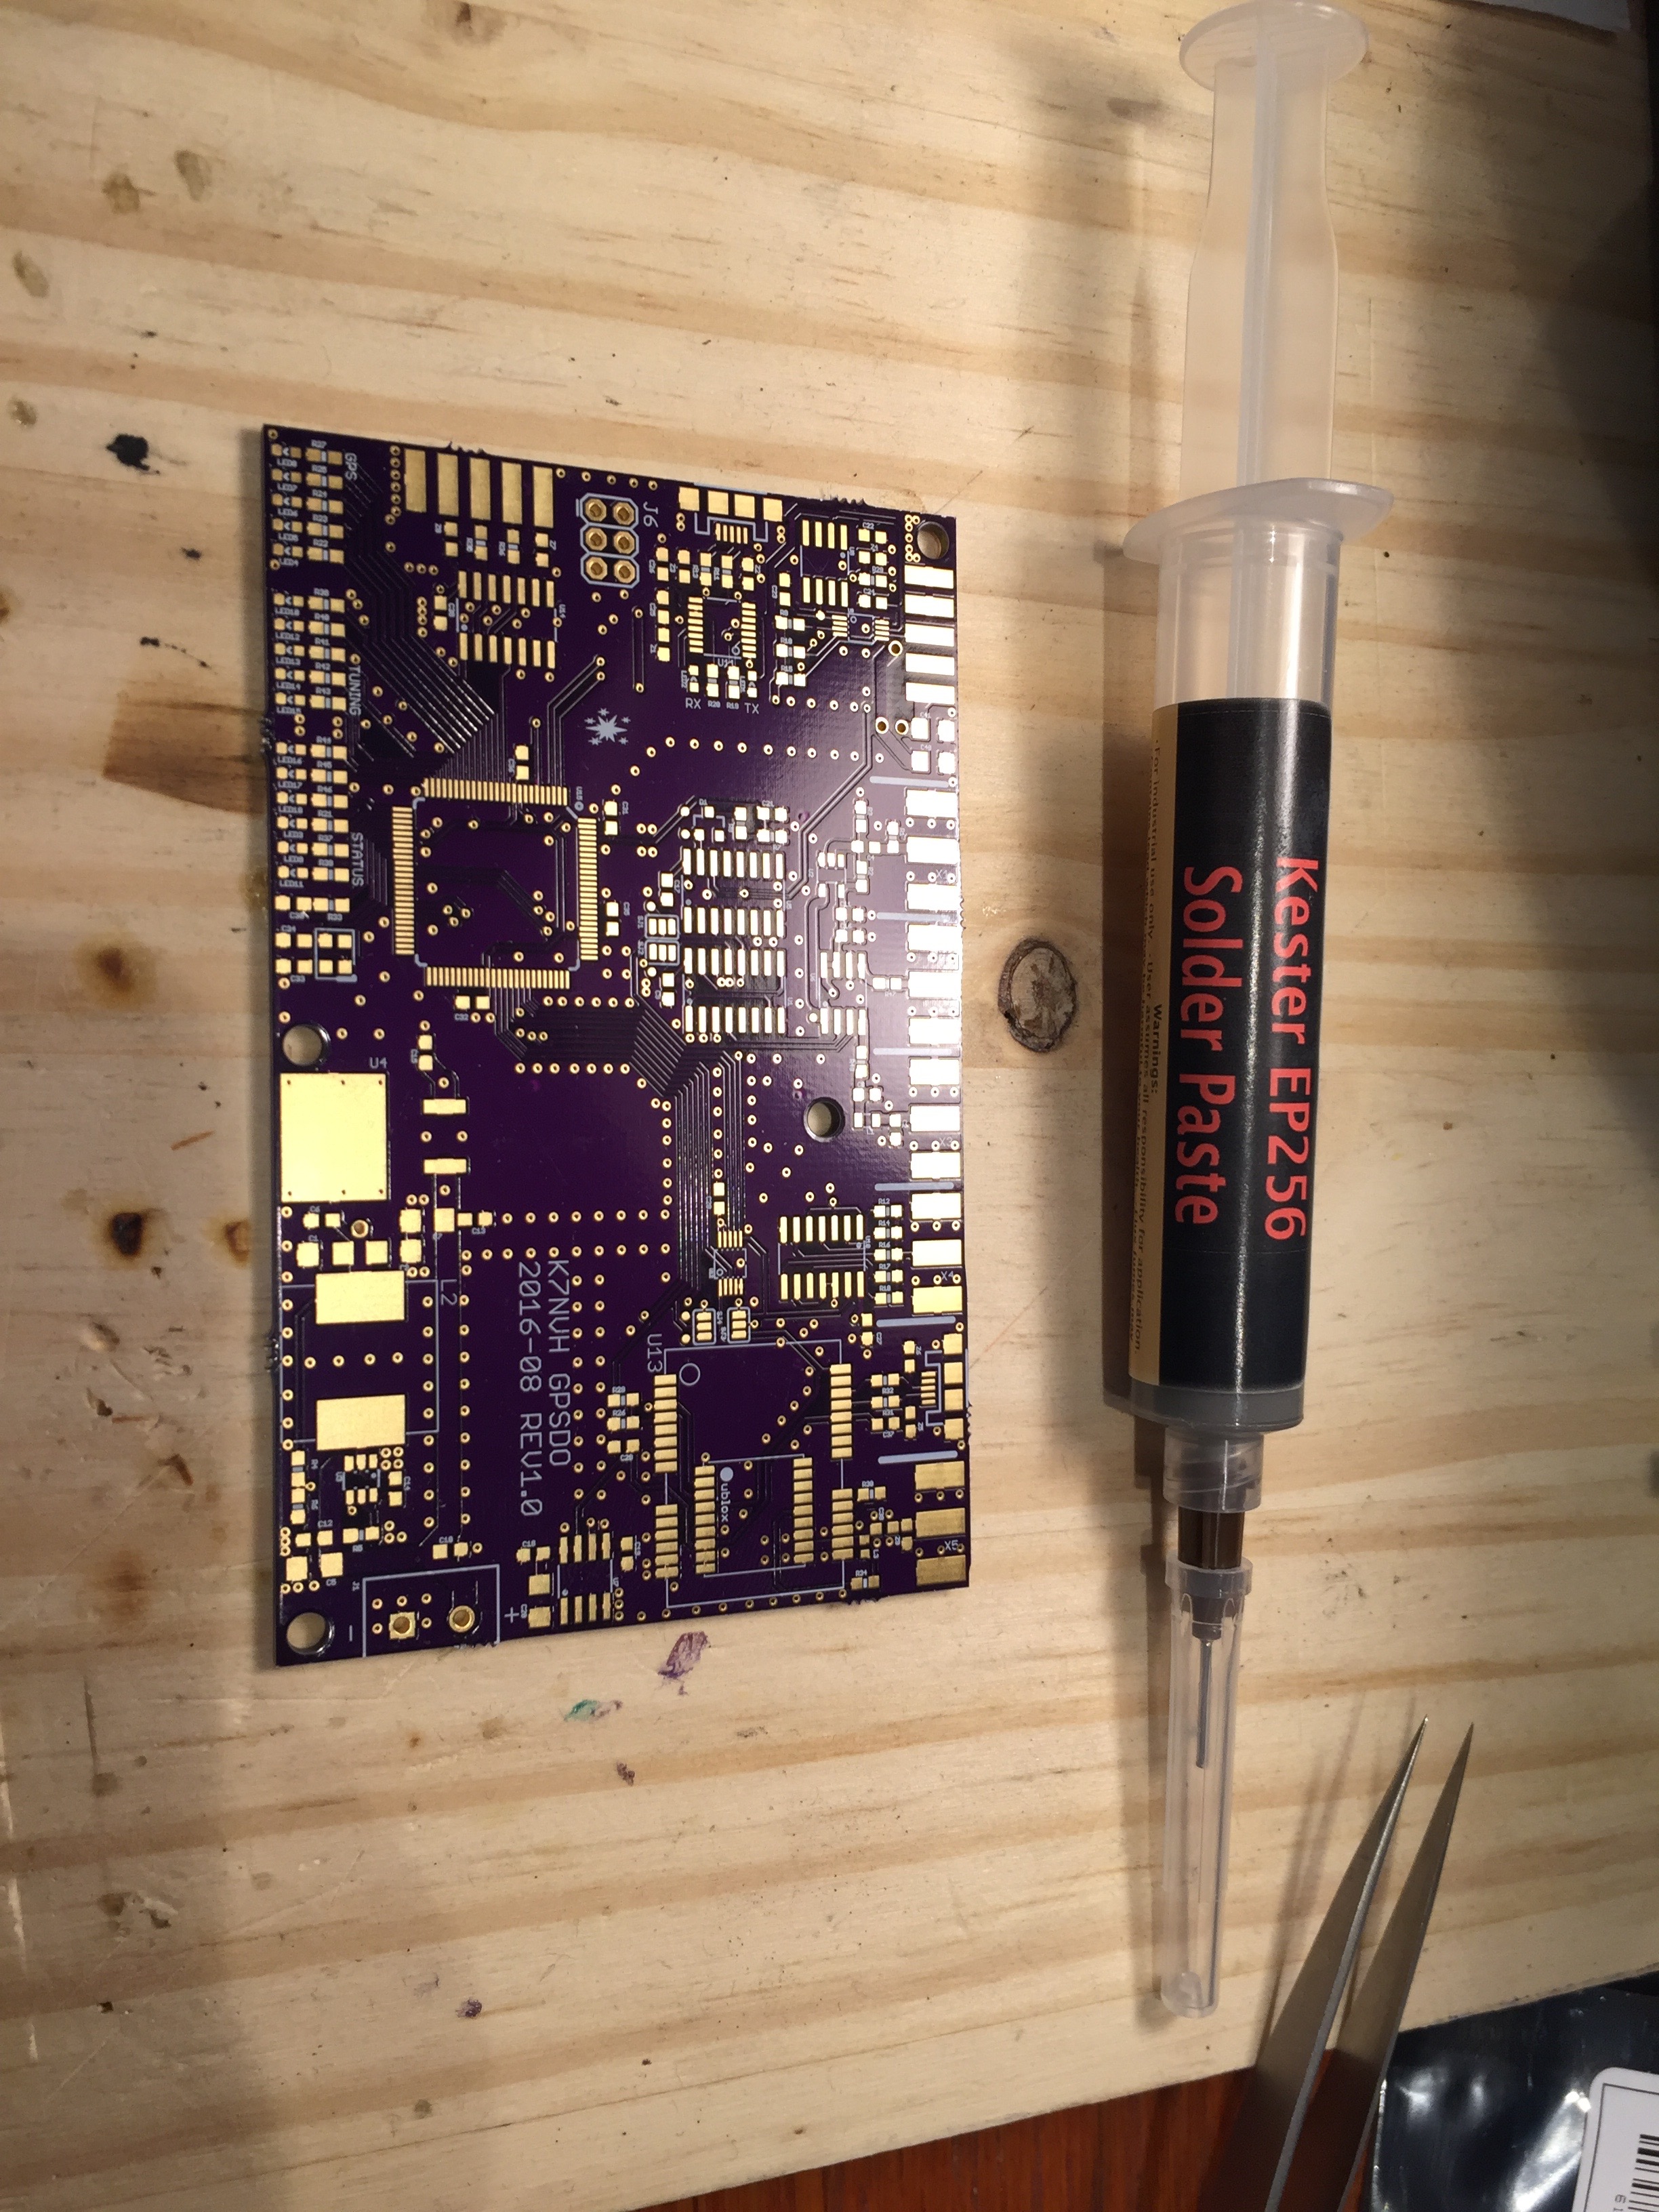
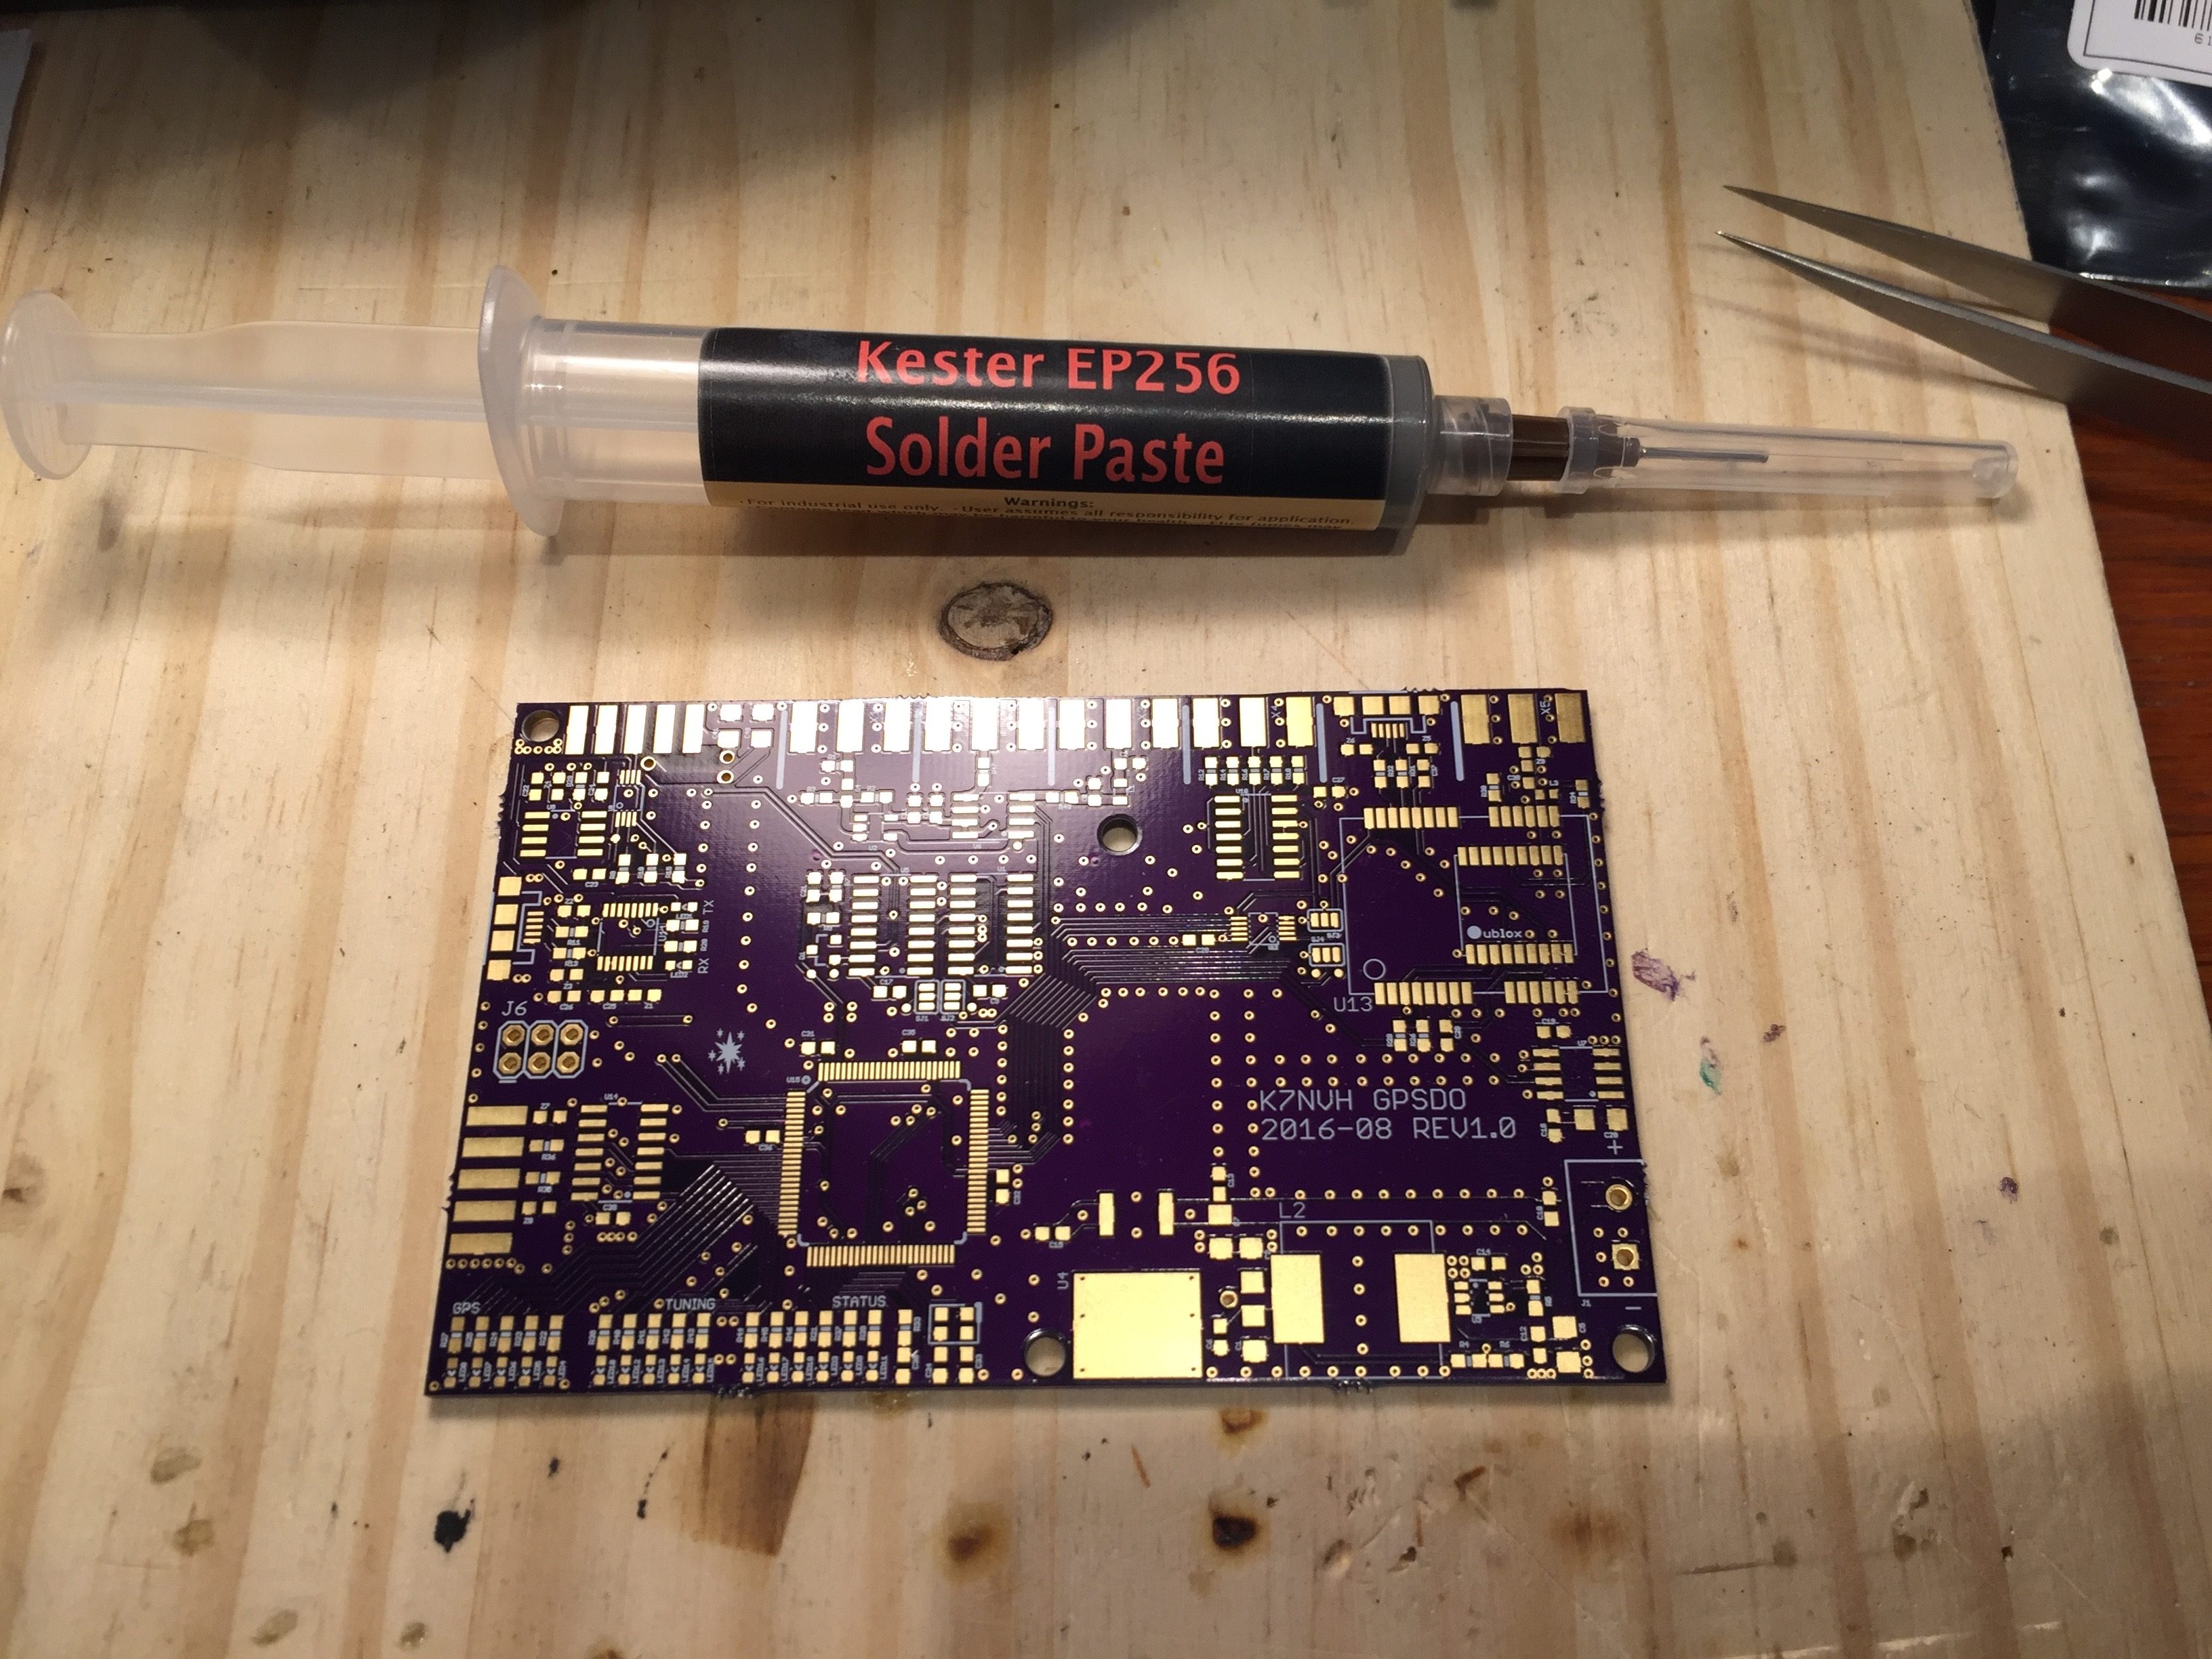
I applied the paste by hand, and then placed each of the components on top of the footprints. The paste is tacky enough to hold the parts in place, and I worked from the upper left to the bottom right to avoid bumping any components I’ve already placed.
My reflow oven is a cheap toaster oven, and a thermocouple I monitor on my multimeter. Not advanced by any standard, but it works. I may consider making some sort of controller to manage the oven for me, instead of having to control it manually.
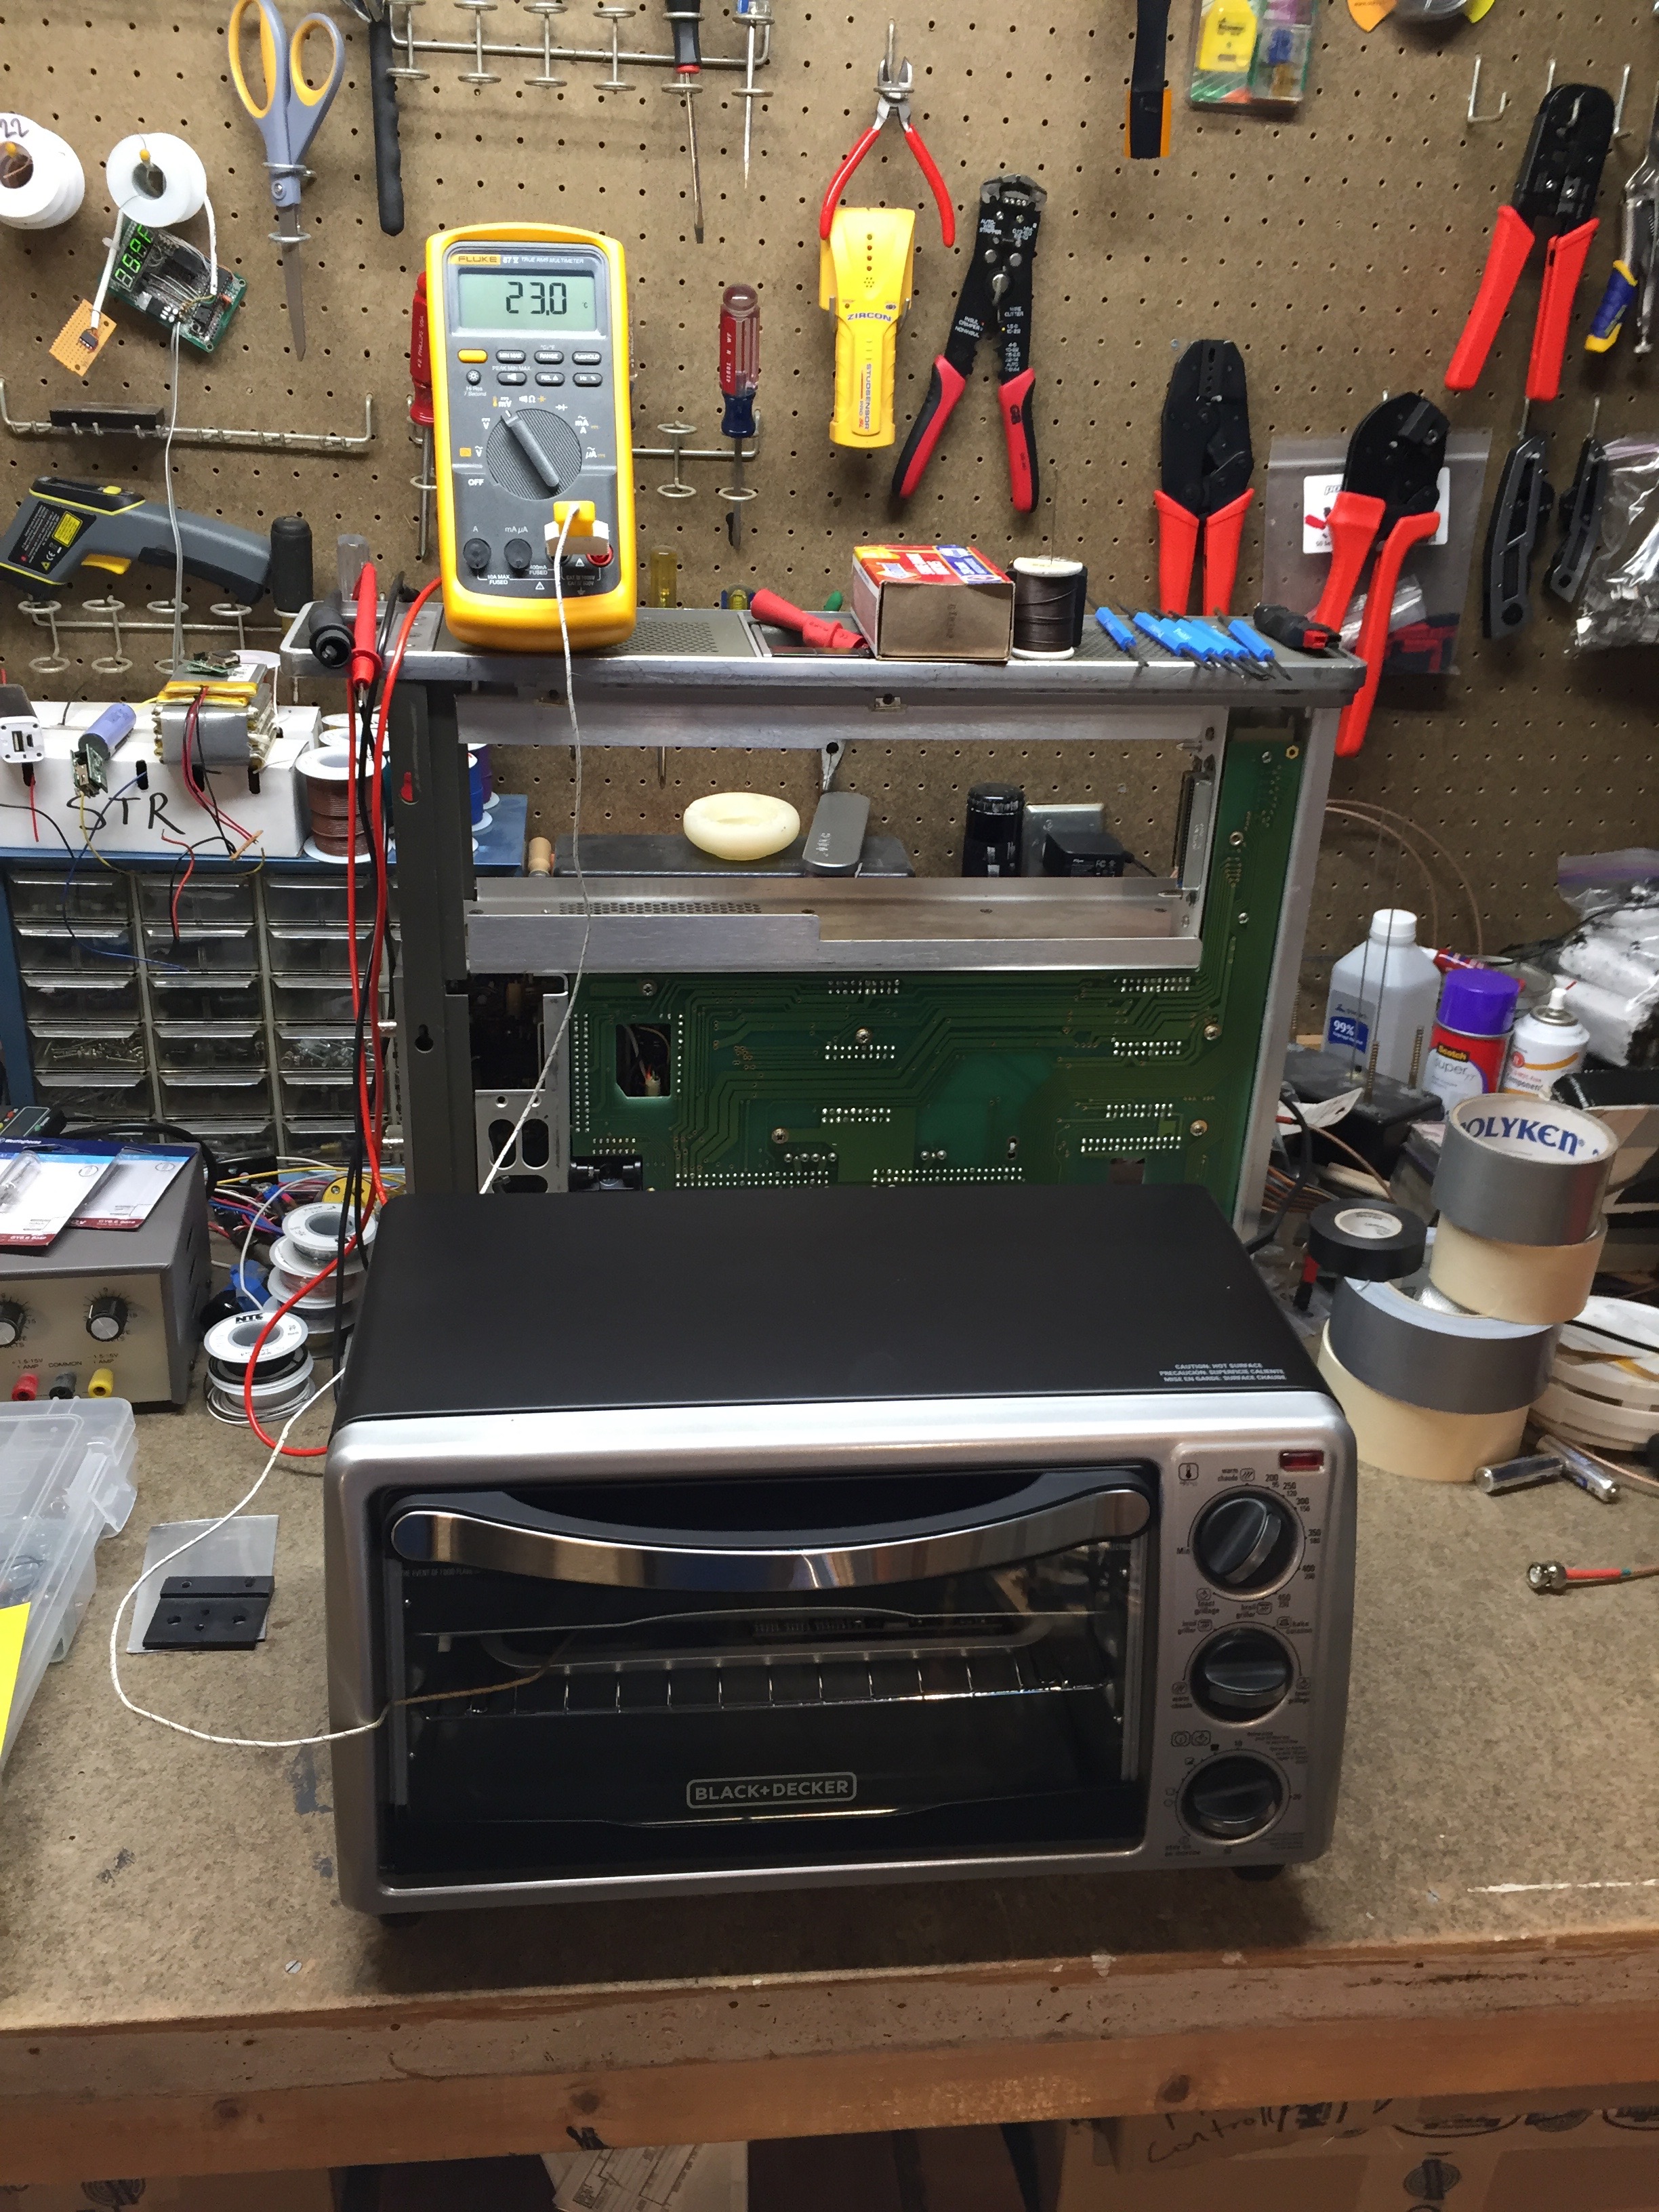 Looking in the front glass with a flashlight, I can look at how the solder is flowing. Combined with the temperature reading from the thermocouple, I know when it’s all finished.
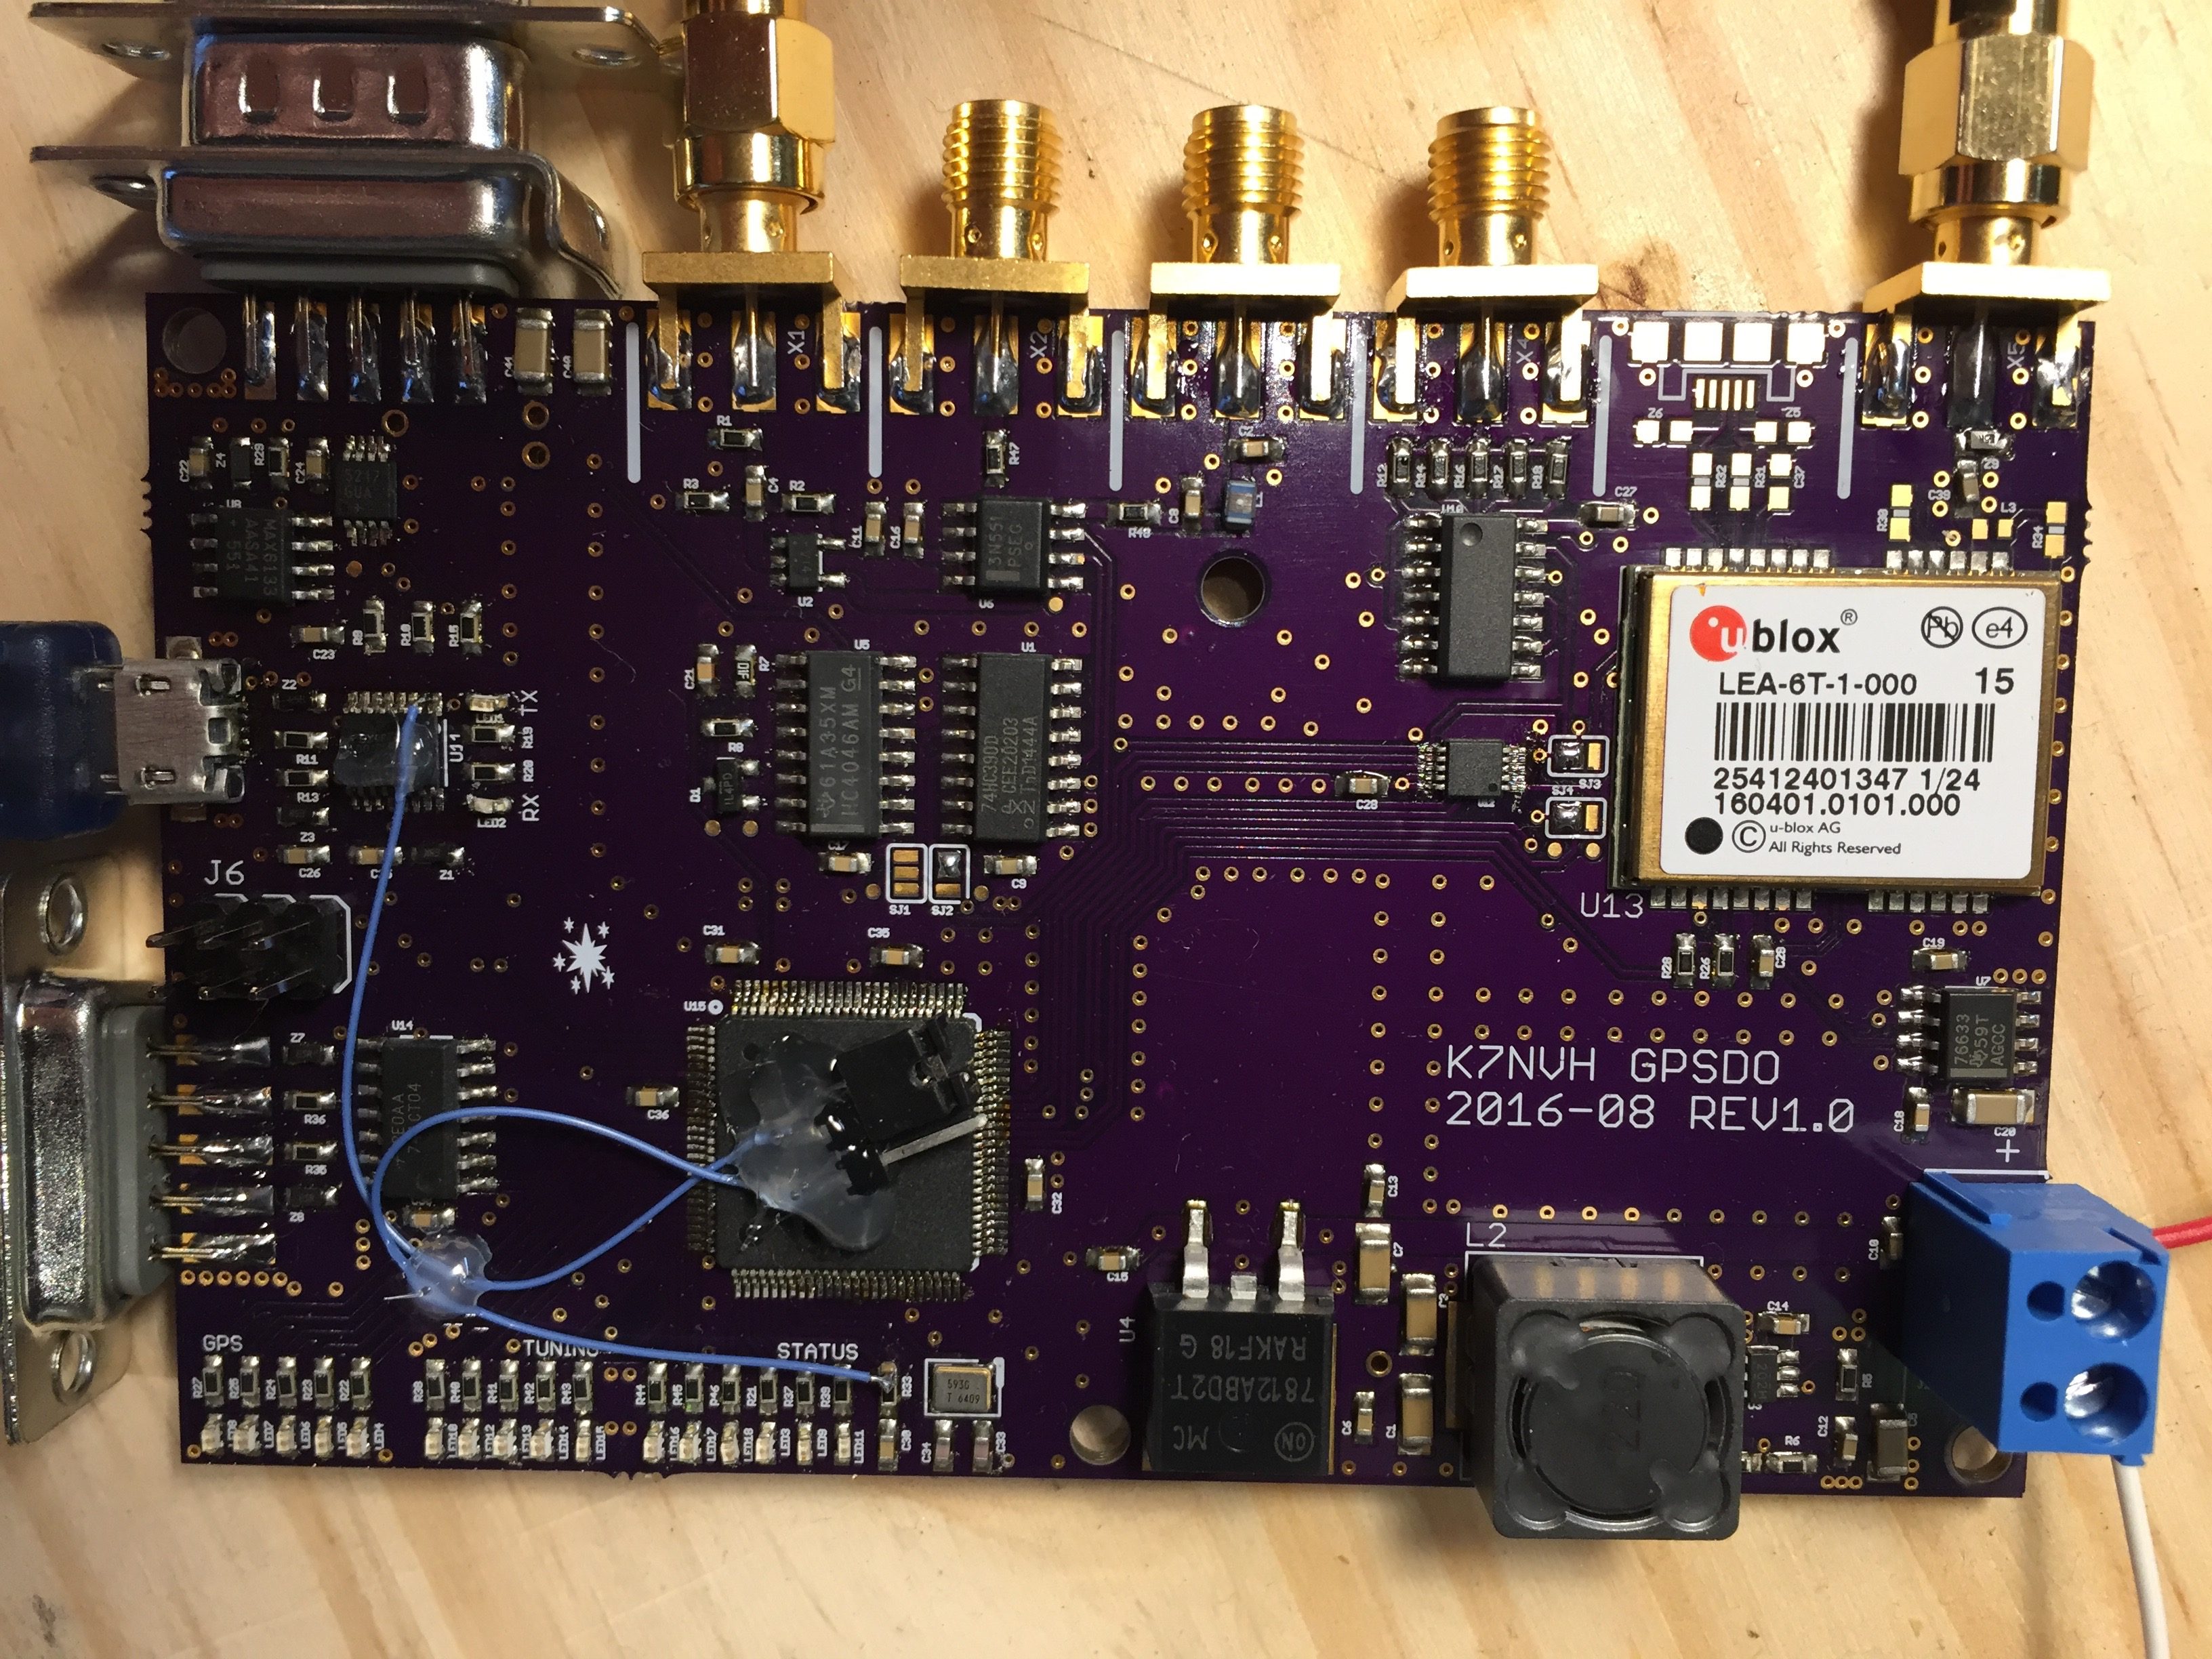
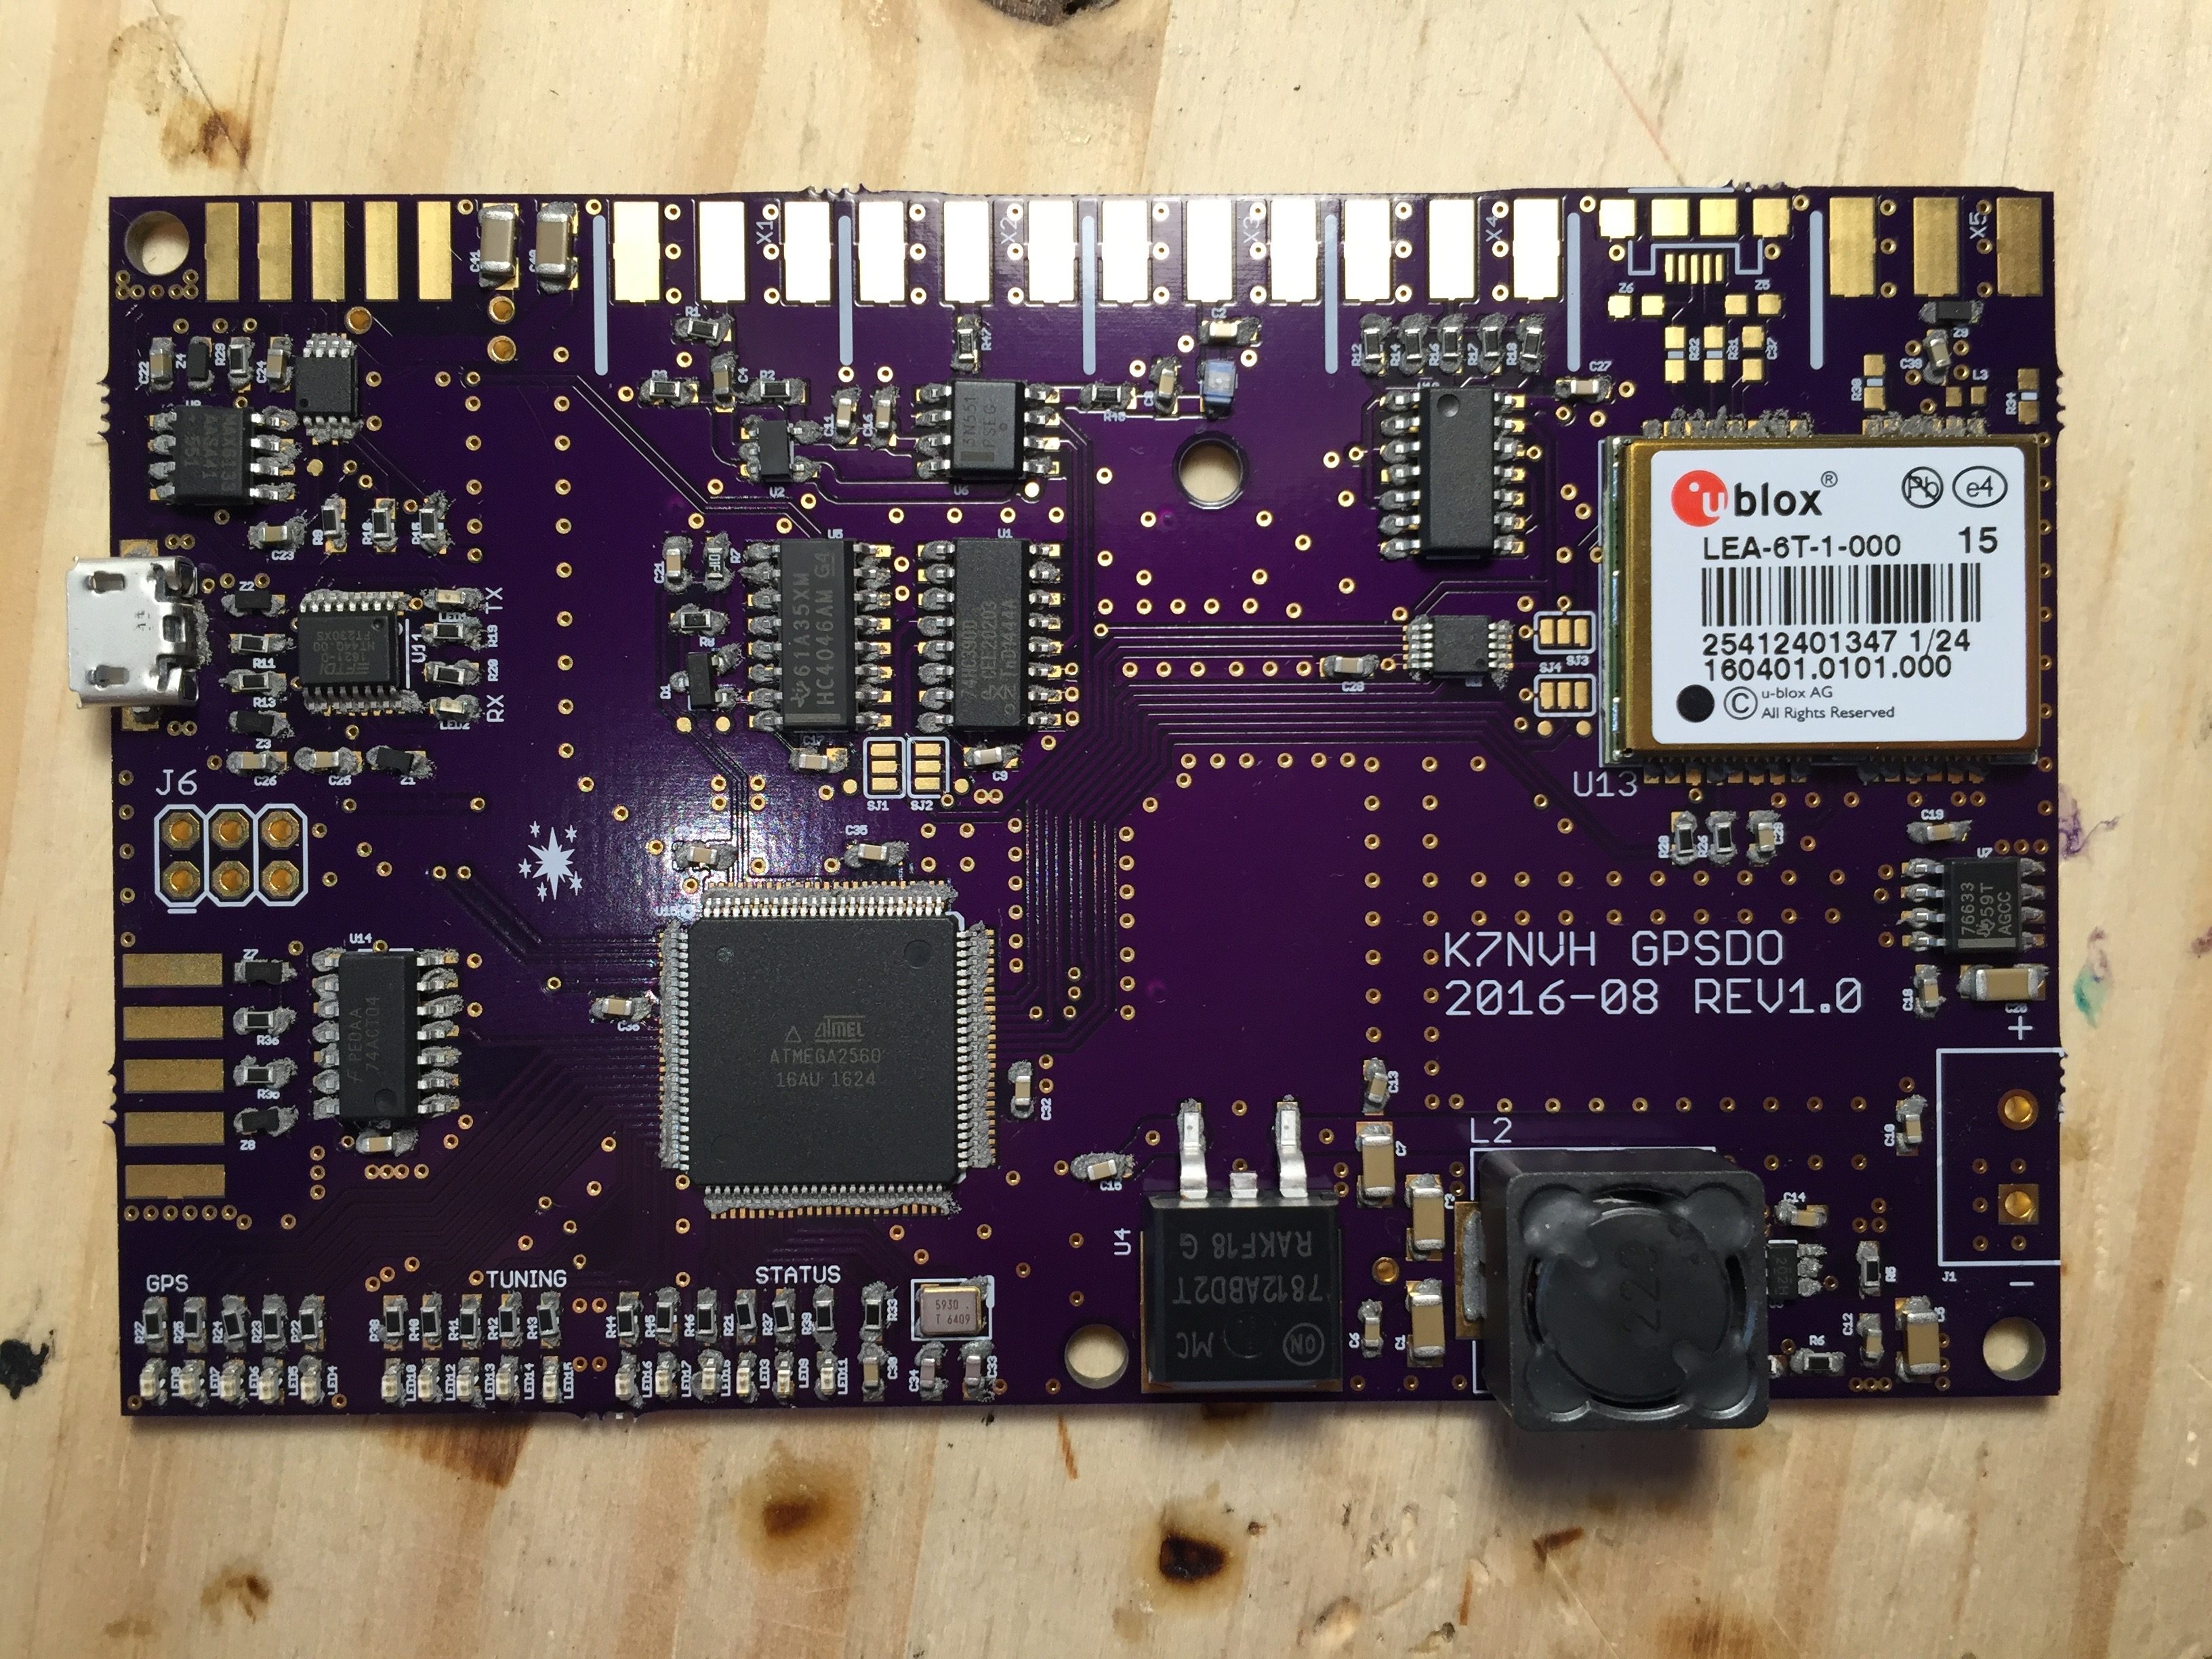
And out pops a nicely soldered board! I soldered the pinned components manually afterward, and did some cleanup of the finer pitched components with solder braid, as when I was manually dispersing paste, I put too much down. A stencil would help there. Plus, no board would be complete without the obligatory bodge wire. While not strictly necessary, this particular bodge makes it much easier to program the microcontroller.