My parents were kind enough to get me a new handgun for christmas this year, and I decided that getting into reloading would be a good way to save money and allow me to shoot more. This post is going to show some photos of what I’ve got going, and a Sky-High overview of the process. Do NOT, I repeat, DO NOT use this blog as a tutorial in reloading. You can at best damage your firearm and at worst damage yourself or others if you reload improperly. Do a lot of research and reading and get a good manual before attempting any reloading.
With that out of the way, I had been thinking about starting reloading for a while, so I’ve been saving the brass from factory rounds I’ve been shooting. That way I’ve got some brass to use off the bat without having to buy brass to start.
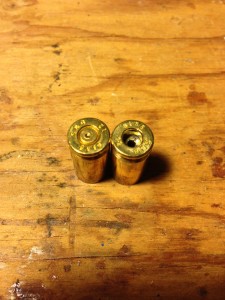
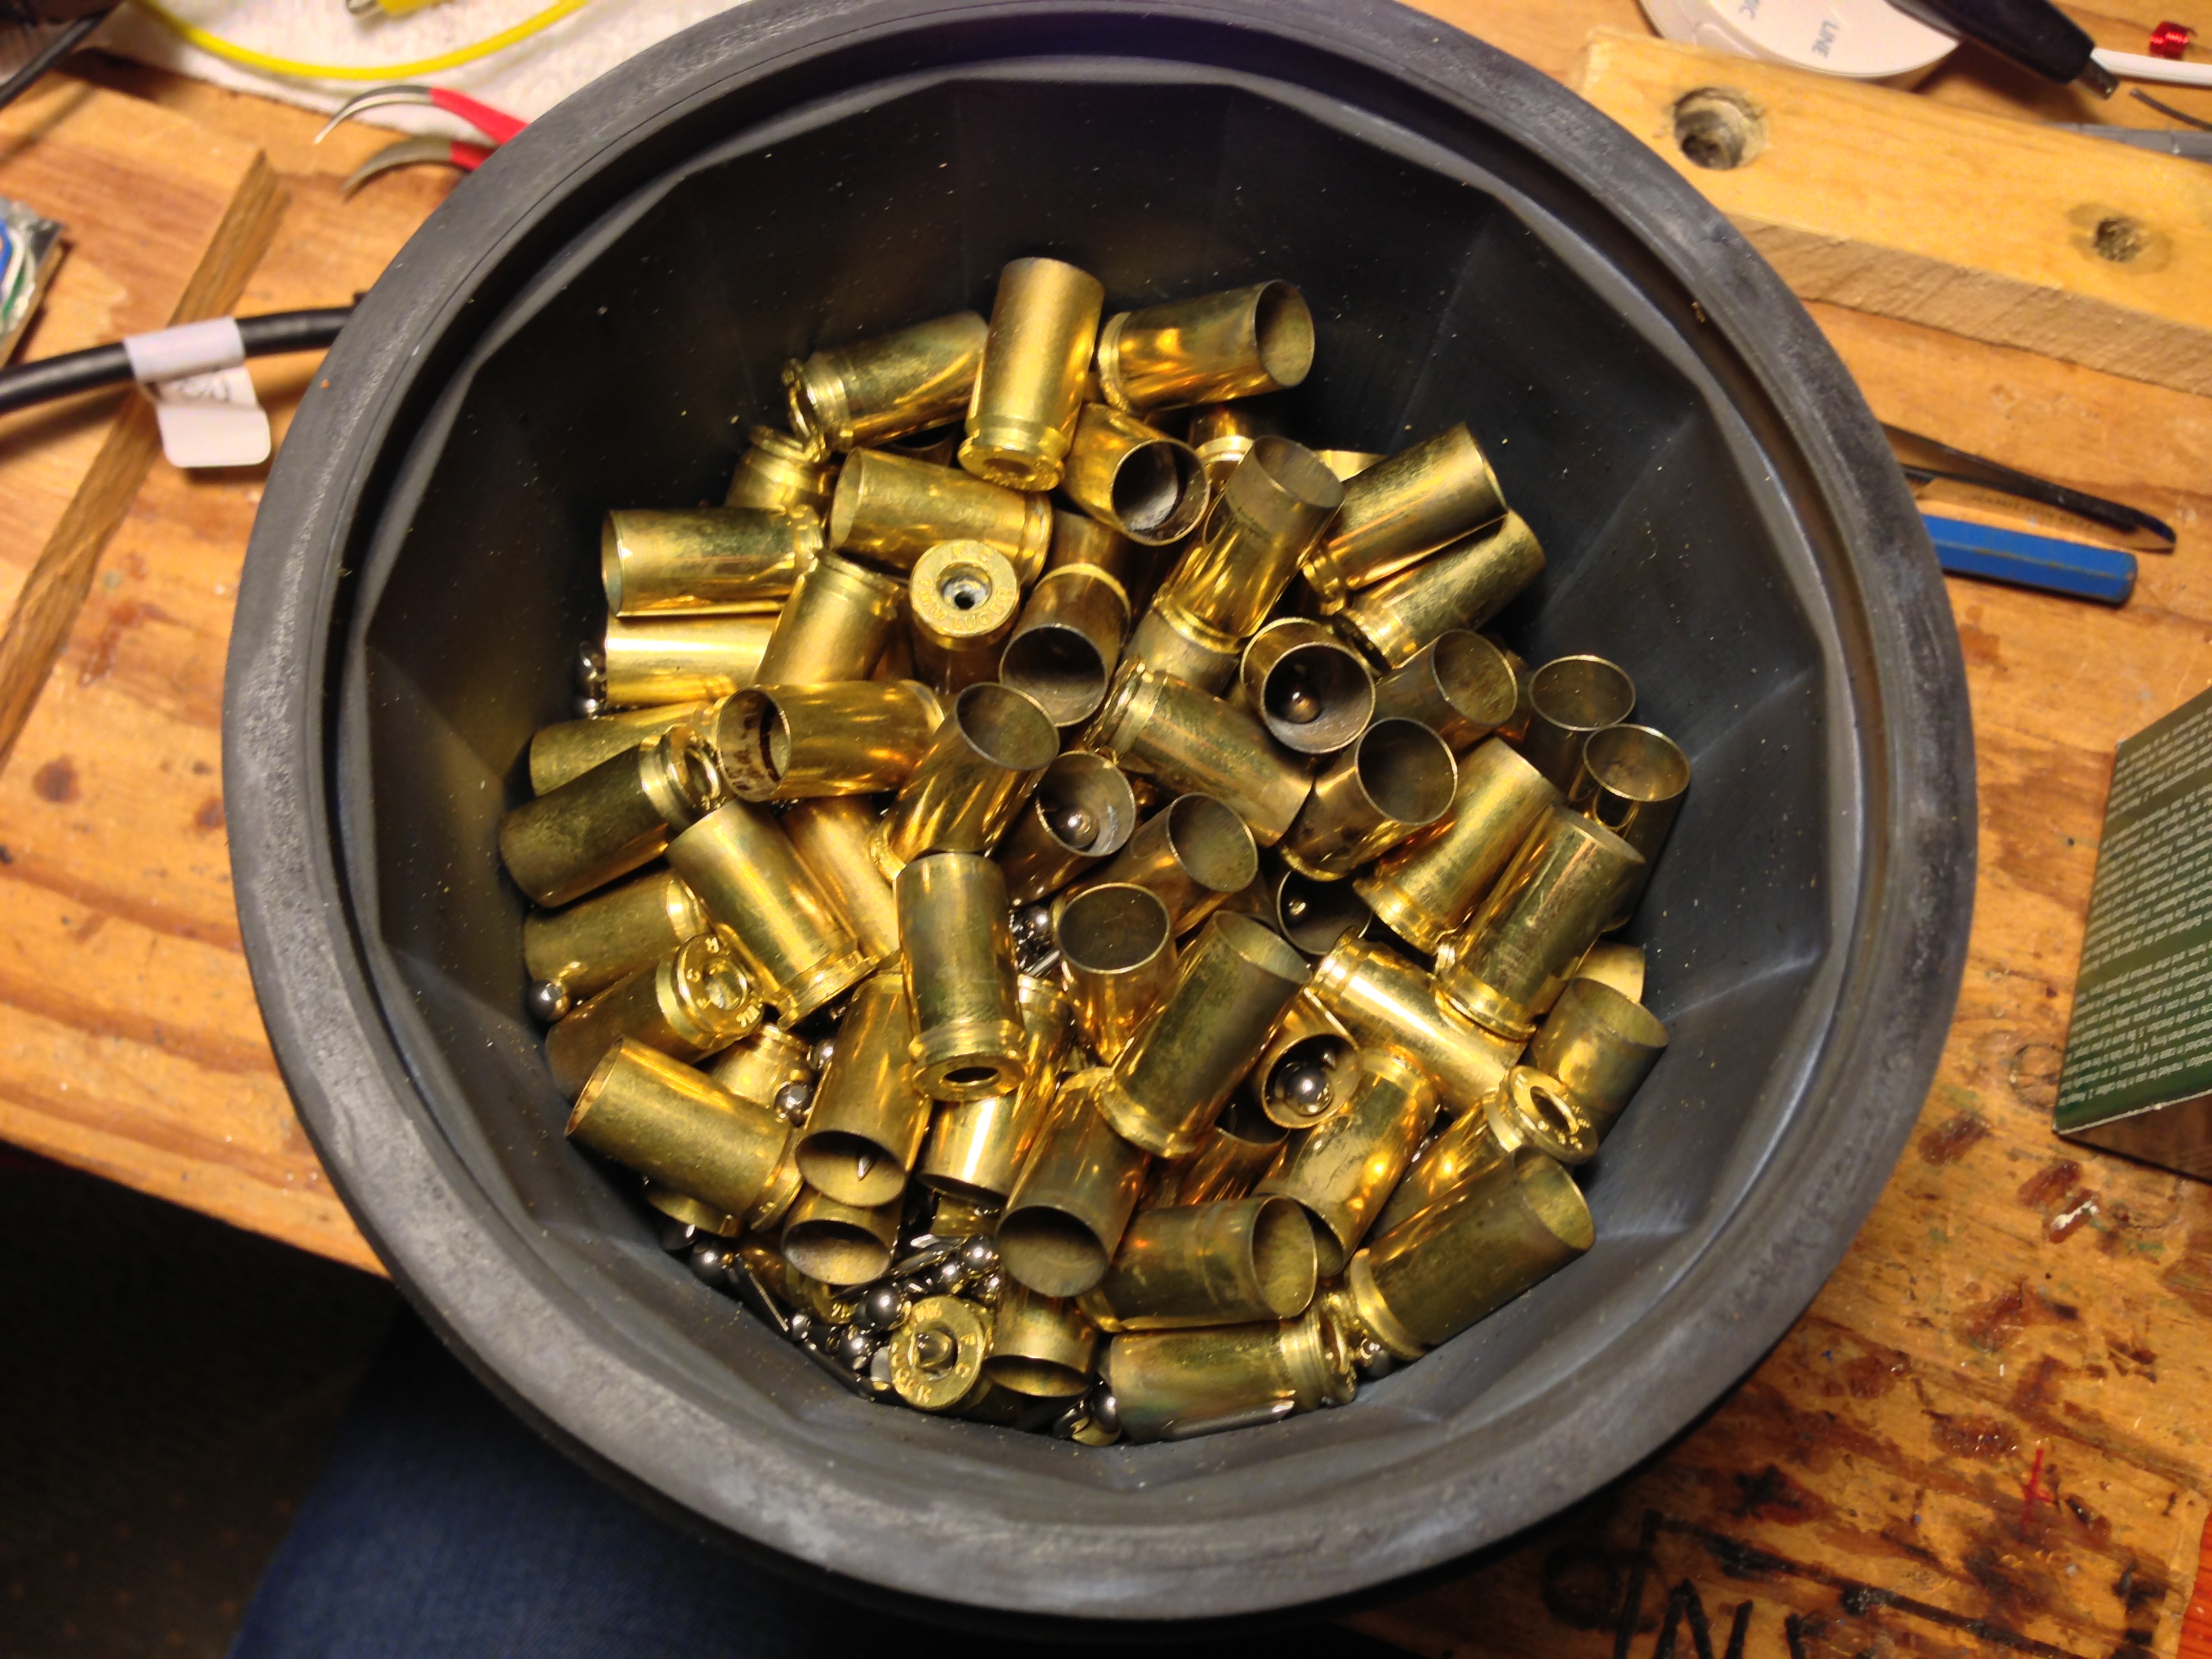
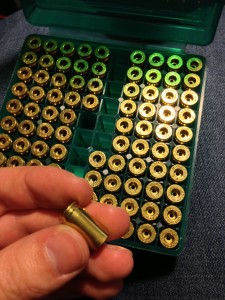
Here you can see two cartridges, one with the primer still in, and one with the primer removed. Generally when using your press, there will be a depriming pin in the sizing die, however, I’m inclined to clean my brass before using any of my dies on it, so I’ve removed the primers manually.
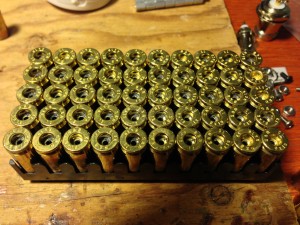
Here’s a set of 50 cartridges that I’ve removed the primers from. Notice that there’s some junk in the primer pockets, and maybe you can see the shells aren’t as shiny as they could be. It’s time for a cleaning!
Here’s some stainless steel tumbling media I bought off Amazon. It’s designed for cleaning/polishing jewelry, and works great for cleaning/shining the brass shells.

I’ve got a small rock tumbler I use to polish my shells. I put the tumbling media in, up to about 200 shells, some water and some dish soap. Then let the tumbler run for two or three hours.
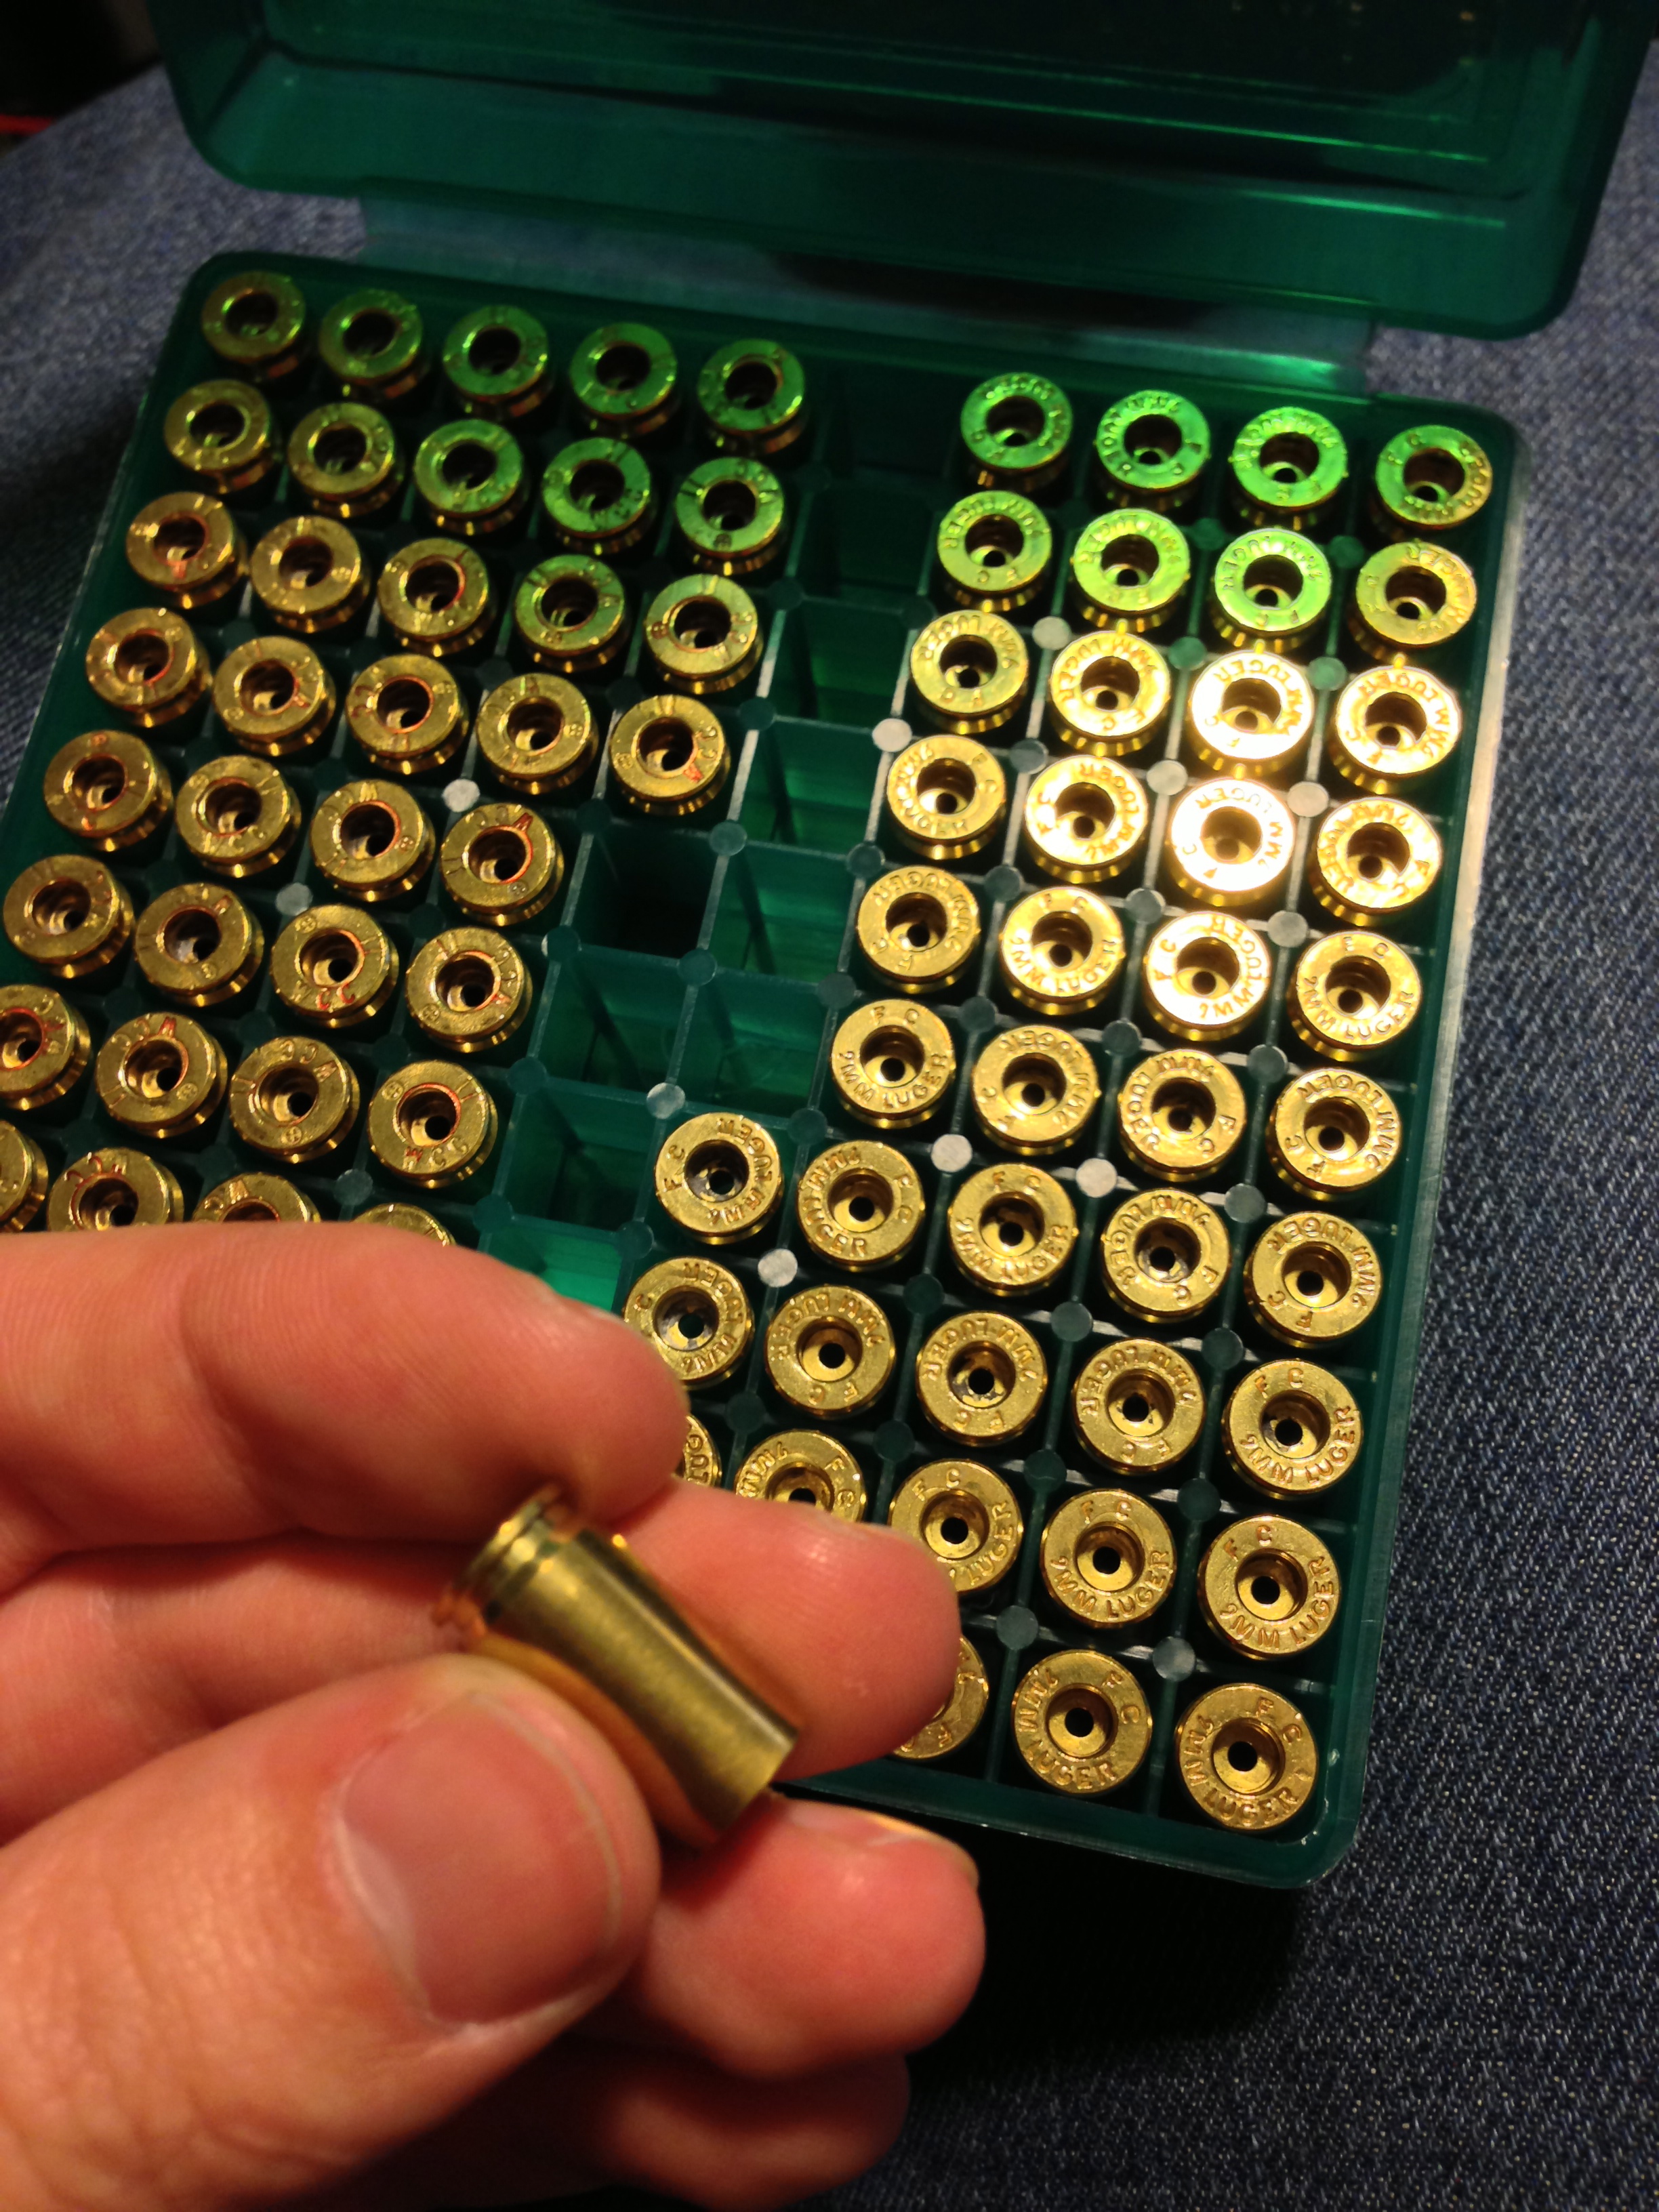
The shells come out of the tumbler shiny and clean!
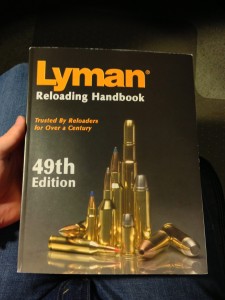
Here’s the reloading manual I got. I picked it up off Amazon and it was fairly inexpensive. It has sections on how to reload safely, things to watch out for, data on exactly how much and what types of ingredients you should use while reloading, and much more.

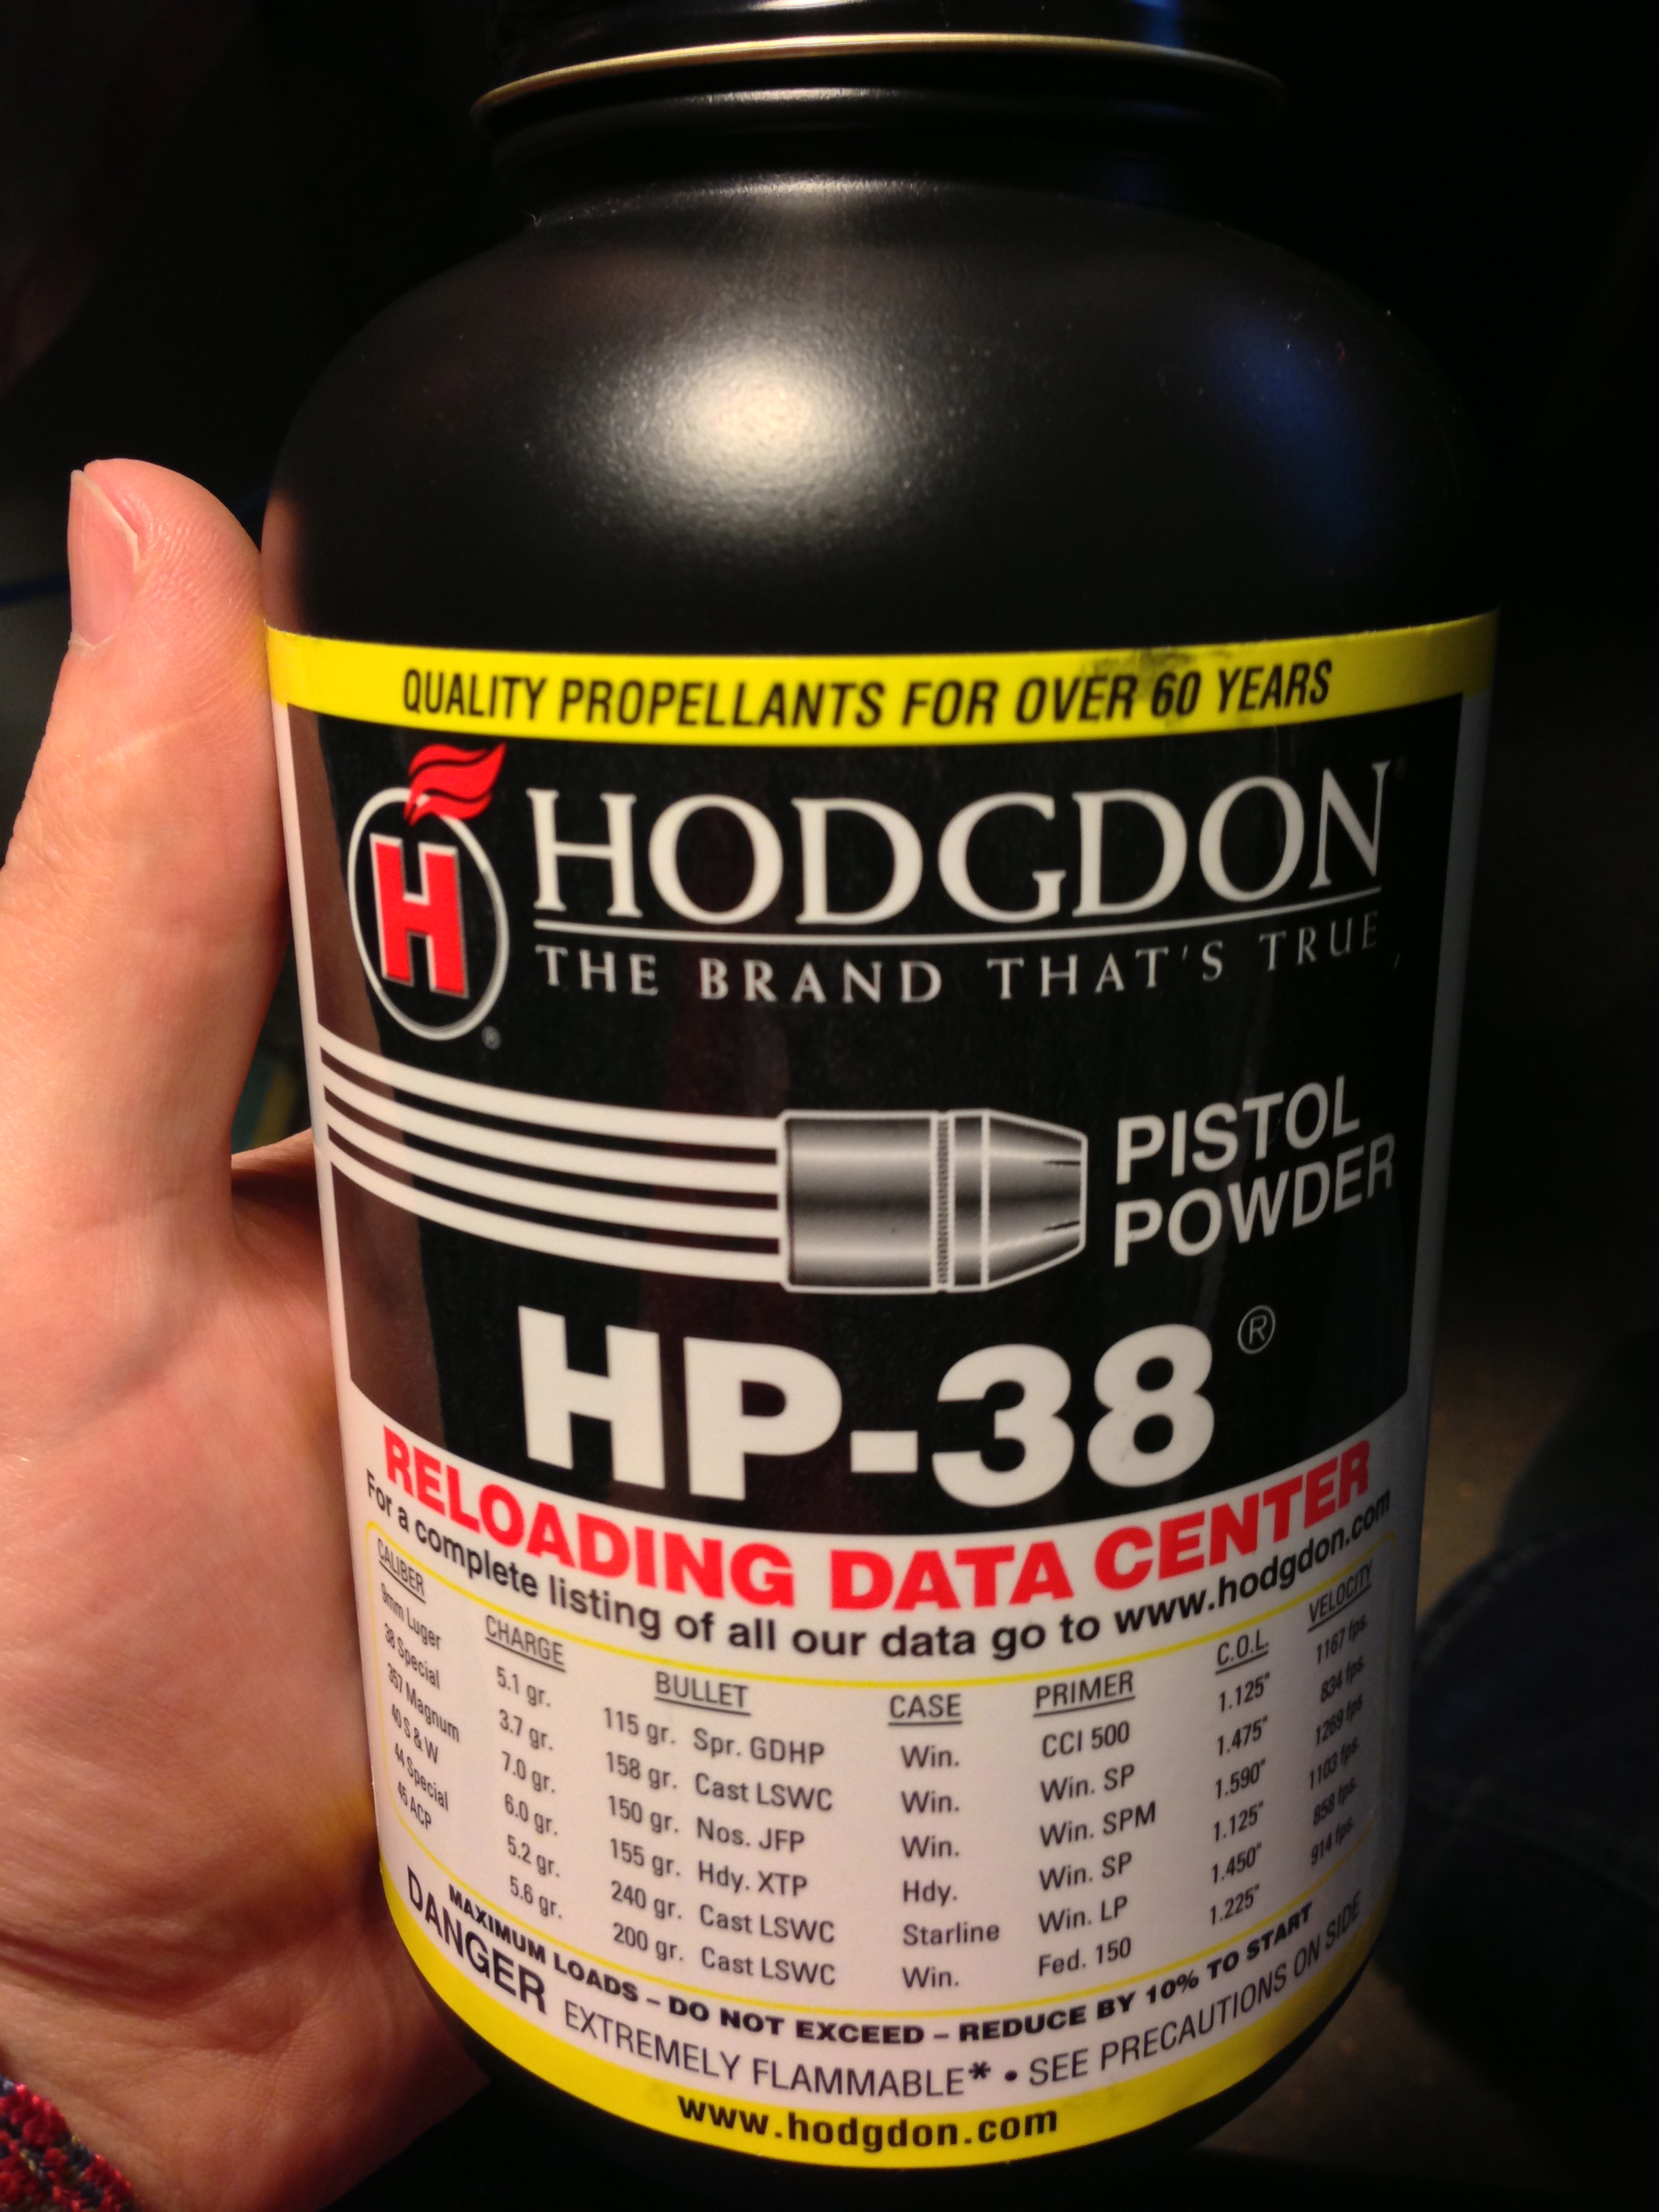
Here’s the smokeless powder I’m using. This is a one pound container and contains enough powder to do perhaps up to 1200 cartridges.
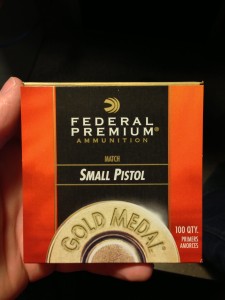
Here’s the primers I’m using. Primers tend to be less distinct than the type of powder you use, so make sure you’ve got the right size and type of primer, and the brand shouldn’t matter too much. Though you may find some differences between brands.
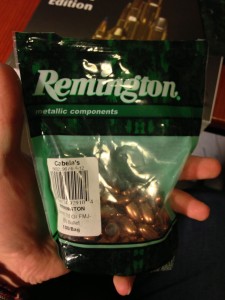
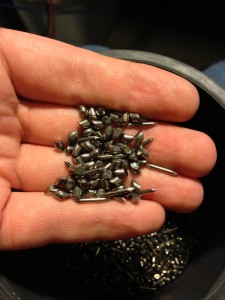
Obviously you’ll need bullets for your completed ammunition, so here’s some 115 Grain (weight) FMJ (Full Metal Jacket) 9mm (caliber) bullets I picked up. There are a billion different shapes/weights/types of bullets out there, and each will act a little differently. A basic FMJ will work fine for me as a simple plinking load.
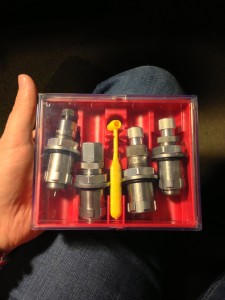
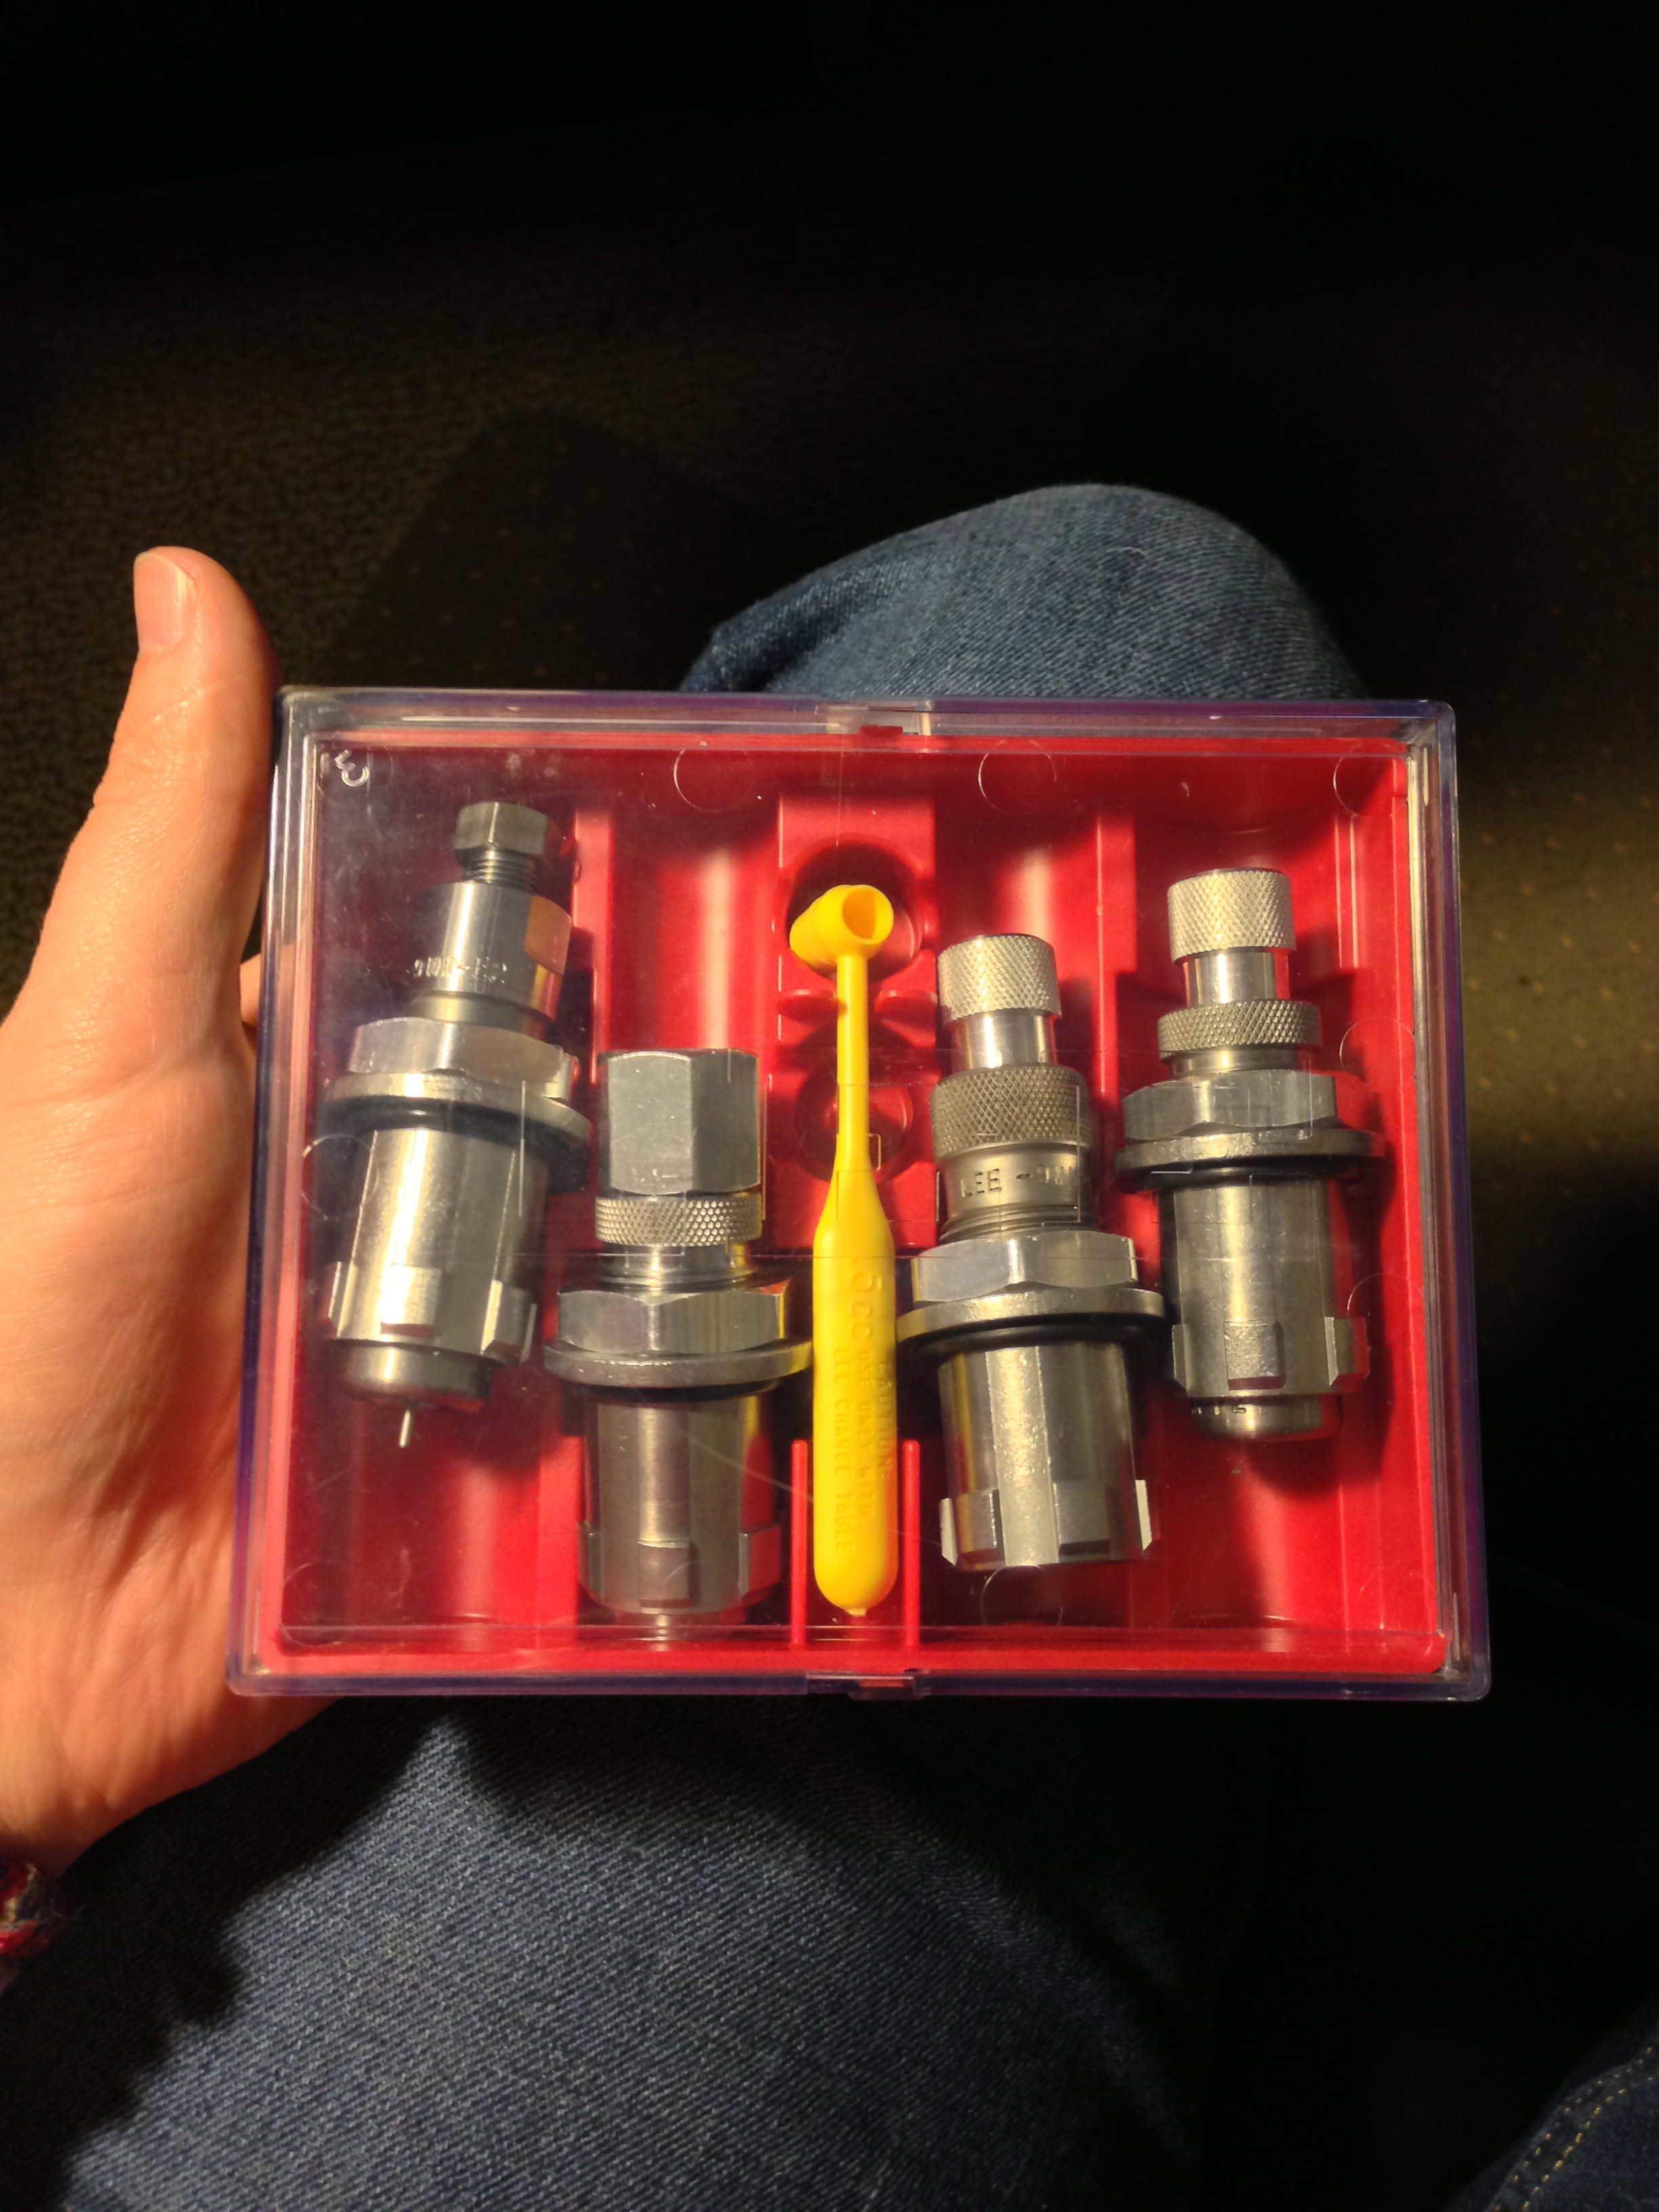
Here’s the set of dies that are used in the press to perform each of the reloading steps. The first on the left is the sizing/depriming die. It makes sure the cartridge is the right size, and would deprime it if I hadn’t done so already. Next is the neck expanding die. It flares out the top of the shell a little bit to help the bullet get started. Next is the bullet seating die, it presses the bullet into the shell to a specified height. Last is the crimping die. It kind of does the opposite of the neck expanding die. It presses the neck of the shell in against the bullet to hold it in place.

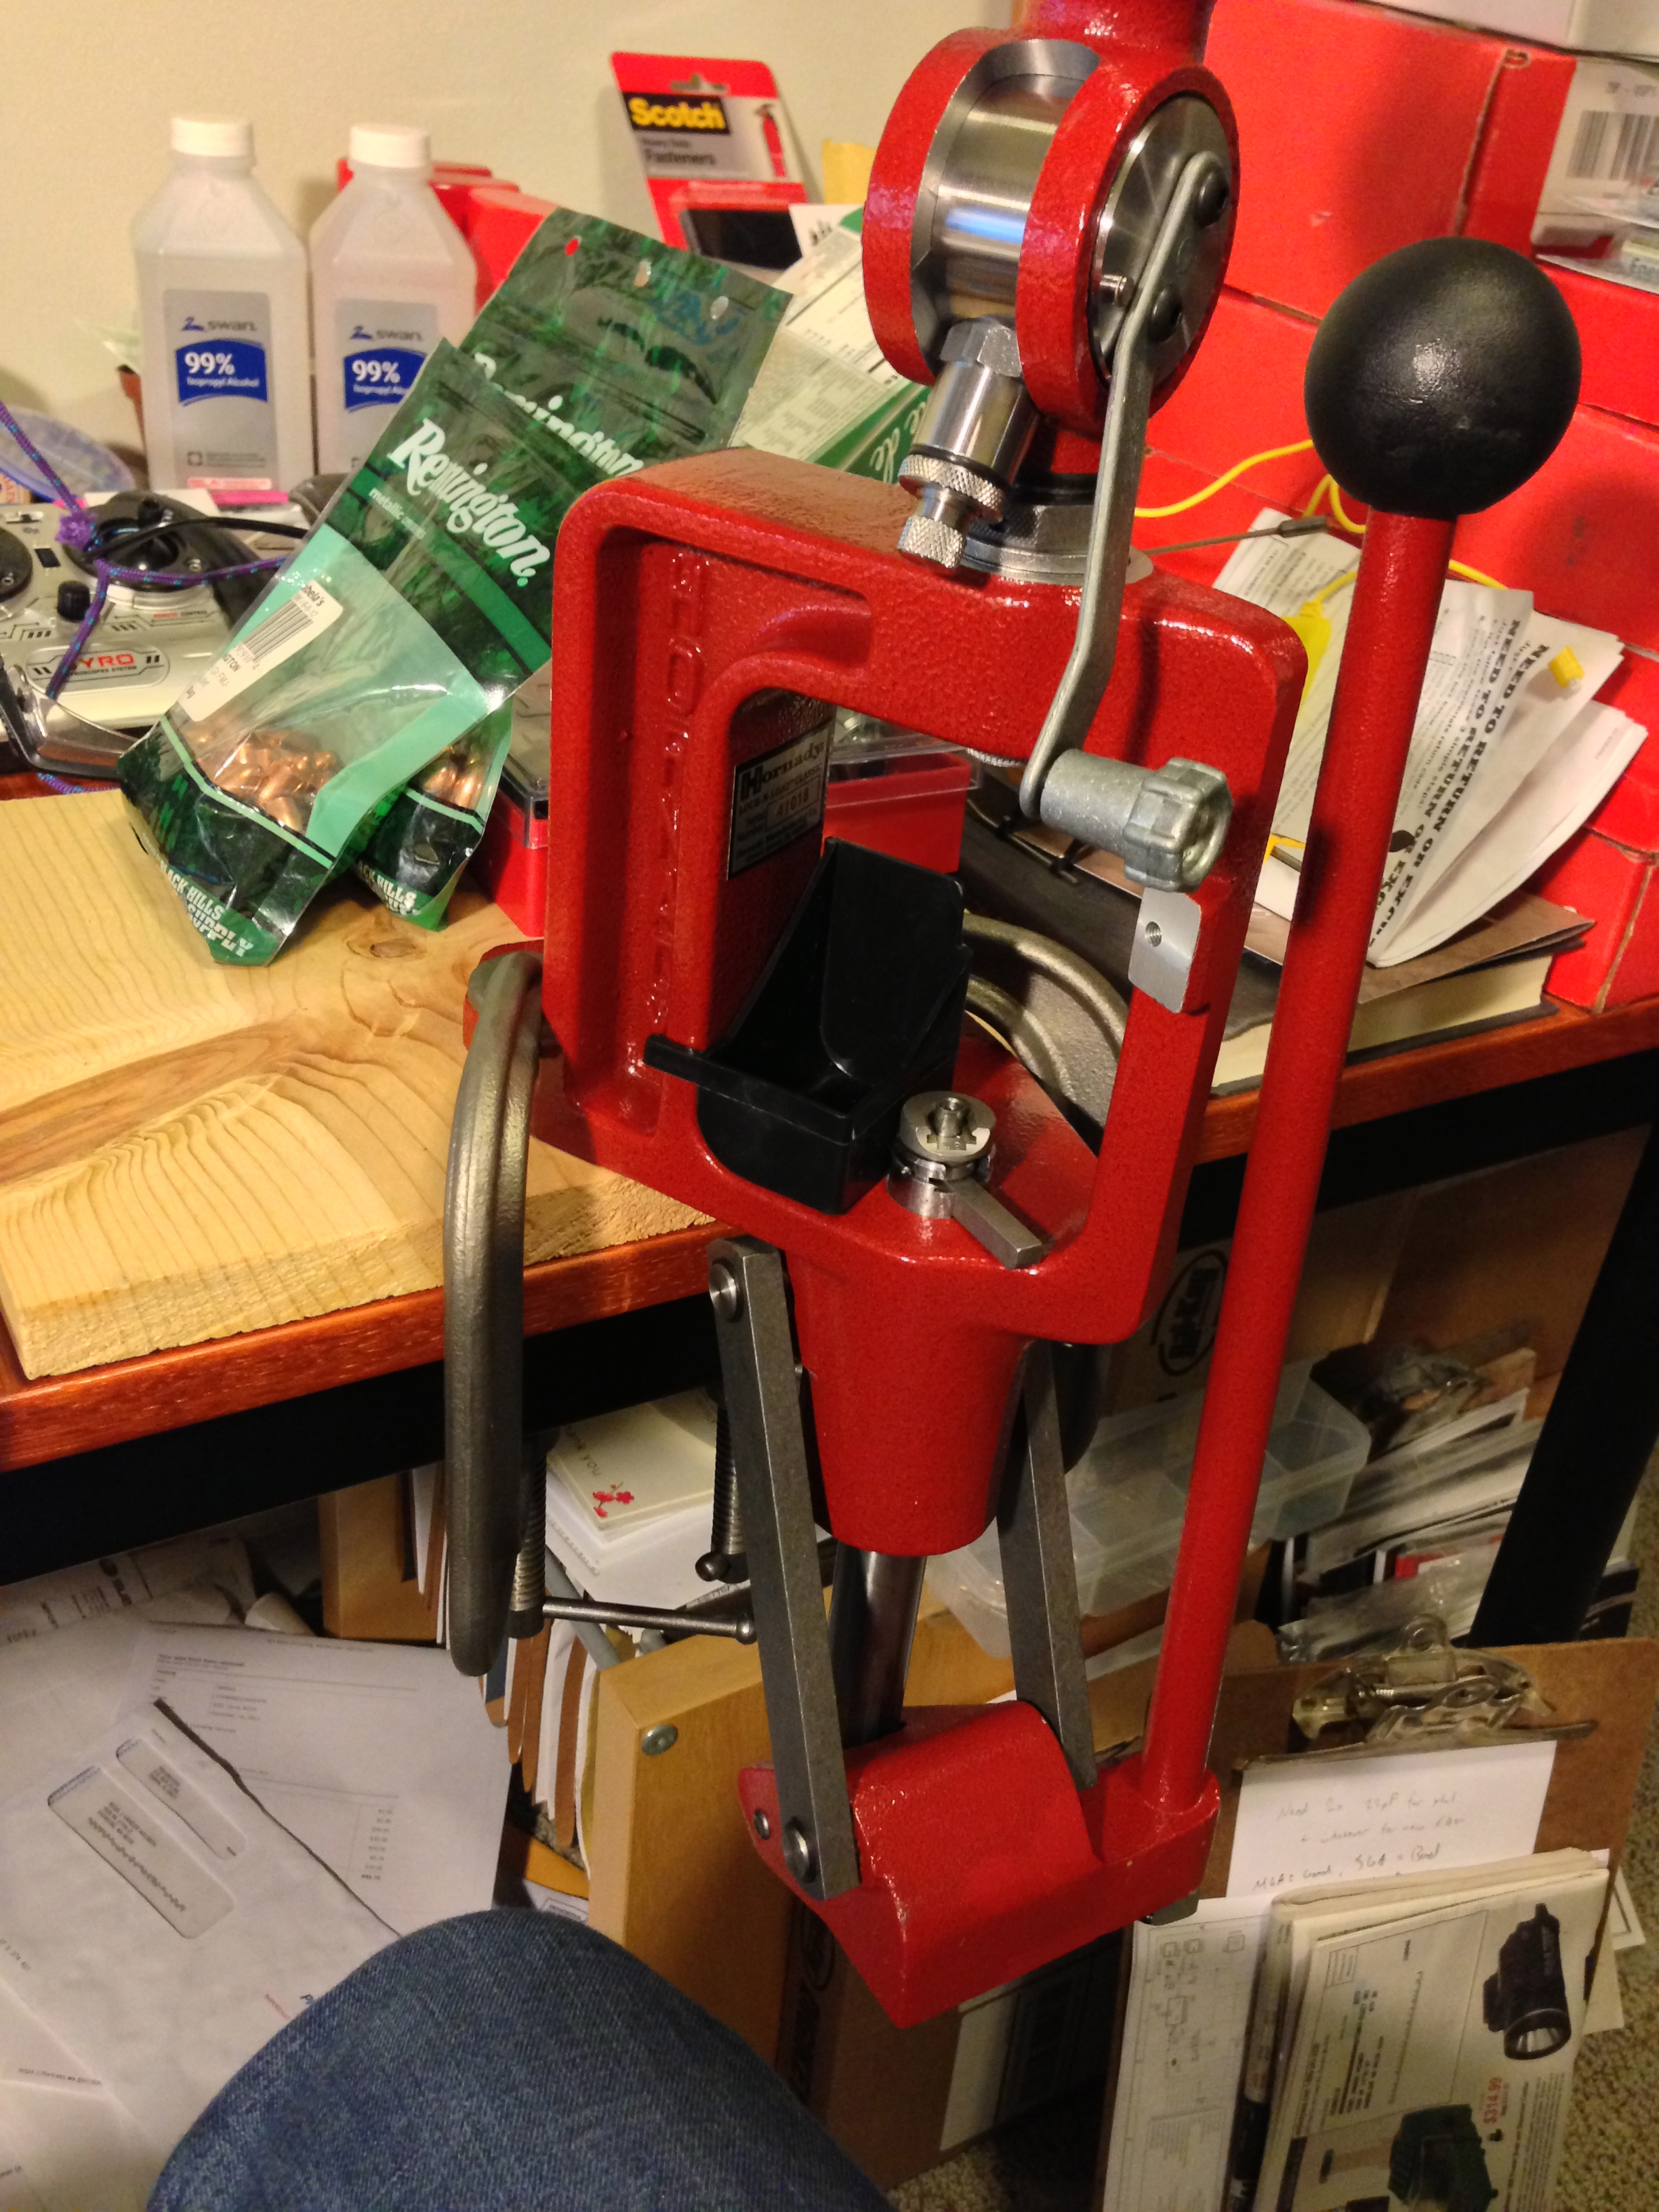
Here’s the press I’m using. It’s a basic single stage press. However, it does have one advantage in that it uses die bushings, which means that I can quickly change dies without having to readjust them after screwing them in.
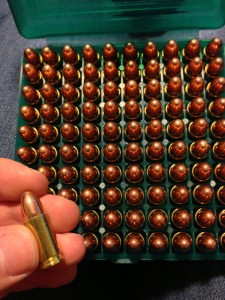
And here’s some completed ammunition I put together. You can’t see the label in this photo, but I’ve labelled the ammunition I’ve made here with a ID number so I can keep track of what the specifics of this load were, so in the future I can duplicate, or work off of this ‘recipe.’
Now all I’ve got to do is go to the range and test it.